


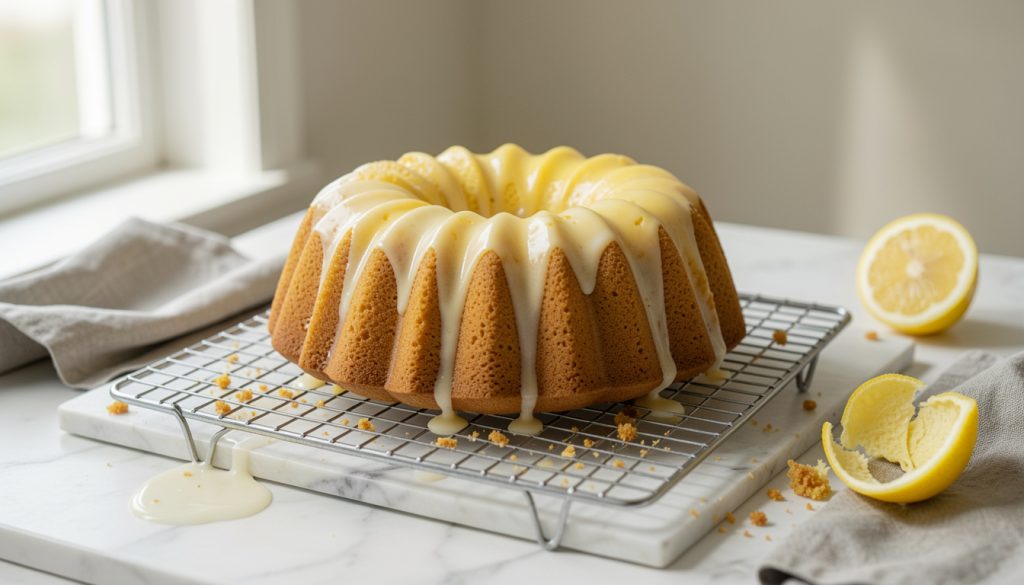

The first time I googled how to make bundt cake not stick, my cake still came out looking like a geology sample. Half on the rack, half glued to the pan’s “cute” little ridges.
After enough Bundt cake sticking to pan heartbreak, I landed on a routine that works even with ornate molds. It’s not one secret. It’s three: the right release layer, the 5 to 15 minute flip window, and a calm rescue plan.
Bundt cakes are peak American home-baking energy: dramatic shape, minimal decorating, big payoff. This is beginner-friendly with one fussy step, pan prep. Expect 10 min of setup and about 1 hr of baking time, depending on your easy bundt cake recipe.
Also, in 2025, I’ve noticed everyone quietly switching to baking spray with flour or homemade “cake goop” because butter-only greasing is a trust fall that rarely pays off.
1. Build A Real No-Stick Barrier In Every Groove
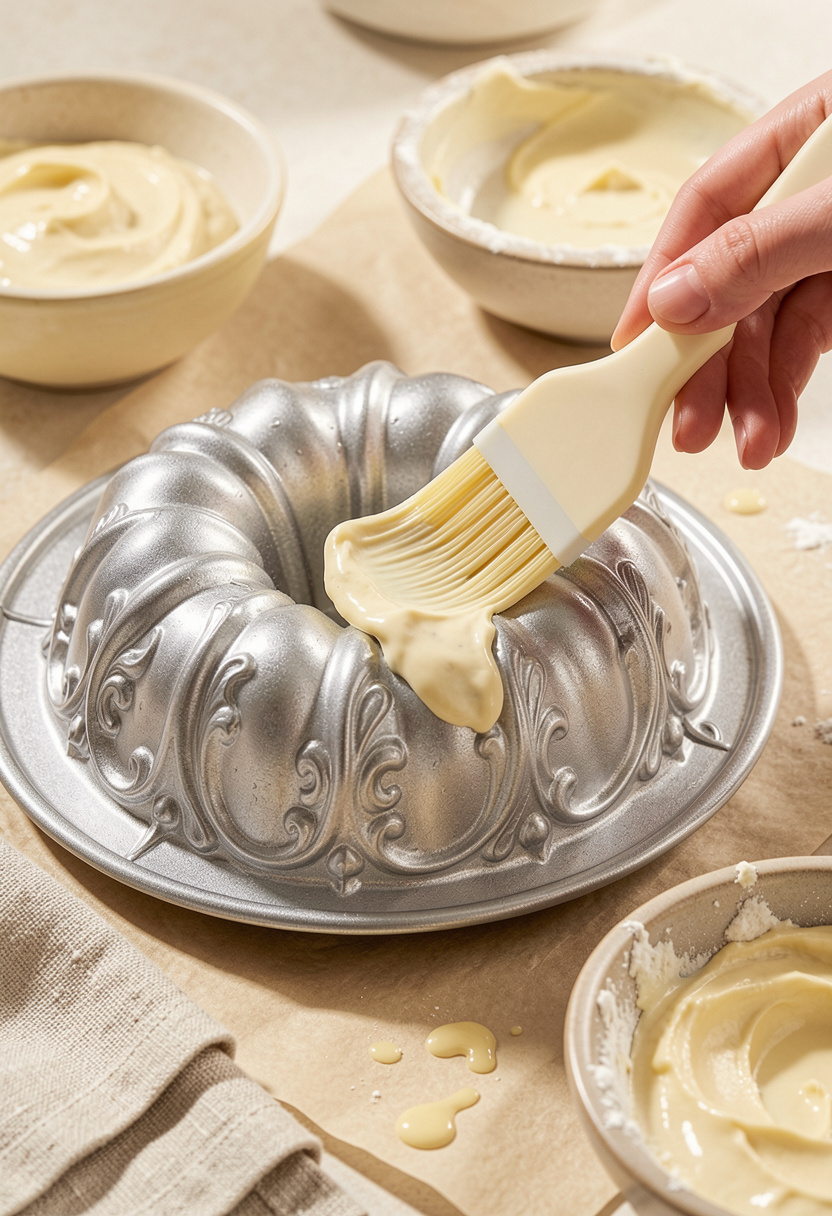

If you only take one tip from this, take this: Bundt release is about coverage, not vibes. Intricate pans have contact points everywhere, so you need a barrier that reaches every nook and cranny.
Fast method: grab a flour-containing baking spray and still brush it in. I use Baker’s Joy baking spray with flour and chase it into the ridges with a silicone pastry brush. Two minutes, done.
DIY method (my ride-or-die): “cake goop.” Stir equal parts vegetable oil, shortening, and flour (1 tablespoon each is enough for most pans). Use Crisco vegetable shortening 16 oz plus all-purpose flour 5 lb bag. Paint it on thick like sunscreen.
Key principle: barrier formation. Common mistake: greasing the pan and letting it sit while you make batter. Don’t. Grease right before batter goes in so it doesn’t pool or dry out.
2. Fill Cleanly So The Cake Sets Evenly (And Releases Evenly)
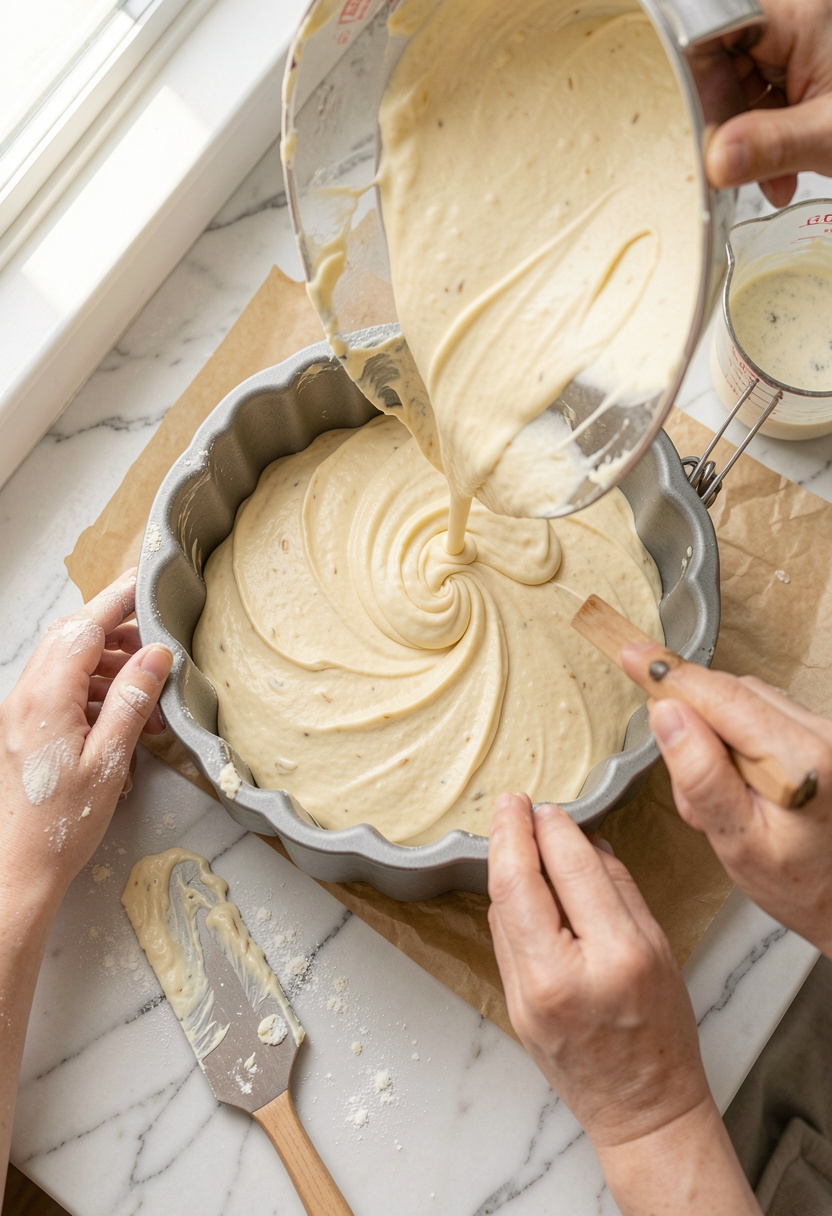

An uneven fill bakes into an uneven crust, and that’s where tearing starts when you’re trying to how to release a bundt cake without swearing. Aim for a smooth, level top.
Most 10 cup pans want about 5 to 6 cups of batter. If you’re using a new-to-you Nordic Ware Bundt pan 10 cup, don’t fill past about two-thirds full. Overfilling makes a gummy rim that clings.
Spread batter with a 9 inch offset spatula, then tap the pan on the counter 2 to 3 times to pop big air pockets hiding in the details.
Principle: even heat transfer and structure setting. My ugly truth: I used to bang the pan like a drum to “settle” it and ended up splashing batter into the center tube. Tap lightly, done.
One more thing: if it’s a chocolate bundt cake, skip flour dusting and use cocoa. Keep a Dutch-process cocoa powder 8 oz around for dark pans and dark cakes so you don’t get ghostly white streaks.
3. Bake Until Set, Not Dry (Dry Cakes Grab The Pan)
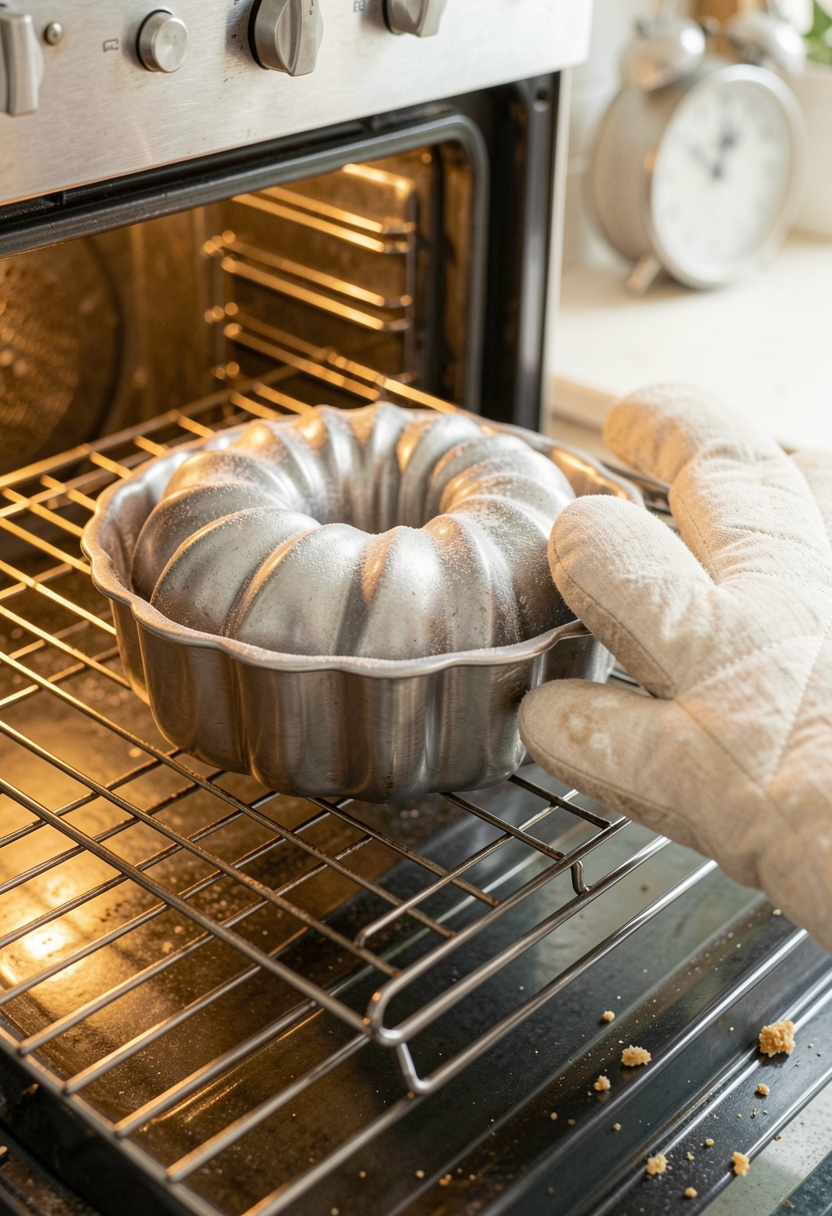

Overbaking is sneaky. A dry crust shrinks and tightens like a belt around the pan grooves, which makes bundt cake not stick feel impossible.
Bake at the temp your recipe says, but trust cues: the top should spring back when pressed, edges start to pull away slightly, and a tester comes out with a few moist crumbs (not wet batter). If your oven runs hot, you’ll lose the release window later.
If you want one tool that pays for itself, it’s an oven thermometer. I keep a Taylor oven thermometer hanging on the rack because my old apartment oven lies.
Principle: structure setting. The goal is a cake that’s firm enough to unmold but still tender, because tenderness helps it slip instead of tear.
Ugly truth: regular cooking spray is not the same as baking spray. The manufacturer advice from Nordic Ware lines up with what home bakers complain about online: plain spray can leave residue and still fail. Use PAM for Baking spray or Baker’s Joy if you go the spray route.
4. Hit The 5 To 15 Minute Warm Release Window
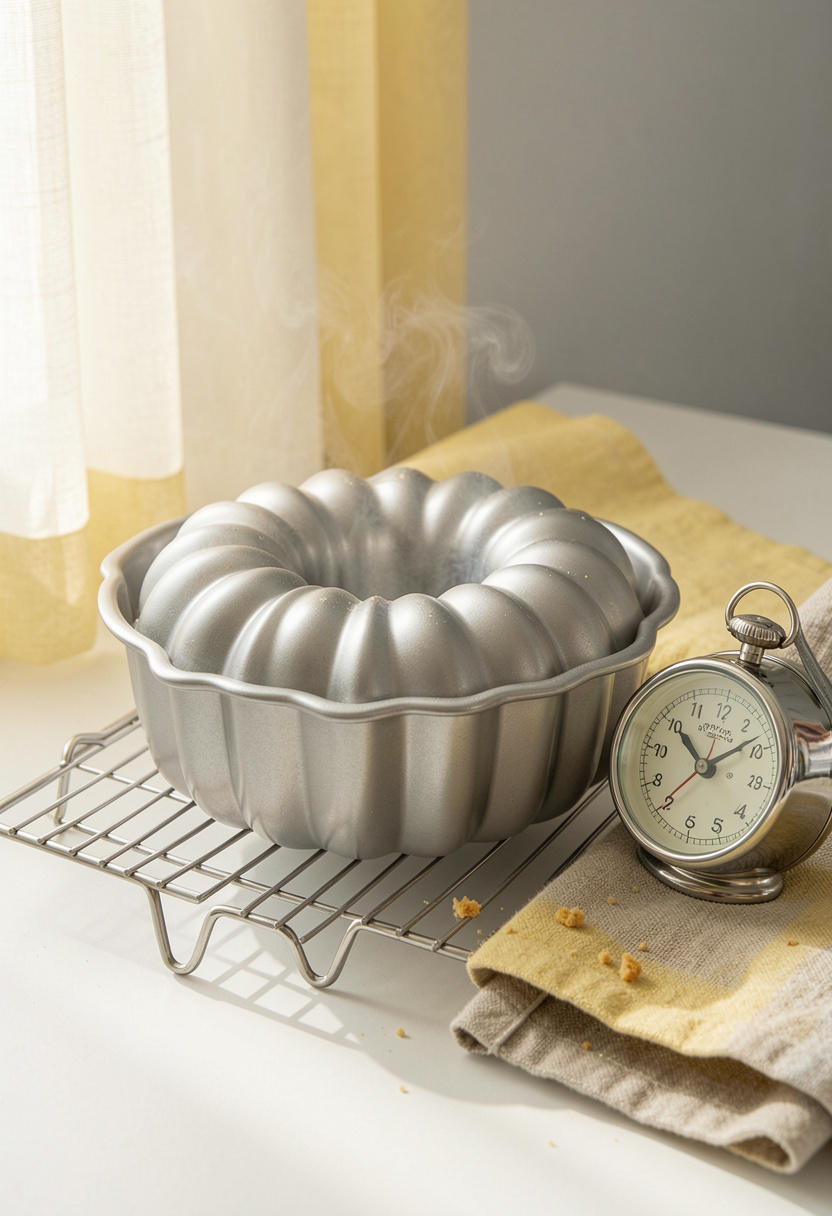

This is the part nobody explained to me until I ruined a holiday cake. If you wait until the cake is fully cool, it often glues itself to the pan.
Most guides converge on the same sweet spot: invert after about 5 to 15 minutes. That’s long enough for the crumb to set, but short enough that the crust hasn’t locked in. Set a timer the second the pan hits the rack.
While it rests, run a flexible tool around the outer edge and the center tube if you need insurance. Skip metal. I like a thin silicone spatula set because it won’t scratch nonstick.
Then do the “bounce test.” Hold the pan with oven mitts and give it a gentle, controlled jiggle. If you feel a tiny slip, you’re golden.
Principle: resting window timing plus mechanical loosening. Common mistake: prying aggressively when it doesn’t pop out in one second. That’s how you rip off the top ring and invent a new “rustic” look.
5. Rescue A Stuck Bundt Without Turning It Into Crumbs
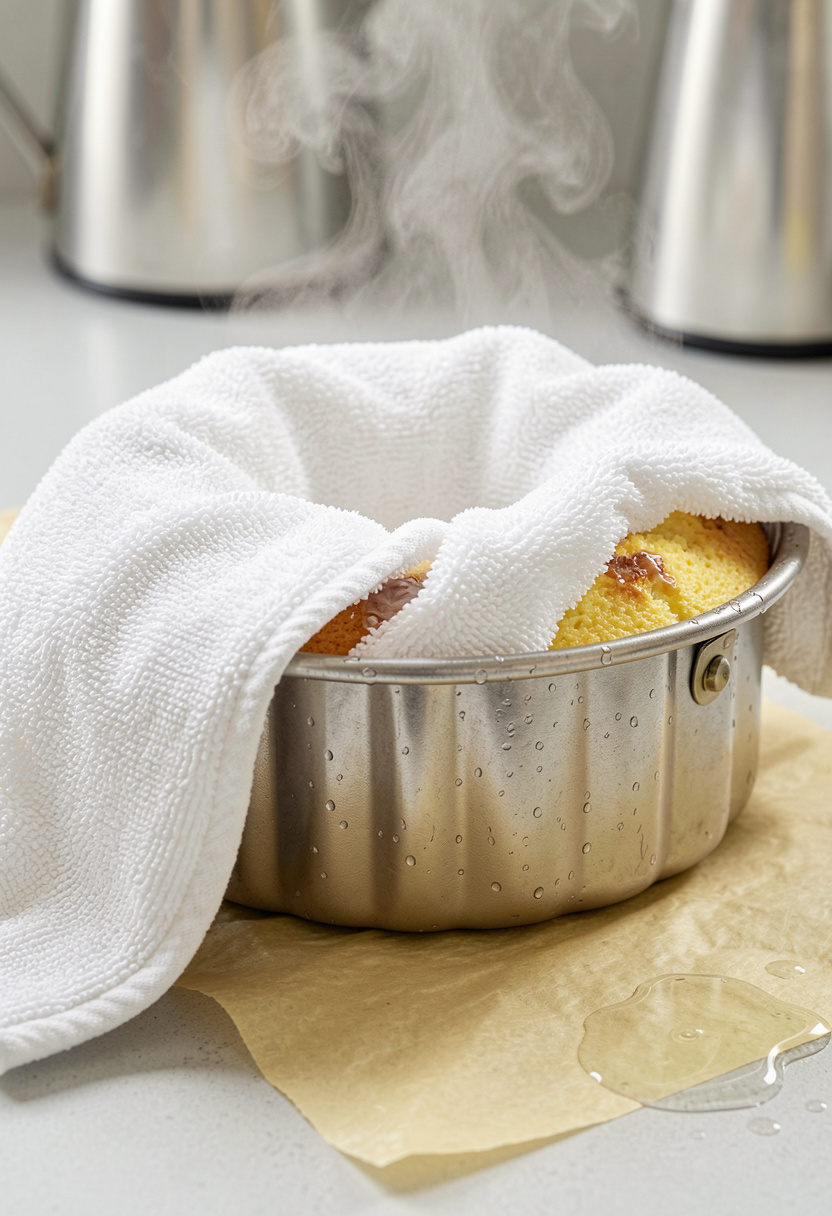

If the cake won’t drop, don’t panic. Panic leads to knives. Knives lead to scratched pans and torn cake.
First rescue: steam. Soak a towel in hot water, wring it so it’s damp (not dripping), and wrap the outside of the pan for 5 min. The steam softens the sticky interface. This tip shows up less often, but it’s legit.
Second rescue: brief rewarm. Put the pan back in a 300°F oven for 3 to 5 min, then try the warm inversion again onto a cooling rack for cakes.
Last resort: freezer. Cool the pan 10 min, freeze 15 min, then invert. The cake firms and can pull away as the metal contracts.
Principle: thermal loosening. Ugly truth: sometimes the real culprit is a worn, scratched pan. If your “nonstick” has battle scars, replacement is cheaper than your stress. A fresh nonstick Bundt pan fixes problems no hack can.
Common Cooking Mistakes to Avoid
Mistake: Using regular cooking spray instead of baking spray
Why it doesn't work: It can leave residue and doesn’t create a flour barrier.
Do this instead: Use Baker’s Joy baking spray with flour and brush it into the grooves.
Mistake: Greasing the pan too early
Why it doesn't work: Fat can pool or dry, leaving bare spots where batter bonds.
Do this instead: Grease right before filling using a silicone pastry brush.
Mistake: Waiting until fully cool to flip
Why it doesn't work: The crust tightens and sticks as it cools.
Do this instead: Flip in the 5 to 15 minute window onto a wire cooling rack.
Mistake: Forcing release with a metal knife
Why it doesn't work: It tears cake and scratches nonstick, making future sticking worse.
Do this instead: Use a thin silicone spatula set and go gently.
What You'll Need to Make This
Pantry Staples
All-purpose flour 5 lb bag around $2 to $6
Vegetable oil neutral baking oil around $3 to $8
Unsalted butter 1 lb box around $4 to $9
Specialty Ingredients
Baker’s Joy baking spray with flour around $4 to $8
Crisco vegetable shortening 16 oz around $3 to $7
Dutch-process cocoa powder 8 oz around $5 to $12
Tools That Earn Their Counter Space
Nordic Ware Bundt pan 10 cup around $25 to $45
Silicone pastry brush around $5 to $15
Cooling rack for cakes around $8 to $18
Cookbooks Worth the Shelf
The Cake Bible by Rose Levy Beranbaum (price range $18 to $30)
Bravetart by Stella Parks (price range $16 to $30)
Budget Swaps
PAM for Baking spray around $4 to $8
Nonstick Bundt pan around $15 to $25
Shopping Guide for This Recipe
Follow the 2025 no-stress trend: Keep Baker’s Joy baking spray with flour around $4 to $8 for quick Bundts and detailed molds.
Splurge where it counts: A Nordic Ware Bundt pan 10 cup around $25 to $45 releases better than bargain pans once you bake often.
Save with DIY goop: Make a jar using Crisco vegetable shortening 16 oz around $3 to $7 plus pantry flour and oil.
Chocolate cake upgrade: Dust the pan with Dutch-process cocoa powder 8 oz around $5 to $12 instead of flour to avoid pale streaks.
Out of Baker’s Joy?: A solid baker’s joy substitute is PAM for Baking spray around $4 to $8, still brush it into the grooves.
Conclusion
If you want the clean slide-out every time, start with the release layer and the timer. Those two fixes solve most “bundt cake sticking to pan” stories before they happen.
And if a cake fights back, steam before you pry. A silicone pastry brush plus a calm 5 to 15 minute flip window has saved more of my Bundts than any prayer.
Are you trying cake goop first, or going straight to baking spray with flour?