




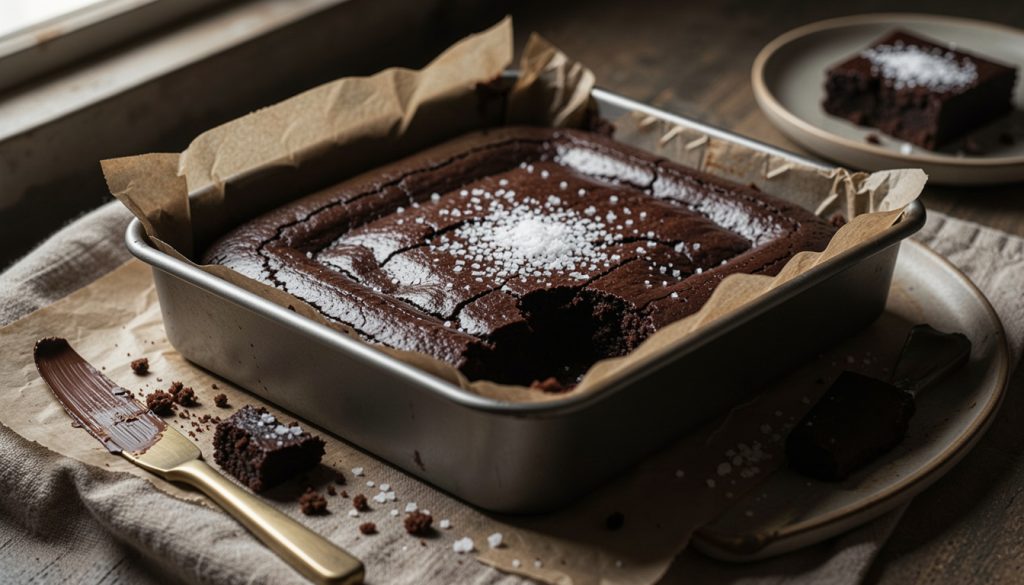

The first time I tried how to make homemade brownies, I baked them until the toothpick came out clean. Dry. Sad edges. No shiny top.
After too many “why are my brownies cakey?” nights, I landed on the one move that fixed everything: whisking the eggs and sugar until they go pale and thick, then folding in warm chocolate. That’s the crackly top shortcut nobody spells out.
These are American comfort-dessert brownies: deep cocoa, buttery, and fudgy. Plan on about 45 min start to finish, beginner-friendly, with one picky step (the whisking). Pinterest Predicts 2025 keeps calling out nostalgic, better-than-box-mix baking, and brownies are the easiest win.
If you want crackly top brownies without a mixer, a sturdy whisk works. If you want the “best brownies” vibe, use the right pan size and pull them early. That’s the whole game.
1. Set Up for Thick, Fudgy Brownies (Pan Matters)
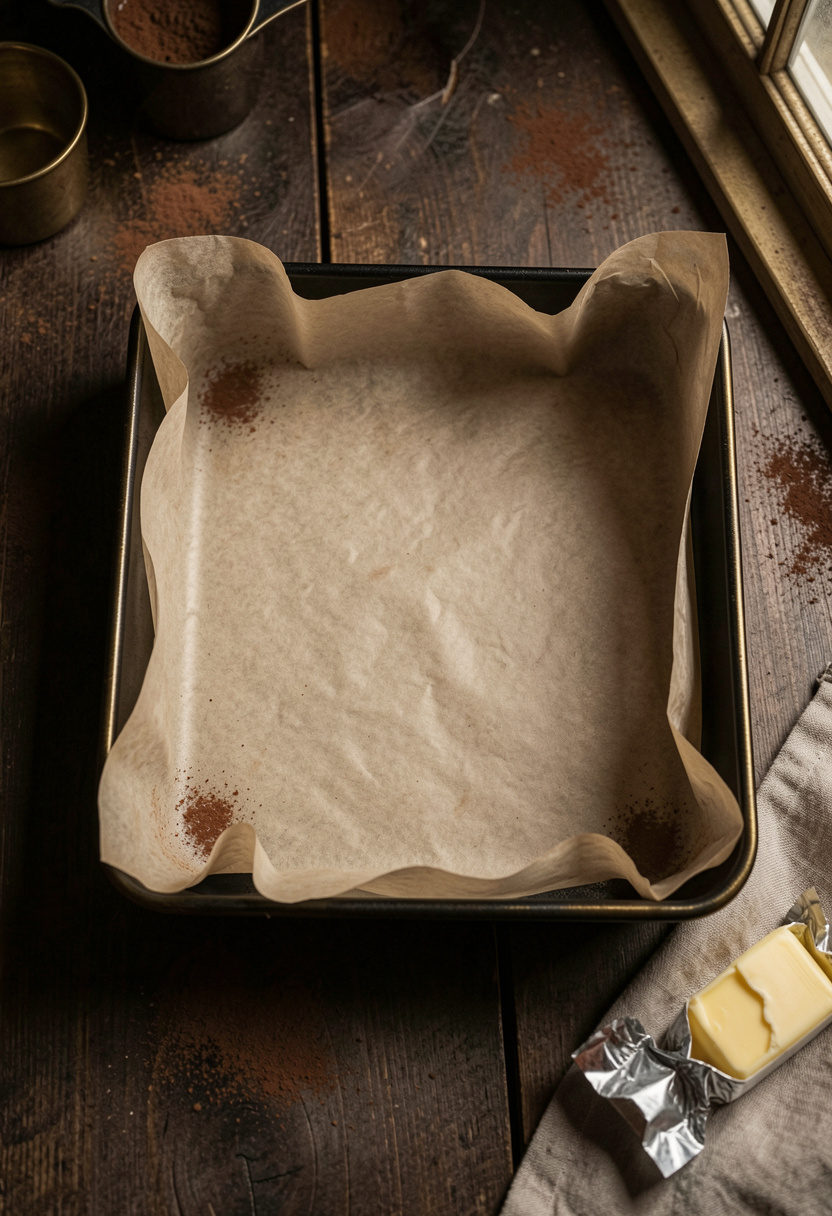

Start by committing to the pan. If you want thick, fudgy brownies (not thin and dry), an 8×8 metal pan is the move. A 9×9 makes the batter shallower, so it bakes faster and dries out before the center gets that chewy-set feel.
Line it with parchment with a 2-inch overhang so you can lift the whole slab out later. I used to skip this and “butter the pan well.” Then I’d dig out mangled corners with a spoon. Never again.
This is also where you set yourself up for the crackly top: preheat to 350°F and put the rack in the middle so the top sets evenly (pan geometry affects heat transfer, and brownies are sensitive).
Tool and supply picks that make this painless: 8×8 metal baking pan around $10 to $25, parchment paper baking sheets around $6 to $12, and a fine mesh sieve for cocoa around $8 to $15.
Common mistake here: using glass. It bakes slower and can push you into overbaking while you wait for the middle to set. Metal gives you clean edges and better timing.
2. Melt Butter and Chocolate Without Cooking the Eggs
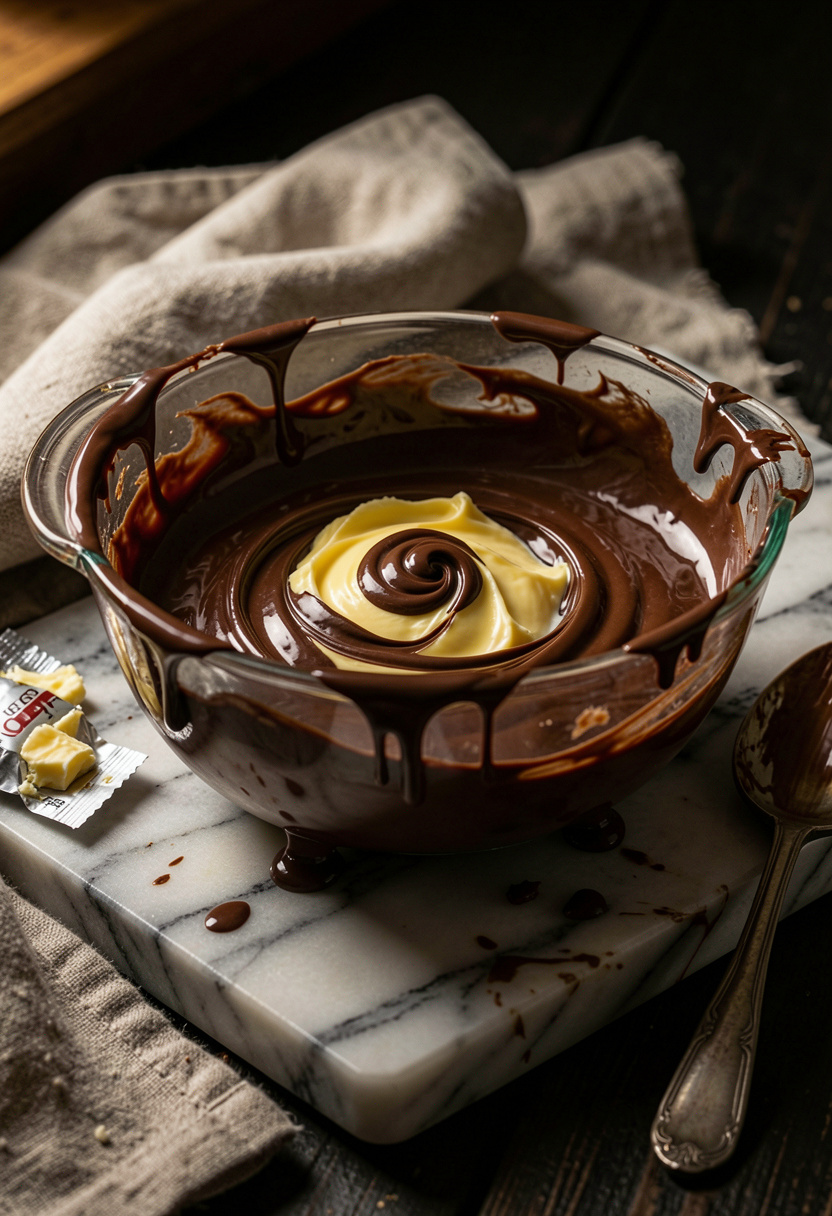

Melt 10 tablespoons butter with 4 oz semisweet chocolate. Microwave in 20-second bursts, stirring each time, or use a small saucepan on low. Stop when it’s smooth and glossy, not scorching hot.
Here’s why the temperature matters: if you pour hot chocolate into eggs, you get little scrambled egg bits that bake into weird rubbery freckles. Been there. Let the mixture sit 3 min, so it’s warm, not steaming.
This melted-butter method is also why these land on the fudgy side instead of cakey. Butter plus chocolate creates an emulsion with the eggs later, so the crumb sets dense and moist.
Chocolate options: Trader Joe’s has solid budget semisweet bars, and Costco is great for big bags of chips. If you want a deeper cocoa tone, pair it with Dutch-process cocoa powder 8 oz around $8 to $14.
Helpful basics to have on hand: unsalted butter 1 lb box around $4 to $8 and semisweet chocolate bars 4 oz around $3 to $10.
Ugly truth: microwaving the whole batter as a “30-minute brownie recipe” hack gave me gummy edges and zero crackle. Baking is where the shiny top happens.
3. Whisk Eggs and Sugar Until Ribbon-Y (Crackly Top Phase)
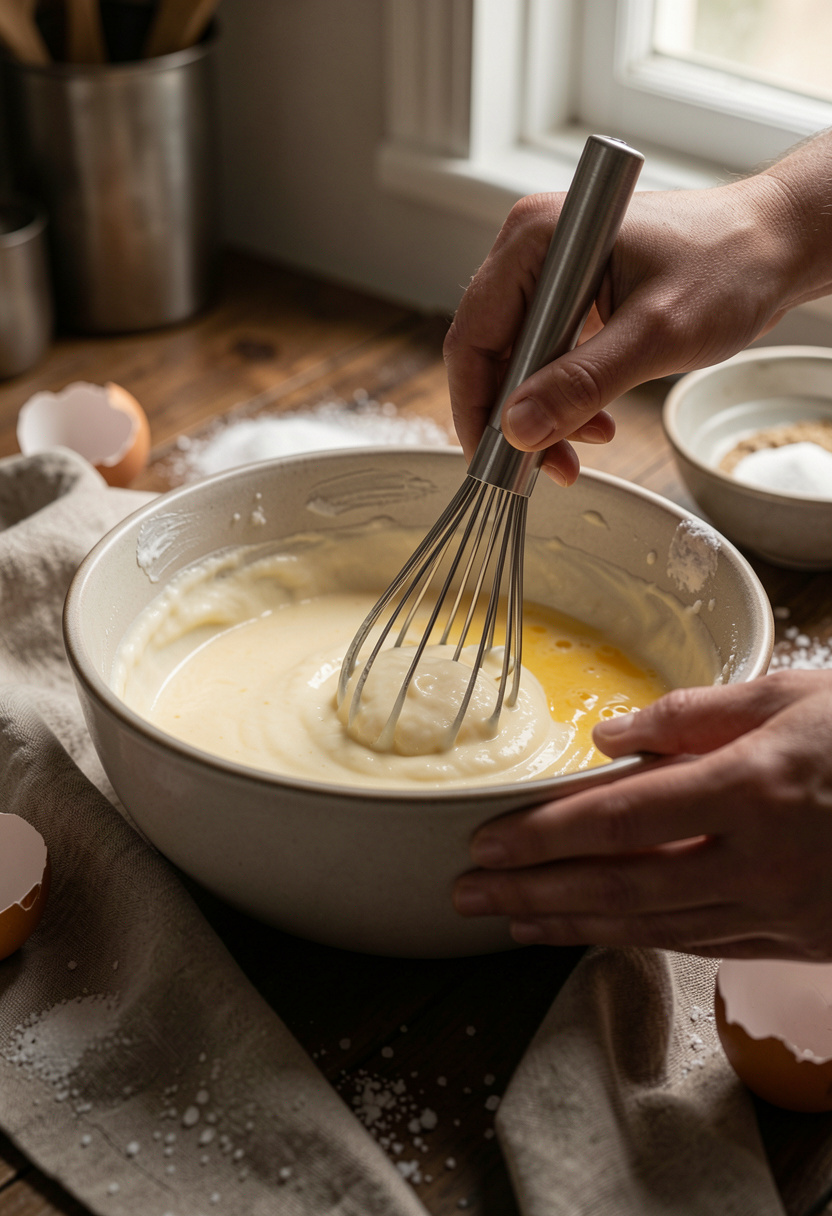

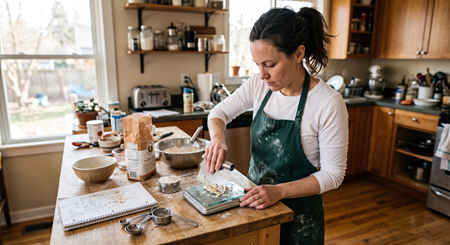
This is the whole secret to a shiny, crackly top. Whisk 2 large eggs with 1 cup granulated sugar and 1 teaspoon vanilla for 2 to 3 min until it goes pale and thick, and it falls off the whisk in ribbons.
What’s happening: sugar starts dissolving and you trap a little air. That thin meringue-like layer bakes into the glossy crust. Under-whisking is why homemade brownies look matte while box mix looks shiny.
Once it’s ribbon-y, slowly whisk in your warm butter-chocolate mixture. If it tightens up, keep whisking 15 seconds and it will smooth out.
If you don’t own a mixer, you’re fine. A sturdy whisk and some patience wins. If you want the easy button, a hand mixer makes this fast: KitchenAid stand mixer 5 qt artisan around $280 to $430 is a splurge, but you can also keep it simple with pure vanilla extract 2 oz around $6 to $14 and a big bag of granulated sugar 4 lb bag around $4 to $9.
One more ugly truth: the “healthy” black bean brownie trend fooled me once. The top never cracked, and the aftertaste was… bean-y. Classic wins here.
4. Fold Dry Ingredients Gently for Fudgy, Not Cakey
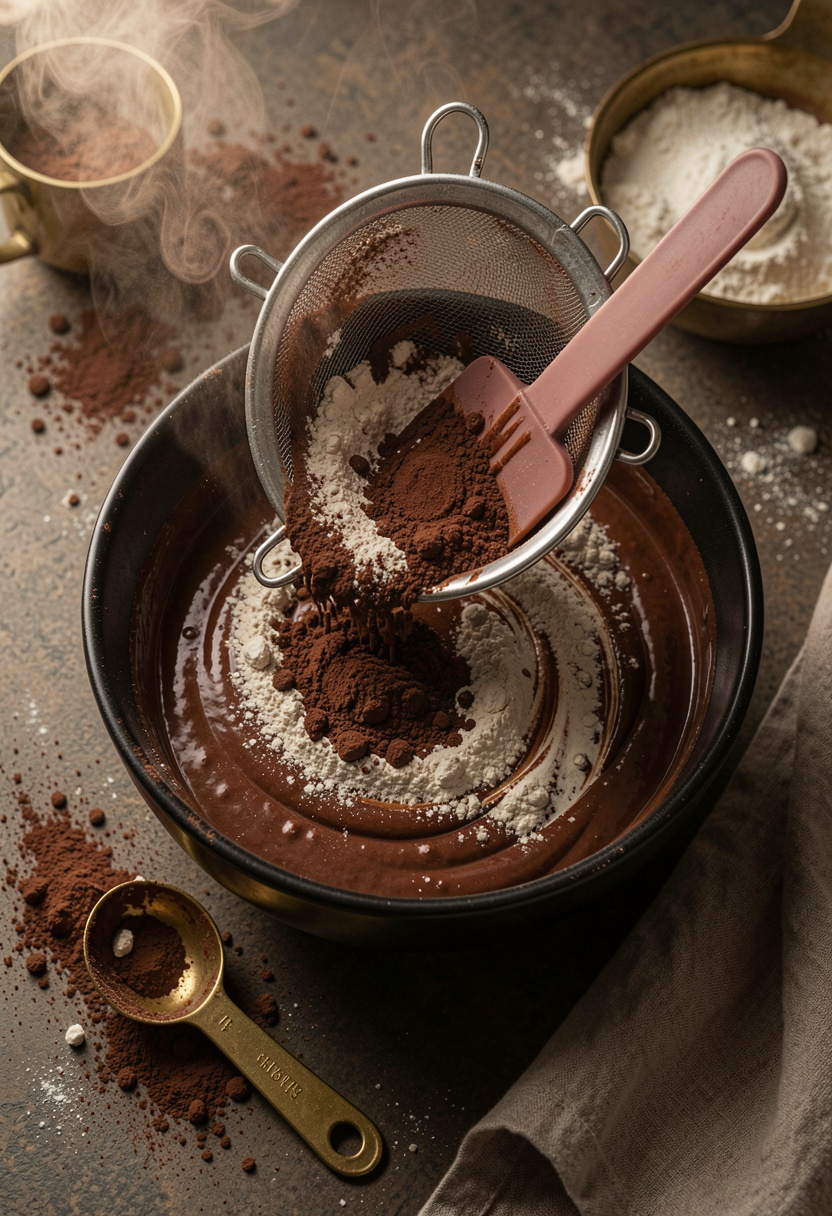

Sift in 1/2 cup cocoa powder, 1/2 cup all-purpose flour, and 3/4 teaspoon kosher salt. Then fold with a spatula until you stop seeing dry streaks. No more.
This is the gluten moment. Overmix after flour goes in and you build structure, which reads as cakey brownies. The batter does not need to look “perfect.” It should look thick and glossy, like brownie batter that means business.
Salt is non-negotiable. Chocolate without enough salt tastes flat, even if you used good cocoa. I like Diamond Crystal for control (the crystals are lighter, so it’s harder to oversalt).
If you want a small under-covered upgrade, swap 2 tablespoons of the granulated sugar for powdered sugar. It melts fast and gives a slightly finer crumb without changing the vibe.
Good staples to keep stocked: all-purpose flour 5 lb bag around $4 to $9, Diamond Crystal kosher salt 3 lb box around $8 to $16, and powdered sugar 2 lb bag around $4 to $8.
Mistake at this stage: adding too many mix-ins. A handful of chips is great. A whole candy aisle turns the center into a crowded, greasy slump.
5. Bake to “Moist Crumbs,” Then Cool for Clean Slices
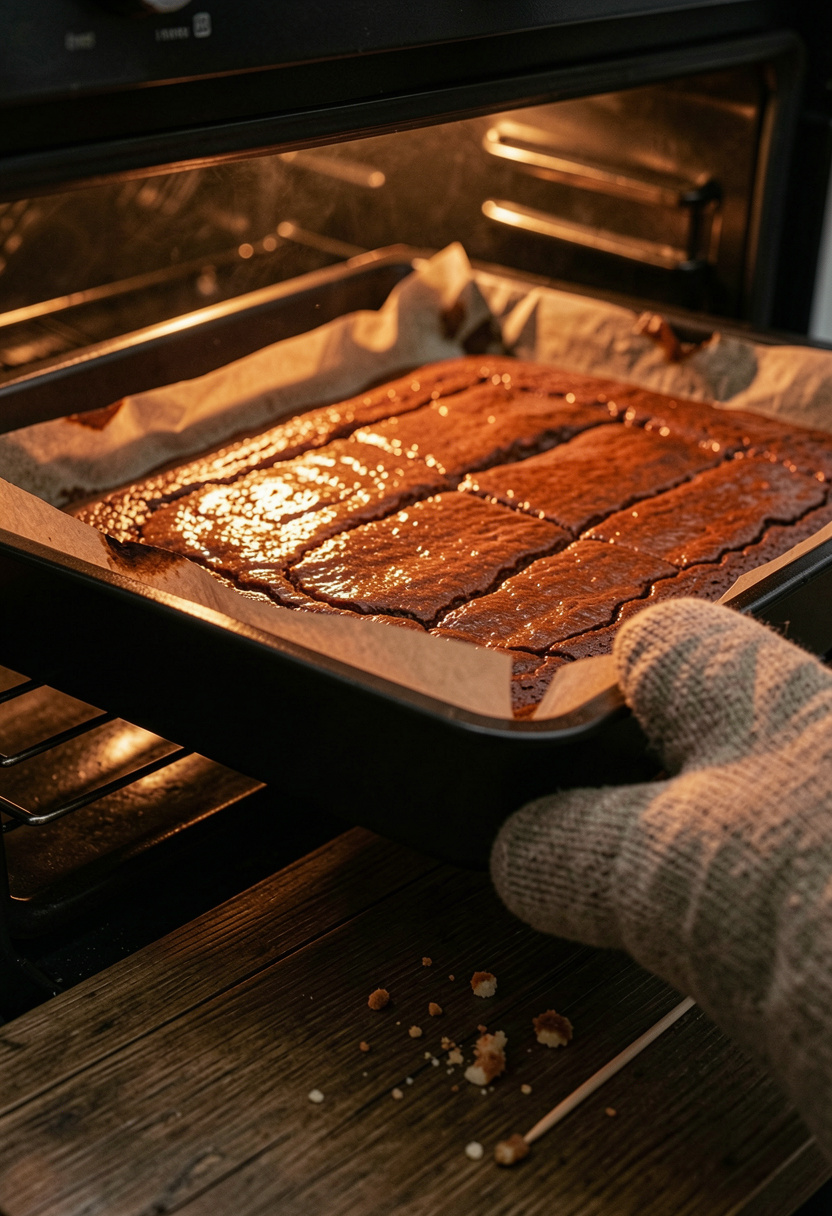

Scrape batter into the lined pan and smooth it fast. Bake at 350°F for 22 to 28 min in an 8×8 metal pan.
Doneness cue: a toothpick in the center should come out with a few moist crumbs. Not wet batter. Not clean. Brownies keep cooking as they cool (carryover cooking), and a clean toothpick is how you accidentally make cocoa-flavored sheet cake.
Now the hard part. Cool in the pan 1 hr. I’ve cut at 20 min “for science” and got molten sludge that looked underbaked even though it wasn’t. Cooling sets the structure.
For a bakery-style finish, sprinkle flaky salt on the warm top, or press a few chocolate chips into the crust right when it comes out.
Helpful extras: flaky sea salt finishing salt around $6 to $12, and if you love precision, a Thermapen ONE instant-read thermometer around $80 to $110 (optional, but fun). If you insist on skillet brownies, keep them thin or the center stays raw: Lodge cast iron skillet 12 inch around $20 to $40.
Common Cooking Mistakes to Avoid
Mistake: Baking until the toothpick is clean
Why it doesn't work: Carryover cooking dries the crumb while it cools.
Do this instead: Pull at moist crumbs and cool fully on a rack. Use parchment paper baking sheets to lift and cool cleanly.
Mistake: Using the wrong brownie pan size
Why it doesn't work: Batter depth changes bake time and texture fast.
Do this instead: Choose the pan the formula expects, especially an 8×8 metal baking pan.
Mistake: Under-whisking eggs and sugar
Why it doesn't work: Sugar stays gritty and the shiny crust never forms.
Do this instead: Whisk 2 to 3 min until ribbon-y, then add chocolate. Upgrade cocoa with Dutch-process cocoa powder 8 oz for deeper color.
Mistake: Cutting brownies warm
Why it doesn't work: The center has not set, so slices smear.
Do this instead: Cool 1 hr, then slice with a sharp knife wiped between cuts. Finish with flaky sea salt finishing salt.
What You'll Need to Make This
Pantry Staples
unsalted butter 1 lb box around $4 to $8
granulated sugar 4 lb bag around $4 to $9
pure vanilla extract 2 oz around $6 to $14
Specialty Ingredients
semisweet chocolate bars 4 oz around $3 to $10
dutch-process cocoa powder 8 oz around $8 to $14
flaky sea salt finishing salt around $6 to $12
Tools That Earn Their Counter Space
8×8 metal baking pan around $10 to $25
parchment paper baking sheets around $6 to $12
fine mesh sieve for cocoa around $8 to $15
Cookbooks Worth the Shelf
Salt Fat Acid Heat by Samin Nosrat (price range $18 to $28)
The Food Lab by J Kenji Lopez-Alt (price range $22 to $40)
Budget Swaps
all-purpose flour 5 lb bag around $4 to $9 (Aldi is usually cheapest)
powdered sugar 2 lb bag around $4 to $8 (swap in a few tablespoons for finer texture)
Shopping Guide for This Recipe
Save on basics, splurge on cocoa: Store-brand butter works, but better cocoa is noticeable. Grab dutch-process cocoa powder 8 oz around $8 to $14.
Better-than-box-mix shortcut: Keep semisweet bars on hand so brownies are always a pantry dessert. Stock semisweet chocolate bars 4 oz around $3 to $10.
Sub when you’re out of chocolate bars: Use chips for melting in a pinch, then fold extra in for pockets. Buy semisweet chocolate bars 4 oz as your default.
Pan-size clarity (no guessing): If a recipe calls for 8×8 and you only own 9×9, expect thinner brownies and shorten bake time. Consider an 8×8 metal baking pan around $10 to $25.
Finish like a bakery: A pinch of salt on warm brownies fixes “too sweet” fast. Keep flaky sea salt finishing salt around $6 to $12.
Conclusion
If you try one upgrade first, make it the egg-and-sugar whisk until ribbon-y. That’s where the shiny crackly top is born.
Pull the pan when the center gives moist crumbs, then let carryover cooking finish the job while it cools. If you want a loud chocolate hit, start with better cocoa like dutch-process cocoa powder 8 oz.
Are you going for classic fudgy squares first, or adding flaky salt on top?