




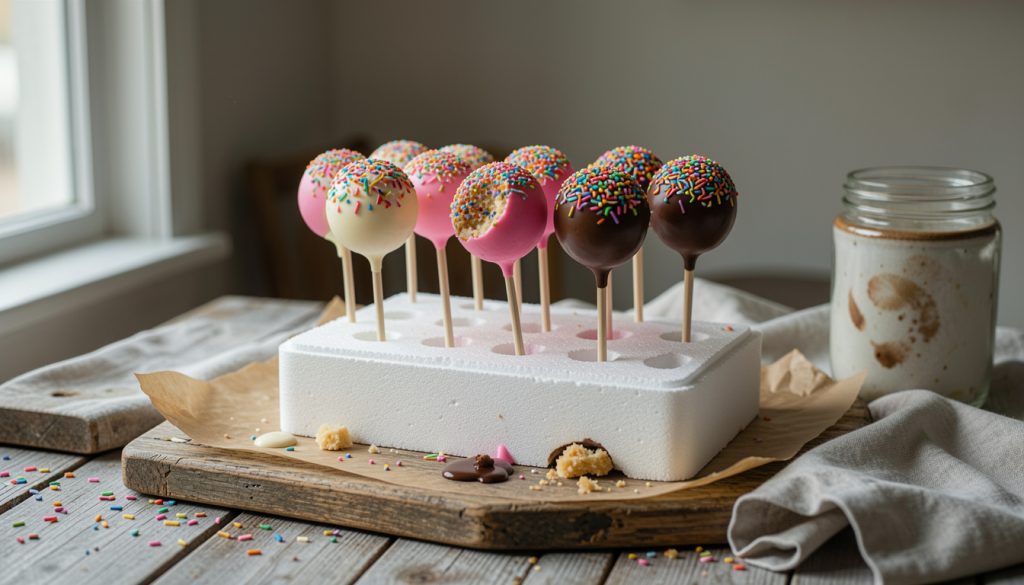

The first time I tried how to make cake pops, half of them cracked like tiny eggshells, and three slid off the sticks and belly-flopped into the coating cup. It looked like a craft project gone wrong.
Here’s the method that stopped the cracking and the stick-sliding in my kitchen. It’s still an easy cake pops situation, but with a few “do this first” moves that make them hold like bakery-style cake pops.
Cake pops are classic American party dessert energy: sweet cake center, snappy candy shell, and sprinkles that hide minor sins. Plan on about 45 min hands-on, plus chilling time (1 hr 30 min total is realistic). The 2025 vibe I keep seeing is beginner-proof shortcuts, so yes, box mix cake pops are fully welcome here.
1. Bake, Cool, and Crumble for a Dry, Fine Base
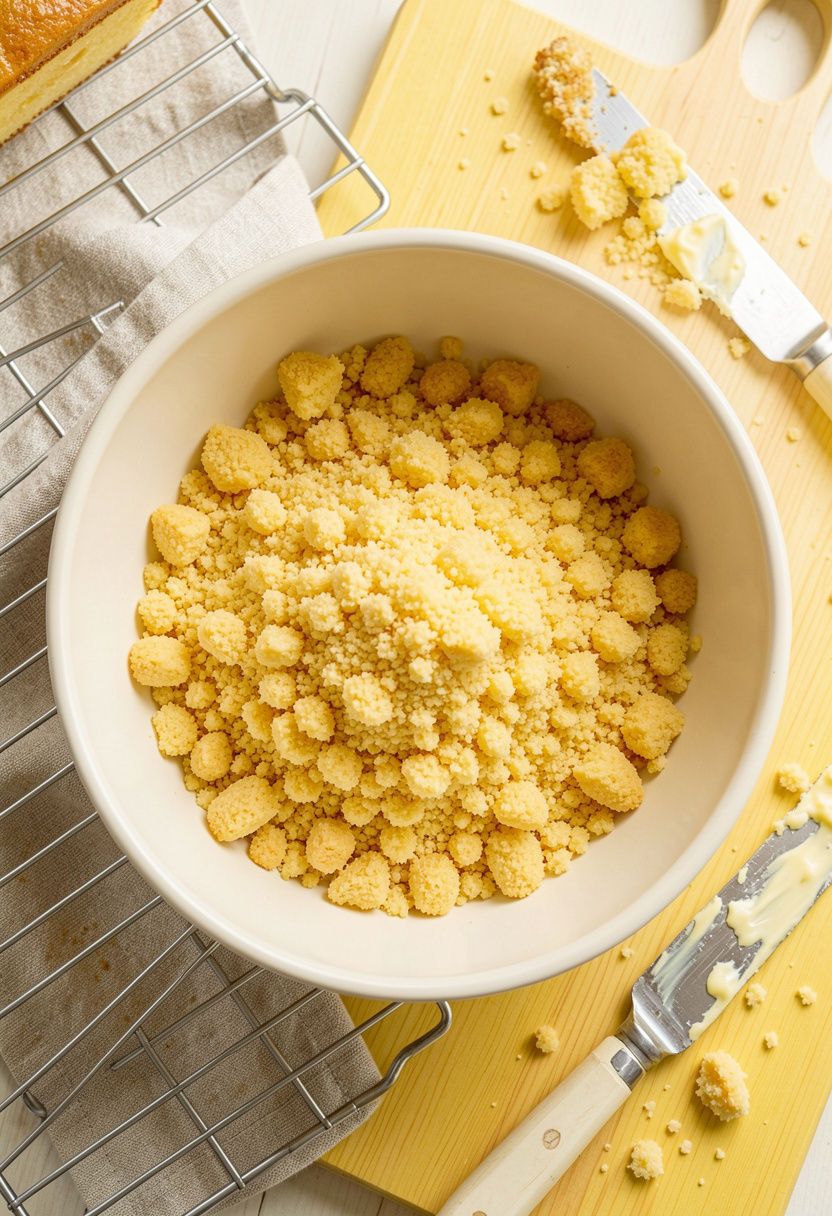

The cracking problem starts before you even touch coating. Warm cake turns gummy when you crumble it, and that gummy texture forces you to add more frosting later (which turns into stick-sliding paste).
Bake your cake pops recipe base in a 9-by-13-inch pan, then cool it fully, like 1 hr on a rack. I use a simple pan like a 9 by 13 inch cake pan (around $12 to $25) because even baking means fewer wet patches.
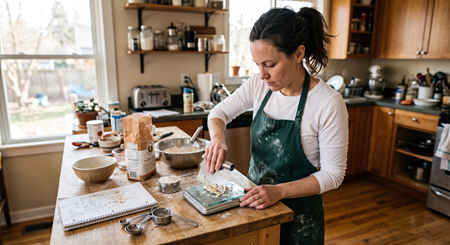
Then crumble into fine, even crumbs. Hands work, but a mixer makes it uniform fast: 30 to 45 seconds on low with a paddle in a KitchenAid stand mixer with paddle attachment (around $250 to $450). The principle here is uniform crumb size, so the binder hydrates evenly.
Mistake to avoid: leaving big cake chunks. Those turn into weak spots that crack under the shell. If you see nuggets, rub them between your fingers until it looks like coarse sand.
2. Add Frosting Slowly Until It “Clumps,” Not Pastes
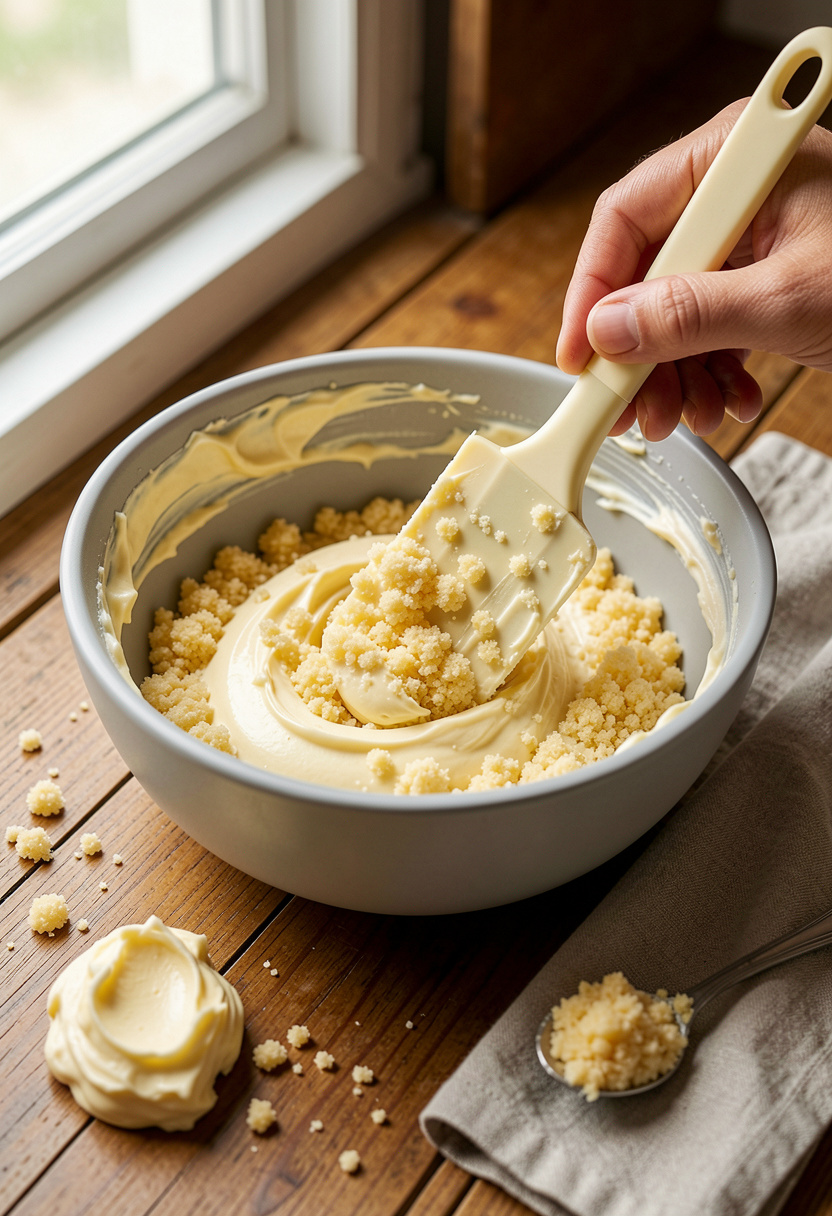

Nobody wants greasy centers, but this is where people accidentally make them. The trick is to treat frosting like seasoning: add it in small amounts and stop early.
Start with 2 tablespoons of frosting per 2 cups crumbs, then add 1 tablespoon at a time. You’re looking for the moment it holds together when you squeeze it, and it breaks cleanly when you pull it apart. For an easy shortcut, vanilla buttercream frosting (around $3 to $8) works fine, and cream cheese frosting is great for red velvet, but it’s softer so go slower.
If you want the “best cake pops recipe” texture, use a scoop so every pop is the same size. A cookie scoop 2 tablespoon (around $8 to $15) makes 1-inch balls that dip cleanly and don’t get heavy.
Ugly truth: adding the whole tub of frosting is the fastest route to cake pops that slide off the stick. Stop when the mix looks like damp sand that clumps, not like cookie dough.
3. Roll Smooth, Then Do the Stick-Glue Chill (This Stops Sliding)
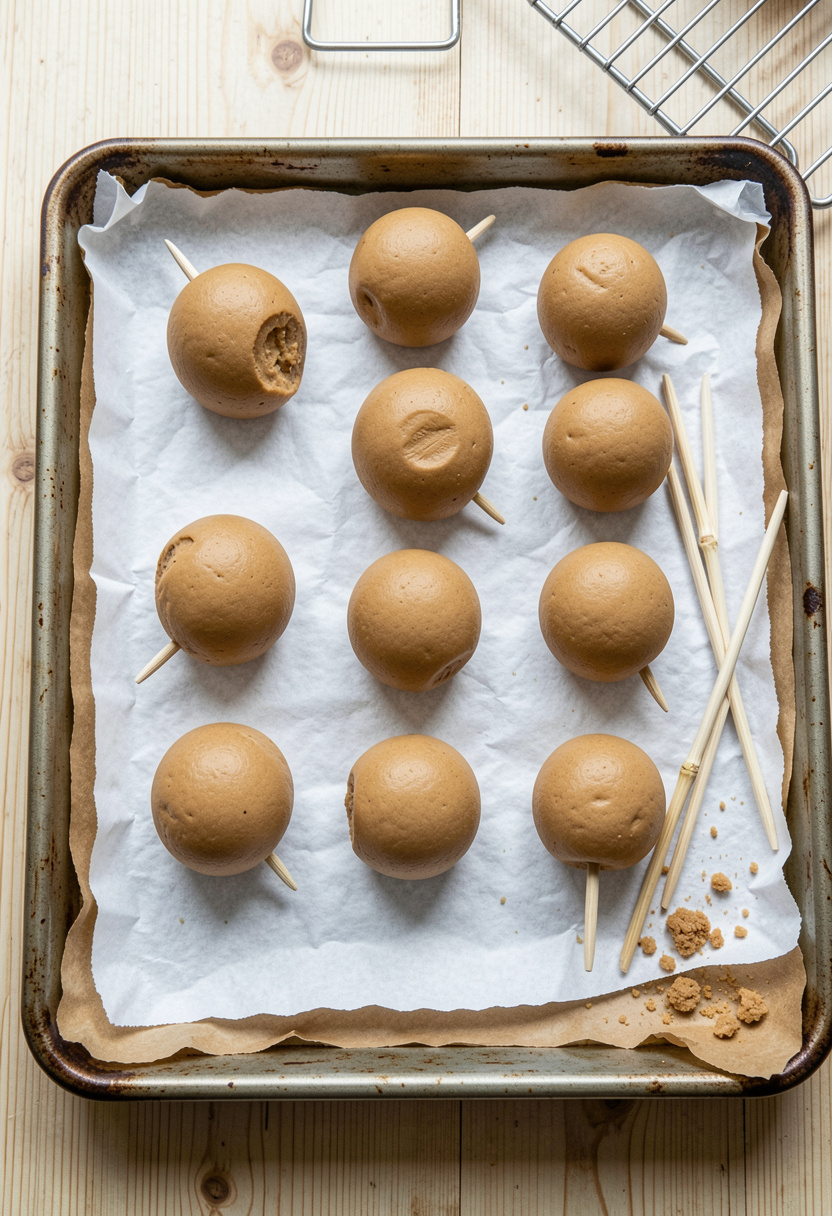

Roll the mixture into 1-inch balls, then smooth the surface with warm palms for 10 seconds each. That smoothing step sounds fussy, but it prevents little crumb spikes from poking through the coating later.
Now the move that stopped my stick failures: melt a little coating, dip the stick tip, then insert. Use lollipop sticks 6 inch (around $4 to $8). Dip about 1/2 inch of the stick into melted candy melts, push it halfway into the ball, and lay them on parchment.
Freeze 15 to 20 min until firm, not rock-solid. Temperature control is the principle. Cold centers hold shape, and the candy “glue” sets around the stick so the pop can handle the drag of dipping.
Ugly truth: dipping warm cake balls straight from the bowl is a guaranteed slide for me. Another flop: freezing for an hour until they’re frozen solid, then dunking into hot coating. That’s when I get cracks from temperature shock.
4. Dip in Thin, Not-Too-Hot Coating to Prevent Cracks
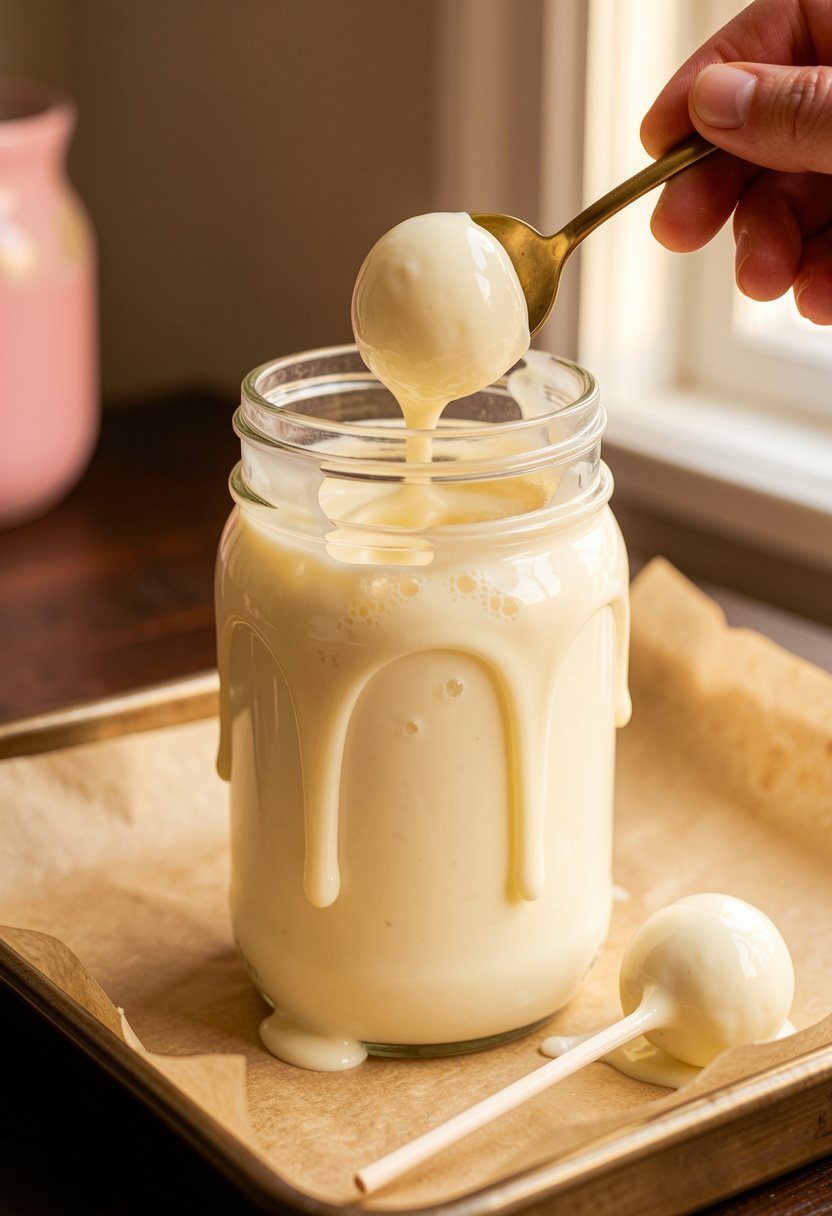

Cracks usually come from two issues: coating is too hot, or the ball is too cold. Aim for coating that feels warm, not steaming, about 90°F to 100°F if you check it.
Candy melts are the most predictable for beginner cake pops. I grab Wilton white candy melts (around $6 to $12) and melt in 20-second bursts, stirring between. If it feels thick, add 1 teaspoon coconut oil per 1 cup melts. That viscosity management keeps the shell thin so it doesn’t yank on the stick.
Use a narrow container so you can dip in one motion. A tall dipping glass or jar (around $8 to $15) beats a wide bowl because you’re not scraping the sides.
Dip straight down, lift straight up, then tap your wrist gently to let excess fall off. Ugly truth: swirling the pop around in the coating is how I get blowouts and thick feet at the base.
5. Set Upright Fast, Then Decorate While Wet (No Smears, No Bald Spots)
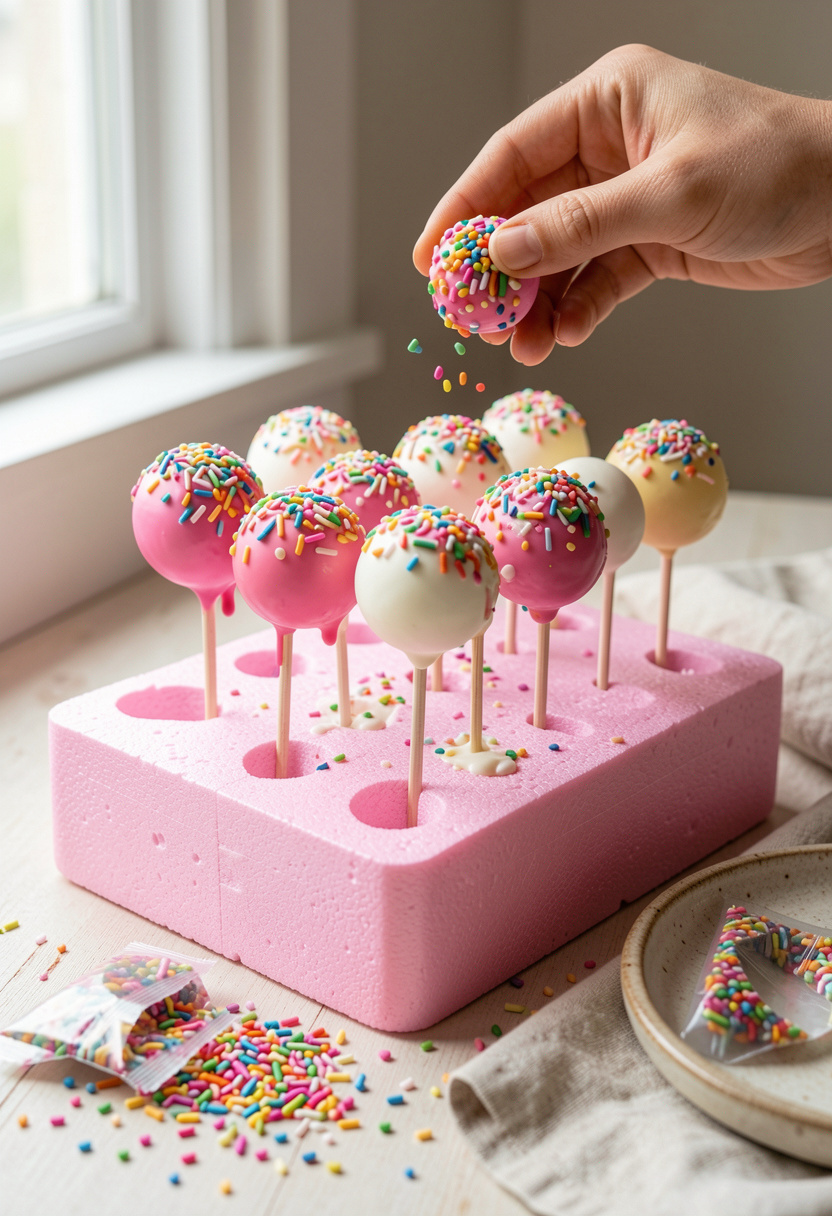

The setting phase is where a lot of “messy instead of bakery-perfect” happens. If you lay them on a tray, you get flat spots and smudged bottoms. Ask me how I know.
Stand them upright immediately. The cheap fix is a cardboard box with holes poked in it, but I like a foam block for cake pops (around $6 to $15) because it keeps them steady for make-ahead dessert prep.
Decorate while the coating is still wet. Sprinkles go on within 30 seconds of dipping. For the classic birthday dessert look, rainbow nonpareils sprinkles (around $4 to $10) hide tiny bumps and look intentional.
Under-covered trick I wish more guides said out loud: let chilled pops sit at room temp for 5 min before dipping if your kitchen is cold. That tiny warm-up reduces temperature shock and cuts cracking for me.
Common Cooking Mistakes to Avoid
Mistake: Using too much frosting in the cake mix
Why it doesn't work: The center turns dense and oily, so it can’t grip the stick.
Do this instead: Add binder 1 tablespoon at a time and stop at “clumpy sand” (a silicone spatula set helps you fold without over-mashing).
Mistake: Skipping the stick-glue step
Why it doesn't work: The ball never bonds to the stick, so it slides during dipping.
Do this instead: Dip the stick in melted coating first using dark chocolate melting wafers, then chill 15 to 20 min.
Mistake: Dipping into coating that’s thick or overheated
Why it doesn't work: Thick coating drags, and hot coating cracks cold centers.
Do this instead: Melt low and slow in a microwave safe melting bowl and thin with coconut oil if needed.
Mistake: Setting pops flat on parchment
Why it doesn't work: You get flat bottoms and smeared shells.
Do this instead: Set upright in a foam block for cake pops until fully firm.
What You'll Need to Make This
Pantry Staples
boxed vanilla cake mix around $2 to $6
Diamond Crystal kosher salt 3 lb box around $5 to $8
coconut oil unrefined 14 oz around $6 to $12
Specialty Ingredients
Wilton white candy melts around $6 to $12
almond bark for dipping around $4 to $10
flavored cake extract set around $10 to $20
Tools That Earn Their Counter Space
lollipop sticks 6 inch around $4 to $8
cookie scoop 2 tablespoon around $8 to $15
parchment baking sheets around $6 to $12
Cookbooks Worth the Shelf
Sally’s Baking Addiction cookbook (price range $15 to $30)
The Food Lab by J Kenji Lopez-Alt (price range $22 to $40)
Budget Swaps
store brand candy coating wafers around $4 to $8
box cake mix variety pack around $10 to $20
Shopping Guide for This Recipe
Save on the cake, splurge on the coating: Box mix cake pops are reliable, but smoother shells come from better melts like Wilton candy melts assorted colors around $8 to $16.
Candy melts substitute when you’re out: Almond bark is forgiving and sets firm, grab almond bark for dipping around $4 to $10.
The “tall cup” trick for cleaner dips: A narrow container reduces scraping, a tall dipping glass or jar around $8 to $15 helps.
Trend alert, shortcut culture wins: For 2025-style beginner-proof batches, keep a boxed chocolate cake mix around $2 to $6 in the pantry for last-minute party dessert requests.
Cake pop sticks substitute: If you’re in a pinch, sturdy paper straws work better than thin skewers, look for cake pop paper straws around $6 to $12.
Conclusion
If you take one idea from this, make it the stick-glue chill. Dip the stick, insert, freeze 15 to 20 min, then dip into warm (not hot) thin coating. That one sequence is the difference between neat pops and a coating cup full of cake shrapnel.
If you want the cleanest finish for birthday cake pops, start with white melts and loud sprinkles, then branch out to lemon or red velvet once your base method is steady.
Will you start with box mix cake pops, or go cake pops from scratch first?