




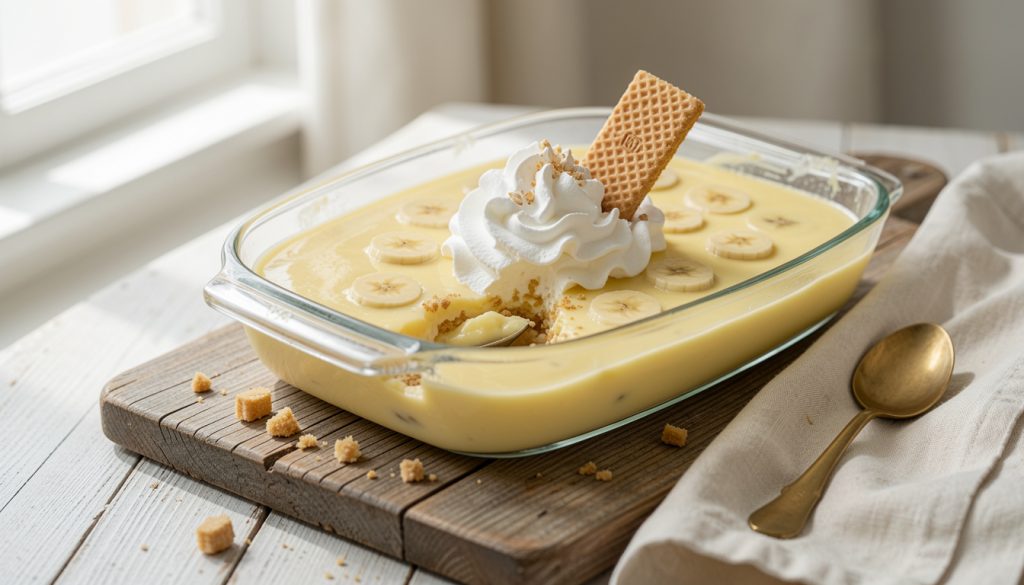

I burned my first pan of custard and wound up with runny banana pudding that puddled everywhere on the fork. I wanted thick, spoonable pudding that held layers instead of leaking into a puddle.
This guide shows you how to make banana pudding that sets up thick, not runny, in about 45 min active time plus chilling. Beginner friendly with one exacting step: tempering the custard. You will learn ingredient swaps, timing, and a failproof finish.
Banana pudding lives in the Southern comfort family: custardy, sweet, creamy, layered with vanilla wafers. Plan for about 1 hr total plus 3 to 4 hr chill. Lately I see 2025 trends leaning into retro desserts served in single jars and stabilized toppings for grab-and-go service, which is handy when you want firm layers that travel.
1. The Mise: Pick Bananas and Salted Vanilla Custard
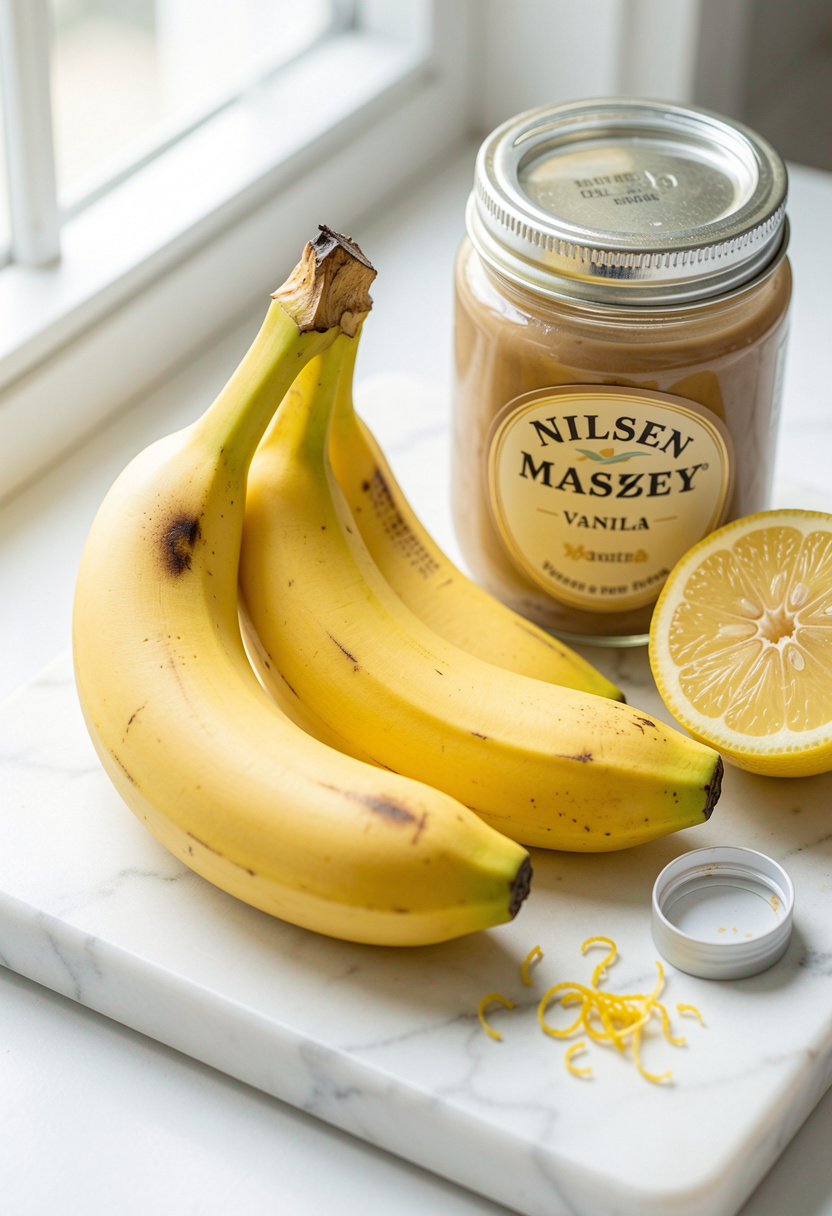

Ripeness matters. Choose bananas that are ripe with a few brown freckles but not a black mush. Too ripe bananas weep and thin layers.
For a custard that sets, I use whole milk plus a splash of heavy cream for silk and structure. Measure: 2 cups whole milk, 1/2 cup heavy cream, 1/2 cup sugar, pinch of kosher salt, and 1 tsp pure vanilla extract. I like Nielsen-Massey pure vanilla extract 2 oz around $8 to $14 for clean vanilla notes.
The thickener is cornstarch. Use a 2:1 egg yolk to cornstarch ratio for body: 3 large yolks to 3 tbsp cornstarch per batch. Bob's Red Mill cornstarch 16 oz around $4 to $7 is a reliable pick.
Mistake people make: adding too much milk. That dilutes the starch and leaves you runny. Keep the ratios and you get a custard that will cling to a spoon.
2. The Cook: Slow Heat, Temper, and Hit the Thickening Window
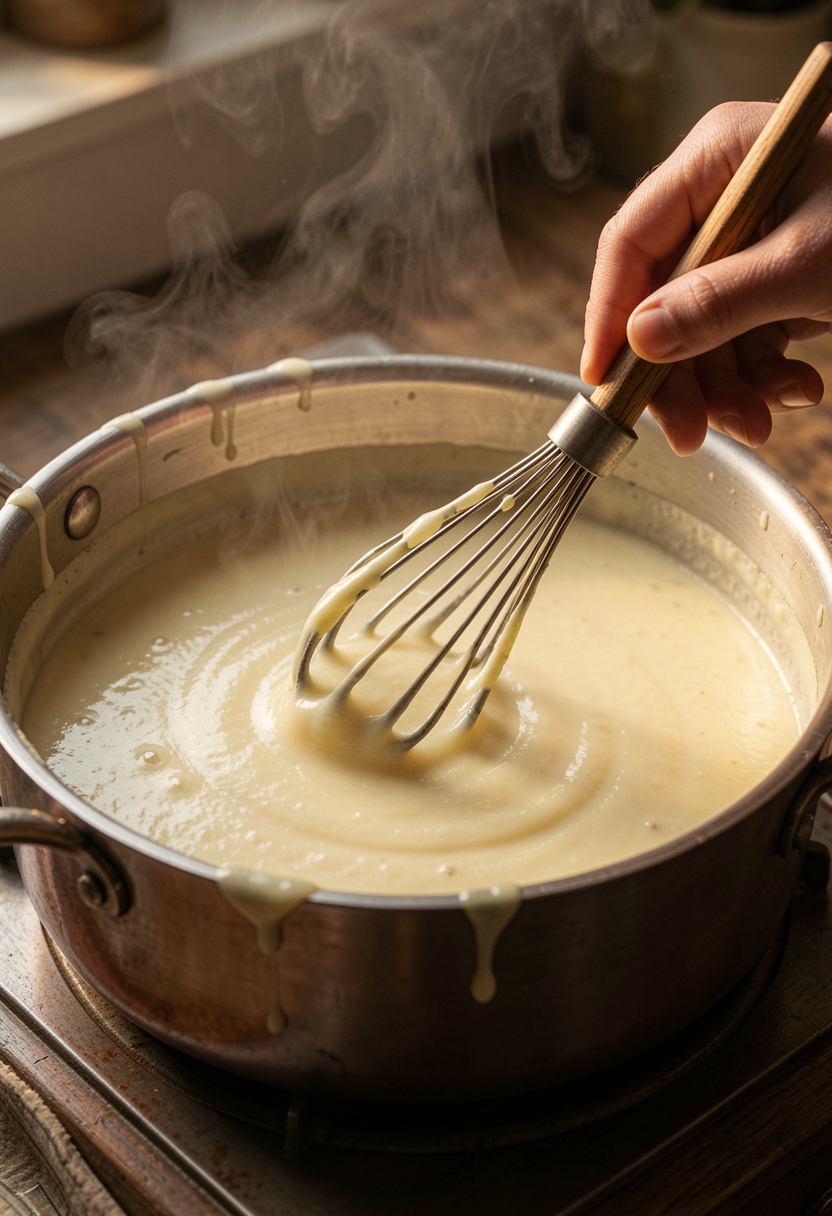

The trick is temperature control. Cornstarch gelatinizes in a temperature window (it starts thickening around 140°F and behaves fully by around 180°F), so bring your dairy slowly. King Arthur Flour notes that starches thicken across a range depending on concentration and heat.
Heat the milk and cream gently in a heavy-bottomed saucepan until steaming, 170°F to 180°F. Combine sugar and cornstarch dry, whisk into warm milk, then temper 3 beaten yolks by whisking hot liquid into the yolks slowly, then return everything to the pan.
Stir constantly over medium-low until the mixture thickens and just starts to bubble; cook 1 to 2 min more to cook out raw starch. Aim for 180°F on an instant-read thermometer around $12 to $30. This hits safety guidelines: eggs in custards should reach about 160°F, per USDA, for safety.
Common flub: rushing heat. High heat gives grainy, scrambled yolks. Keep it slow and whisk steady for glossy, thick custard.
3. The Layering: Protect Bananas, Build Structure
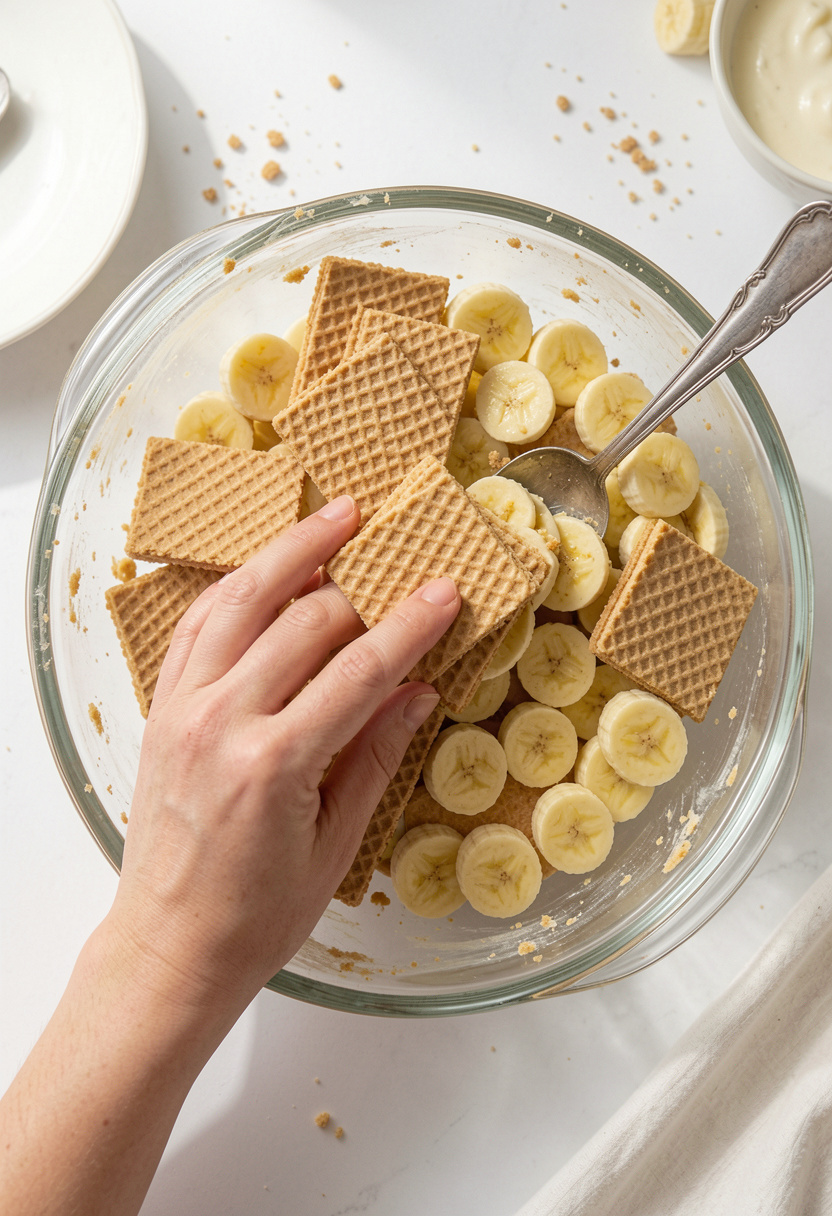

Banana juice is the enemy of crisp layers. Toss slices briefly with a teaspoon of lemon juice to slow browning and stop juices from pooling.
Layering order matters. Put a thin smear of custard on the bottom, then a single layer of wafers, a single layer of banana slices, then a thicker custard layer. Repeat, finishing with custard. Use Nilla Wafers 12 oz around $3 to $6 for the classic snap.
If you prefer firmer separation, brush wafers quickly with melted butter before layering to slow sogginess. A common mistake: stacking too many banana layers. Bananas collapse and weep. Keep bananas to one or two thin layers for each 9×13.
4. The Finish: Chill, Stabilize Topping, and Serve Firm
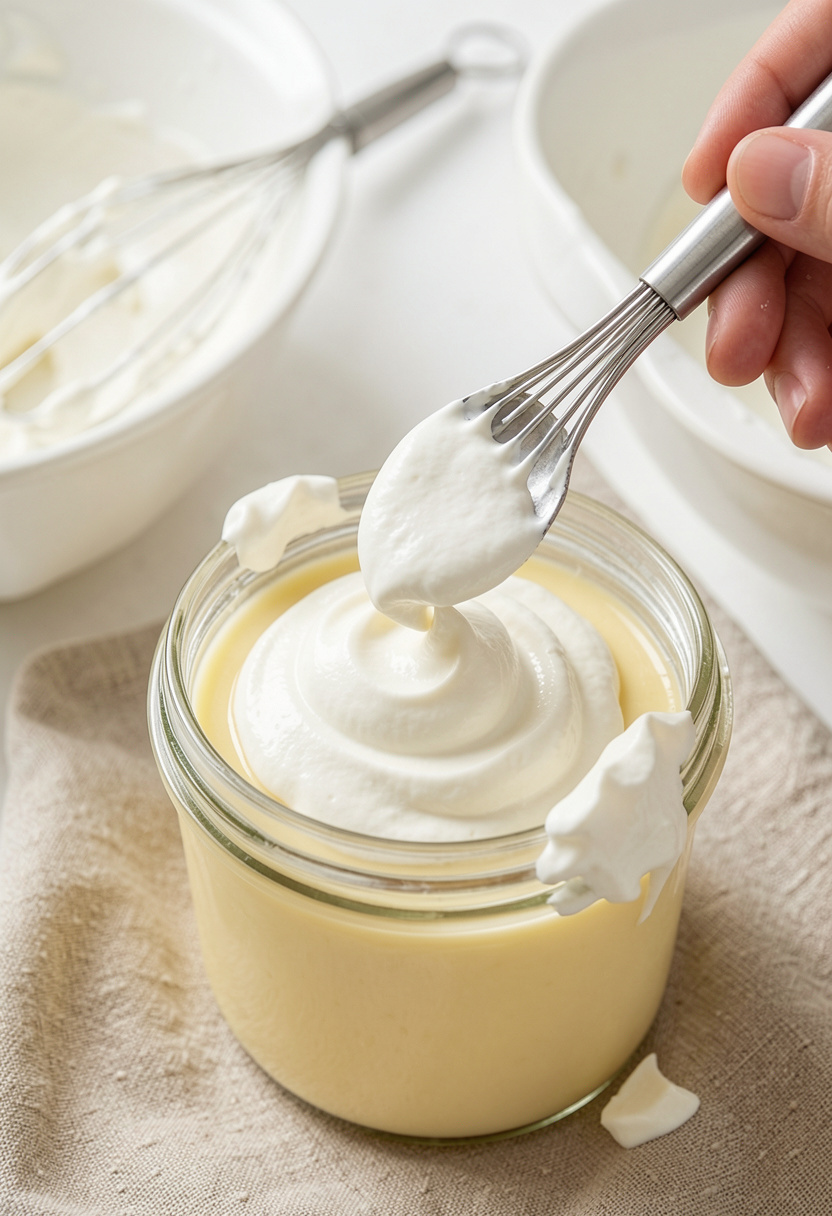

Chill is non-negotiable. Cool to room temp, cover and refrigerate at least 3 to 4 hr, preferably overnight. The starch network needs time to set and bind the liquid.
If you want an even firmer set for transport or jars, sprinkle 1 to 1.5 tsp powdered gelatin (bloom in 2 tbsp cold water, melt, and whisk into warm custard before cooling). I use Knox unflavored gelatin 6 pack around $3 to $6 for gentle stabilization.
Top with stabilized whipped cream: whip 1 cup heavy cream with 1 tbsp powdered sugar and 1 tsp gelatin solution for a topping that holds peaks. A hand mixer around $20 to $60 saves effort.
Ugly truth: store-bought instant pudding can seem thick out of the box but often becomes runny after layering because it lacks enough egg/thickener structure. Making a starch-and-yolk custard yields lasting thickness.
Common Cooking Mistakes to Avoid
Mistake: Overusing instant pudding mix
Why it doesn't work: Lacks egg-thickened structure so layers weep over time.
Do this instead: Make a cooked custard with yolks and Bob's Red Mill cornstarch 16 oz for stability.
Mistake: Slicing bananas too early and packing them in layers
Why it doesn't work: They release juice and make wafers soggy.
Do this instead: Slice just before assembling and toss with fresh lemon juice to slow weeping.
Mistake: Skipping the chill step
Why it doesn't work: Custard needs time to set; warm pudding is runny.
Do this instead: Refrigerate 3 to 4 hr or overnight in a covered 9×13 glass baking dish around $8 to $20.
What You'll Need to Make This
Pantry Staples
Granulated sugar 4 lb around $3 to $6
Diamond Crystal kosher salt 3 lb box around $5 to $8
Bob's Red Mill cornstarch 16 oz around $4 to $7
Specialty Ingredients
Nielsen-Massey pure vanilla extract 2 oz around $8 to $14
Nilla Wafers 12 oz around $3 to $6
Knox unflavored gelatin 6 pack around $3 to $6
Tools That Earn Their Counter Space
Instant-read thermometer around $12 to $30
9×13 glass baking dish around $8 to $20
Hand mixer around $20 to $60
Cookbooks Worth the Shelf
The Food Lab by J. Kenji López-Alt (price range $14 to $30)
Budget Swaps
Generic store-brand wafers usually half the price of name brand
Shopping Guide for This Recipe
Ripeness Rule: Buy bananas with some brown speckling; they will be sweet without weeping. Fresh bananas info.
Vanilla Matters: Use pure vanilla extract for depth; Nielsen-Massey 2 oz around $8 to $14.
Stabilizer Hack: If you need travel-friendly jars, add a small amount of gelatin; Knox gelatin 6 pack around $3 to $6.
Splurge vs Save: Splurge on good vanilla; save on wafers or use store-brand vanilla wafers around $1 to $3.
Conclusion
Start with a reliable custard stage; getting the temper and temperature right delivers the thick, spoonable texture you want. A small gelatin boost fixes travel needs but the real hold comes from cooked yolks plus cornstarch.
A final tip: cool the custard quickly over an ice bath to lock texture, then chill covered.
Will you try the yolk-and-starch custard first or add the gelatin for travel?