



How to decorate a cake at home used to make me spiral, mostly because my “piping bag” was a zip-top bag that burst like a sad water balloon five minutes before guests arrived.
This is the no-meltdown version: chill-first frosting, a crumb coat that stops the crumb drag, and finishes that look intentional even if your hands shake a little. Plan on 45 min hands-on decorating, plus chill time.
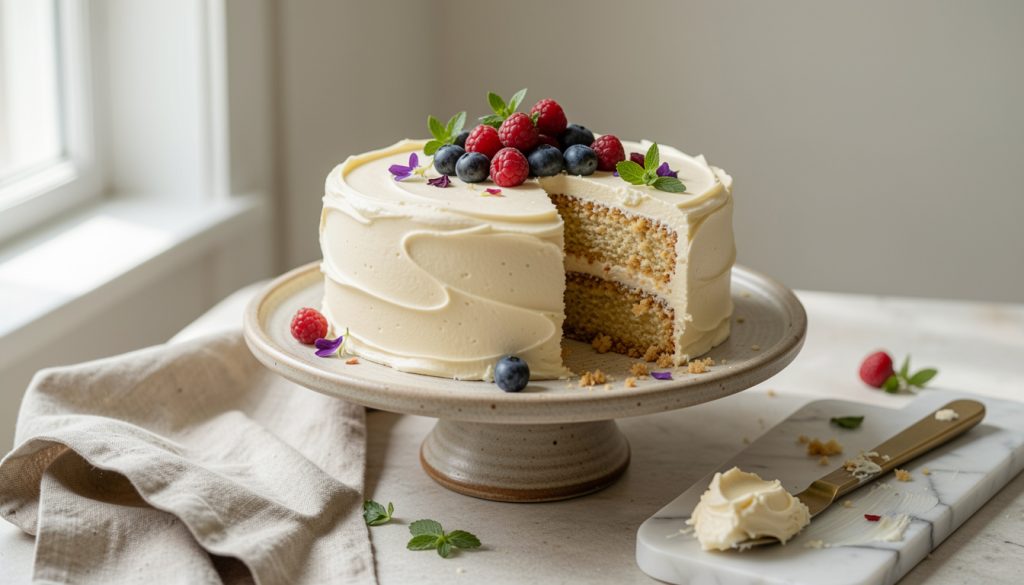
Vanilla buttercream cakes are the easiest training wheels here. The flavor is familiar (American celebration cake energy), the frosting is forgiving, and 2025 cake trends are finally on our side: rustic texture, fresh fruit, and no-piping “bakery-style” finishes that do not demand perfection.
If you can spread frosting and you own a spoon, you can pull this off.
1. Cold Cake, Calm Brain: Bake Ahead and Chill
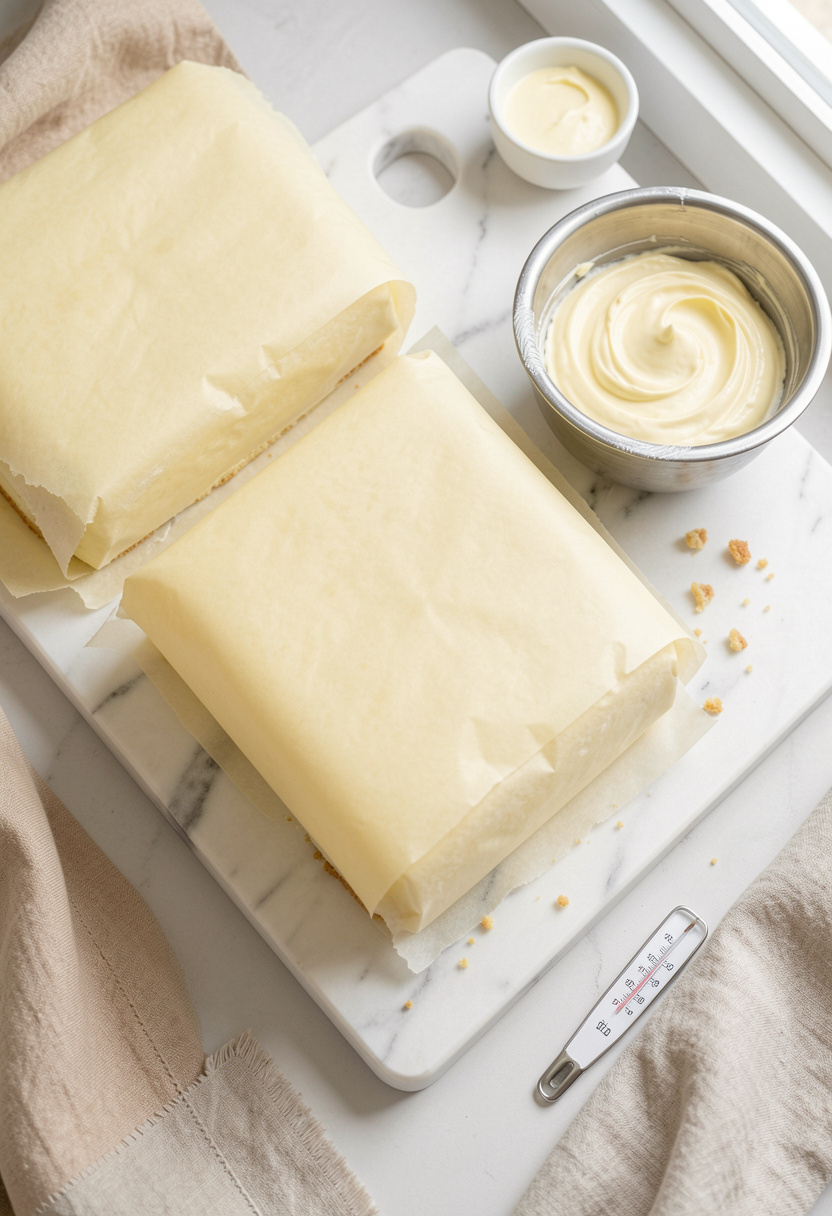

Warm cake is the start of every frosting disaster I have ever had. Buttercream melts, slides, turns stripey, then you keep “fixing” it until it looks worse.
So do this instead: bake your layers, cool 1 hr, then wrap and chill at least 2 hr (overnight is even better). Cold cake = clean edges when you level and frost. That’s temperature control, and it matters more than fancy tips.
While the layers chill, set out your buttercream and let it sit 10 min so it’s spreadable, not stiff. If it tastes flat, add a pinch of salt. I keep Diamond Crystal kosher salt 3 lb box around $5 to $8 because the crystals dissolve cleanly in frosting.
Tool-wise, an offset spatula 8 inch (about $8 to $20) is the first upgrade I felt instantly. For butter flavor that doesn’t taste oily, unsalted European-style butter (around $6 to $12) gives you a richer buttercream.
Mistake to skip: decorating “as soon as it’s cool-ish.” If the cake still feels even slightly warm in the center, wait, then chill.
2. Flat Layers, No Lean: Level and Stack Like a Builder
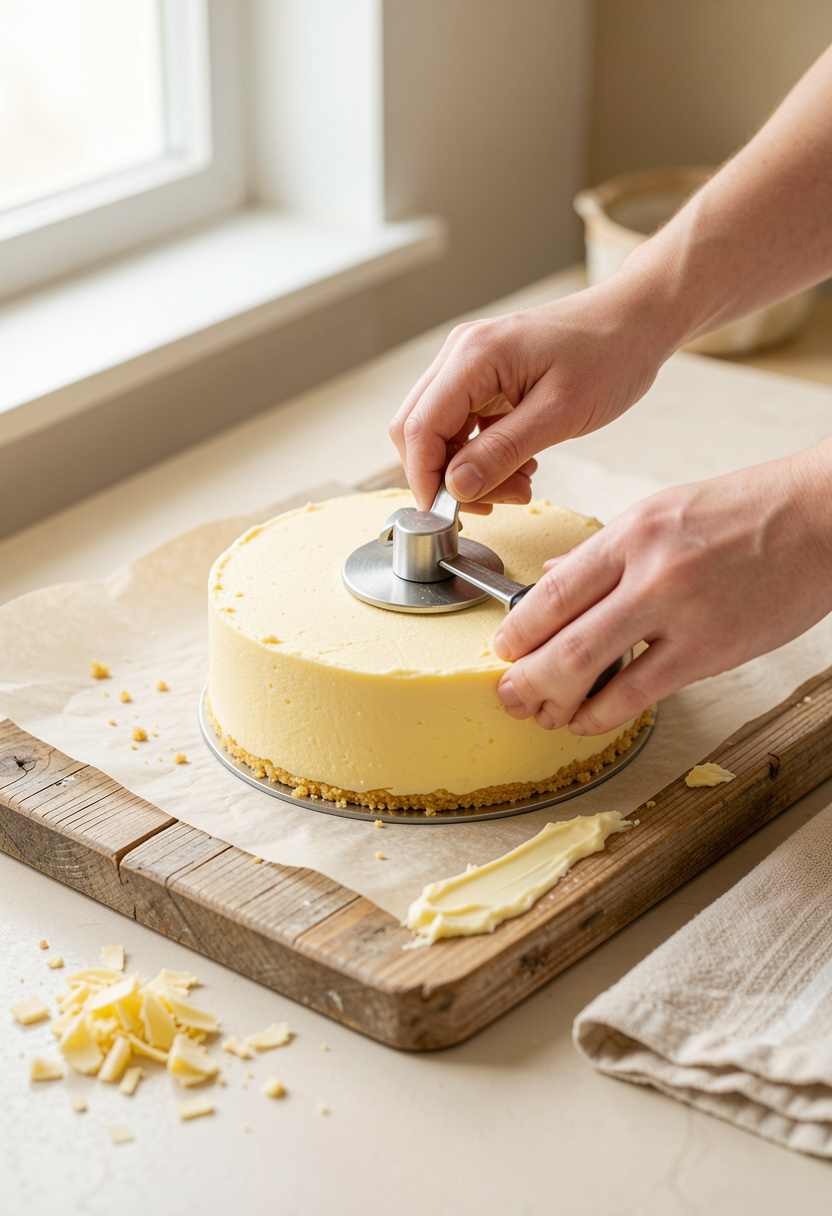

A leaning cake screams “home project” in the wrong way. The fix is boring and fast: level your layers before you even think about decoration.
Use a cake leveler wire cutter (around $7 to $20) or a serrated knife. Take off only the dome, not half the layer. You want uniform geometry so the frosting thickness stays even.
Stack on a board because moving a frosted cake with bare hands is chaos. A cake board 10 inch round (about $6 to $12) makes the whole job calmer. Smear a tablespoon of frosting on the board first so the cake doesn’t skate around.
For filling, aim for 1/3 to 1/2 cup buttercream per layer for an 8-inch cake. Spread it to the edge, then add a tiny extra ring around the outside if you want a neat “dam.” Press the next layer down gently until you feel it settle.
Mistake people make here: trying to fix a tilt with more frosting later. That only creates a lopsided cake with a thick, sweet side.
3. The Crumb Coat That Saves Your Sanity
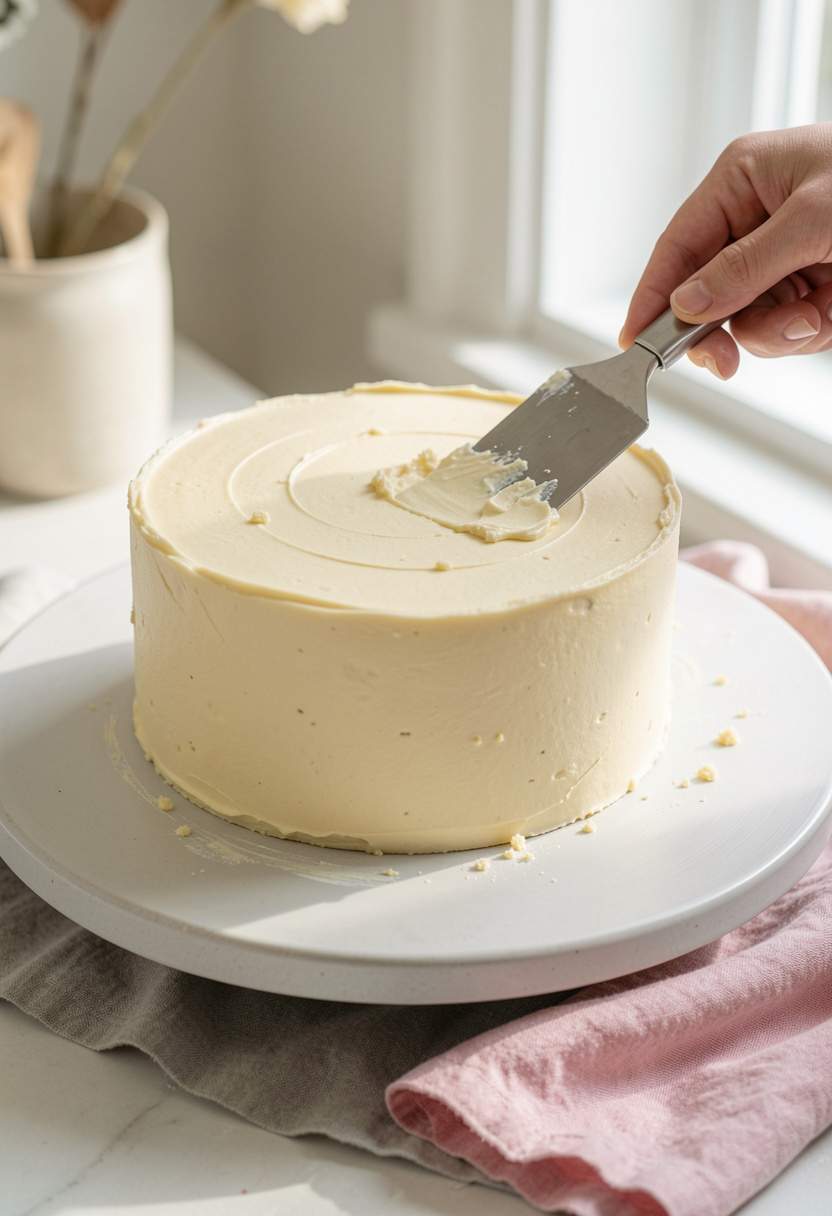

If you only learn one cake frosting technique, make it the crumb coat. It stops the frosting from dragging up crumbs and turning your final layer into a speckled mess.
Spread a thin, see-through layer of buttercream over the whole cake. Think “spackle,” not “final outfit.” Then chill 15 to 30 min until it feels firm to the touch. That is crumb-coat sealing, and it works because the cold butter in the frosting sets and locks crumbs in place.
A cake turntable rotating stand (around $15 to $40) makes this feel almost unfairly easy. Spin with one hand, smooth with the other. For scraping, a bench scraper stainless steel (about $6 to $18) is the clean-edge hero.
Flavor note: don’t forget vanilla. A good pure vanilla extract 2 oz (around $6 to $15) keeps American buttercream from tasting like sweetened butter.
Mistake to skip: making the crumb coat thick because it looks ugly. Ugly is fine here. Cold and thin is the point.
4. Final Coat, Then Pick a Finish That Forgives
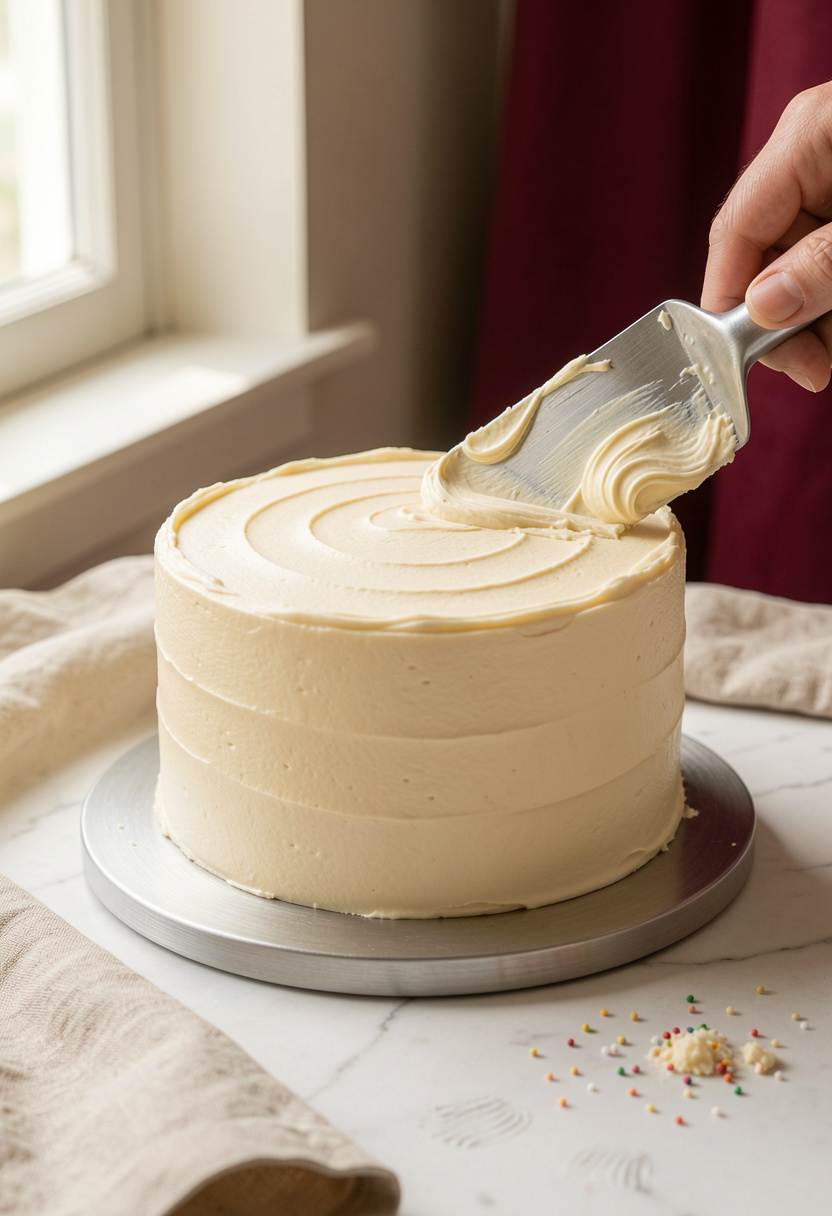

Now the fun part: the final coat. Add a generous layer of buttercream, then smooth. The chilled crumb coat underneath lets your scraper shear cleanly instead of smearing.
For smooth-ish sides, hold the bench scraper stainless steel vertical and spin the turntable. For the top, use the offset spatula 8 inch and pull frosting toward the center, then clean the lip.
Here’s the honest part: perfectly smooth cakes are overrated for home bakers. Every tiny wobble shows. When I’m short on time after work, I go rustic on purpose.
Two easy cake decorating ideas that hide everything:
- Spoon swirls: press the back of a spoon into the buttercream and rotate in loose circles.
- Comb-free ridges: drag the edge of your scraper lightly to create intentional lines.
Mistake people make: warming the frosting until it goes glossy and loose. If it slumps, chill the bowl 10 min, then re-whip.
5. No Piping Bag Meltdown: Three Finishes That Always Work
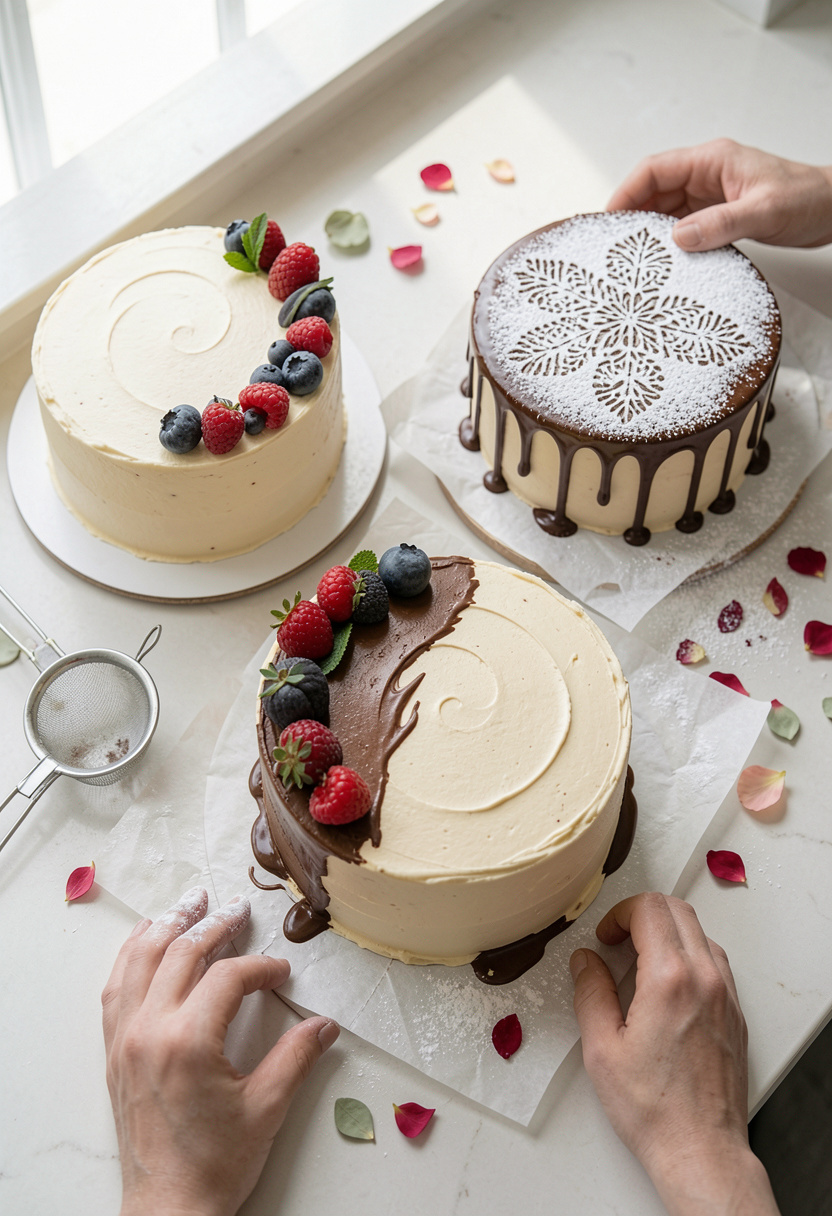

If piping stresses you out, skip it. Or fake it with bigger, easier tools.
Option A: Fruit corner (my default). Pat berries dry, then cluster them off-center. Strawberries, raspberries, even sliced kiwi work. If you want the “fresh fruit cake decoration” look, add a few fresh edible flowers food safe (around $12 to $25). Visual balance is the principle: one bold area looks planned.
Option B: Powdered sugar stencil (under-used and so clean). Chill the cake 10 min so the top is firm. Lay a paper doily or stencil, then dust with a fine mesh strainer for powdered sugar (about $7 to $15) and powdered sugar 2 lb bag (around $2 to $6). Lift straight up. No smears.
Option C: Chocolate drip (the fastest “wow”). Warm cream, pour over chopped chocolate, rest 2 min, stir. Cool to about 90°F so it drips slowly, not floods. If you want a shortcut, chocolate ganache drip mix (around $8 to $18) is handy.
Mistake to skip: random topping chaos. Pick one finish, then stop.
Common Cooking Mistakes to Avoid
Mistake: Frosting before the cake is cold
Why it doesn't work: Warm cake melts fat-based frosting and causes sliding.
Do this instead: Chill layers on a parchment paper rolls lined tray so they cool fast and clean.
Mistake: Skipping the crumb coat
Why it doesn't work: Loose crumbs streak into your final frosting layer.
Do this instead: Do a thin coat, then chill on a cake turntable rotating stand so smoothing stays controlled.
Mistake: Using frosting that is too soft to hold shape
Why it doesn't work: Soft buttercream slumps and won’t keep edges or texture.
Do this instead: Re-whip with cooler butter, like unsalted European-style butter, then chill 10 min.
Mistake: Starting with tiny intricate piping
Why it doesn't work: Fine tips show every shake and clog easily.
Do this instead: Practice big swirls first with a Wilton 1M open star tip.
What You'll Need to Make This
Pantry Staples
Diamond Crystal kosher salt 3 lb box around $5 to $8
Pure vanilla extract 2 oz around $6 to $15
Powdered sugar 2 lb bag around $2 to $6
Specialty Ingredients
Fresh edible flowers food safe around $12 to $25
Food-grade pressed flowers for cake decorating around $10 to $20
Chocolate ganache drip mix around $8 to $18
Tools That Earn Their Counter Space
Offset spatula 8 inch around $8 to $20
Bench scraper stainless steel around $6 to $18
Cake leveler wire cutter around $7 to $20
Cookbooks Worth the Shelf
The Cake Bible by Rose Levy Beranbaum around $15 to $30
Baking Bible by Rose Levy Beranbaum around $16 to $32
Budget Swaps
Piping bag reusable cloth around $8 to $18 (or a zip-top bag with a small corner snipped)
Maldon flaky sea salt 8.5 oz around $8 to $12 (save if you already have kosher salt, splurge if you love a salty finish)
Shopping Guide for This Recipe
Tool hierarchy that matters: If you buy only one, make it the offset spatula 8 inch (about $8 to $20). It fixes more frosting problems than tips do.
Splurge vs save butter: Splurge for flavor in the frosting with unsalted European-style butter (around $6 to $12), save on everything else.
Seasonal garnish move: In peak berry season, top with fresh fruit and skip piping. Grab fresh edible flowers food safe (around $12 to $25) when you want the party-cake look fast.
2025 trend shortcut: Rustic cake decoration is back. Use a bench scraper stainless steel (about $6 to $18) to pull intentional ridges instead of chasing perfect smooth sides.
Out-of-powdered-sugar save: If you’re low, stencil lighter and more delicately. A fine mesh strainer for powdered sugar (about $7 to $15) makes even a small amount look even.
Conclusion
If you’re learning how to decorate a cake at home, start with the crumb coat and chill. That one step solves the crumb drag, the streaks, and most of the panic.
Then pick a finish that fits your mood. Spoon swirls for cozy, berries for bright, stencil for clean lines.
Will you go fruit-topped, powdered sugar stencil, or chocolate drip first?