


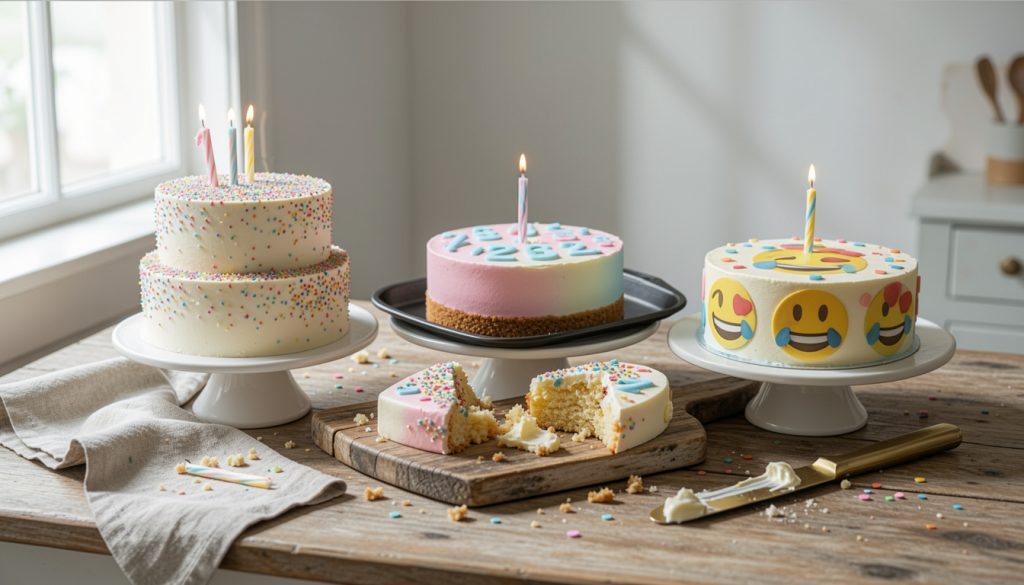

Simple cake designs for kids at home are my favorite kind of baking because the goal is “cute and confident,” not “stress spiral at 11 p.m.” I’ve done the fondant thing once, hated every sticky minute, and the kids still peeled it off and ate the buttercream. So here are 11 simple kids cake ideas that look party-ready with basic pans, chill time, and sprinkles doing most of the work.
Most of these are beginner cake decorating friendly and land in the 1 hr 30 min to 3 hr window (cooling is the real timeline). A couple push into weekend mode if you do layers or ganache. Pinterest Predicts 2025 keeps pointing at easy, personalized celebration food, and yep, templates and decorating stations are exactly where my sanity lives now.
1. Sheet-Pan Number Cake With Sprinkle Border
Time: 2 hr 30 min | Difficulty: Easy | Best For: Milestone birthdays | Diet: Vegetarian
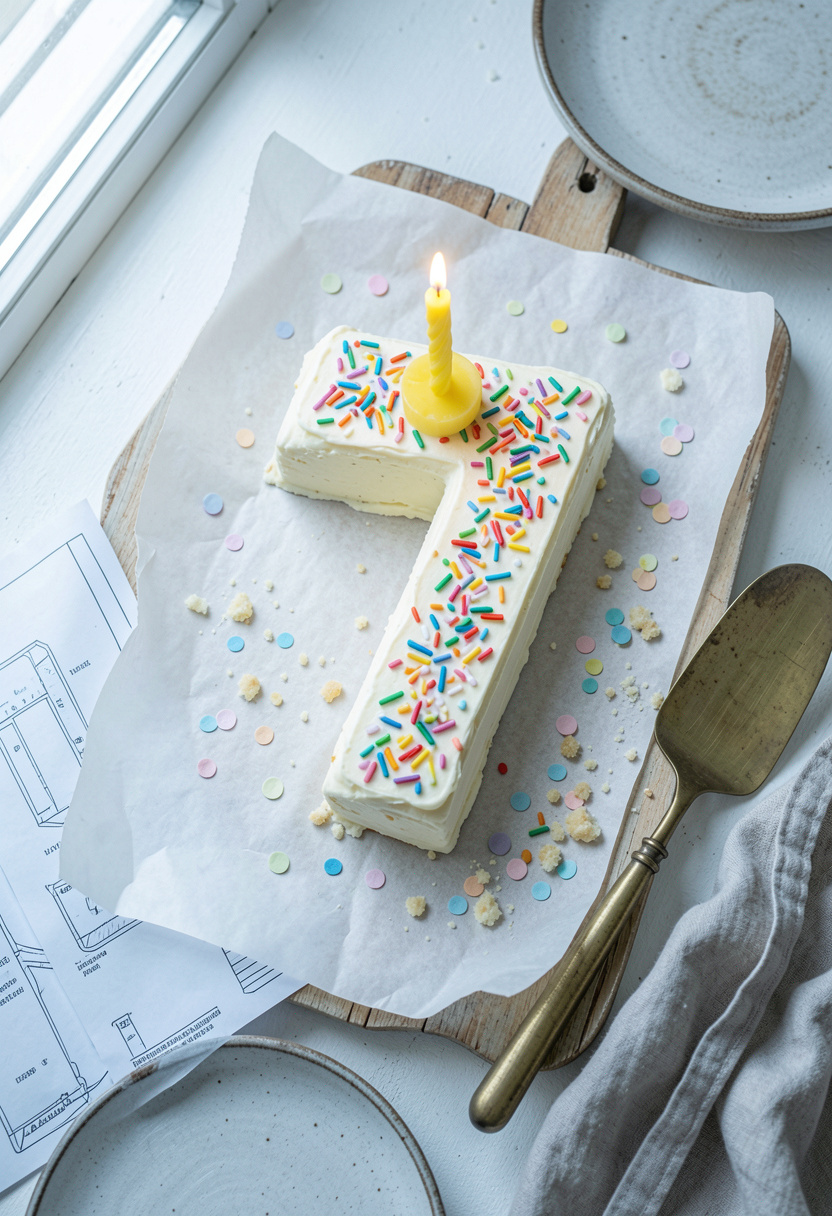

Cutting a number out of a boring sheet cake is the highest payoff trick I know. The first time I tried freehand, my “3” looked like a question mark, so now I always use a template and a serrated cake knife.
Ingredients:
- 1 boxed cake mix or 1 sheet cake batch, baked in 9×13-in pan
- 3 cups vanilla buttercream (add a pinch of salt)
- 1 cup rainbow sprinkles 10 oz
- Parchment paper for template
Steps:
- Bake and cool completely, then chill the cake 30 min so it cuts clean (warm cake = crumble city).
- Trace your number on parchment, place on cake, and cut slowly with a serrated knife.
- Crumb coat, chill 20 min, then frost and press sprinkles around the sides while the frosting is firm, not soft.
Shop this recipe:
2. Emoji Stencil Cake (Clean Lines, No Skills)
Time: 2 hr 45 min | Difficulty: Easy | Best For: School friends party | Diet: Vegetarian
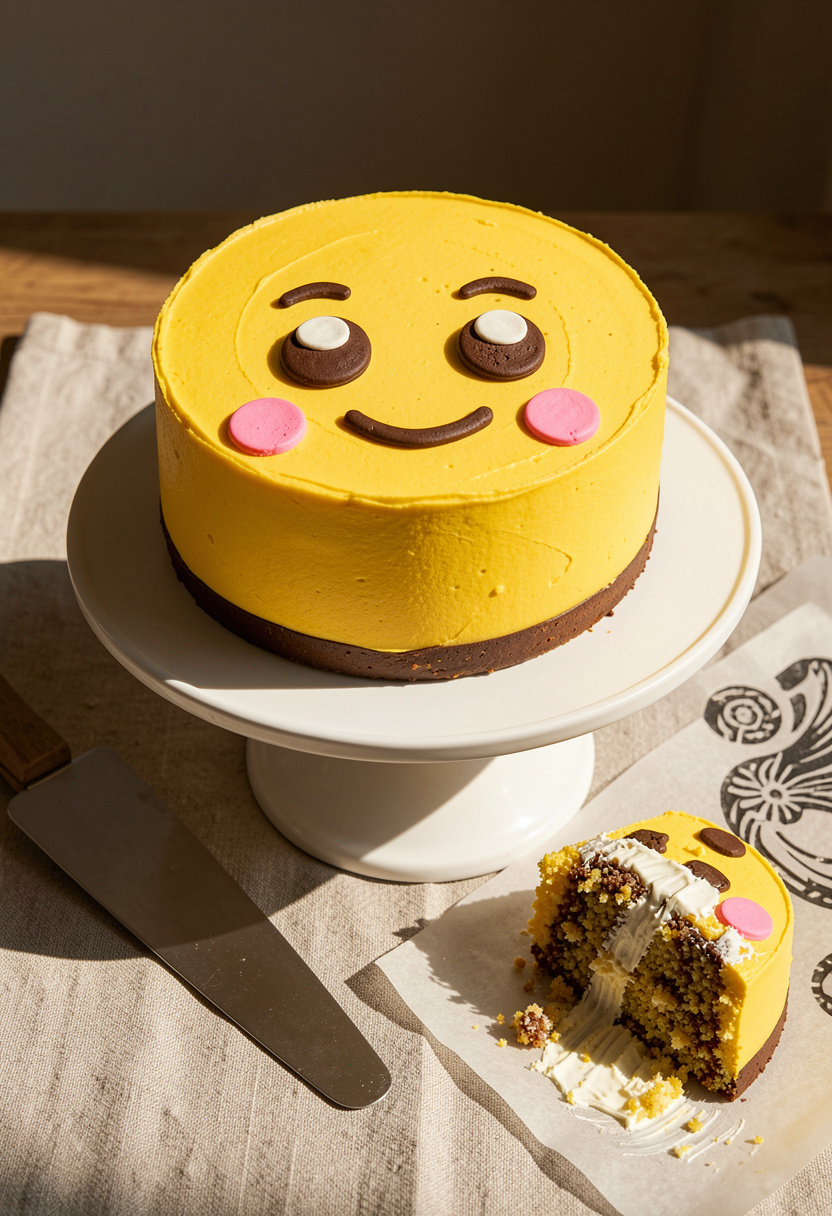

Nobody talks about stencil cakes for kids, but they’re weirdly foolproof if you chill first. Use a thin stencil cut from parchment and smooth the details with an offset spatula 8 inch.
Ingredients:
- 1 cooled 8-in round cake, frosted smoothly
- 2 cups buttercream, divided
- 1 gel food coloring set
- Parchment paper stencil (emoji face + eyes/mouth)
Steps:
- Frost cake, then chill 45 min so the surface is firm enough to stencil cleanly.
- Lay stencil on top, spread colored buttercream thinly, then lift straight up (do not slide it).
- Add eyes and mouth with a small spatula or spoon. If it’s messy, chill 10 min and tidy edges with a warm knife.
Shop this recipe:
3. Classic Sprinkle-Frosted Birthday Cake (Fast Win)
Time: 2 hr | Difficulty: Easy | Best For: Weeknight parties | Diet: Vegetarian
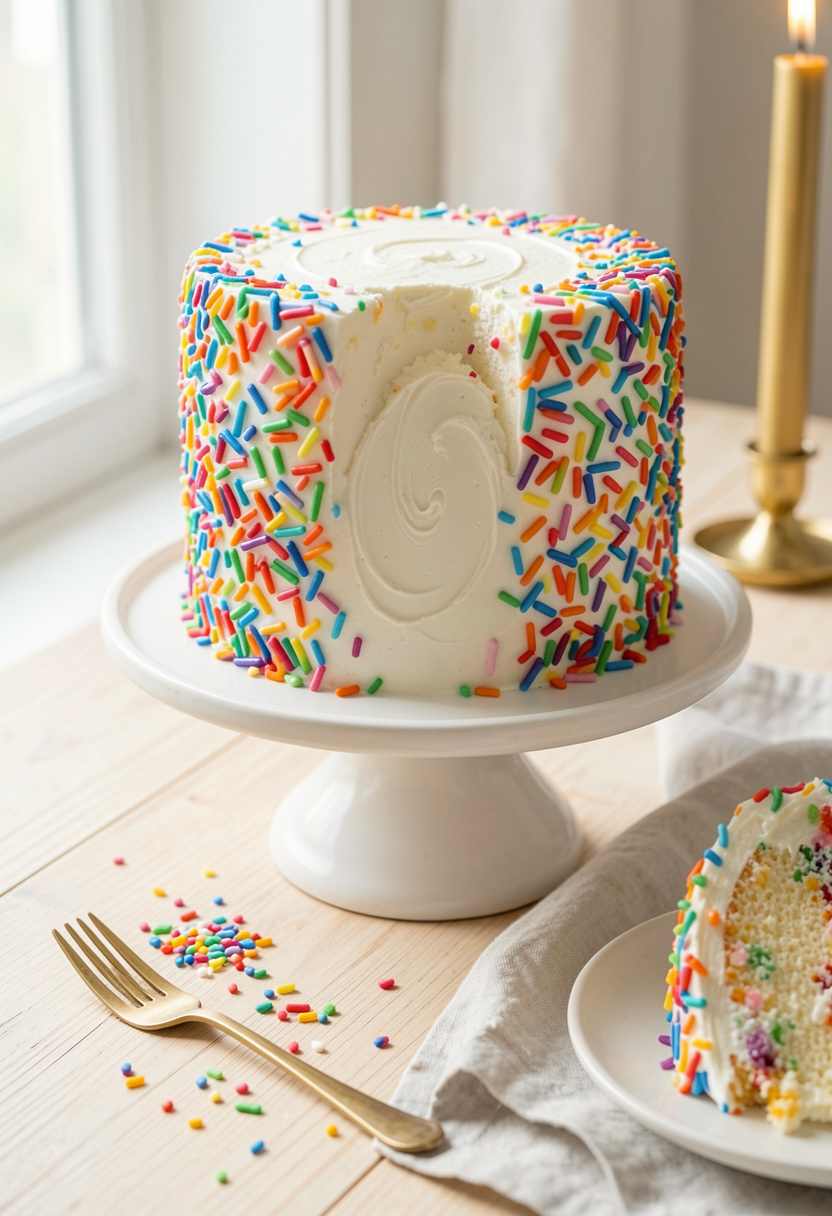

This is my “I forgot we said yes to cupcakes” backup plan. The trick is flavoring the frosting so it doesn’t taste like straight sugar: real vanilla plus salt. I keep pure vanilla extract 2 oz in the back of the pantry like it’s emergency supplies.
Ingredients:
- 2 cooled 8-in cake layers (vanilla or chocolate)
- 3 to 4 cups buttercream
- 1 tsp vanilla + 1 pinch fine salt
- 1 cup rainbow sprinkles 10 oz
Steps:
- Stack and crumb coat, then chill 20 min (skipping this is why sprinkles look muddy).
- Frost with swirls, not “perfect smooth.” Texture hides everything.
- Press sprinkles onto the sides over a sheet pan for easy cleanup.
Shop this recipe:
4. Heart-Shaped Cake From Two Round Layers
Time: 2 hr 30 min | Difficulty: Easy | Best For: “Fancy” kid birthdays | Diet: Vegetarian
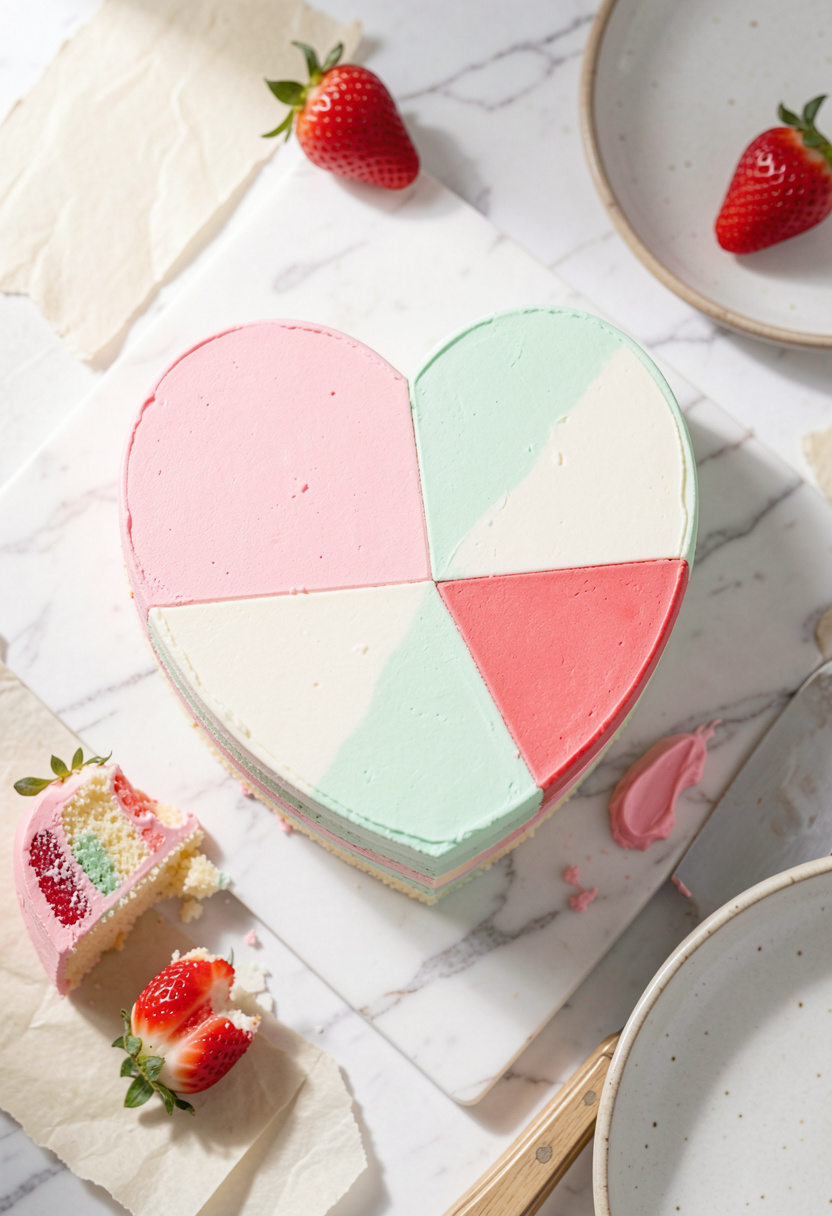

No heart pan needed, just geometry and patience. I learned the hard way that cutting warm cake makes the heart look like a deflated balloon, so chill first. A wire cooling rack helps you cool fast and evenly.
Ingredients:
- 2 cooled 8-in round cakes
- 3 cups buttercream (tint pink if you want)
- 1/3 cup jam (strawberry is kid-proof)
- Serrated knife
Steps:
- Chill layers 30 min, then cut one cake in half to form the heart curves.
- Arrange on board: one whole round + two halves on top to make the point.
- Fill with jam, crumb coat, chill 20 min, then finish frosting with rustic swirls.
Shop this recipe:
5. Rainbow Layer Cake (Thin Layers, Big Reveal)
Time: 3 hr 45 min | Difficulty: Medium | Best For: Weekend baking | Diet: Vegetarian
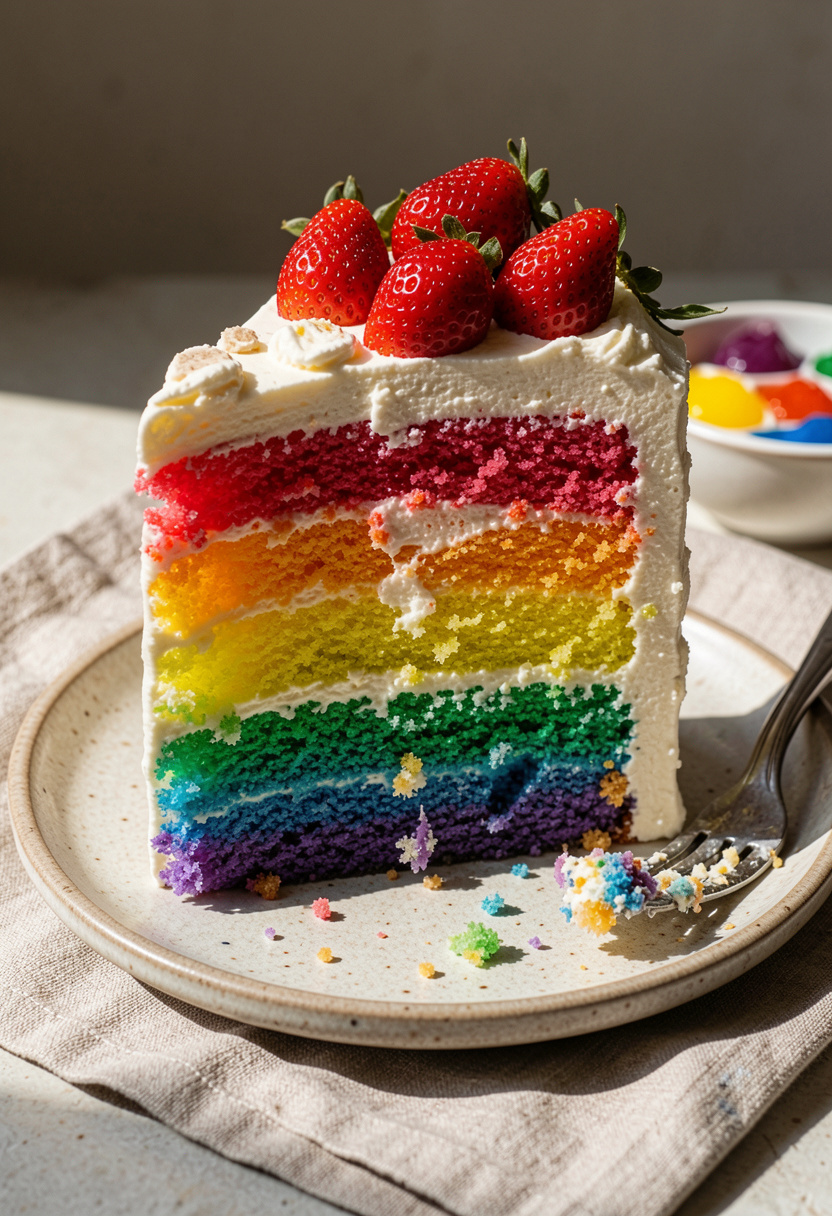

This one looks like you have your life together. The reality is it’s just tinted batter and thin layers. Use gel colors so you don’t water down the batter, and I swear by a gel food coloring set for punchy color.
Ingredients:
- Vanilla batter for 6 thin 6-in layers (or 3 thicker 8-in layers)
- Gel colors (rainbow)
- 4 cups buttercream
- Pinch of salt in frosting
Steps:
- Bake thin layers at 350°F for 10 to 14 min each, just until a toothpick comes out clean.
- Cool fully, then chill 30 min before stacking (warm layers = sliding tower).
- Frost simply. The inside is the “wow,” so don’t overdecorate the outside.
Shop this recipe:
6. Chocolate Drip Cake With Mini Donuts
Time: 3 hr 15 min | Difficulty: Medium | Best For: “Bakery look” at home | Diet: Vegetarian
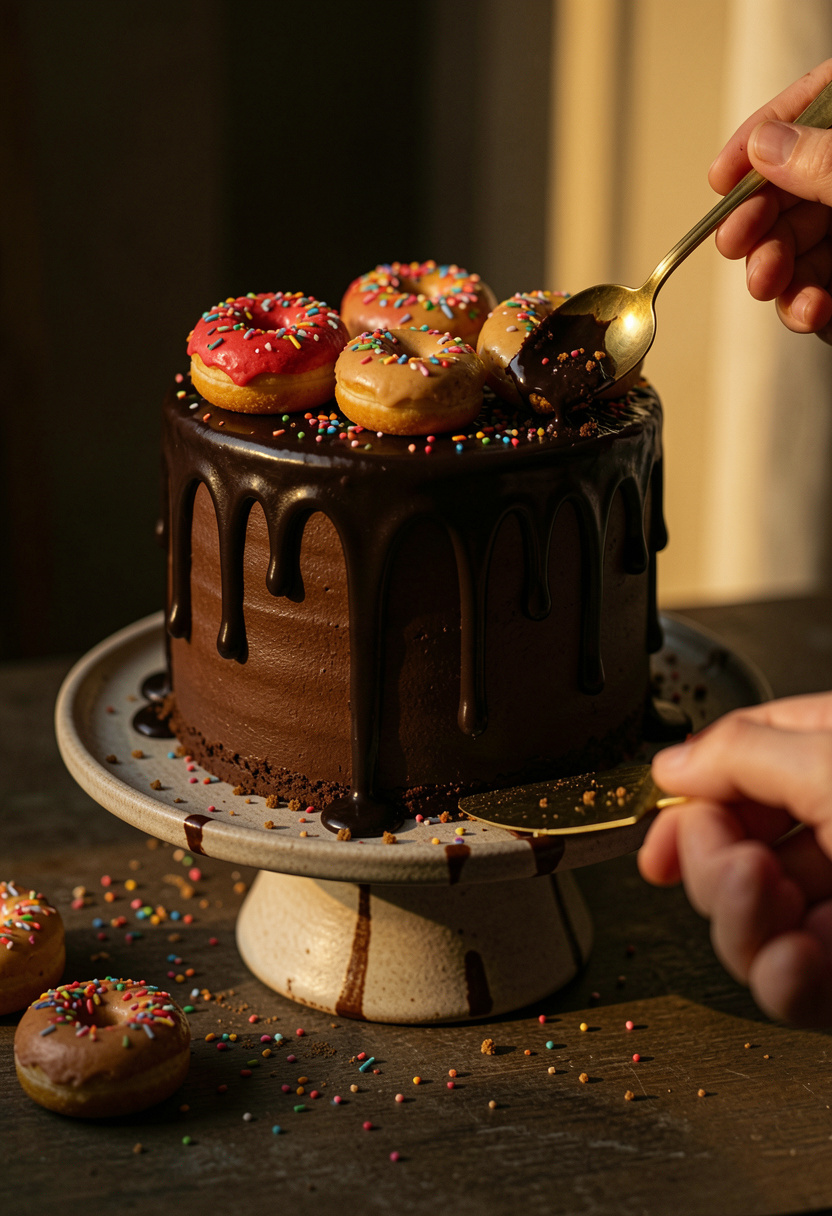

Ugly truth: drip cakes fail when the ganache is too hot. I’ve watched it slide right off like a chocolate waterfall into sadness. Chill the frosted cake, then drip with slightly cooled ganache using a squeeze bottle or spoon.
Ingredients:
- 1 frosted 8-in cake (chilled)
- 1 cup chocolate chips
- 1/2 cup heavy cream
- Mini donuts + sprinkles
Steps:
- Chill frosted cake 30 min so the drip sets fast.
- Heat cream until steaming, pour over chips, rest 2 min, stir glossy, then cool 10 min.
- Drip around edges first, then fill the top. Add donuts only after the drip is set 10 min.
Shop this recipe:
7. Candy-Eye Animal Face Cake (Kids Decorate It)
Time: 2 hr 15 min | Difficulty: Easy | Best For: Little kids helping | Diet: Vegetarian
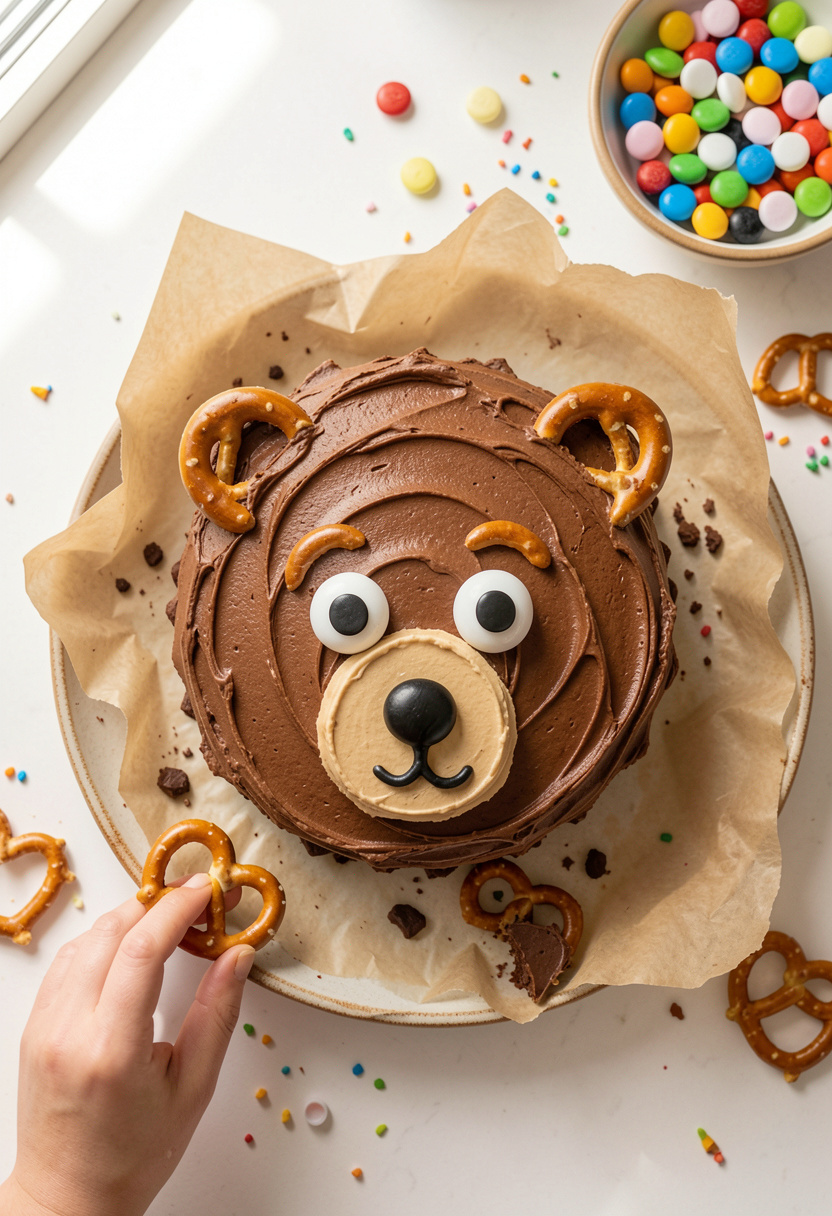

This is the cake I make when I want kids busy and not underfoot while I’m trying to clean the kitchen. Candy eyes do all the facial-expression work. Grab a candy eyes decorating pack and suddenly you’re an artist.
Ingredients:
- 1 frosted round cake (chocolate or vanilla)
- 1 pack candy eyes
- Pretzels or cookies for ears/horns
- Chocolate chips for nose, optional
Steps:
- Frost the cake, then chill 20 min so decorations don’t slide.
- Place eyes first, then nose, then ears. Start with the face centered, not too high.
- If something slips, wipe the spot clean, chill 5 min, and try again on firmer frosting.
Shop this recipe:
8. Chocolate-Finger Border Cake (Zero Piping)
Time: 2 hr 30 min | Difficulty: Easy | Best For: No-fail decorating | Diet: Vegetarian
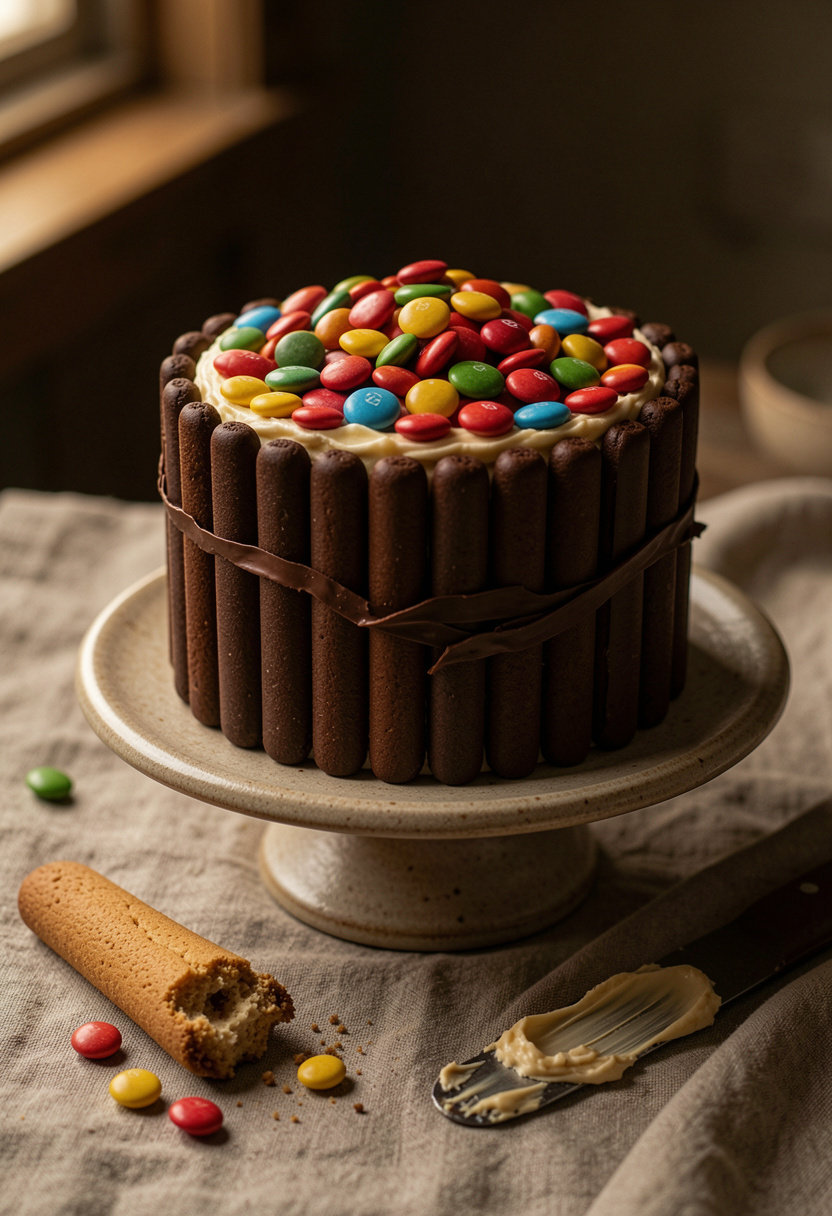

This looks like you tried. You did not. That’s the point. The only requirement is firm frosting so the biscuits stick, so chill the frosted cake before wrapping with chocolate fingers biscuits.
Ingredients:
- 1 frosted 8-in round cake
- 2 to 3 packs chocolate fingers
- Smarties or similar candy for the top
- Ribbon (optional) to tie around
Steps:
- Chill frosted cake 30 min so the sides are sturdy.
- Press chocolate fingers around the cake, cut pieces to fit gaps.
- Pile candy on top right before serving so colors don’t bleed.
Shop this recipe:
9. DIY Decorate-a-Slice Cake Party Board
Time: 1 hr 45 min | Difficulty: Easy | Best For: Parties with activities | Diet: Vegetarian
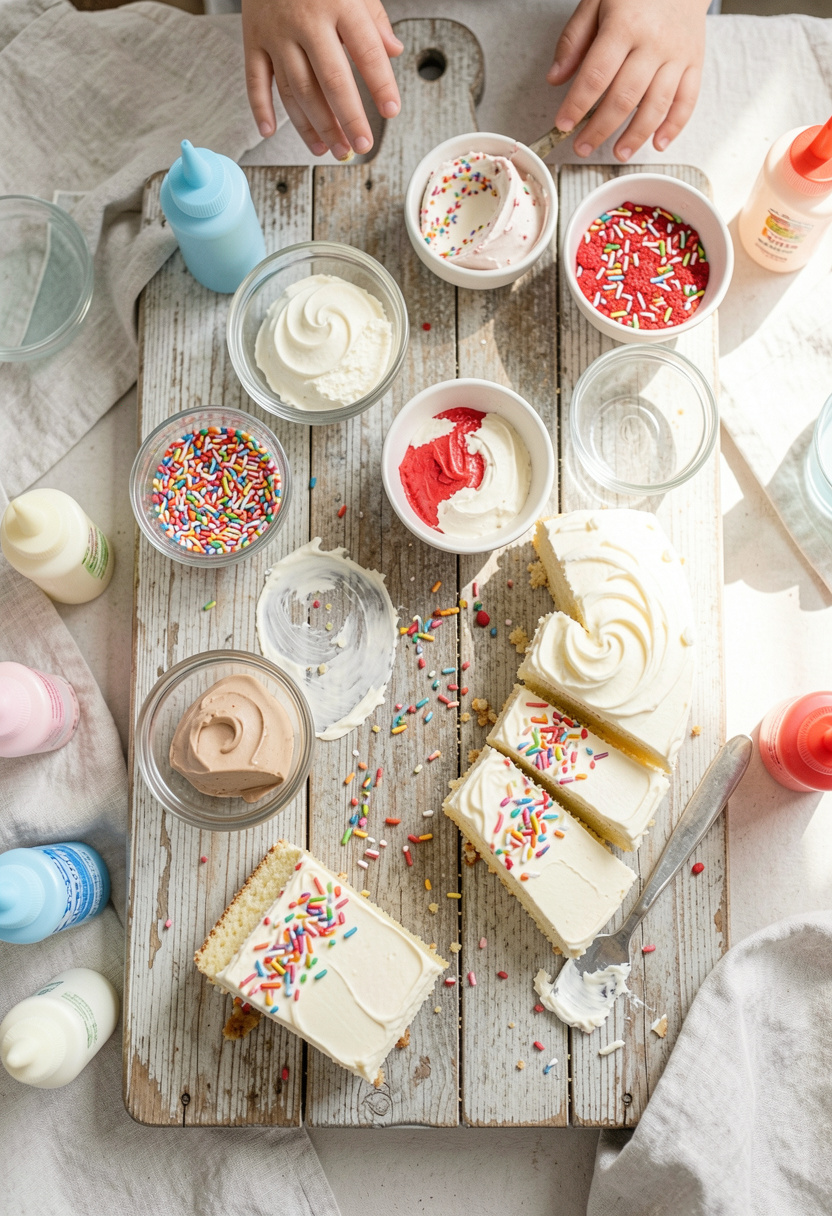

This saved me at a chaotic family party when I realized I did not want to be the on-call cake slicer. Pre-slice, set out toppings, and let every kid make their own “masterpiece.” Squeeze bottles filled with tinted frosting are the secret weapon.
Ingredients:
- 1 sheet cake, cut into rectangles
- 3 cups buttercream, tinted (2 to 3 colors)
- Sprinkles, mini chocolate chips, berries, candy
- Paper plates + napkins
Steps:
- Bake, cool, and slice cake, then cover tightly and chill up to overnight.
- Set out toppings in bowls and frosting in squeeze bottles. Keep it to 6 toppings max or it gets chaotic.
- Tell kids: frosting first, toppings second. Otherwise everything bounces off.
Shop this recipe:
10. Mini Birthday Cakes With Chocolate Dip
Time: 2 hr 10 min | Difficulty: Easy | Best For: Small parties | Diet: Vegetarian
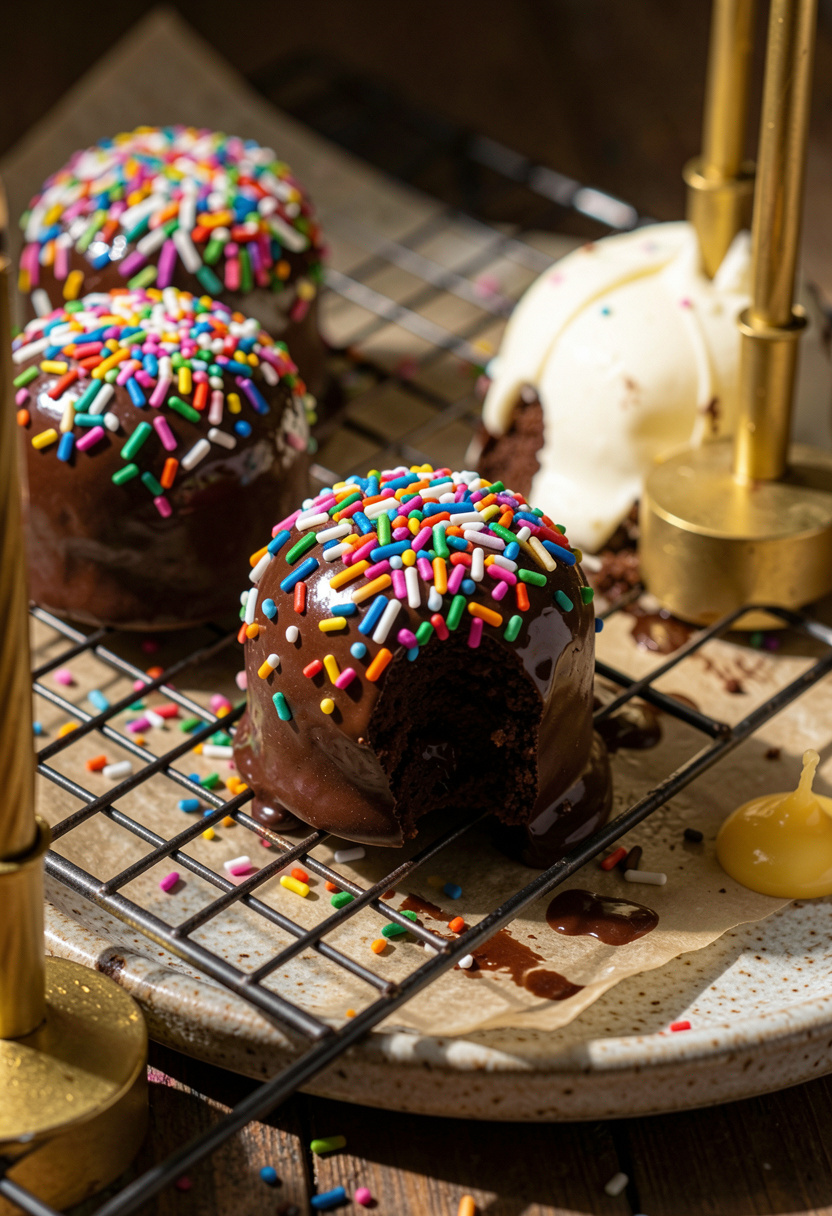

Mini cakes feel special and solve the “how do I cut clean slices while kids run laps” problem. Use a biscuit cutter, dip in chocolate, and boom: individual birthday cake at home energy.
Ingredients:
- 1 sheet cake or cake scraps
- 1 to 2 cups buttercream (thin layer)
- 1 cup chocolate chips, melted
- Sprinkles + candles
Steps:
- Cut rounds, stack 2 pieces with a little frosting, then chill 20 min to firm.
- Dip halfway into melted chocolate, let excess drip off, then roll in sprinkles.
- Set on parchment and chill 15 min until the chocolate shell is firm.
Shop this recipe:
11. Fresh Fruit and Cream “No Heavy Frosting” Cake
Time: 2 hr 20 min | Difficulty: Easy | Best For: Spring and summer birthdays | Diet: Vegetarian
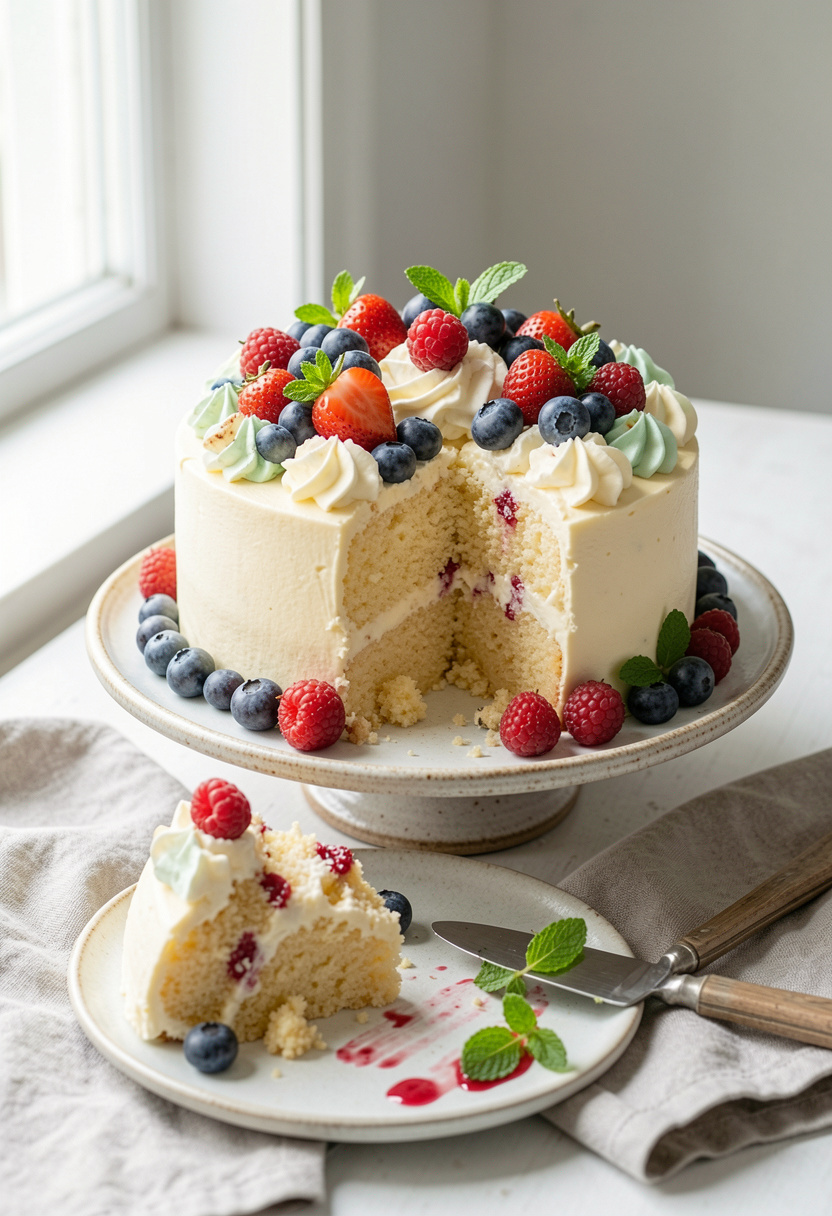

When the party already has candy everywhere, this is the one that actually tastes balanced. Use berries from Whole Foods if you want the pretty ones, or Costco if you need volume. A pinch of salt in the whipped cream keeps it from tasting flat.
Ingredients:
- 1 vanilla cake (8-in round or 9×13)
- 2 cups heavy cream, cold
- 1/3 cup powdered sugar
- 2 cups mixed berries
Steps:
- Whip cold cream to medium peaks, then sweeten and add a tiny pinch of salt.
- Spread on cooled cake and pile berries on top right before serving.
- Make-ahead tip: bake cake the day before, but add cream and fruit day-of so it stays fresh.
Shop this recipe:
What You'll Need to Make These
Pantry Staples
- All-purpose flour 5 lb bag around $4 to $9
- Powdered sugar 2 lb bag around $3 to $7
- Pure vanilla extract 2 oz around $6 to $15
- Fine sea salt around $3 to $9
Specialty Ingredients
- Gel food coloring set around $7 to $18
- Rainbow sprinkles 10 oz around $6 to $15
- Candy eyes decorating pack around $4 to $10
Tools That Earn Their Counter Space
- Offset spatula 8 inch around $6 to $14
- Serrated cake knife around $10 to $25
- Wire cooling rack around $10 to $22
Cookbooks Worth the Shelf
- Sally's Baking Addiction cookbook (price range $15 to $30)
- The Baking Bible by Rose Levy Beranbaum (price range $18 to $35)
Budget Swaps
- Hand mixer with beaters around $18 to $45 (skip the stand mixer if you’re only making one cake)
- Parchment paper rolls around $7 to $18 (cheaper at Costco if you bake a lot)
Cooking Tips for These Recipes
Chill Before You Decorate: If frosting is sliding, the cake is too warm. Chill layers 30 min and crumb coat first. A wire cooling rack speeds up cooling and prevents soggy bottoms (around $10 to $22).
Crumb Coat = Cleaner Finish: A thin first coat traps crumbs so your final coat stays bright. Use an offset spatula 8 inch (around $6 to $14).
Gel Color Over Liquid Color: Liquid dye can thin frosting and make it runny for stencils. A gel food coloring set gives strong color with less mess (around $7 to $18).
Texture Beats “Perfect Smooth”: Ugly truth: chasing bakery-smooth at home wastes time and shows every flaw. Swirls, sprinkles, and borders hide everything. Keep rainbow sprinkles 10 oz on hand (around $6 to $15).
Template, Don’t Freehand: Number cakes and hearts look cleaner when you trace and cut slowly. A serrated cake knife helps you trim without tearing (around $10 to $25).
Make-Ahead Without Sad Decorations: Bake and frost the day before, then add fruit, candy, and sprinkles a few hours before serving so colors stay crisp. Store on parchment. Stock up on parchment paper rolls (around $7 to $18).
Frequently Asked Questions
Q: How do you make a cake look nice for kids fast?
A: Pick one focal point (number, emoji, or candy border) and keep the rest simple with sprinkles or swirls. A piping tips set helps even if you only do a basic border.
Q: What cake is easiest to decorate for a birthday at home?
A: A sheet cake or a two-layer round cake, because you’re not sculpting anything. For clean cuts and shapes, use a serrated cake knife.
Q: How do you keep frosting from sliding off a cake?
A: Cool completely, then chill, then crumb coat and chill again. If your frosting is too soft, beat in a bit more sugar. A wire cooling rack helps the cake cool evenly.
Q: Can I make a birthday cake the day before?
A: Yes. Bake and frost ahead, then add sprinkles, fruit, and toppers the next day for the freshest look. Store covered. Parchment paper rolls keep the cake from sticking to wraps and lids.
Q: What can I use instead of a cake pan?
A: A 9×13-in baking dish works for numbers and decorate-a-slice parties, and two round pans can be trimmed into hearts. To level and move layers cleanly, an offset spatula 8 inch is oddly helpful.
Conclusion
Start with the sprinkle cake or the chocolate-finger border if you want the least cleanup and the biggest “how did you do that?” reaction. The thread that runs through every simple birthday cake design here is chilling, crumb coating, and letting one bold detail do the work. If you try one tool upgrade, make it an offset spatula. Which cake are you making first?