
How to make buttermilk pancakes used to be my personal Saturday fail. Mine came out flat, pale, and somehow both dry and gummy. I blamed my skillet. It was me.
Here’s the no-fuss path to tall, fluffy buttermilk pancakes from scratch in about 20 min. No separating eggs. No “secret” TikTok hacks. Just a thick batter, the right heat, and one short rest that changes everything.
Buttermilk pancakes are classic American breakfast food for a reason: tangy, buttery, and forgiving when you treat the batter gently. This is beginner-friendly, but the one slightly fussy part is resisting the urge to overmix.
Lately I’ve noticed a lot of “extra lift” pancake recipes lean on whipped egg whites or add-ins. Tasty, sure, but the core wins are still the same: chemical leavening, buttermilk’s acidity, and a confident flip.
1. Build a Dry Mix That Rises Evenly
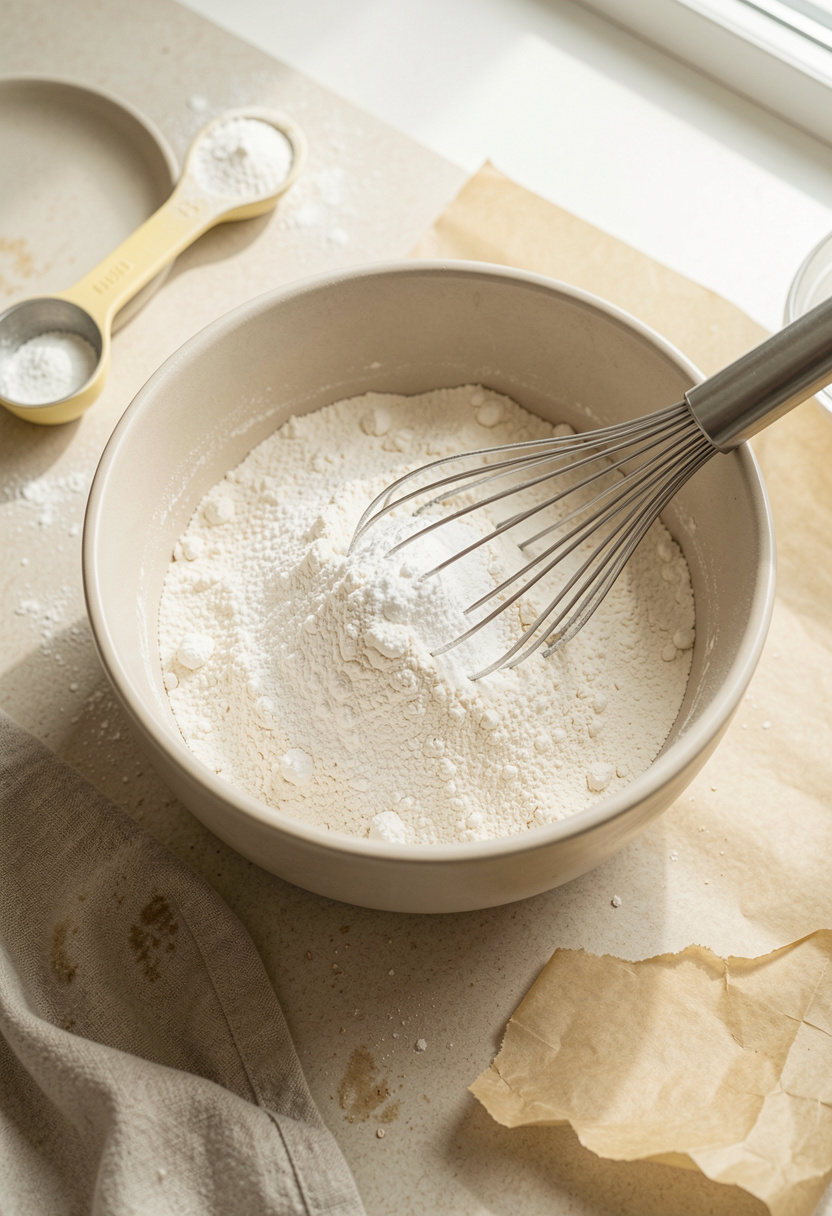
Tall pancakes start before any liquid hits the bowl. Whisking the dry ingredients thoroughly means your baking powder and baking soda are evenly dispersed, so you do not get one pancake that balloons and another that sits there like a sad flapjack.
In a big bowl, whisk: flour, sugar, baking powder, baking soda, and salt for a solid 20 seconds. I use a fine mesh whisk because it breaks up leavener clumps fast, and I like having a roomy bowl like a large mixing bowl set so flour does not puff onto my shirt.
Salt matters here. Under-salted pancakes taste flat even with syrup. I stick with Diamond Crystal kosher salt 3 lb box because it’s consistent and easy to pinch.
Cooking principle: even dispersion of chemical leavening equals consistent lift.
Common mistake in this phase: skipping the whisking and “letting the stir handle it.” It will not. Whisk now, thank yourself later.
2. Whisk Wet Ingredients So Butter Behaves
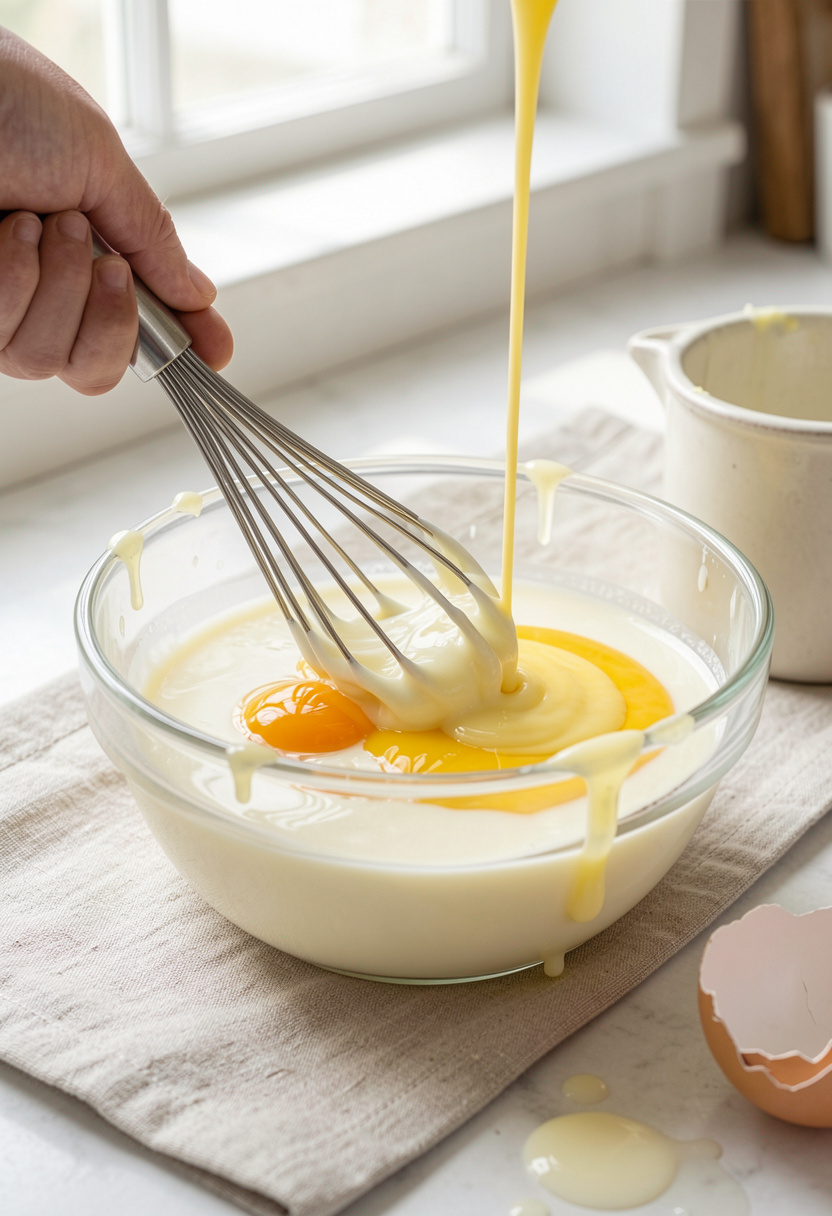
In a second bowl, whisk your buttermilk, eggs, and melted butter together until smooth. This order matters because you want the butter emulsified into the liquid before flour shows up, which keeps the batter tender.
Key detail: let the melted butter cool for 2 to 3 min before adding. If it’s piping hot, it can tighten up the eggs and you end up with little cooked bits. Been there.
This is also where I add flavor without making the batter complicated. A small squeeze of honey gives a gentle sweetness and browns nicely. I keep a honey 12 oz squeeze bottle around because it’s easy to measure without sticky spoons. Vanilla is optional but worth it if you have it. A pure vanilla extract 2 oz makes the kitchen smell like a brunch spot.
Cooking principle: emulsification plus buttermilk’s acidity sets up tenderness and a good rise once it hits baking soda.
Small warning: do not thin the wet mix with extra milk unless your batter turns out cement-thick. Thick batter is part of the “tall stack” game.
3. Combine Gently, Keep It Lumpy, Then Rest
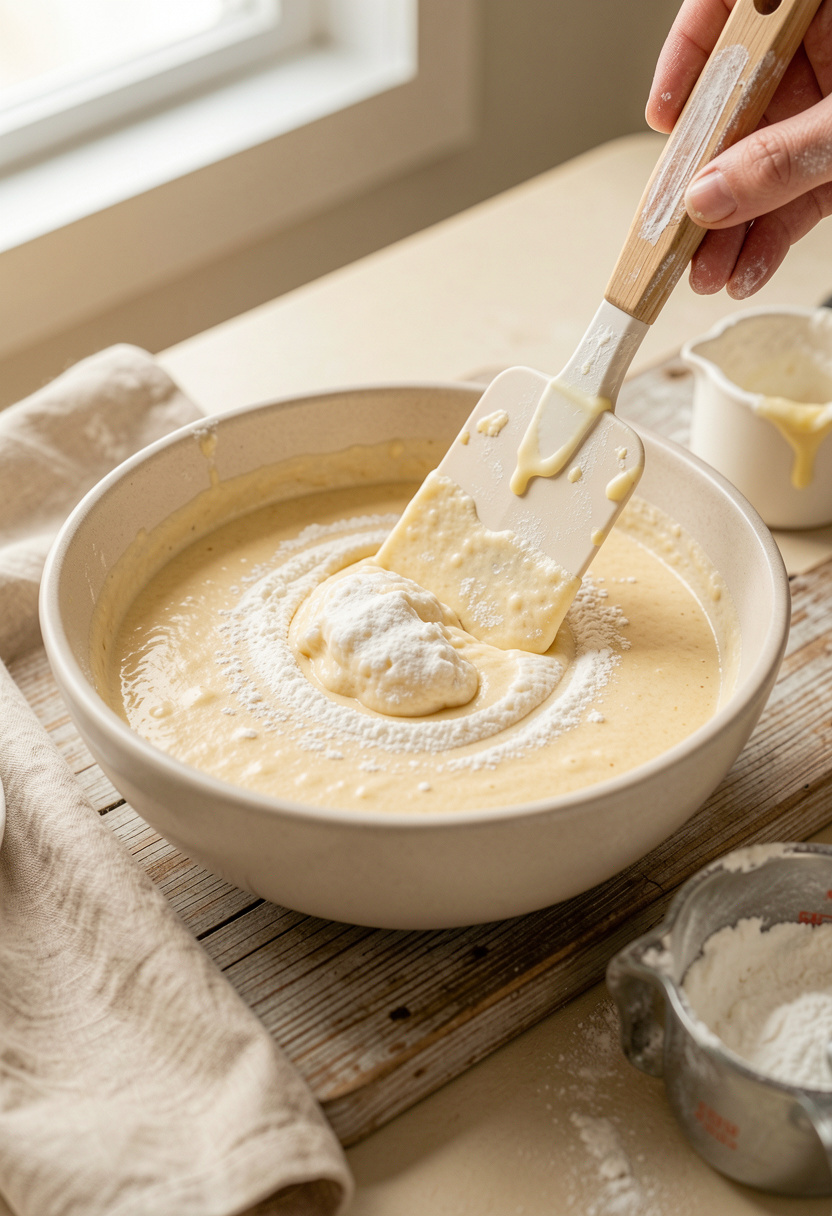
Pour wet into dry and fold with a spatula until you do not see dry flour. Stop. Lumps are not a flaw, they are insurance against tough pancakes.
If you whisk until smooth, you develop gluten and the pancakes turn chewy and a little gummy. That’s the #1 reason people search “why are my pancakes not fluffy” and then blame their baking powder.
Now the part that feels like you are wasting time but pays off: rest the batter 10 min while you heat the pan. This gives flour time to hydrate and the batter to relax, which helps the pancakes rise taller and cook more evenly.
Cooking principle: gluten control plus hydration equals a tender crumb.
Two tools that make this calmer: a 1/4 cup stainless steel measuring cup for consistent portioning, and a nonstick griddle electric if you want steady heat without babysitting burners.
Overrated hack that did not work in my kitchen: beating the batter for “more air.” It pops bubbles you need and makes the texture tight.
4. Cook at Medium Heat and Flip Once on Bubbles
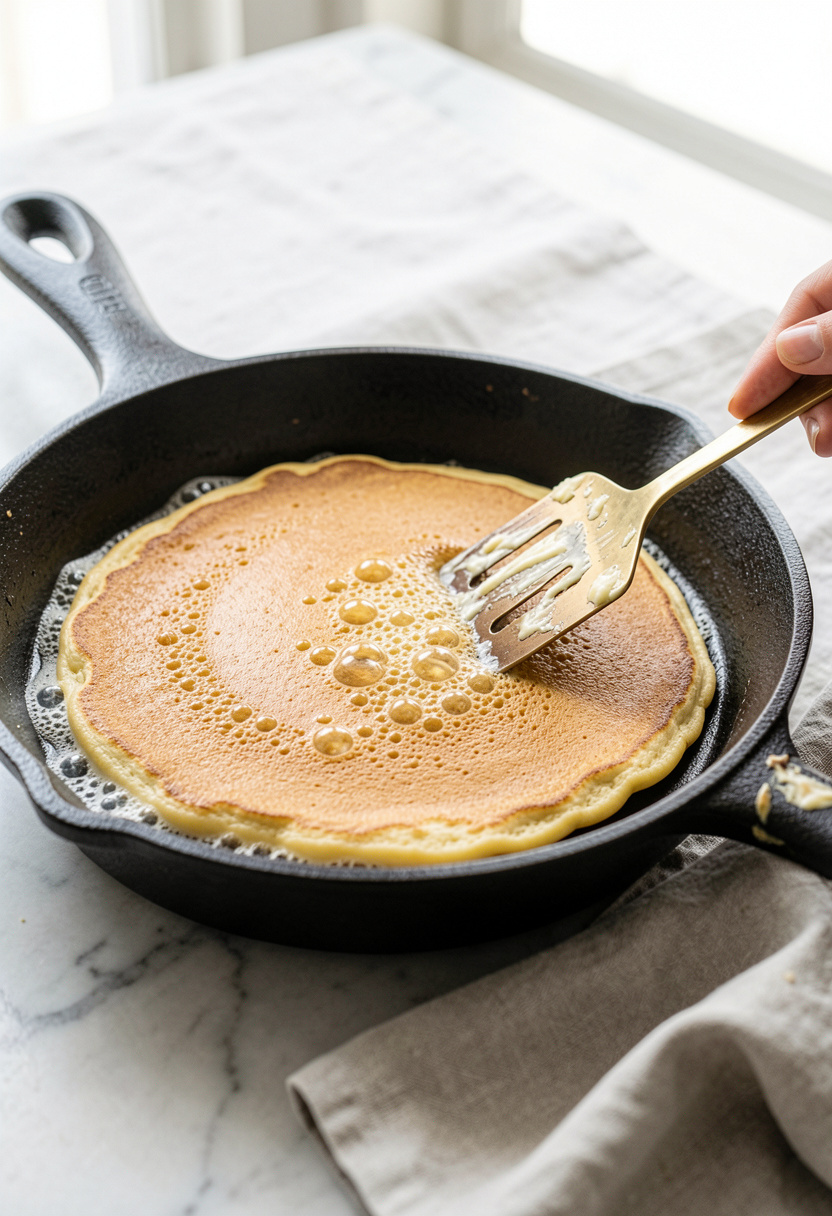
Heat matters more than any add-in. Aim for medium heat, or about 350°F if you have a griddle dial. Too hot and you get dark outsides with raw centers. Too cool and the batter spreads and dries out.
I like a Lodge cast iron skillet 12 inch for even browning, but a standard nonstick pan works fine if that’s what you have. Lightly grease with butter, then wipe it so you have a thin sheen, not a puddle.
Scoop 1/4 cup batter per pancake. Cook the first side 2 to 3 min. You’re waiting for bubbles across the top and edges that look set, not wet and shiny. Flip once. Cook the second side 1 to 2 min until golden and springy to a gentle press.
Cooking principle: controlled browning sets structure while trapped gas expands for lift.
Ugly truth: pressing pancakes with the spatula flattens them. I used to do it for “even cooking.” It steals your height.
5. Hold Warm Without Steaming Them to Death
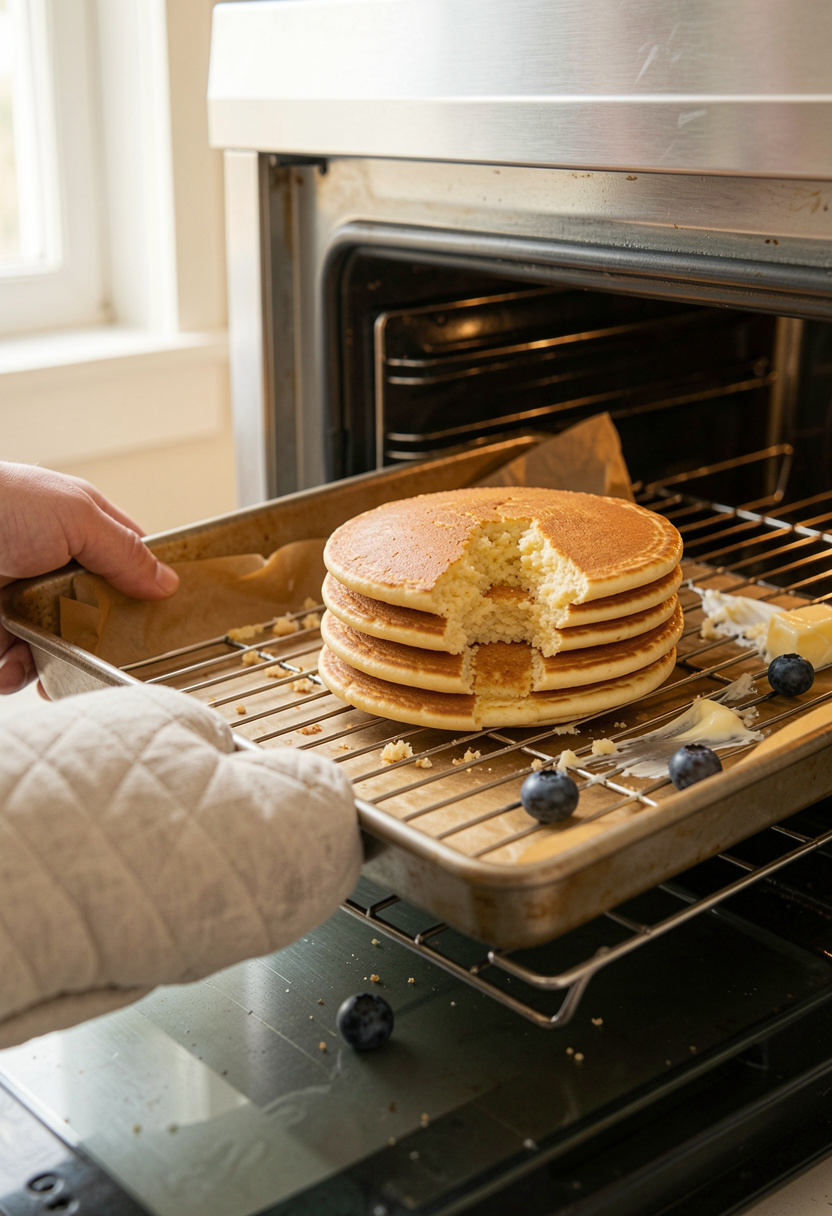
If you’re cooking for more than one person, the first pancakes can go sad while you finish the batch. The fix is not stacking them on a plate where steam turns the sides soft.
Set your oven to 200°F and park finished pancakes on a wire rack over a sheet pan. Air circulation keeps the edges tender, not soggy. If you do not own a rack, even a toaster oven tray helps.
This is also where finishing salt makes them taste like “best buttermilk pancakes” without changing the recipe. A tiny pinch of flaky salt on the buttered top makes the maple taste deeper. I keep flaky sea salt finishing salt for this kind of move.
Cooking principle: steam management preserves texture.
One more flop I learned the hard way: covering pancakes with foil in the oven. They stay warm, but the tops go damp fast. Rack beats foil.
Common Cooking Mistakes to Avoid
Mistake: Overmixing until the batter is smooth
Why it doesn't work: Gluten tightens and you lose the fluffy crumb.
Do this instead: Fold with a fine mesh whisk or spatula only until flour disappears, lumps are fine.
Mistake: Pan too hot because you want fast browning
Why it doesn't work: Outside burns before the center sets.
Do this instead: Use medium heat and test on a nonstick griddle electric around 350°F.
Mistake: Flipping early or flipping twice
Why it doesn't work: The structure collapses and pancakes go flat.
Do this instead: Wait for bubbles and set edges, then flip once with an OXO good grips fish spatula.
Mistake: “Buttermilk substitute” made mid-cook with random splashes
Why it doesn't work: Acid level and thickness swing, so rise gets weird.
Do this instead: Mix a consistent swap using a baking soda 16 oz box friendly recipe: milk plus a measured splash of vinegar, then rest 5 min.
What You'll Need to Make This
Pantry Staples
All-purpose flour 5 lb bag around $3 to $8
Granulated sugar 4 lb bag around $4 to $9
Diamond Crystal kosher salt 3 lb box around $5 to $8
Specialty Ingredients
Cultured buttermilk 1 quart around $2 to $6
Pure maple syrup 12 oz bottle around $8 to $16
Pure vanilla extract 2 oz around $6 to $15
Tools That Earn Their Counter Space
Lodge cast iron skillet 12 inch around $25 to $45
Nonstick griddle electric around $30 to $80
1/4 cup stainless steel measuring cup around $6 to $15
Cookbooks Worth the Shelf
Salt Fat Acid Heat by Samin Nosrat (price range $18 to $28)
The Food Lab by J Kenji Lopez-Alt (price range $22 to $40)
Budget Swaps
Baking powder 8.1 oz can around $3 to $8 (buy fresh, but store brand is fine)
Honey 12 oz squeeze bottle around $4 to $10 (swap for sugar if needed)
Shopping Guide for This Recipe
Splurge on real buttermilk: Tang and texture are better with cultured buttermilk 1 quart around $2 to $6.
Save on the skillet if you hate cast iron: A nonstick griddle electric around $30 to $80 gives steady heat with less sticking stress.
Fresh leaveners beat “secret ingredients”: If your pancakes stopped rising, replace old boxes with baking soda 16 oz box around $2 to $6.
Easy buttermilk substitute when you’re out: Keep baking powder 8.1 oz can around $3 to $8 and use milk plus vinegar in a measured ratio for consistent lift.
2025-ish brunch move I keep seeing: Small upgrades, not wild add-ins. Add aroma with pure vanilla extract 2 oz around $6 to $15 instead of stuffing the batter with candy.
Conclusion
If you only change one habit while learning how to make buttermilk pancakes, let it be this: stop mixing early, then give the batter 10 min to rest. That’s where the tall rise shows up.
Once you nail the heat and the one-flip timing, the rest is toppings and mood. A good pure maple syrup 12 oz bottle never hurts.
Will you try the 10 min rest first, or fix your pan heat first?