
How to make buttermilk pancakes without buttermilk is one of those skills you only learn after standing in front of an empty carton at 8:12 a.m. with hungry people circling.
I’ve burned batches trying to rush it (high heat) and chewed through batches I “mixed smooth.” The fix is simple: build quick tang, keep the batter lumpy, then cook low and steady. You’ll be eating fluffy pancakes in about 30 min.
This is classic American breakfast flavor: buttery, lightly tangy, and sweet enough to hold syrup without turning into dessert. Beginner-friendly, weeknight-friendly, and it rides a 2025 pantry-staple trend I’m seeing everywhere: smart substitutions that taste authentic, not “close enough.” The only fussy part is patience: a 10 min batter rest and resisting the urge to overmix.
1. Make a Tangy “Buttermilk” in 5 Minutes
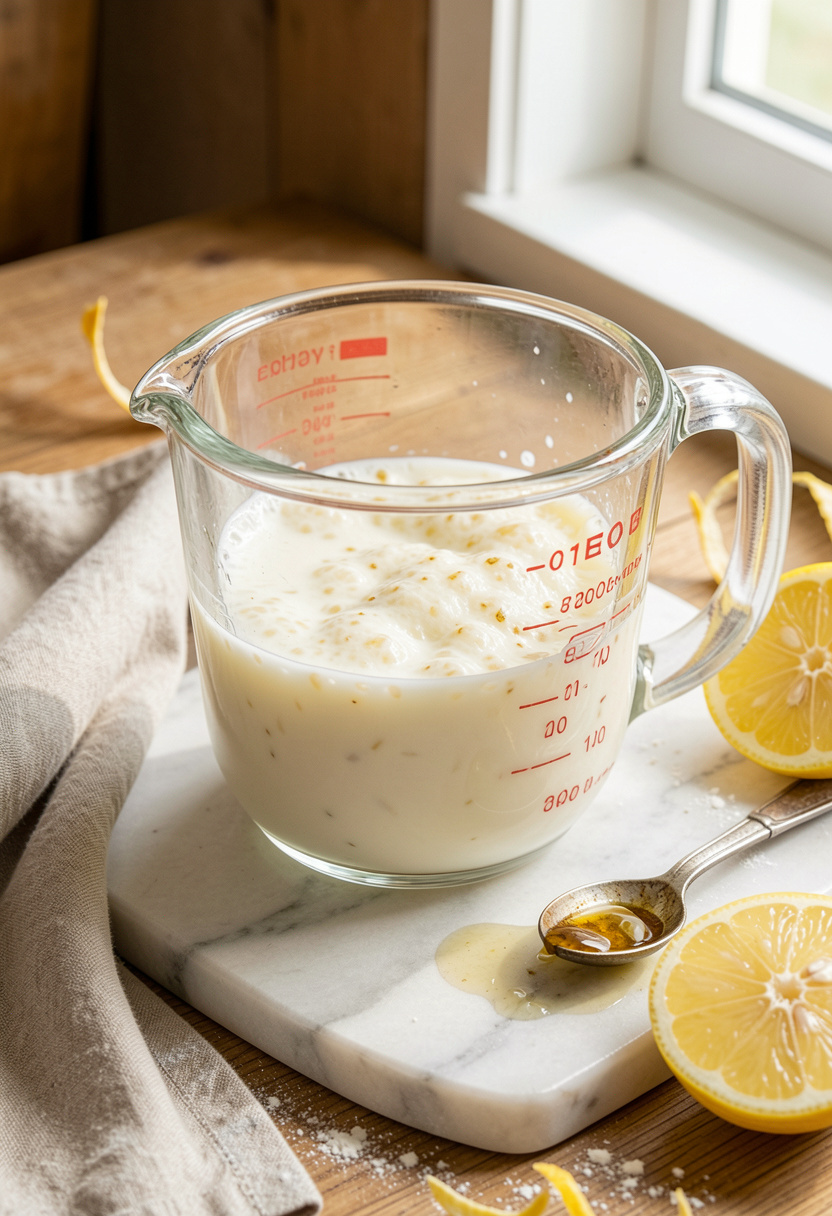
The best pancake substitute for buttermilk is the one you can make while the skillet preheats. In a measuring cup, stir 1 cup milk with 1 tbsp vinegar (or lemon juice). Let it sit 5 to 10 min until it looks slightly curdled and smells faintly tangy.
That waiting time matters. The acidification starts changing the milk’s proteins, which gives you some of buttermilk’s tang and helps baking soda do its job later.
If you’re out of vinegar, lemon works. I keep white distilled vinegar 16 oz bottle around $2 to $5 for pancakes, quick pickles, and salad dressings. If you want more body (closer to real buttermilk), whisk in 1/4 cup plain Greek yogurt 32 oz tub around $4 to $8 and thin with a splash more milk.
Common slip: dumping the acid in and using it immediately. Give it the full 5 min so the batter tastes less flat.
2. Whisk Dry Ingredients So the Rise Is Even
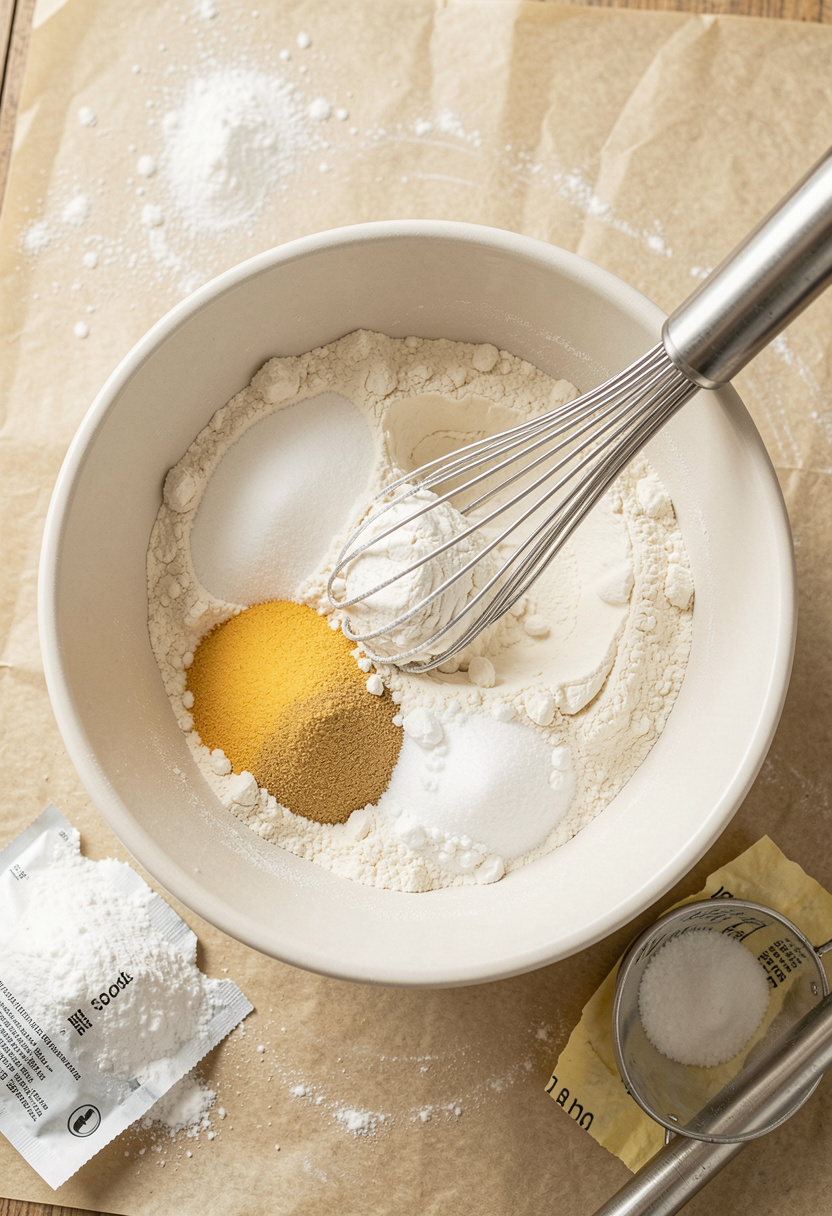
In a bowl, whisk your dry team first: flour, baking powder, baking soda, sugar, and salt. This is the boring step that prevents bitter pockets and weird flat spots.
For a typical home batch (about 8 pancakes), I like: 1 1/2 cups flour, 2 tbsp sugar, 1 1/2 tsp baking powder, 1/2 tsp baking soda, and 1 tsp kosher salt. Use what you have, but check freshness. Old leavening is a silent pancake killer.
I’m loyal to Clabber Girl baking powder 10 oz can around $3 to $6 because it behaves predictably, and Diamond Crystal kosher salt 3 lb box around $5 to $8 because it’s harder to oversalt with its lighter flakes.
Cooking principle: even leavening distribution. If baking soda clumps, you’ll taste it.
Mistake I used to make: one-bowl dumping. It sounds efficient, but you spend the whole cook wondering why one pancake tastes “metallic.”
3. Build a Rich Wet Mix Without Scrambling the Egg
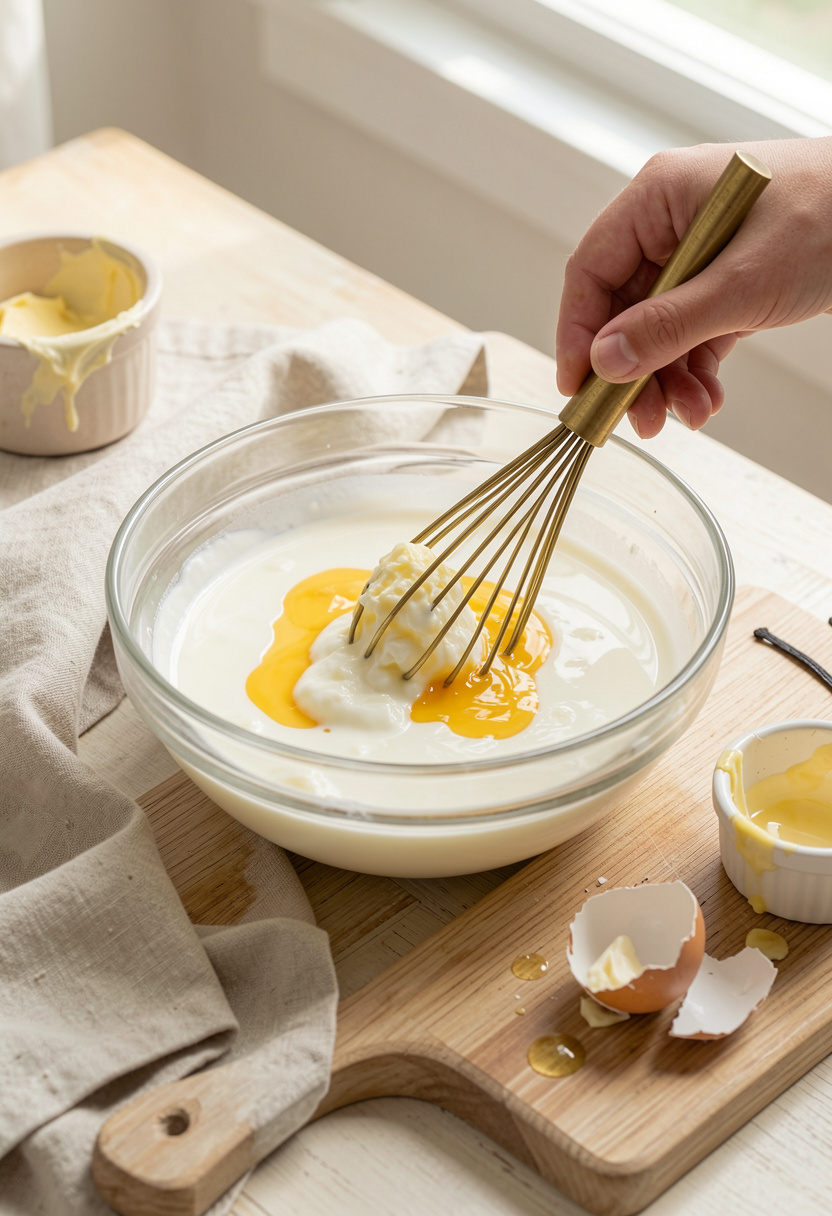
Now whisk the “fake buttermilk” with 1 egg, 3 tbsp melted butter (or 2 1/2 tbsp neutral oil), and 1 to 2 tsp vanilla. This is where homemade pancakes stop tasting like cafeteria flapjacks.
Let the melted butter cool for 2 min first. If it’s piping hot, it can tighten the egg and give you tiny cooked bits in the batter. Not harmful, but it feels like you lost a fight with breakfast.
For flavor, I reach for pure vanilla extract 2 fl oz around $6 to $15. Optional but smart: lemon zest. Half a lemon’s worth makes the tang read as “buttermilk” instead of “vinegar trick.”
Cooking principle: emulsion and structure. Getting the egg and fat evenly mixed means the flour gets coated, which helps tenderness.
One more ugly truth: “skip the acid and use plain milk” pancakes are fine, but they taste one-note. This phase fixes that.
4. Fold to Lumpy Batter, Then Rest 10 Minutes
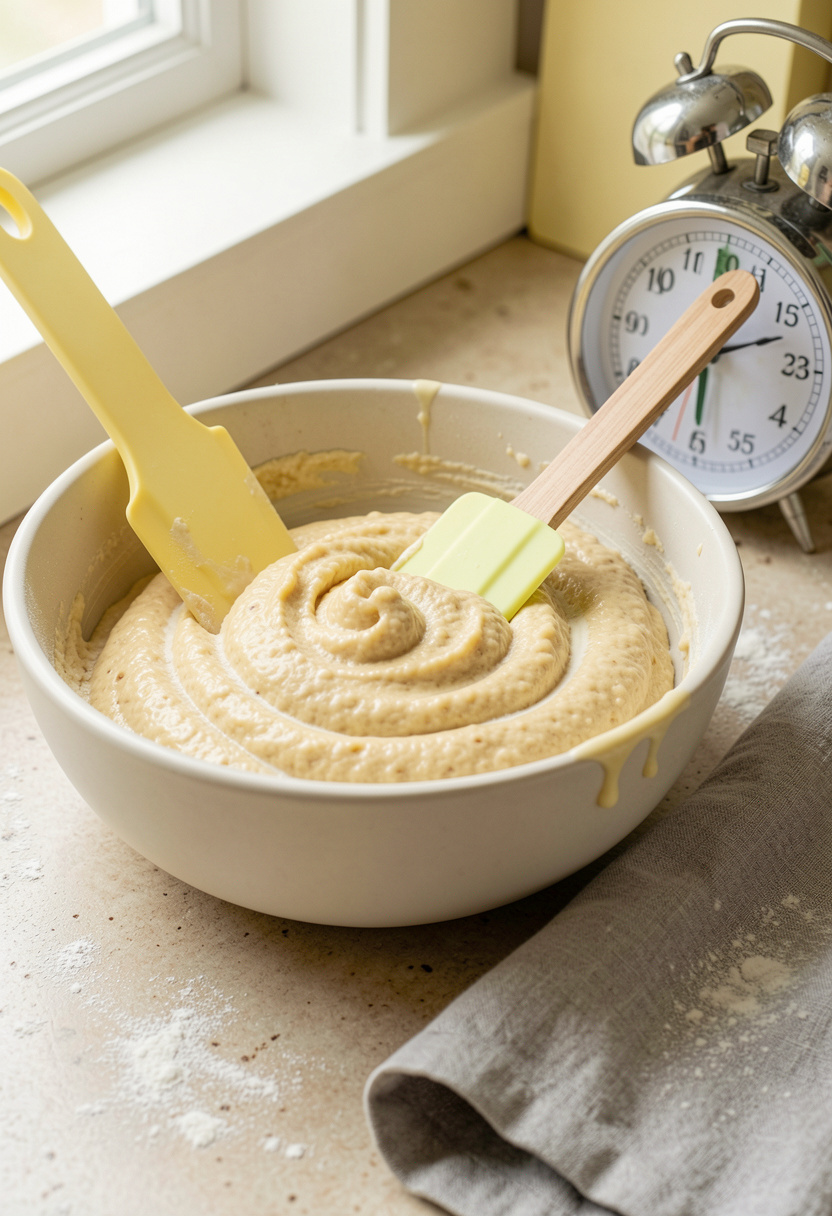
Pour wet into dry and fold with a spatula until the flour disappears. Stop. The batter should look lumpy and thick, like it reluctantly falls off a spoon in ribbons.
This is the how-to moment for fluffy pancakes. Overmixing develops gluten, and gluten turns your pancakes chewy. Lumps are not a problem. They are the goal.
Then rest the batter 10 min on the counter. Resting hydrates the flour and relaxes the gluten you did develop. If I skip this, my pancakes cook up tighter and less tall, especially with a buttermilk substitute for pancakes that’s thinner than real buttermilk.
A tool that helps with consistent sizing: OXO Good Grips 1/4 cup scoop around $10 to $18. Same scoop, same cook time, fewer surprise raw centers.
Mistake: beating until smooth because you want “pretty batter.” Pretty batter makes ugly texture.
5. Cook Low and Steady for Golden Brown, Not Burned
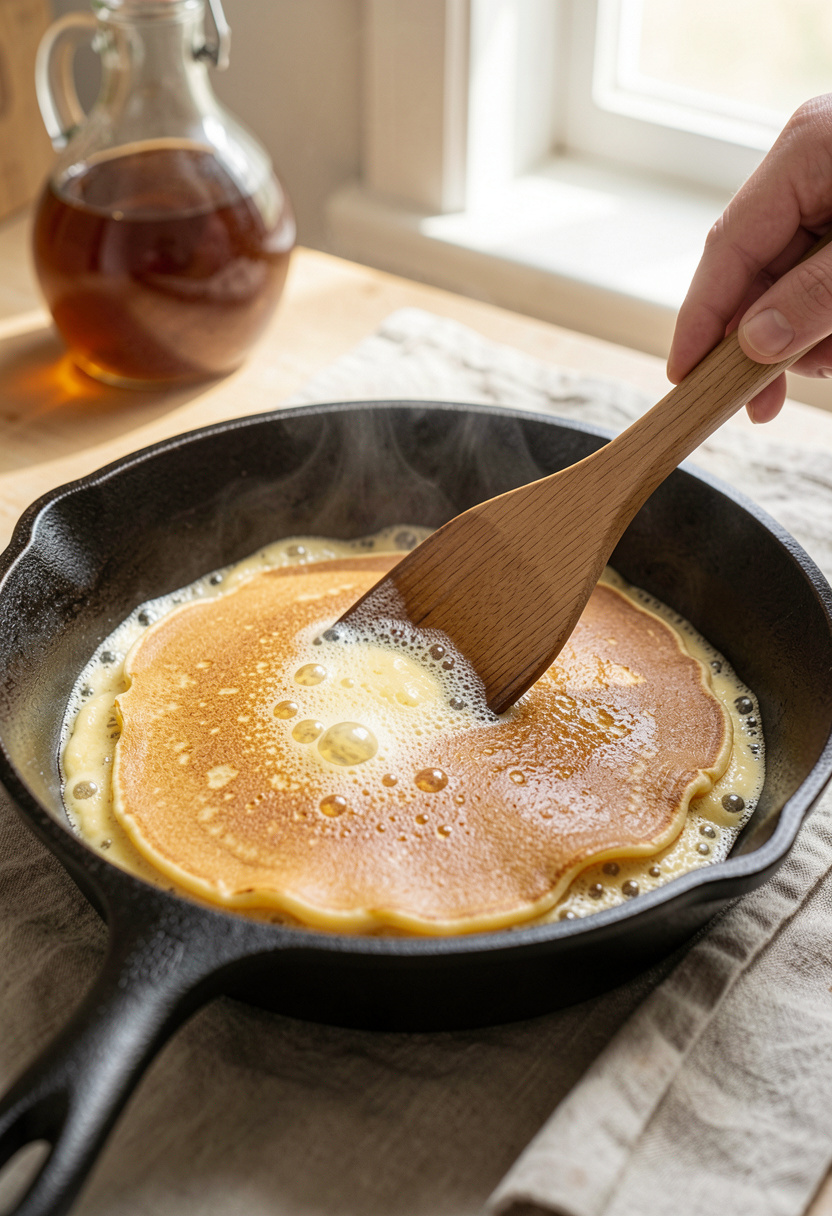
Heat matters more than people admit. Set your skillet to medium-low and preheat 3 to 5 min. A drop of water should sizzle gently, not explode and vanish.
I like a cast iron for even browning, especially a Lodge cast iron skillet 12 inch approx $25 to $40. Grease lightly with butter, then wipe the pan with a paper towel so you don’t fry the edges.
Scoop 1/4 cup batter per pancake. Cook 2 to 3 min until bubbles rise and the edges look set and a little dry. Flip once. Cook 1 to 2 min more. The second side always cooks faster.
Cooking principle: controlled heat gives the interior time to set while the outside browns (Maillard reaction). High heat gives you burnt tops and raw middles.
Overrated move: flipping early because you’re nervous. Wait for the bubbles.
Common Cooking Mistakes to Avoid
Mistake: Mixing until perfectly smooth
Why it doesn't work: Overdeveloped gluten makes tough pancakes.
Do this instead: Fold gently with a fine mesh sieve around $8 to $15 to break flour clumps before mixing, then stop when lumps remain.
Mistake: Cooking on high heat to “go faster”
Why it doesn't work: You burn the outside before the center sets.
Do this instead: Use medium-low on a steady pan like a Lodge cast iron skillet 12 inch approx $25 to $40.
Mistake: Skipping the batter rest
Why it doesn't work: Flour stays under-hydrated and pancakes cook denser.
Do this instead: Set a 10 min timer and park the bowl on a Nordic Ware half sheet pan around $12 to $20 for easy counter carry.
Mistake: Flipping before bubbles and set edges
Why it doesn't work: The pancake tears and deflates.
Do this instead: Use a thin, confident turn with a wire cooling rack around $10 to $18 nearby so finished pancakes don’t steam on a plate.
What You'll Need to Make This
Pantry Staples
King Arthur all-purpose flour 5 lb bag around $6 to $10
Clabber Girl baking powder 10 oz can around $3 to $6
Diamond Crystal kosher salt 3 lb box around $5 to $8
Specialty Ingredients
White distilled vinegar 16 oz bottle around $2 to $5
Pure vanilla extract 2 fl oz around $6 to $15
Malted milk powder 14 oz canister around $6 to $12
Tools That Earn Their Counter Space
Lodge cast iron skillet 12 inch approx $25 to $40
OXO Good Grips 1/4 cup scoop around $10 to $18
Thermapen ONE instant read thermometer around $80 to $110 (optional, but 375°F griddle surface is a sweet spot)
Cookbooks Worth the Shelf
Salt Fat Acid Heat by Samin Nosrat (price range $18 to $28)
The Food Lab by Kenji Lopez-Alt (price range $25 to $45)
Budget Swaps
Pure cane granulated sugar 4 lb bag around $3 to $6 (Aldi is often cheaper)
Aluminum-free baking powder 8.1 oz around $5 to $10 (nice upgrade if you taste bitterness)
Shopping Guide for This Recipe
Save on flour, splurge on butter: Store-brand flour is fine, but a better butter shows up in flavor. Grab cultured European style butter around $6 to $12 if you want brunch energy.
Thicker buttermilk vibe without buying buttermilk: Keep plain Greek yogurt 32 oz tub around $4 to $8 and add 1/4 cup to your acidified milk for body.
Diner-style nostalgia trick (underrated): Add 2 tbsp malted milk powder 14 oz canister around $6 to $12 to the dry mix for that toasty diner note.
Dairy-free pancakes that still brown well: Use unsweetened almond milk plus vinegar, then cook in oil. Stock unsweetened almond milk around $2 to $6.
Weeknight backup when you’re out of milk: Water plus neutral oil works in a pinch. Keep canola oil 48 oz around $4 to $10 on hand.
Conclusion
Start with the milk-and-vinegar substitute and the lumpy batter rule. Those two moves solve most no buttermilk pancakes heartbreak.
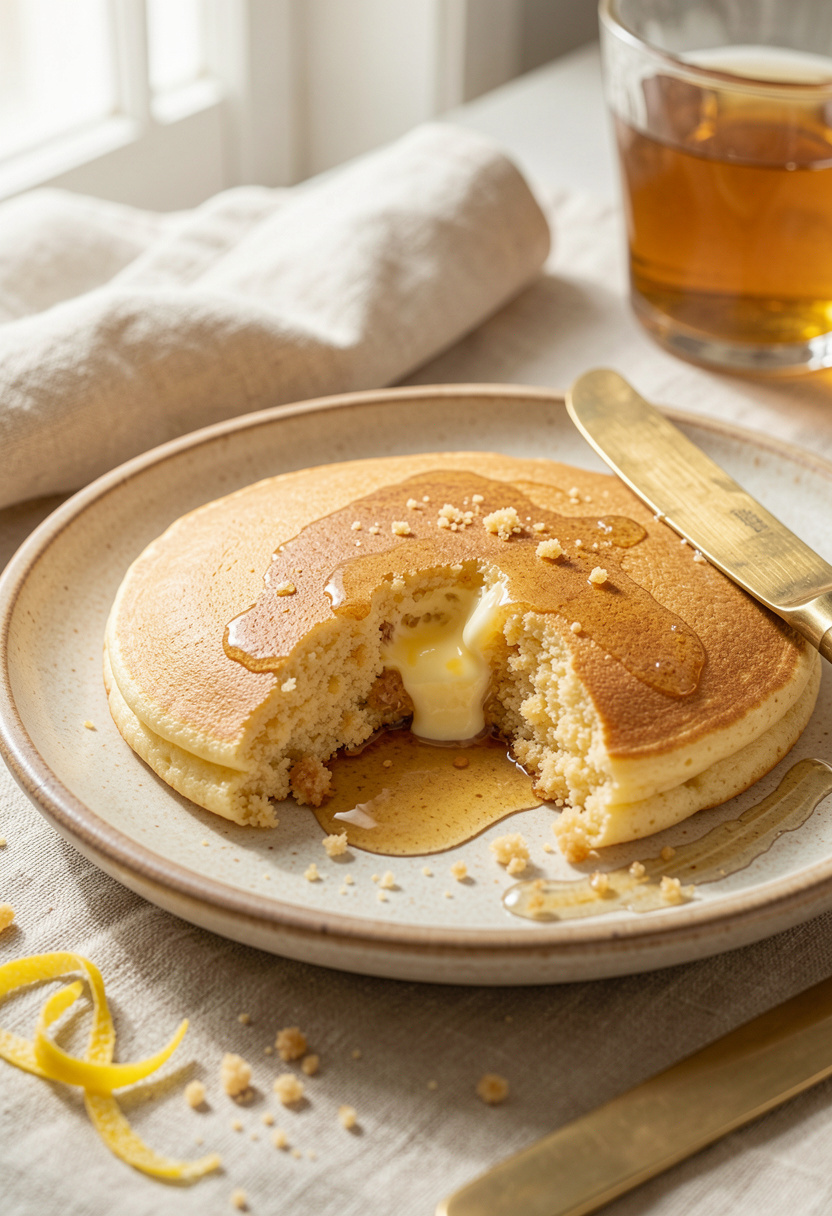
Then guard your heat. Medium-low and one clean flip gets you fluffy pancakes with golden brown edges, even when you’re running on fumes.
Will you try the yogurt-thickened version first, or the malted milk diner-style one?