




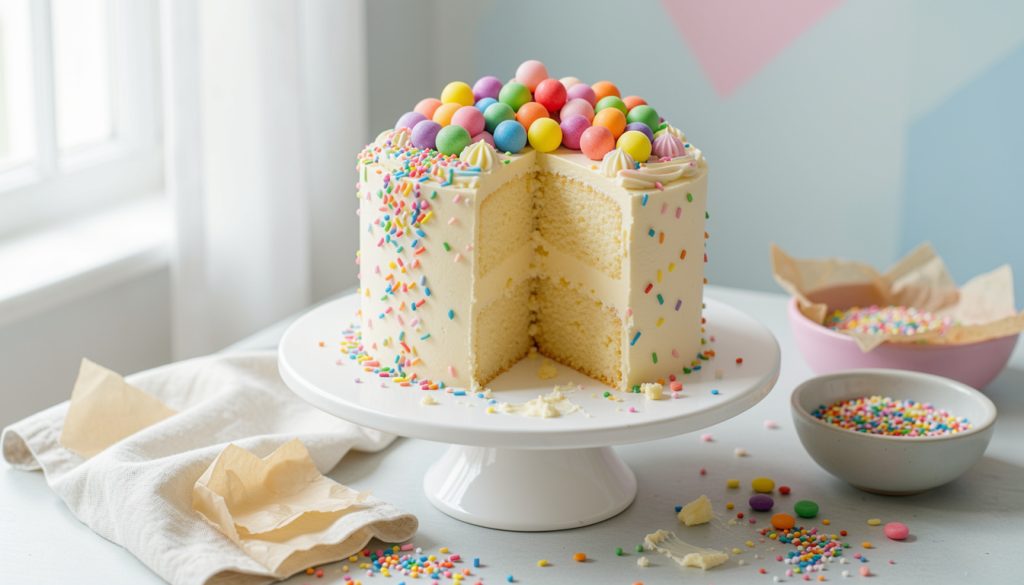

The first time I tried how to decorate a cake for kids, I went for “smooth Instagram frosting” and ended up with a buttercream slip-n-slide. Sprinkles clumped, candy rolled off, and I was scraping the sides like a stressed-out zamboni driver.
Here’s the no-panic method I use now: chill, crumb coat, make the frosting thick, then let candy and sprinkles do the heavy lifting. It looks party-ready in about 1 hr.
This is classic American birthday cake energy: vanilla or chocolate, sweet buttercream, loud colors, crunchy sprinkles. Plan on 45 min hands-on plus chilling time, beginner-friendly with one rule that matters: cold cake first. The 2025 vibe is process-over-product, so the goal is a fun decorating moment (even a decorate-your-own station), not perfection.
1. Bake a Stable Base That Won’t Crumble
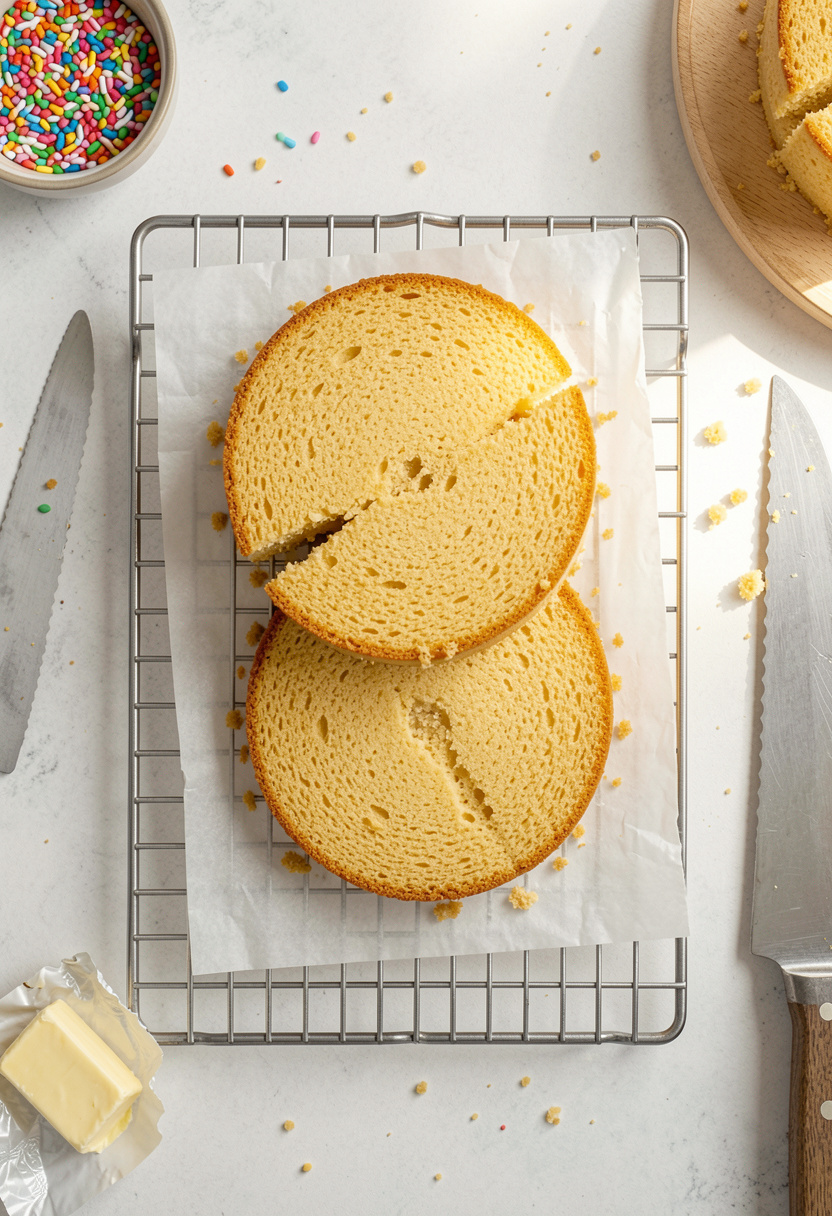

Start with a cake that can take a little manhandling. Sheet cake or sturdy round layers beat fragile, lofty sponge when kids are involved.
If I’m rushing, I’ll use vanilla cake mix and focus my effort on decoration. If I’m baking from scratch, I still line pans with parchment paper sheets because sticking is the fastest way to ruin your mood.
Cool it fully, then cool it longer. Minimum 1 hr on a rack, then 20 min in the freezer. Structure before decoration is the whole game here.
Mistake at this stage: decorating warm cake because “it feels cool enough.” If the center is even slightly warm, buttercream melts and candy slides. Give it time, or park it on a wire cooling rack and chill it until the surface feels firm and dry to the touch.
2. Crumb Coat and Chill for a Clean Canvas
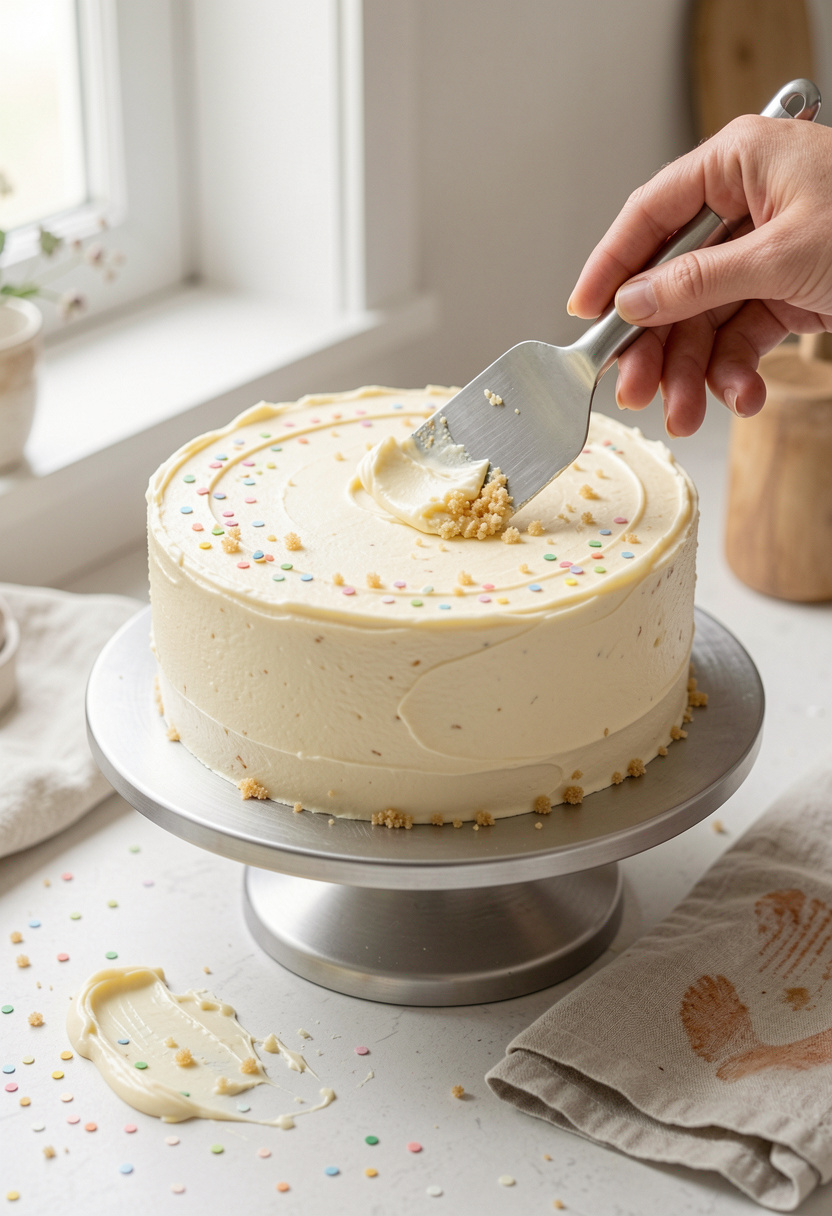

Crumb coat sounds fussy, but it is the main reason kid cakes look “intentional.” You’re sealing crumbs so the final layer stays clean.
Use a sturdy American buttercream. I like a pinch of Diamond Crystal kosher salt and a splash of pure vanilla extract so it doesn’t taste like straight sugar. Spread a thin layer, like you’re buttering toast. You should still see cake through it.
Tools help here. A cheap offset spatula 9 inch makes it faster, but a butter knife works.
Then chill 20 min to 30 min until the buttercream feels firm. Chilling sets the fat, which turns your cake into a grippy decorating surface.
Common slip: frosting that is too thin. If it slowly slumps, add more powdered sugar or chill the bowl 10 min before you continue.
3. Frost Thick, Then Texture on Purpose
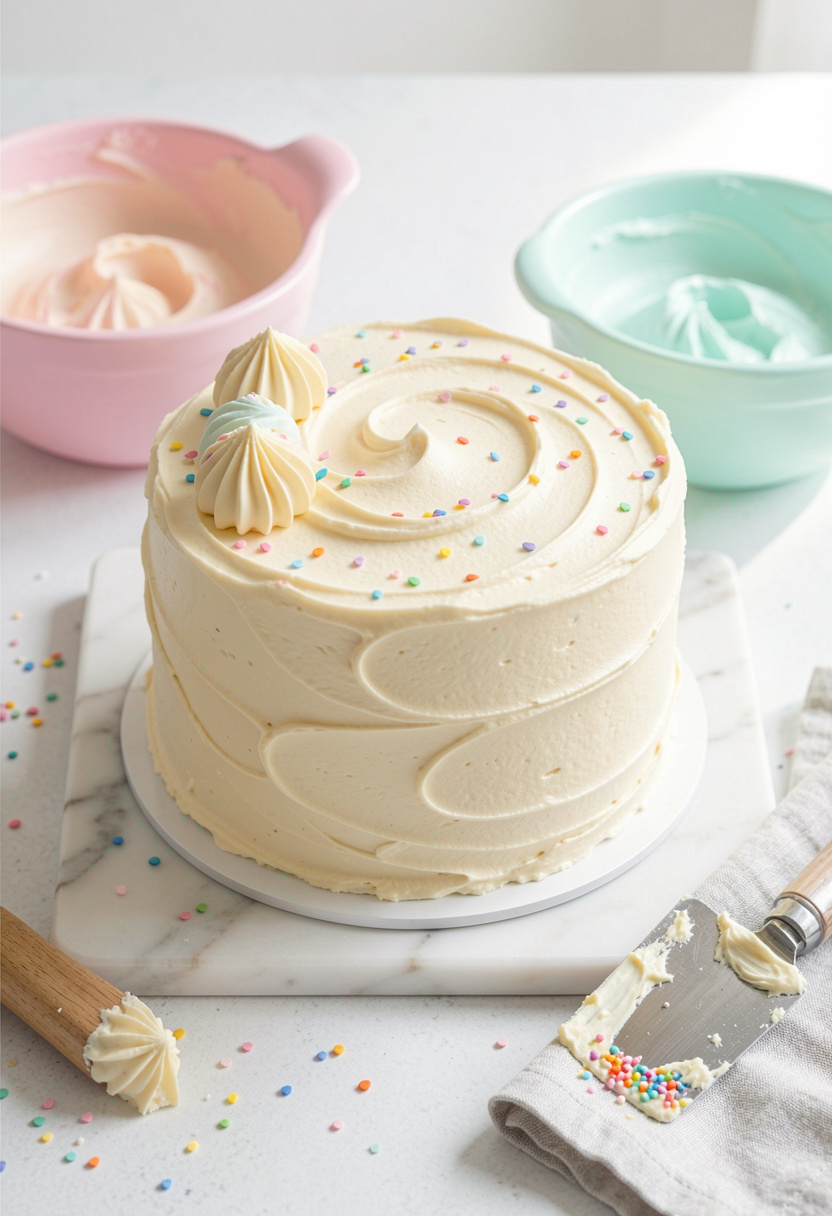

This is where most people lose time chasing “perfectly smooth.” Skip it. Kids do not care, and you can make texture look planned in 2 min.
Spread a thicker final coat, about 1/4 inch. Thick frosting equals better adhesion through fat and sugar, aka edible glue. If you want color, gel is your friend because it won’t thin the buttercream. A gel food coloring set makes bright shades without watery streaks.
For quick clean sides, use a cake scraper bench scraper. For the “I meant to do that” look, use the back of a spoon to make swoops.
Mistake here: decorating immediately on soft frosting. Give the frosted cake 15 min in the fridge. Candy sticks better to chilled buttercream, and sprinkles don’t melt into sad dots.
Also, this is where picky eaters win. Keep the base flavor classic, let the outside bring the fun.
4. Add a Guided Design Kids Can’t Mess Up
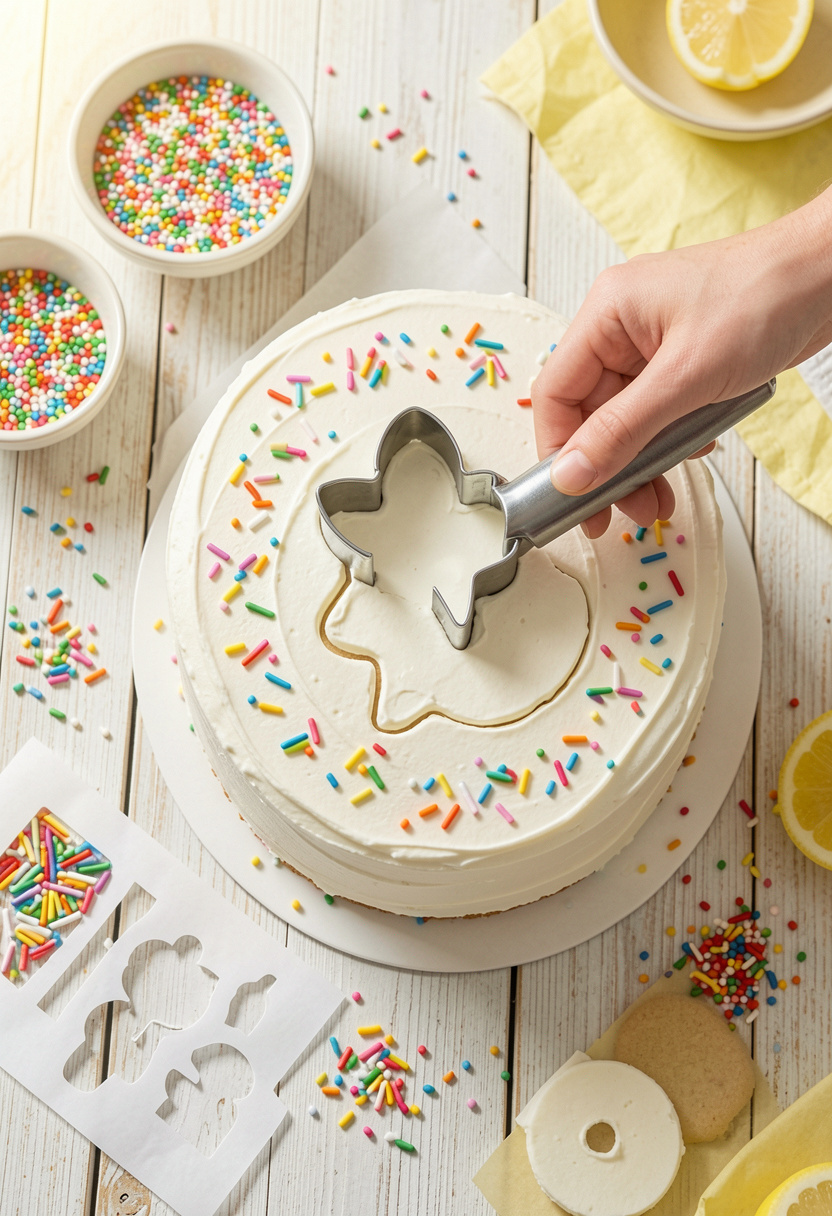

A “guided” design is my favorite zero-panic trick. It gives kids boundaries, which means the cake reads clearly even if sprinkles go rogue.
For a cookie-cutter sprinkle cake: gently press a large cutter into the top, don’t cut through. Lift it, and you’ve got an outline to fill with sprinkles. Keep two sprinkle types for contrast, like jimmies plus nonpareils. Grab a big tub of rainbow sprinkles and call it done.
Want the underused crowd-pleaser? Emoji stencil. Cut a simple face from parchment, lay it on a chilled cake, then spread a thin layer of tinted buttercream and peel. Clean lines, no piping stress.
Mistake: freehanding faces with tiny details. Kids lose interest halfway through and you end up “finishing it later” at midnight. Templates finish fast, which keeps the mood fun.
If you’re doing a number cake, use a serrated cake knife for clean cuts and chill before moving pieces.
5. Finish With Candy, Sprinkles, and a Calm Brain
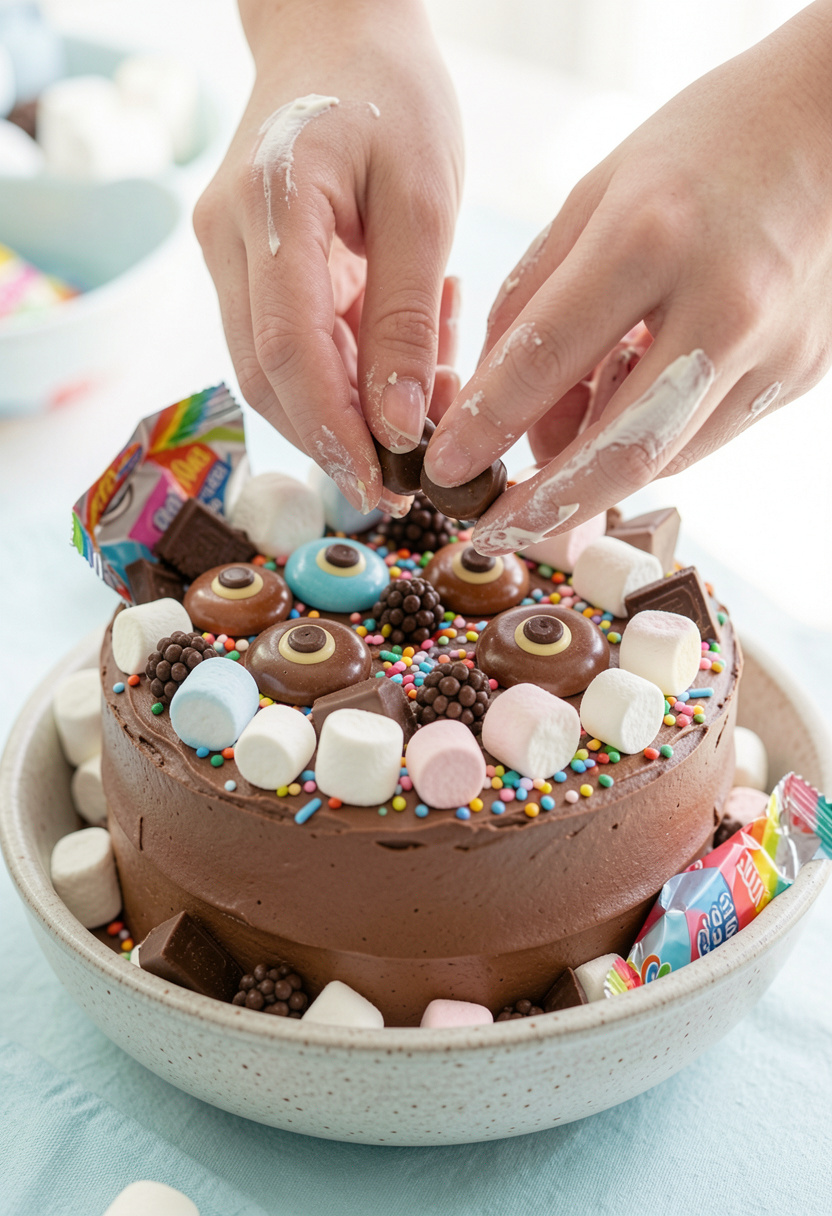

This is the payoff phase. High-impact toppers last so they stay crisp and bright.
For a face cake, I keep it simple: candy eyes plus one bold mouth. A pack of candy eyes for cake decorating makes kids think you’re a genius. Press them in gently so the buttercream grabs.
For “pile” texture, use marshmallows. They’re light, they stack, and they hide wobbly frosting. A bag of marshmallows large is cheap party insurance.
Ugly truth: too many toppings looks chaotic fast. Pick one hero move, like a candy rainbow across the top, then sprinkle around it. Visual hierarchy makes it look planned.
Chill 20 min before moving. Transport on a board like cake board round 10 inch, and keep it level. Cold buttercream is your seatbelt.
Common Cooking Mistakes to Avoid
Mistake: Skipping the crumb coat
Why it doesn't work: Crumbs streak the final frosting and make sprinkles look muddy.
Do this instead: Do a thin coat, chill 20 min, then finish with an offset spatula 9 inch.
Mistake: Using watery food coloring
Why it doesn't work: Extra liquid loosens buttercream so candy slides.
Do this instead: Use a gel food coloring set and add it a toothpick at a time.
Mistake: Dumping sprinkles onto soft frosting
Why it doesn't work: They melt in and clump instead of staying crisp.
Do this instead: Chill the cake first, then apply sprinkles over a tray using parchment paper sheets for easy cleanup.
Mistake: Trying advanced piping with kids
Why it doesn't work: Fine pressure control is hard, frustration spikes fast.
Do this instead: Hand them a piping bag and tips set or a zip-top bag and stick to dots and swirls.
What You'll Need to Make This
Pantry Staples
unsalted butter around $4 to $8
powdered sugar 4 lb bag around $6 to $12
Diamond Crystal kosher salt 3 lb box around $5 to $8
Specialty Ingredients
rainbow sprinkles around $4 to $10
gel food coloring set around $8 to $18
candy eyes for cake decorating around $5 to $12
Tools That Earn Their Counter Space
offset spatula 9 inch around $7 to $15
cake scraper bench scraper around $6 to $14
cake board round 10 inch around $8 to $16
Cookbooks Worth the Shelf
The Perfect Cake by America's Test Kitchen (price range $18 to $30)
The Cake Bible by Rose Levy Beranbaum (price range $15 to $30)
Budget Swaps
vanilla cake mix around $2 to $6 (save your energy for decorating)
piping bag and tips set around $8 to $18 (or snip a corner off a zip-top bag)
Shopping Guide for This Recipe
Save on sprinkles in bulk: Costco usually wins for party quantities, but online a big rainbow sprinkles tub runs about $8 to $20.
Splurge where color matters: For bold blues and reds that stay bright, grab an Americolor gel food coloring set around $12 to $25.
Last-minute substitute hack: Out of candy? Chop a few chocolate bars and use mini candy assortment for cake topping around $10 to $20.
Trend tip for 2025 parties: Go “decorate-your-own” with a cupcake decorating kit around $10 to $25 and set out bowls of toppings.
Best cheap topper run: Trader Joe’s has solid seasonal candy, but if you need a guaranteed standby, candy eyes for cake decorating are about $5 to $12.

Conclusion
If you take one move from this guide, take the chill. Cold cake plus thick buttercream solves 80 percent of the panic, and sprinkles do the rest.
Try the cookie-cutter sprinkle top first, then graduate to candy faces when you feel brave.
Will you do a sprinkle outline design, or go full candy-loaded celebration cake?