


The first time I googled how to decorate cake for boyfriend, I tried to pipe perfect letters, panicked, and “fixed” it with sprinkles until it looked like a kindergarten art project.
Here’s the low-stress method I use now: one sheet pan, buttercream texture that forgives everything, and one bold focal point (message, photo, or a clean two-tone swipe). It looks intentional even if you’re not a piping person.
This is a modern, no fondant cake vibe, more Pinterest than bakery window. Plan on about 45 min hands-on plus cooling and a quick chill (1 hr 30 min total if you hustle). Mini cakes and bento cake boyfriend styles are everywhere right now, but a sheet-pan version is faster, cheaper, and way harder to mess up.
And if you want to make it feel personal, specificity wins: his hobby, his color, your inside joke. Not a generic heart explosion.
1. Bake a Flat, Sliceable Cake That Behaves
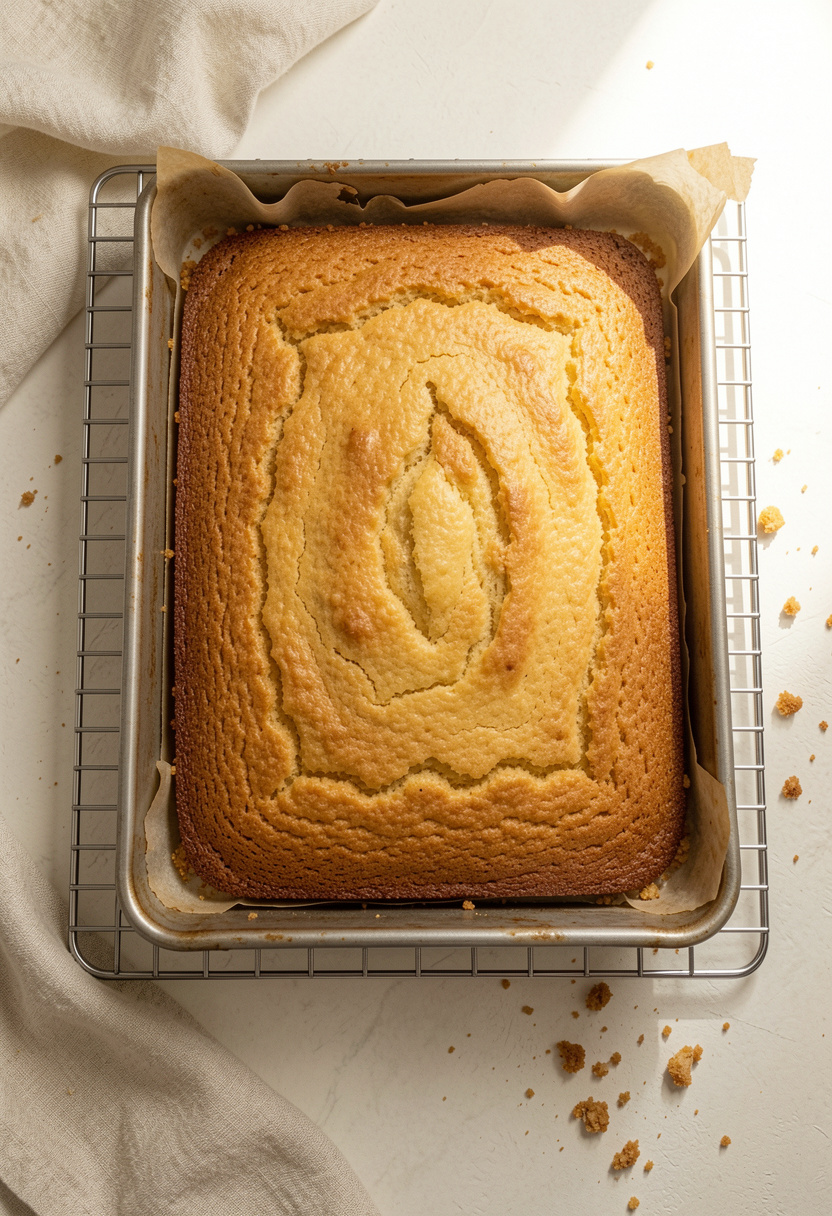

Start with a 9 by 13 in sheet cake because flat tops decorate like a dream. Use your favorite recipe, or go semi-homemade. I’ve done this with a mix on a Tuesday and nobody complained.
Bake at 350°F. Check at 25 min, then every 3 min. You want light golden edges and a springy center. If a toothpick comes out with a few moist crumbs, you’re good.
Here’s the part that saves your sanity: cool it fully, then chill 20 min before frosting. Warm cake is the number one reason buttercream slides around like it’s trying to escape.
If you want extra insurance against dry cake, brush a thin layer of syrup. A store-bought simple syrup bottle makes this stupid easy, 2 tbsp total is enough.
One-pan detail that helps: line the pan with parchment so you can lift the cake out cleanly. My favorite low-fuss pan for this is any sturdy metal 9 by 13, but the real win is having a decent offset spatula set so you’re not frosting with a dinner knife.
Mistake to avoid: trimming the whole top to “level” it. You’ll make crumbs. Instead, flip the cake upside down onto a board so the bottom becomes your smooth decorating surface.
2. Frost Fast With a Crumb Coat and One Chill
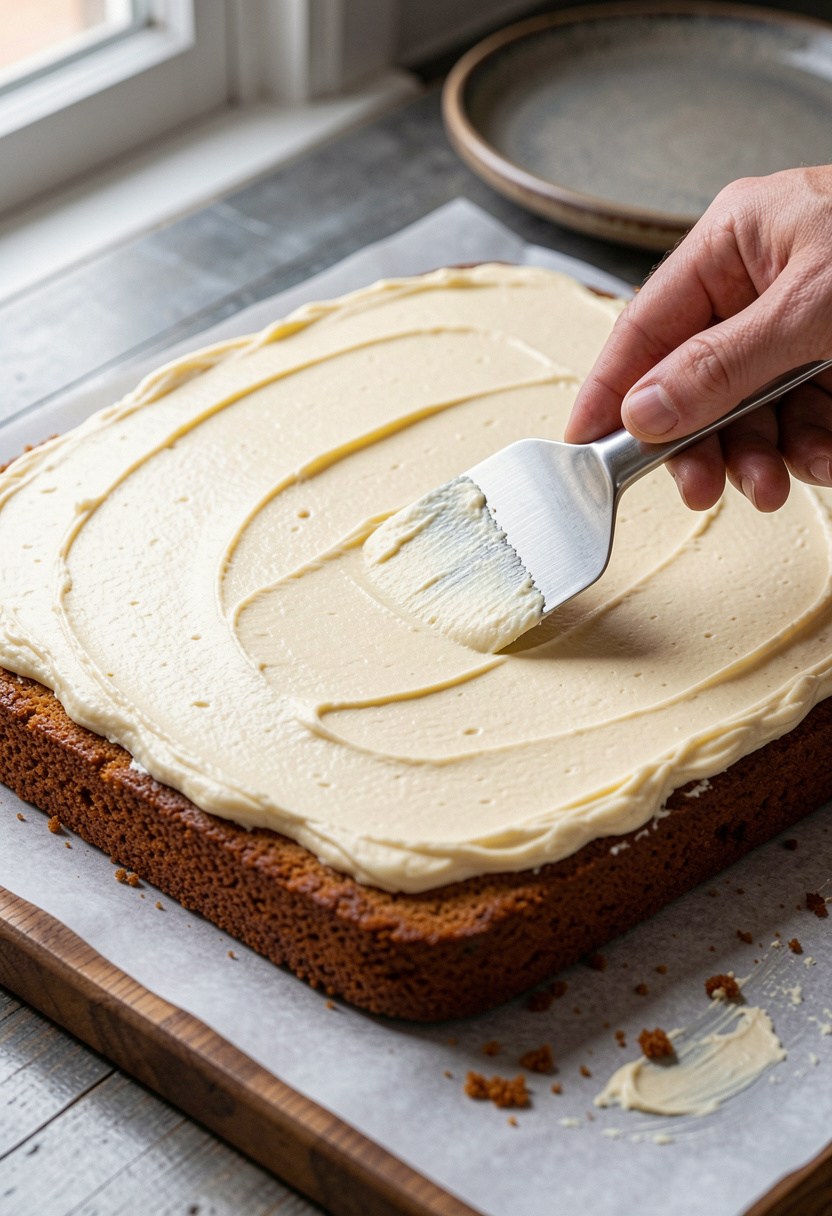

Crumb coat sounds fussy, but it’s the opposite. It’s a thin layer that traps crumbs so your final frosting stays clean.
Use American buttercream for this project. It’s stable, pipes well, and forgives beginner timing. If you’re tinting anything dark (navy, charcoal), gel color matters because liquid color makes frosting loose. A gel food coloring set is the difference between “smooth” and “soupy.”
Spread a whisper-thin layer, then chill 15 min. Not hours. Chilling briefly firms the butter, which gives you cleaner edges and less panic.
Then go in with your final coat. The stress-free trick: stop chasing perfection. Aim for smooth-ish, then commit to texture later. If you try to polish forever, buttercream warms up and you’ll get drag marks.
If you want a tool that makes this feel like cheating, a bench scraper for cakes pulls frosting into clean planes fast, even on a sheet cake.
Mistake to avoid: adding powdered sugar mid-frosting because it “looks thin.” Thin buttercream is often warm buttercream. Chill the bowl 10 min, then rewhip.
3. Create “Intentional” Texture With One Tool
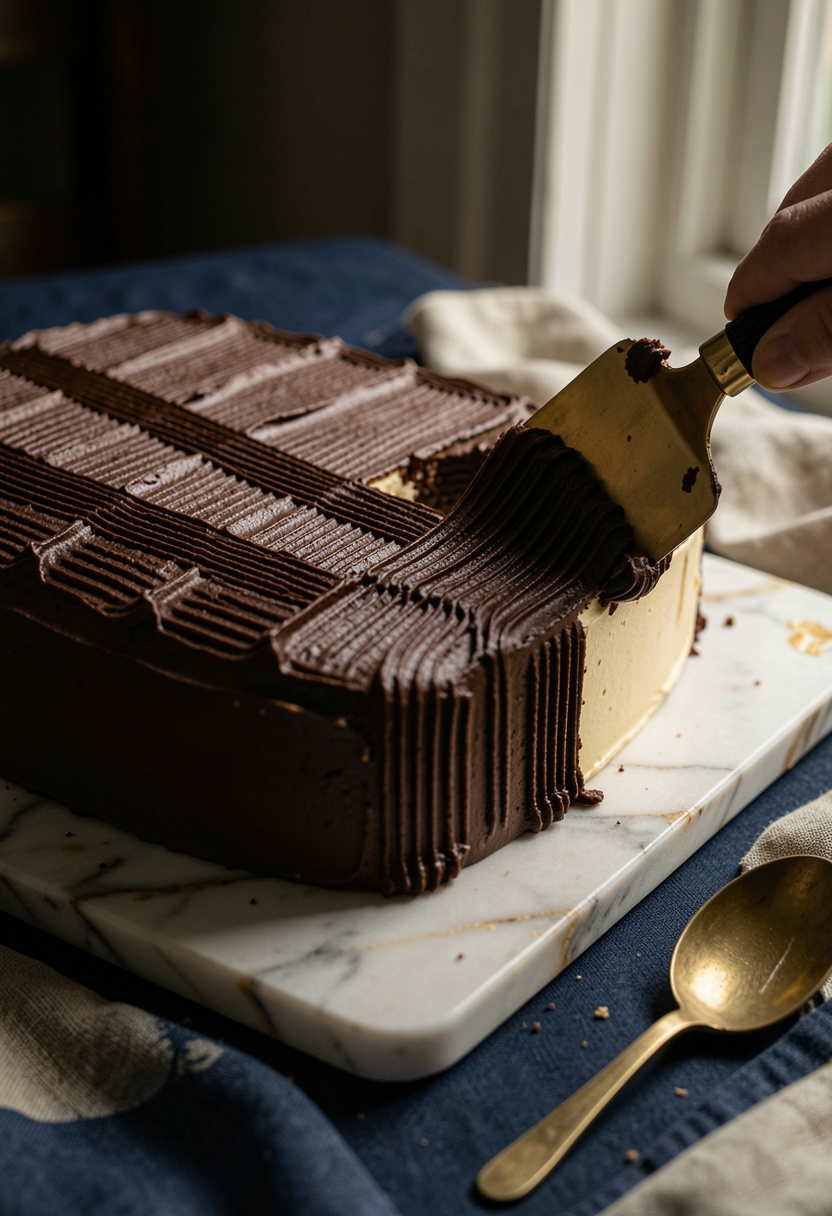

Texture is the cheat code for anyone learning buttercream cake decorations. Smooth cakes can look flat in photos. Textured cakes look “designed.”
Pick one texture and repeat it. Horizontal ridges, swoops, or simple spatula swipes. This is visual hierarchy in action: one background texture, then one focal point on top.
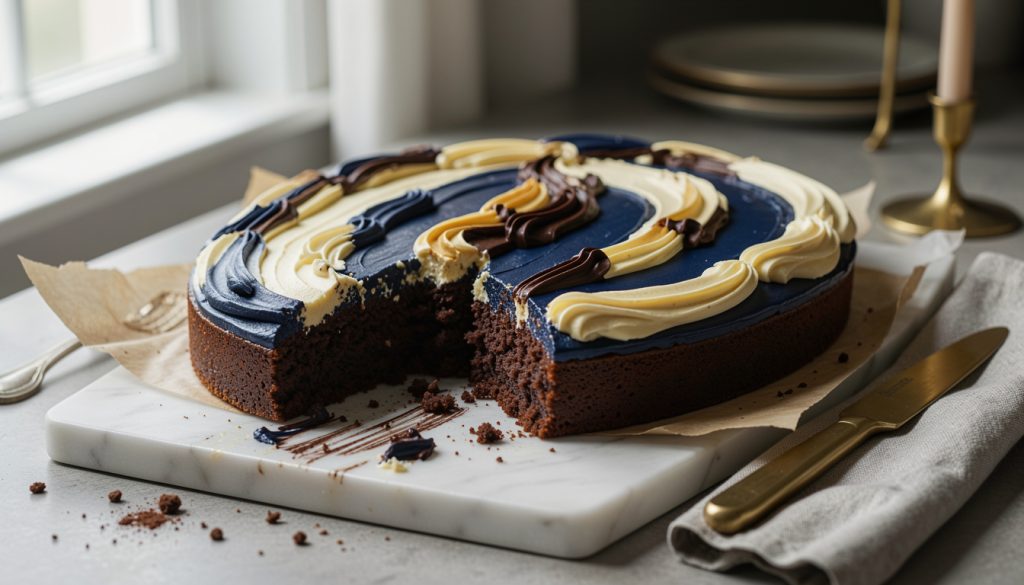
For a boyfriend vibe that feels clean and grown-up, I like a two-tone palette: cream plus navy, or chocolate plus charcoal. Add a small amount of cocoa to deepen color without using a ton of dye. A good unsweetened natural cocoa powder gives you depth fast.
To do it: spread your base color, then dab 6 to 8 little blobs of the accent color. Drag the spatula once across the top in one direction. Stop. One pass looks modern. Ten passes looks muddy.
If you want crisp stripes on the sides, comb them with that same bench scraper for cakes. It makes the whole “masculine cake design” idea feel doable without fondant.
Mistake to avoid: mixing the two colors together first “to save time.” You lose contrast and the cake reads bland.
4. Add the Focal Point: Message, Cocoa Stencil, or Photo
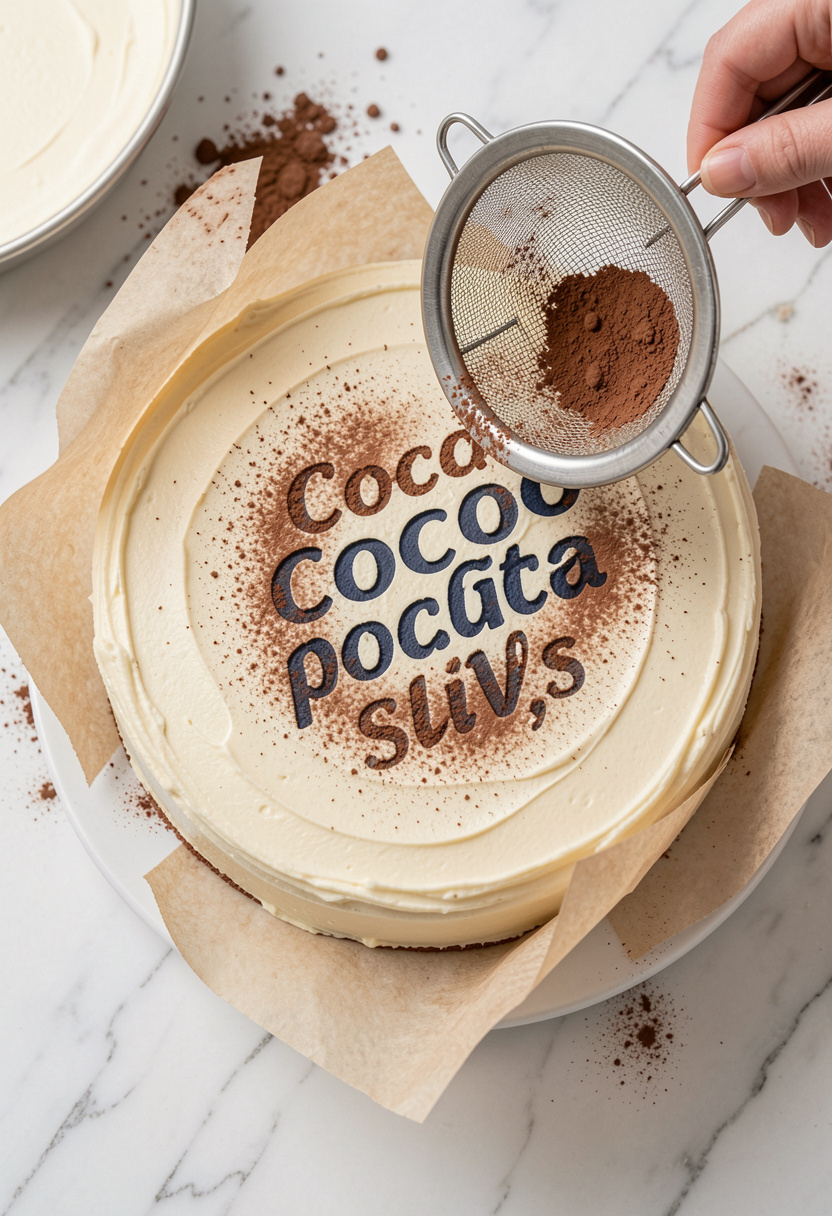

This is where the cake turns into a gift.
Option A (my go-to): cocoa stencil lettering. Cut a simple message template (inside joke, nickname, “Best Boyfriend,” whatever). Hold it flat and dust cocoa through a sieve. Clean, sharp, zero piping drama. Use that same unsweetened natural cocoa powder. It tastes like chocolate and looks polished.
Option B: edible marker on a chilled cake. Chill 20 min, then write gently. If you try to write on soft frosting, your letters wobble.
Option C: edible photo, used sparingly. The trick is pairing it with one fresh element so it doesn’t feel like a printed sheet cake from the grocery store. An edible image frosting sheet plus strawberries or raspberries looks personal, not cheap.
Mistake to avoid: placing the message dead center with no breathing room. Put it slightly above center, then leave space for a border or fruit cluster.
5. Finish With Contrast: Border, Gold, and One “Pop”
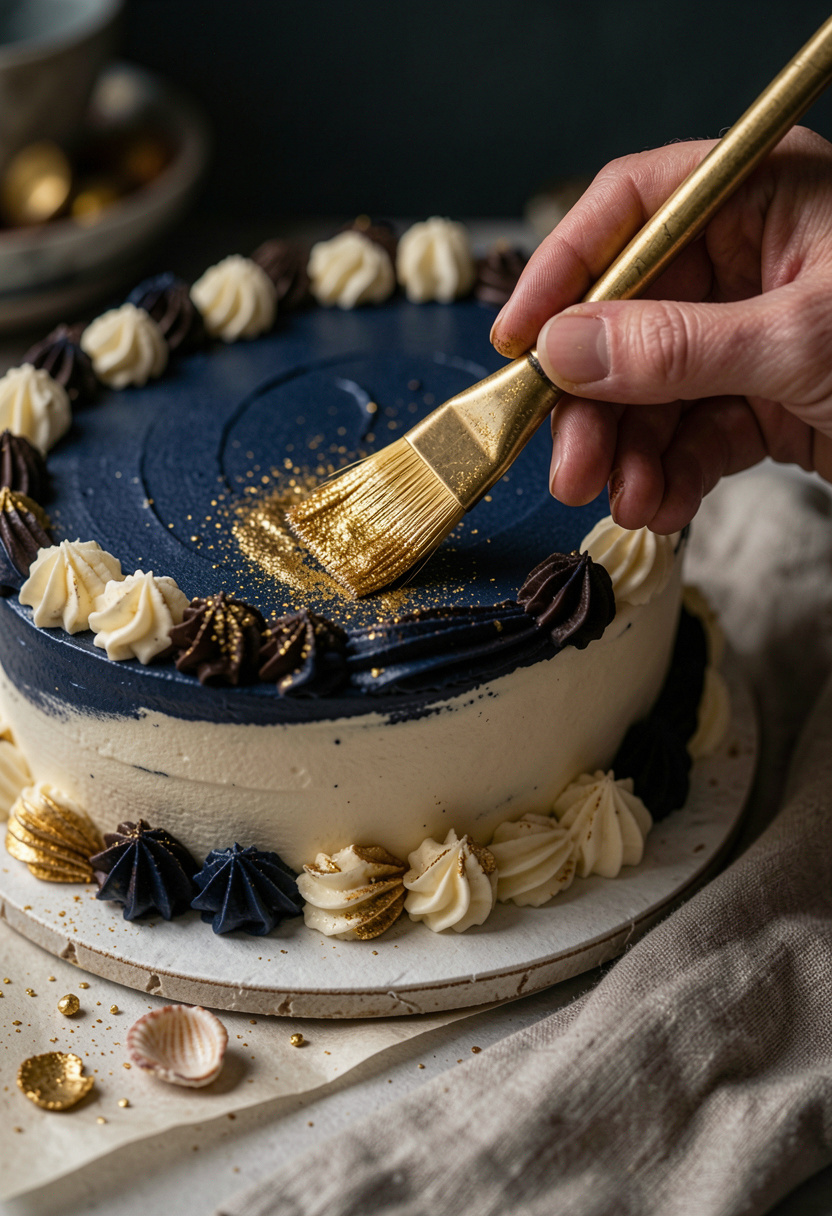

A cake looks “done” when it has contrast at the edges. That usually means a border.
Pipe a simple shell or star border with a bag, or do the low-tech version: spoon little dots around the rim and tap them with the back of a spoon. If you want easy piping without fighting flimsy bags, a piping bag and tip set is worth it.
Now the cheat that makes everything feel custom: a little metallic. Tap on gold luster dust with a dry brush, or mix a pinch with a drop of clear extract and paint tiny strokes.
Finish with one “pop” element. Berries, cocoa nibs, or a single candle. Not a pile of toppers. Crowded cakes look chaotic fast, and this is the moment where people overdo it.
Mistake to avoid: adding wet fruit straight onto soft buttercream. Pat berries dry first or they’ll weep and stain your clean frosting.
Common Cooking Mistakes to Avoid
Mistake: Frosting before the cake is fully cool
Why it doesn't work: Buttercream melts and slides, then you chase it.
Do this instead: Cool completely, then chill 20 min. Use a cake turntable stand if you have one for smoother passes.
Mistake: Using liquid food coloring for dark shades
Why it doesn't work: It thins frosting and makes colors look washed out.
Do this instead: Use a gel food coloring set and let the color deepen 15 min before adjusting.
Mistake: Trying to do fancy script piping as a beginner
Why it doesn't work: Warm hands and shaky pressure make letters look messy.
Do this instead: Do cocoa stencil text with a powdered sugar 2 lb bag nearby to patch tiny smudges, then re-smooth.
Mistake: Too many themes at once (sports plus beer plus hearts)
Why it doesn't work: No focal point, so it reads cluttered.
Do this instead: Pick one theme and commit. Add one clean topper via an edible image frosting sheet or one color palette.
What You'll Need to Make This
Pantry Staples
- Diamond Crystal kosher salt 3 lb box around $5 to $8
- Powdered sugar 2 lb bag around $3 to $6
- Unsweetened natural cocoa powder around $4 to $9
Specialty Ingredients
- Pure vanilla bean paste around $12 to $22
- Gold luster dust around $6 to $15
- Edible image frosting sheet around $9 to $25
Tools That Earn Their Counter Space
- Offset spatula set around $8 to $18
- Bench scraper for cakes around $6 to $15
- Piping bag and tip set around $8 to $20
Cookbooks Worth the Shelf
- The Cake Bible by Rose Levy Beranbaum around $18 to $35
- Cake Confidence by Mandy Merriman around $15 to $28
Budget Swaps
- Hand mixer 5 speed around $18 to $45 (skip the stand mixer if you’re only making buttercream)
- Vanilla layer cake mix around $2 to $6 (put your effort into the decoration)
Shopping Guide for This Recipe
Splurge where you taste it: Get pure vanilla bean paste around $12 to $22 for buttercream flavor, save on everything else.
Save your color palette: Dark “masculine” tones are easier with a gel food coloring set around $10 to $25, not liquid dye.
2025 trend shortcut: For a personalized mini vibe on a sheet cake, use one clean photo moment with an edible image frosting sheet around $9 to $25 and keep the rest minimal.
Fresh add-ons that behave: Buy berries the day of and pat dry, then place them last. If you want a fancy finish without more work, tap on gold luster dust around $6 to $15.
Out of piping tips mid-decorate: Use a zip-top bag hack, but keep a backup piping bag and tip set around $8 to $20 for cleaner borders.
Conclusion
If you try one part first, make it the texture phase. A few confident swipes beat an hour of smoothing, and it solves the “my cake looks bland” problem fast.
Keep the rule: one focal point, then contrast at the edges. A pinch of gold luster dust does more than a drawer full of toppers.
Will you go funny message, hobby-themed cake, or photo cake idea for his version?