
I once fed my in-laws pork chops that were dry as toast because I panicked at a dark edge and kept cooking.
How to cook boneless pork chops so they come out tender is mostly about salt timing, hot metal, and a proper rest. Read this and you’ll have juicy 1-inch chops in about 25 to 30 min total, beginner-friendly with one slightly tricky moment at the sear.
They finish bright, savory, and a little buttery — the kind of chop that makes people ask for seconds.
This is leaning Italian-American weeknight comfort with a modern pantry twist. Hands-on time is about 15 to 20 min; total time about 30 min.
This method suits weeknight cooks who want restaurant-quality texture without fuss. Lately I’ve noticed dry brining and quick pan sauces getting the most praise at home.
1. The Pre-Sear Setup: Dry Brine and Temper
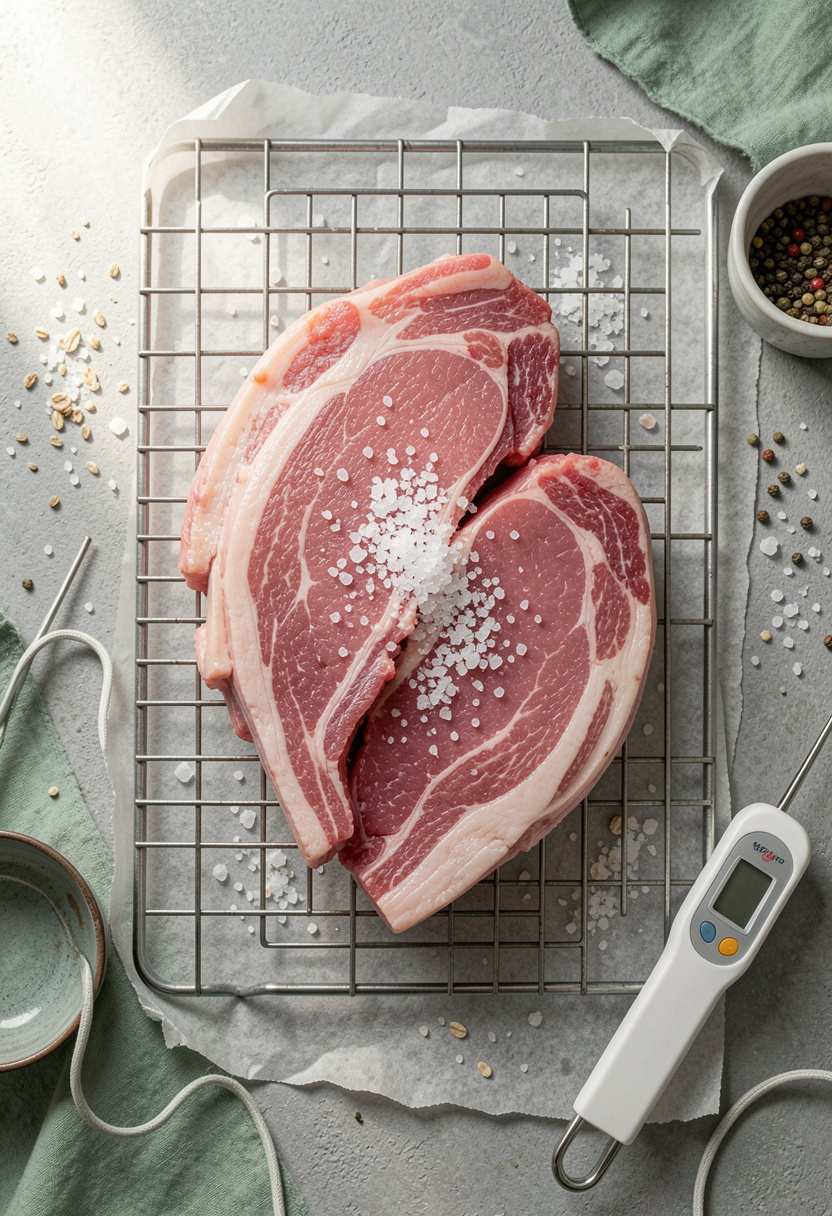
Start with a light dry brine 40 min to 2 hr before cooking for best results. Salt draws moisture to the surface then reabsorbs it, seasoning deep into the meat and improving juiciness.
I use coarse kosher salt for predictability. A Diamond Crystal kosher salt 3 lb box is what I buy. Sprinkle about 1/2 tsp per side for a 1-inch chop, then place on a wire rack over a sheet pan.
Let chops come toward room temp for 30 min before the pan so the center heats evenly. The cooking principle here is salt timing: short brine equals better protein hydration and a gentler texture.
Common mistake: salting just before the pan. That seasons the surface but does little for internal tenderness. Do the opposite and the bite changes.
2. The Sear in Smoking-Hot Cast Iron
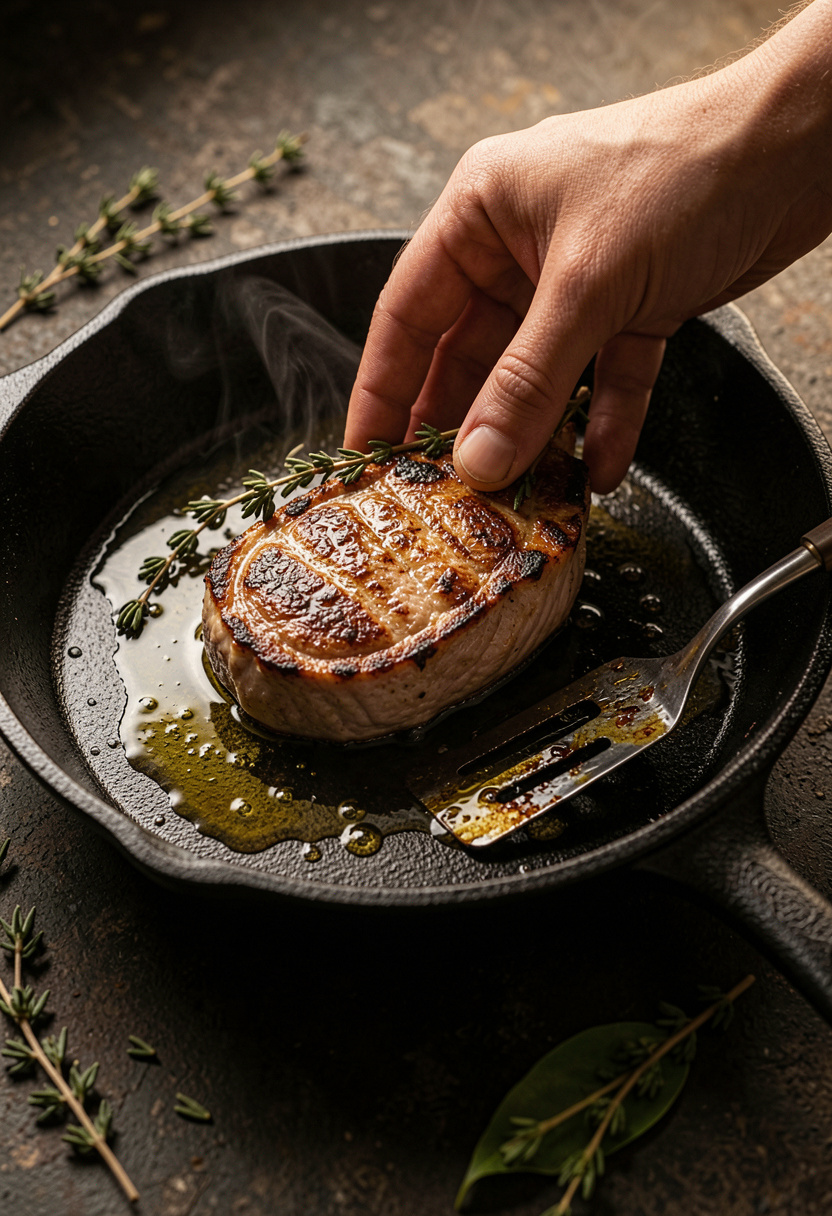
Get the pan seriously hot. I preheat a Lodge cast iron skillet 12 inch over medium-high until a drop of water dances. Add a high-smoke-point oil like Chosen Foods avocado oil 16 oz.
Sear a 1-inch boneless chop about 3 to 4 min per side until a deep golden crust forms. The Maillard reaction is why this step matters — it builds flavor and a savory shell that helps trap juices.
Use an instant-read thermometer to watch internal temp. Pull at 140°F; carryover will raise to USDA’s recommended 145°F with a 3 min rest (USDA Food Safety and Inspection Service).
Big mistake: crowding the pan. The temperature drops and you steam instead of sear. Cook in batches if needed.
3. The Butter Baste With Garlic and Thyme
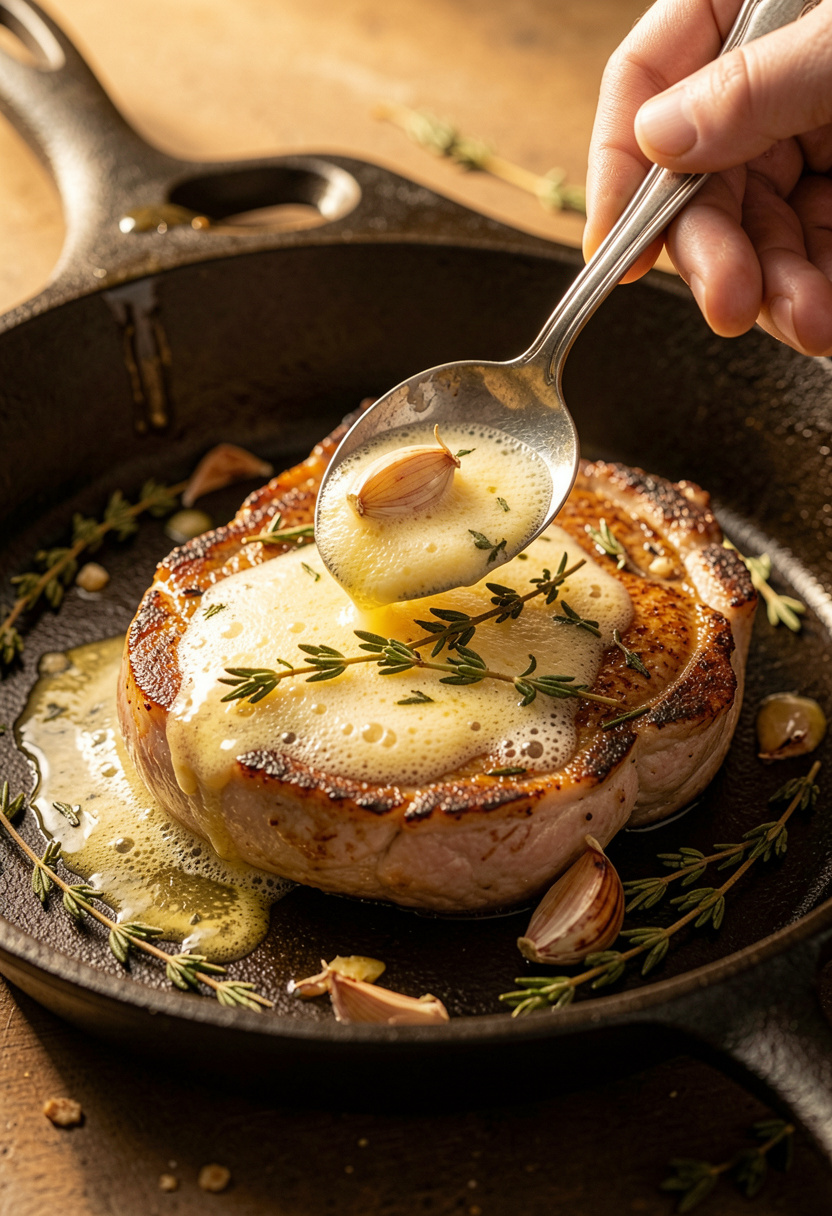
Once you flip, add a knob of butter and a couple thyme sprigs. I use Kerrygold unsalted butter 8 oz for its nutty browning.
Tilt the pan and spoon melted butter over the chop for 30 to 60 seconds. This is emulsification in miniature: butter helps carry flavor into the meat while the aromatics brown and perfume the fat.
Finish the pan with a splash of acid to balance richness. A quick deglaze with Bragg organic apple cider vinegar 16 oz or a tablespoon of Dijon ties the sauce together.
Don’t pour cold butter straight in at the start. It will foam and sputter. Warm it and baste briefly for gloss and flavor.
4. The Rest That Makes or Breaks the Bite
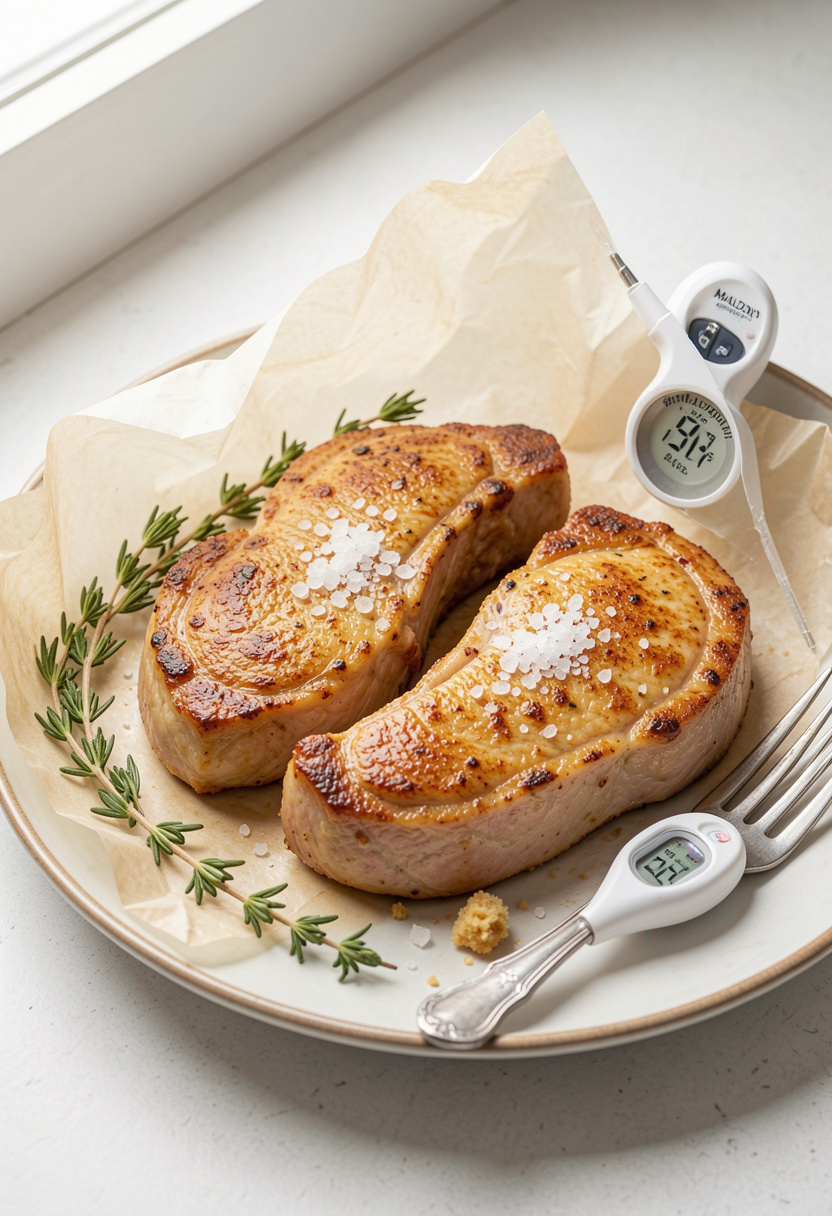
Resting is non-negotiable. Tent chops loosely with foil and wait 5 to 7 min. Internal temp will rise about 3 to 5°F and juices redistribute.
I finish with a sprinkle of Maldon flaky sea salt and a quick squeeze of lemon for brightness. That acid wakes the dish and cuts through butter richness.
Mistake people make: slicing immediately. The juices will run out and the meat becomes dry. Rest and patience give you the tender bite you want.
Common Cooking Mistakes to Avoid
Mistake: Over-salting during a long brine
Why it doesn't work: Salt concentration can make meat taste metallic and dense.
Do this instead: Use a measured Diamond Crystal kosher salt 3 lb box and 1/2 tsp per side for 1-inch chops.
Mistake: Crowding the pan when searing
Why it doesn't work: Pan temp drops and meat steams instead of browns.
Do this instead: Sear in 2 batches using a Lodge cast iron skillet 12 inch with room around each chop.
Mistake: Relying only on color to judge doneness
Why it doesn't work: Color can mislead; thickness and heat vary.
Do this instead: Check internal temp with a Thermapen-style instant-read thermometer.
What You'll Need to Make This
Pantry Staples
Diamond Crystal kosher salt 3 lb box around $5 to $8
Chosen Foods avocado oil 16 oz around $8 to $12
Specialty Ingredients
Lao Gan Ma chili crisp 7.4 oz around $6 to $10
Maille Dijon mustard 8.4 oz around $4 to $7
Tools That Earn Their Counter Space
Lodge cast iron skillet 12 inch approx $25 to $40
Thermapen-style instant-read thermometer approx $60 to $120
Bakery wire rack half sheet around $10 to $20
Cookbooks Worth the Shelf
Salt Fat Acid Heat by Samin Nosrat (price range $18 to $28)
The Food Lab by J. Kenji Lopez-Alt (price range $20 to $30)
Budget Swaps
T-fal nonstick 10 inch skillet as a budget sear pan approx $20 to $35 (Aldi carryout pans are often cheaper)
Shopping Guide for This Recipe
Salt Matters: Buy coarse kosher like Diamond Crystal kosher salt for predictable seasoning, around $5 to $8.
If You’re Out of Thyme: Use dried in a 1:3 ratio, but fresh thyme gives better aroma; try a small fresh thyme bundle around $3 to $6.
2025 Trend Hack: Pick up a jar of Lao Gan Ma chili crisp to finish chops for a spicy, umami hit, approx $6 to $10.
Splurge vs Save: Spend on a reliable instant-read like a Thermapen-style thermometer; save on oil by buying store-brand avocado oil.
Conclusion
Start with the dry brine. It changes everything about the chop’s texture and flavor.
Finish with a quick butter baste and a 5 to 7 min rest so the chop stays juicy and glossy. A final sprinkle of Maldon or a spoon of chili crisp takes it to weeknight-worthy.
Will you try the dry-brine first or jump straight to the butter-baste finish?