
My brother-in-law said it tasted like takeout. He was wrong and right. I told him it was how to cook boneless skinless chicken breast without drying it out, and I had 20 minutes and a shallot.
You’ll learn a dry-brine trick, the exact sear-to-oven timing for a 6 oz breast, why butter-basting matters, and the safe doneness cue to use. This is weeknight-friendly, beginner friendly, and worth the five extra minutes.
I cook this when I want a fast, juicy dinner that feels intentional. The flavor leans Italian-American with garlic, thyme, and a squeeze of lemon. Total time: about 35 to 45 min, hands-on 20 min. Perfect for weeknight cooks who want restaurant-quality texture without faffing.
I’ve noticed dry brining, instant-read thermometers, and chili crisp finishing have taken off in home kitchens in 2025. Use one or all; they stack.
1. The Pre-Sear Setup: Dry Brine and Temper
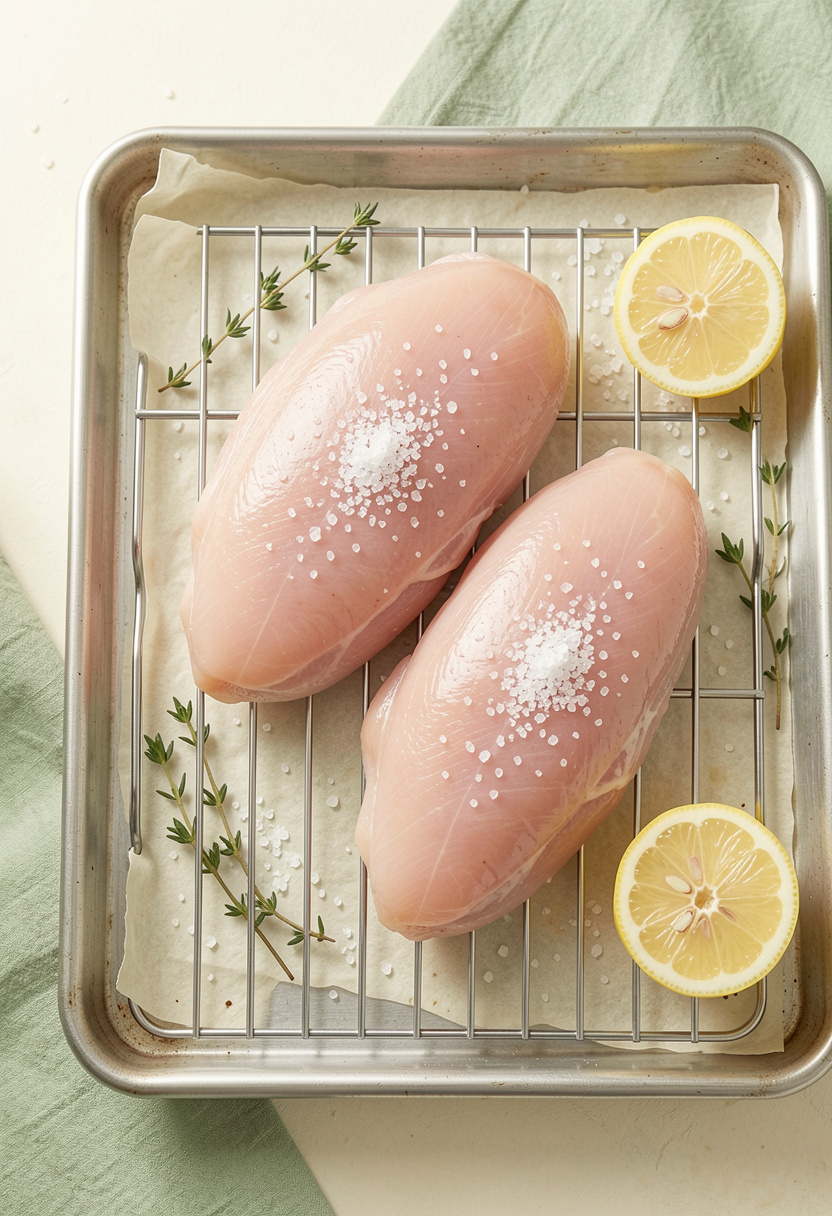
Salt early. Pat breasts dry, then sprinkle kosher salt evenly—about 1/2 tsp per 6 oz breast—on both sides. This is dry brining. It firms the surface and lets muscle proteins hold more moisture rather than weeping it out during cooking.
Let the breasts rest on a wire cooling rack over a sheet pan for 30 min to overnight in the fridge. Short rest works; overnight is magic for thicker pieces. Temper at room temp 20 to 30 min before cooking so the pan doesn’t over-sear the exterior while the inside lags.
Tool tip: I use an instant-read thermometer Thermapen Mk4 to track internal temp. The principle is simple: salt changes protein structure, improving water retention and seasoning through the meat.
Mistake to avoid: salting at the very end. If you salt only before searing, the crust tastes flat and the inside stays under-seasoned.
2. The Sear in Smoking-Hot Cast Iron
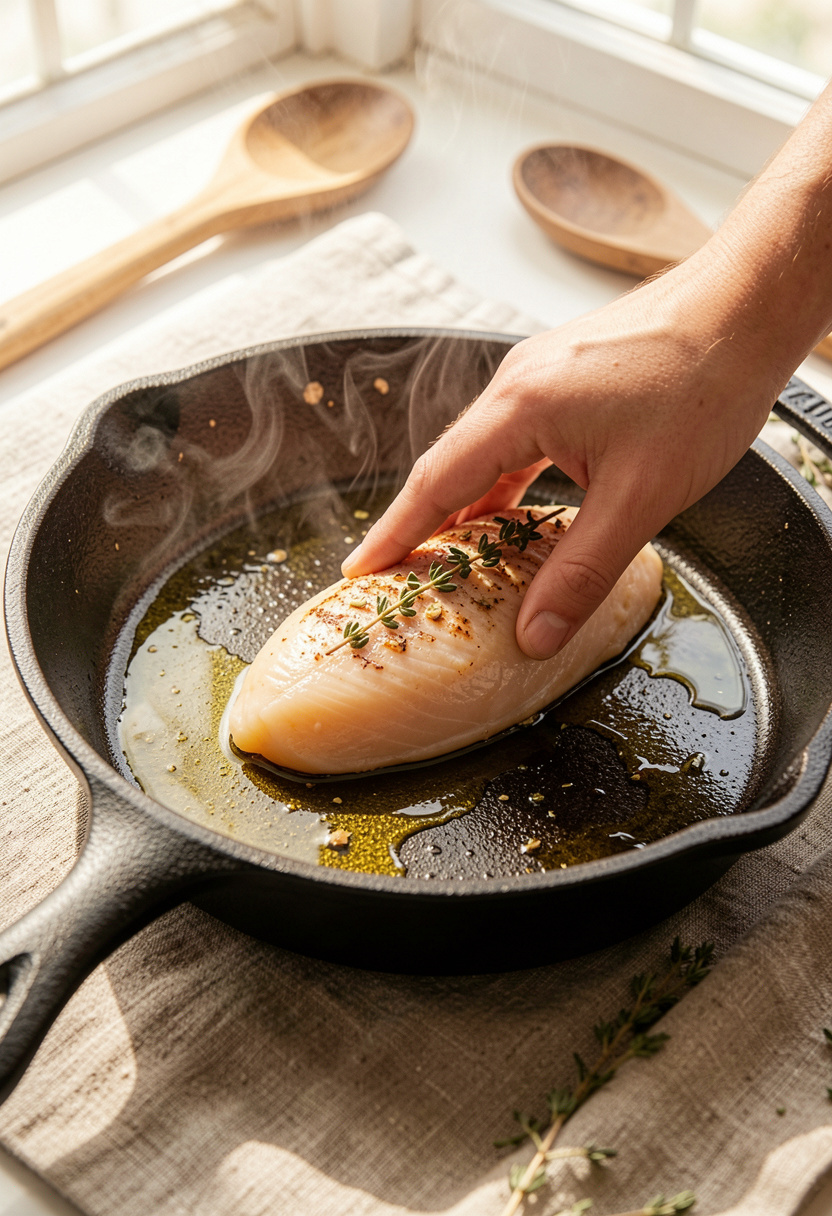
Heat a Lodge cast iron skillet 12 inch until very hot, about 400°F surface temp. Use a high smoke-point fat like Chosen Foods avocado oil 16 oz at 1 tbsp. The goal is fast Maillard browning, the crust that locks in juices.
Sear breasts 2 to 3 min on the first side without moving them, then 1.5 to 2 min on the second. You want a deep golden crust. Flip and immediately transfer to the oven if finishing there. Maillard reaction gives flavor and texture; a dry surface is essential for it, so don’t overcrowd the pan.
Common pitfall: starting in a cool pan. If the pan is not hot, the chicken will steam and the crust won’t form. If you don’t have cast iron, a 12-inch stainless skillet works but expect slightly different fond.
3. The Butter Baste with Garlic and Thyme
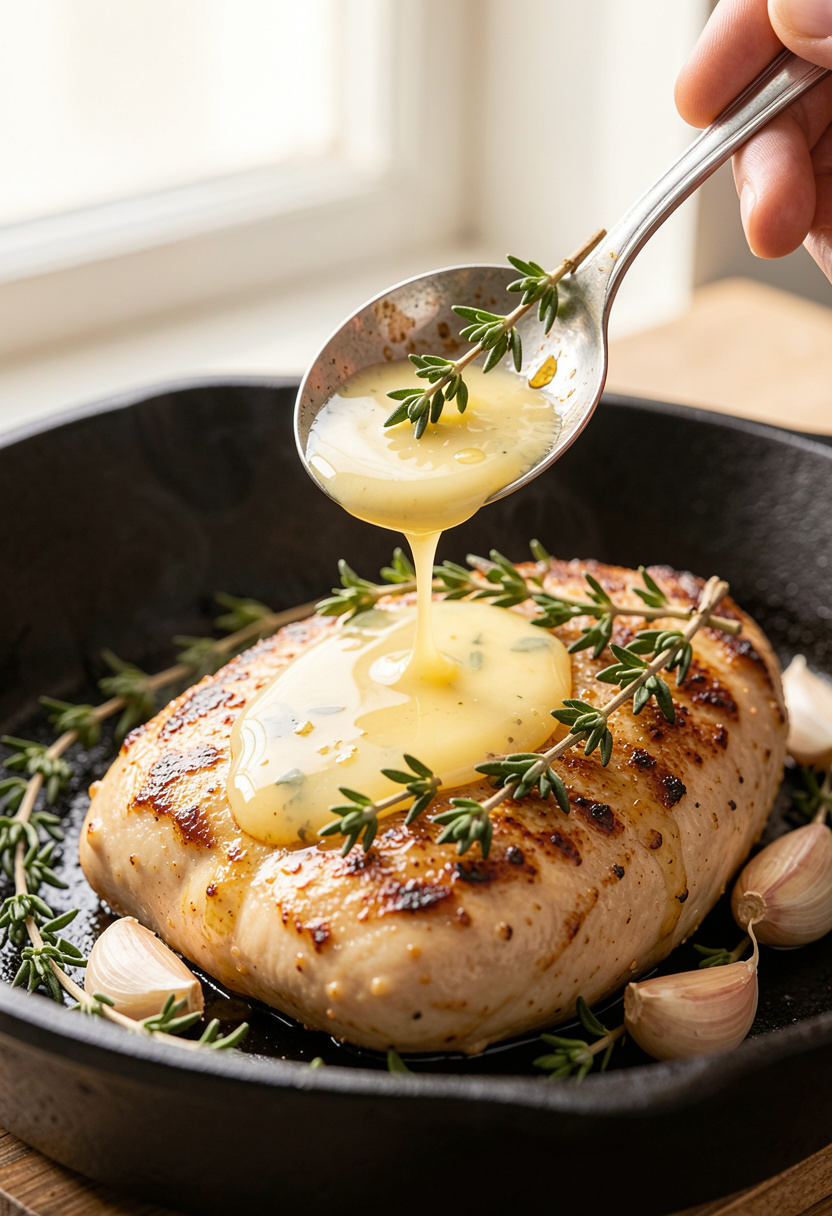
After searing, add 1 tbsp butter, two smashed garlic halves, and 4 thyme sprigs to the pan. Tilt the skillet and spoon the sizzling butter over the breasts for 30 to 60 sec. This fat infusion builds flavor and gives a silky, glossy finish.
If you prefer salted butter, I reach for Kerrygold butter 8 oz. The emulsion of butter and pan juices is simple chemistry: fat carries aroma compounds and helps the crust taste round instead of harsh.
Technique note: do this on medium heat to avoid burning the butter. Burnt butter tastes bitter and ruins the dish. If butter burns easily, switch to a mix of butter and olive oil like Colavita extra virgin olive oil 16.9 oz.
4. The Rest That Makes or Breaks the Bite
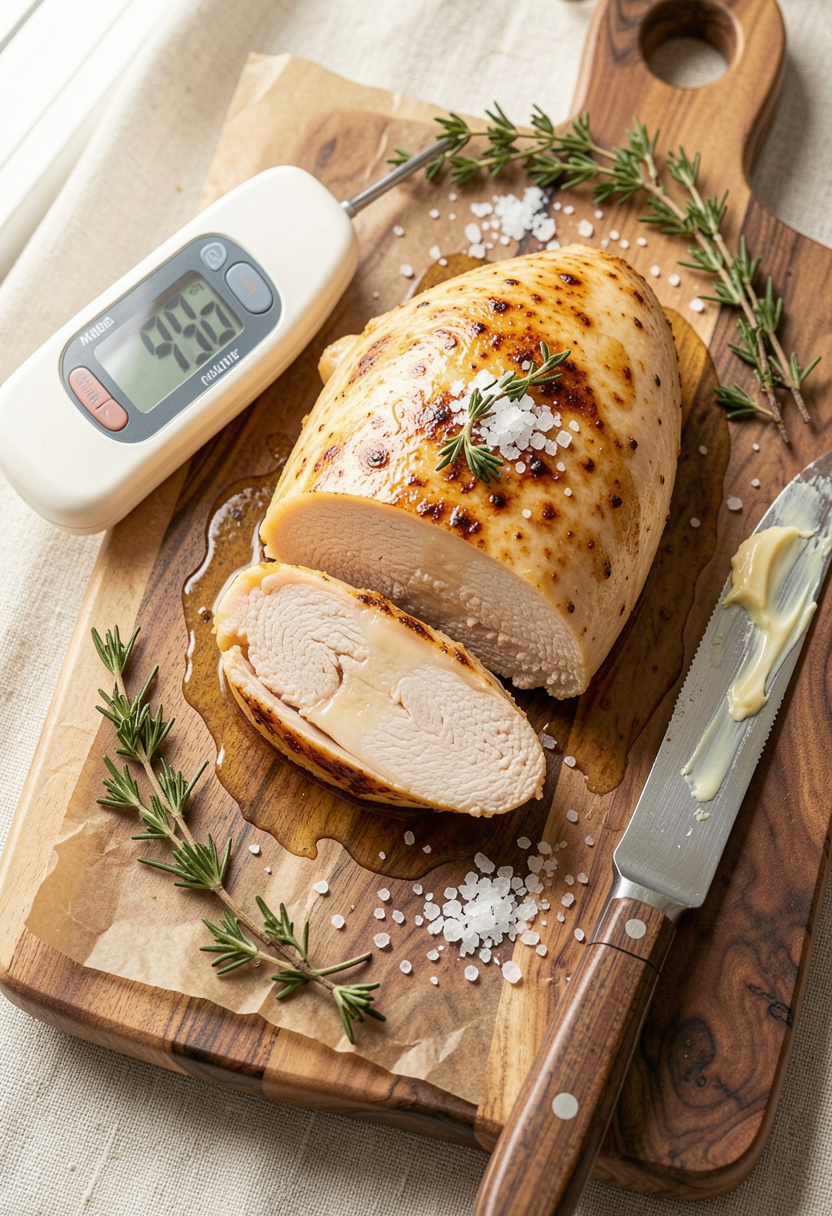
Carryover cooking matters. Pull breasts from the pan when the thickest part reads 160°F and let them rest 5 to 7 min; internal temp should rise to 165°F per USDA guidance. Rest time lets juices redistribute so the cut is moist instead of a dry mulch.
Slice across the grain into thin ribbons. Finish with a flake of Maldon flaky sea salt 4.5 oz and a squeeze of lemon for brightness. The salt at the end gives a pop against the buttery crust.
Common mistake: cutting immediately off the pan. You steal the juices. Resting is non-negotiable.
5. Quick Sauce and Finish: Pan Deglaze and Brighteners
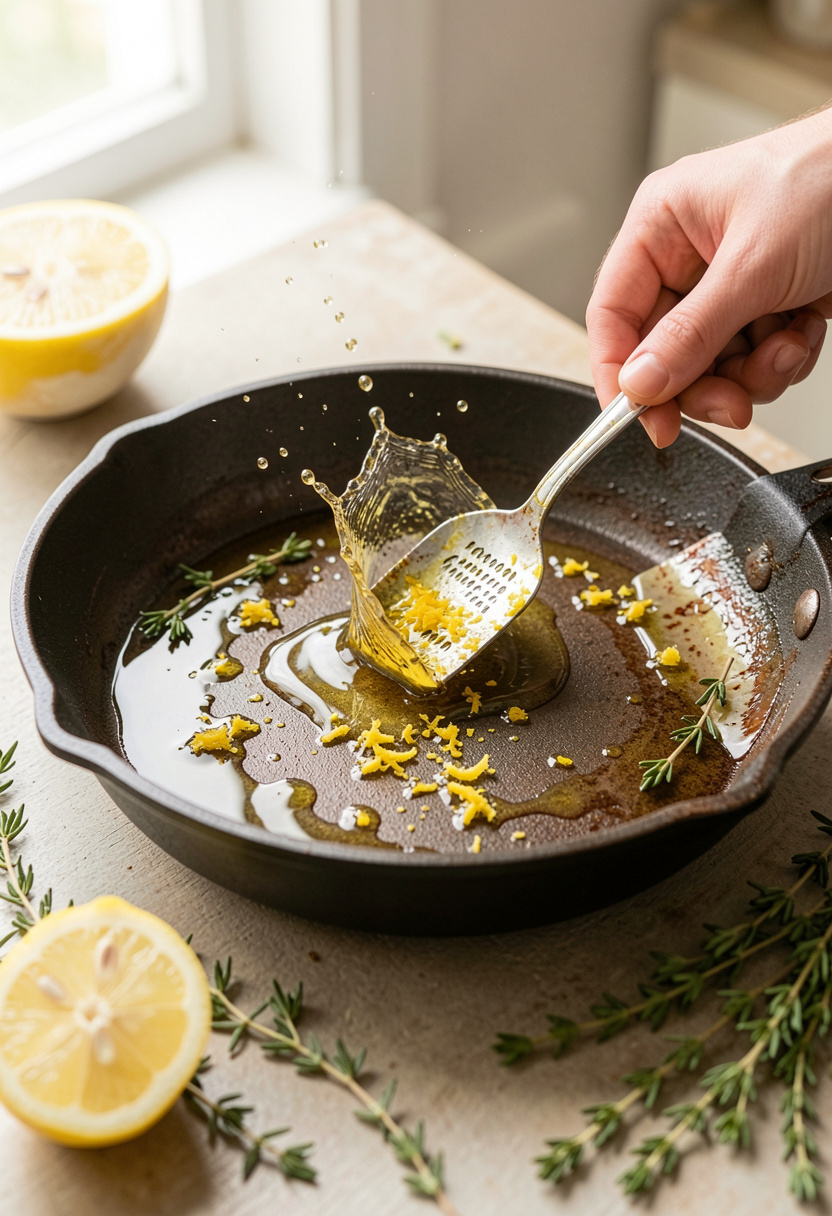
Deglaze the hot pan with 1/4 cup dry white wine, chicken stock, or a splash of water. Scrape the fond with a wooden spoon to make a quick pan sauce. Add 1 tbsp cold butter off heat to finish the sauce into a silky emulsion.
For brightness, whisk in 1 tsp of chili crisp like Laoganma chili crisp 7.4 oz or 1 tsp Dijon mustard. Acid balances fat and lifts the overall flavor.
Mistake: boiling the sauce hard. You lose gloss and depth. Keep it gentle and taste as you tweak seasoning.
Common Cooking Mistakes to Avoid
Mistake: Crowding the pan when searing.
Why it doesn't work: Pan temperature drops and meat steams, so you get no crust.
Do this instead: Cook in batches and use a 12-inch stainless steel skillet if you need more room.
Mistake: Skipping the thermometer and guessing doneness.
Why it doesn't work: Visual cues lie and you risk undercooking or drying out.
Do this instead: Use an instant-read thermometer Thermapen Mk4 and pull at 160°F, rest to 165°F.
Mistake: Over-thinning breasts by pounding paper-thin.
Why it doesn't work: You lose the bite and the sear surface that creates flavor.
Do this instead: Butterfly thick breasts or slice into cutlets. A digital kitchen scale helps portion evenly.
What You'll Need to Make This
Pantry Staples
Diamond Crystal kosher salt 3 lb box around $5 to $8
Colavita extra virgin olive oil 16.9 oz approx $10 to $16
Parchment paper roll around $6 to $12
Specialty Ingredients
Laoganma chili crisp 7.4 oz approx $6 to $10
Maldon flaky sea salt 4.5 oz around $8 to $14
Kerrygold butter 8 oz approx $4 to $6
Tools That Earn Their Counter Space
Lodge cast iron skillet 12 inch approx $25 to $40
Thermapen Mk4 instant-read thermometer around $80 to $110
Microplane zester grater approx $12 to $20
Cookbooks Worth the Shelf
Salt Fat Acid Heat by Samin Nosrat (price range $18 to $28)
The Food Lab by J. Kenji López-Alt (price range $18 to $35)
Budget Swaps
Great Value kosher salt 3 lb box around $3 to $6 (Aldi or store brand saves money)
ThermoPro instant-read thermometer approx $15 to $30 (good budget thermometer)
Shopping Guide for This Recipe
Freshness Matters: Buy chicken the day you plan to cook or vacuum-sealed for 2 days; look for pale pink color and no off-odor. See fresh poultry basics at USDA poultry guidelines for safety.
Salt Smart: Use Diamond Crystal kosher salt not table salt for brining measurement accuracy, around $5 to $8.
Substitution Hack: Out of butter? Use 1 tbsp olive oil plus 1/2 tsp Dijon to finish the pan sauce. I keep Colavita olive oil on hand, approx $10 to $16.
2025 Trend Pick: Home cooks are finishing proteins with chili crisp for texture and umami. Try Laoganma chili crisp around $6 to $10.
Splurge vs Save: Splurge on a reliable Thermapen Mk4 if you cook meat often; save on parchment paper or store-brand salt.
Whole-Spice Tip: Buy whole peppercorns and grind fresh. A small pepper mill pays off in aroma, approx $10 to $30.
Conclusion
Start with the dry-brine. It gives the biggest jump in juiciness for the least effort. Then trust high heat for the sear, butter for flavor, and the thermometer for safety.
One finishing tip: flaky salt at the end and a bright acid lift make the chicken sing. I like a drizzle of lemon and a pinch of Maldon.
Will you try the dry-brine first or jump to the butter-baste finish?