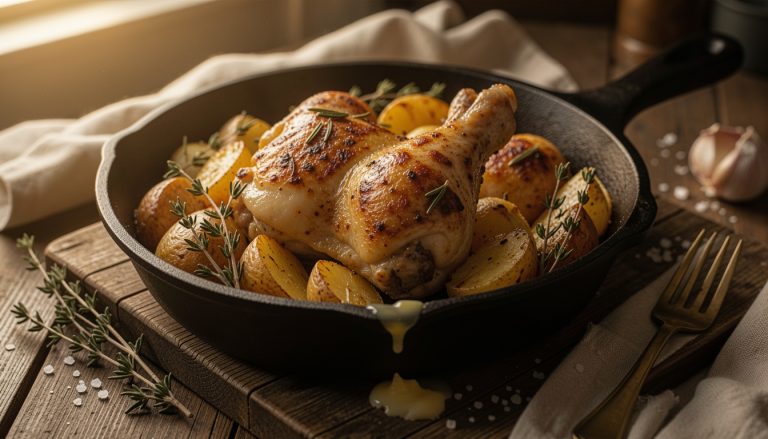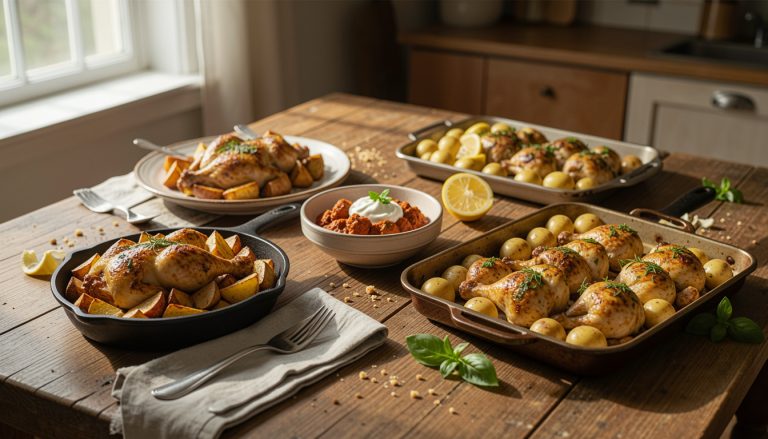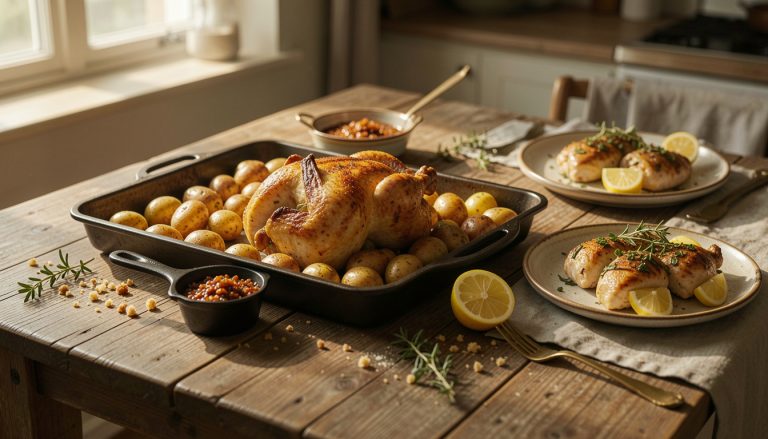

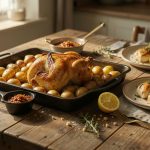
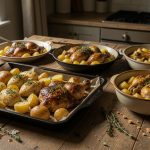
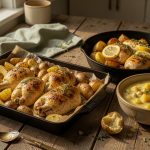

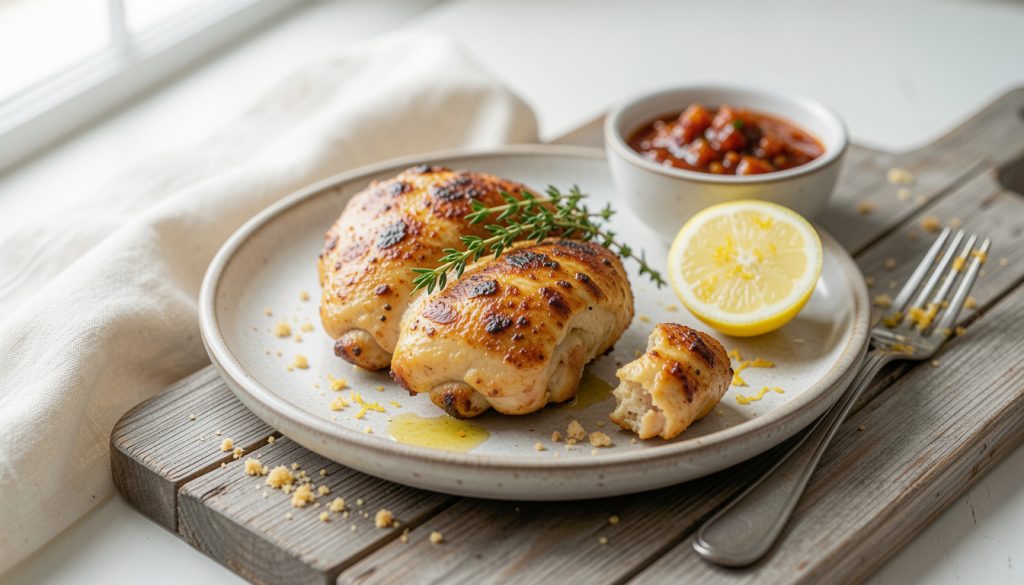

My first tries in the air fryer left me with leathery skin and chalky meat. I learned how to cook chicken in air fryer the hard way.
This guide shows the few things that actually keep the meat juicy and the skin crisp. Expect about 35 to 45 min total, beginner-friendly with one small trick that makes the difference.
The flavor leans herb-forward with a little browned butter finish. It is weeknight-friendly, and yes, you can skip the skillet sear if you want less mess. Lately I notice home cooks favor quick dry brines and short high-heat finishes, which is exactly what I use.
1. The Pre-Salt Setup: Dry Brine and Temper
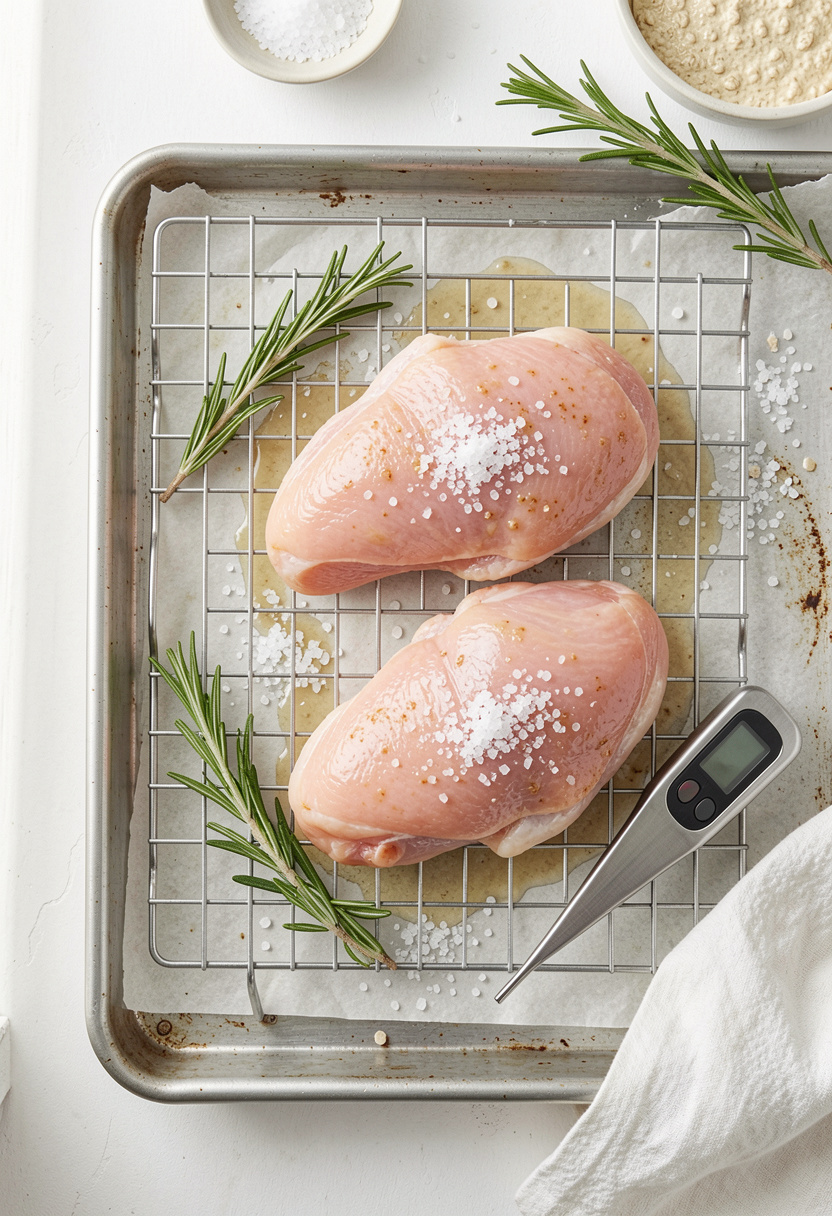

Salt early. I dry brine bone-in thighs with Diamond Crystal kosher salt the night before. Salt pulls moisture to the surface, then reabsorbs with seasoning, so the meat holds more juice while the skin firms for crisping.
Use Diamond Crystal kosher salt 3 lb box around $5 to $8 and a wire rack like the OXO Good Grips wire rack approx $12 to $20 to let air circulate.
Science note: Dry brining restructures proteins so they bind water better. Salt timing matters. I salt 12 to 24 hr ahead for thighs, 1 to 2 hr for breasts. Then bring the meat to room temp for 20 to 30 min before cooking.
Mistake to avoid: Salting and immediately air frying. That drives surface moisture into a steamed skin. Do this instead and you will have dryer-proof texture.
2. The Crisp Coating: Oil, Baking Powder, and Flavor
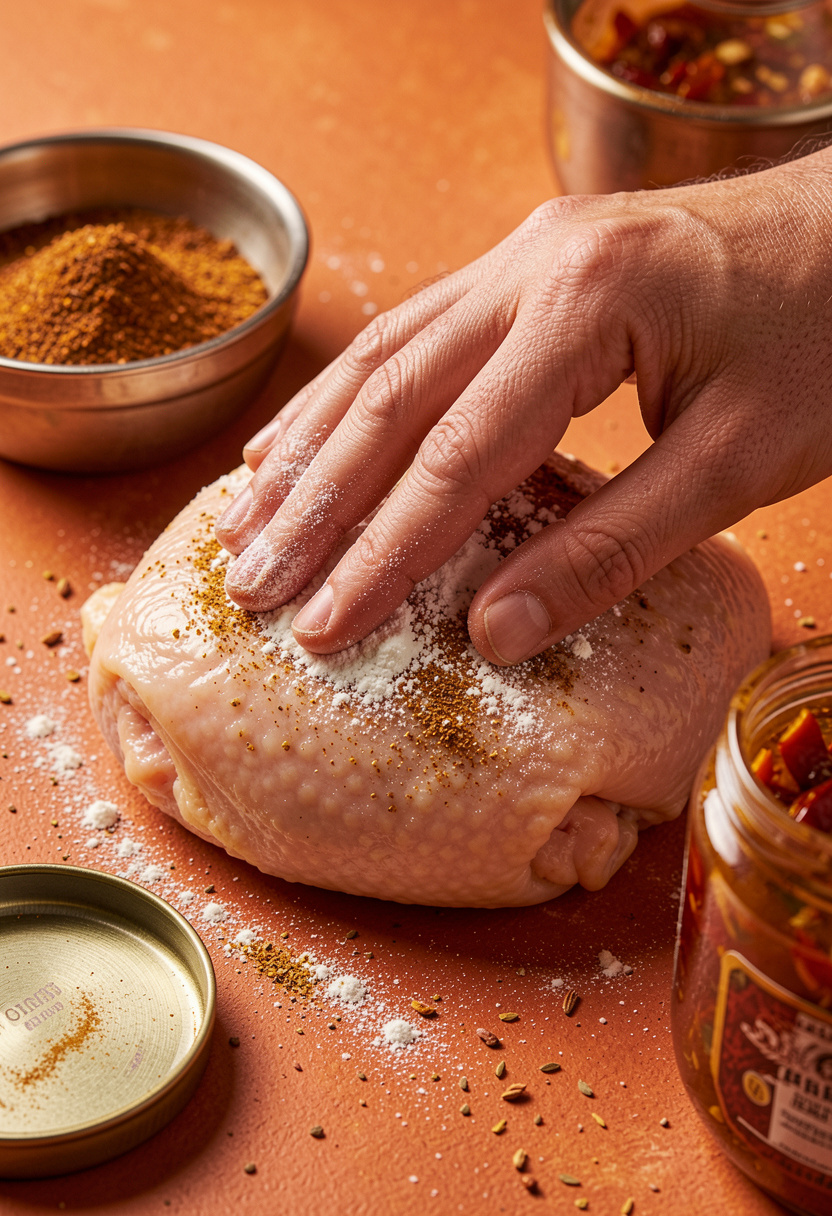

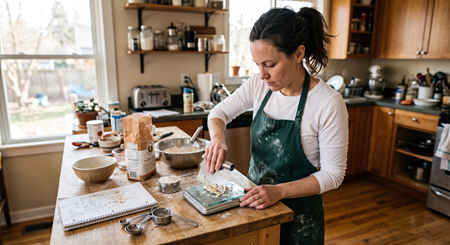
The trick is a whisper of baking powder with oil. A 50/50 mix of neutral oil and melted butter under the skin helps conduction and flavor. Add 1 tsp baking powder per pound to help the skin blister.
I use Avocado oil spray around $6 to $10 and Bob's Red Mill baking powder 8 oz approx $3 to $6 for this step.
Why it works: Baking powder raises skin pH so proteins brown faster, producing a crisp surface without longer cook times that dry the meat. Rub the oil under and over the skin, dust spice mix evenly, then chill 10 min so the coating adheres.
Mistake most people make: Using too much sugar in the rub. Sugar burns at high heat and leaves bitter patches. Use a small amount or apply sauce after cooking.
3. Two-Stage Air Fry: High Heat Then Lower Finish
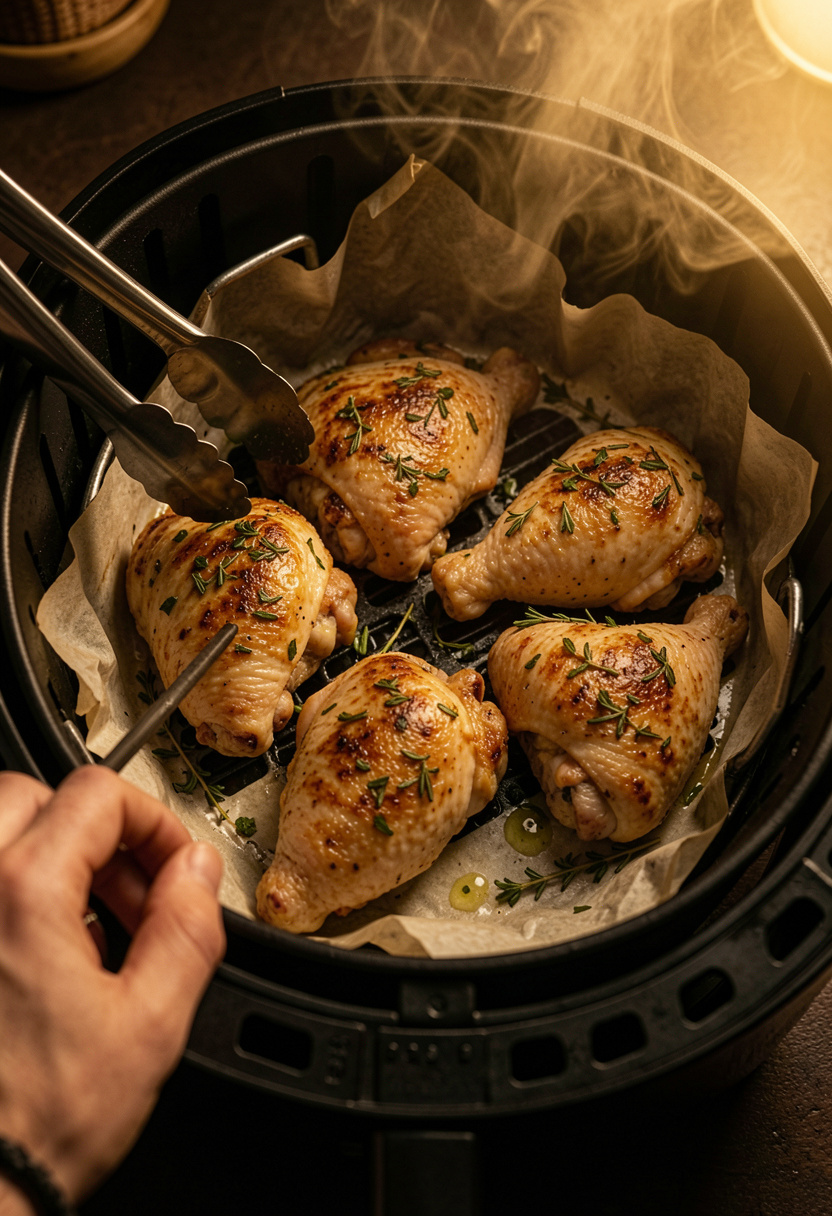

Start hot for skin, then lower for gentle finish. Preheat the air fryer to 400°F for 5 min. Cook skin-side up at 400°F for 10 to 12 min to blister and render fat.
Then drop to 350°F and cook another 8 to 12 min depending on size. Use a Thermapen One instant-read thermometer approx $85 to $110 and aim for 160°F internal for thighs, then rest to 165°F. USDA recommends poultry reach 165°F for safety.
This two-stage principle balances Maillard development with gentle protein coagulation so fibers hold moisture. Avoid crowding. Leave 1 inch between pieces. Crowding traps steam and yields leathery skin.
4. Finish, Rest, and Acid Lift
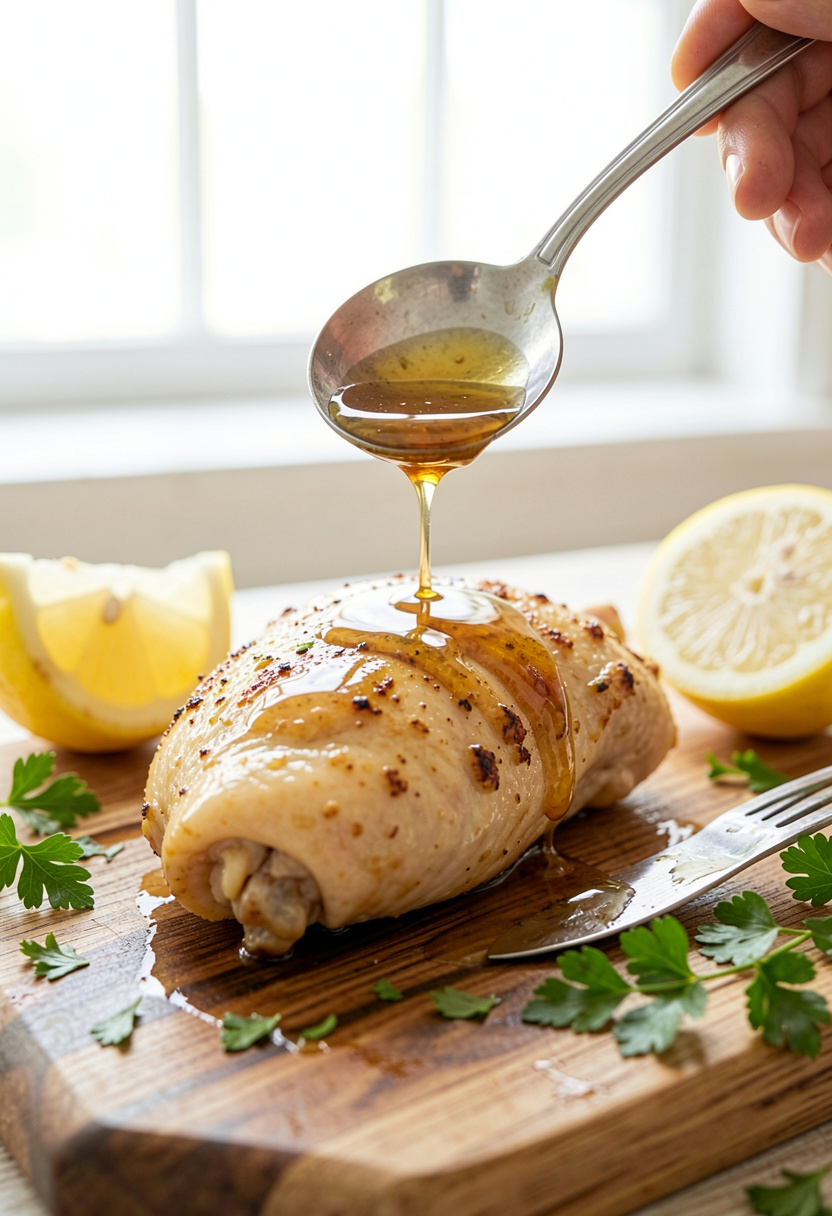

Rest is non-negotiable. After air frying, let the chicken rest 8 to 10 min on a wire rack. Resting lets juices reabsorb into the meat rather than spilling out when cut.
For flavor, spoon a quick browned butter with thyme and garlic over the skin. I use Kerrygold butter 8 oz around $4 to $6 and finish with flaky salt like Maldon sea salt flakes approx $6 to $10 for crunch.
Brighten with a squeeze of lemon or a splash of rice vinegar. Acid cuts the fat and wakes the herbs. Slice and serve with the glossy juices spooned over the meat.
Common Cooking Mistakes to Avoid
Mistake: Crowding the air fryer basket
Why it doesn't work: Air flow is restricted and pieces steam instead of crisp.
Do this instead: Cook in batches with 1 inch between pieces and use a large air fryer basket approx $20 to $35.
Mistake: Overrelying on marinade sugars before high heat
Why it doesn't work: Sugar burns and creates bitter spots on skin.
Do this instead: Apply sweet glazes after cooking or use a neutral oil spray approx $6 to $10 to encourage browning.
Mistake: Skipping the thermometer and slicing by time alone
Why it doesn't work: Times vary by size and model; you risk dryness or undercooking.
Do this instead: Use an instant-read thermometer approx $85 to $110 and check for 165°F final temp after resting.
What You'll Need to Make This
Pantry Staples
Diamond Crystal kosher salt 3 lb box around $5 to $8
Chosen Foods avocado oil spray 6 oz around $6 to $10
Specialty Ingredients
Lao Gan Ma chili crisp 7.4 oz around $6 to $12
Maldon sea salt flakes 4.4 oz approx $6 to $10
Tools That Earn Their Counter Space
Thermapen One instant-read thermometer approx $85 to $110
Lodge cast iron skillet 12 inch approx $25 to $40
OXO Good Grips wire rack approx $12 to $20
Cookbooks Worth the Shelf
The Food Lab by J. Kenji López-Alt (price range $18 to $25)
Salt Fat Acid Heat by Samin Nosrat (price range $18 to $28)
Budget Swaps
Instant-read thermometer budget model around $15 to $30 as a save option
Shopping Guide for This Recipe
Pick the right poultry: Buy bone-in, skin-on thighs for forgiving juiciness. Whole chicken pieces approx $3 to $6 per lb.
Swap hack: No thighs? Use breasts but lower final temp to 155°F and rest 5 to 7 min. Chicken breasts approx $2.5 to $6 per lb.
Trend tip 2025: Home cooks are dry brining more than wet brining for speed and flavor retention; coarse kosher salt around $5 to $8.
Splurge vs save: Splurge on a fast thermometer like Thermapen; save on butter with Kerrygold approx $4 to $6.

Conclusion
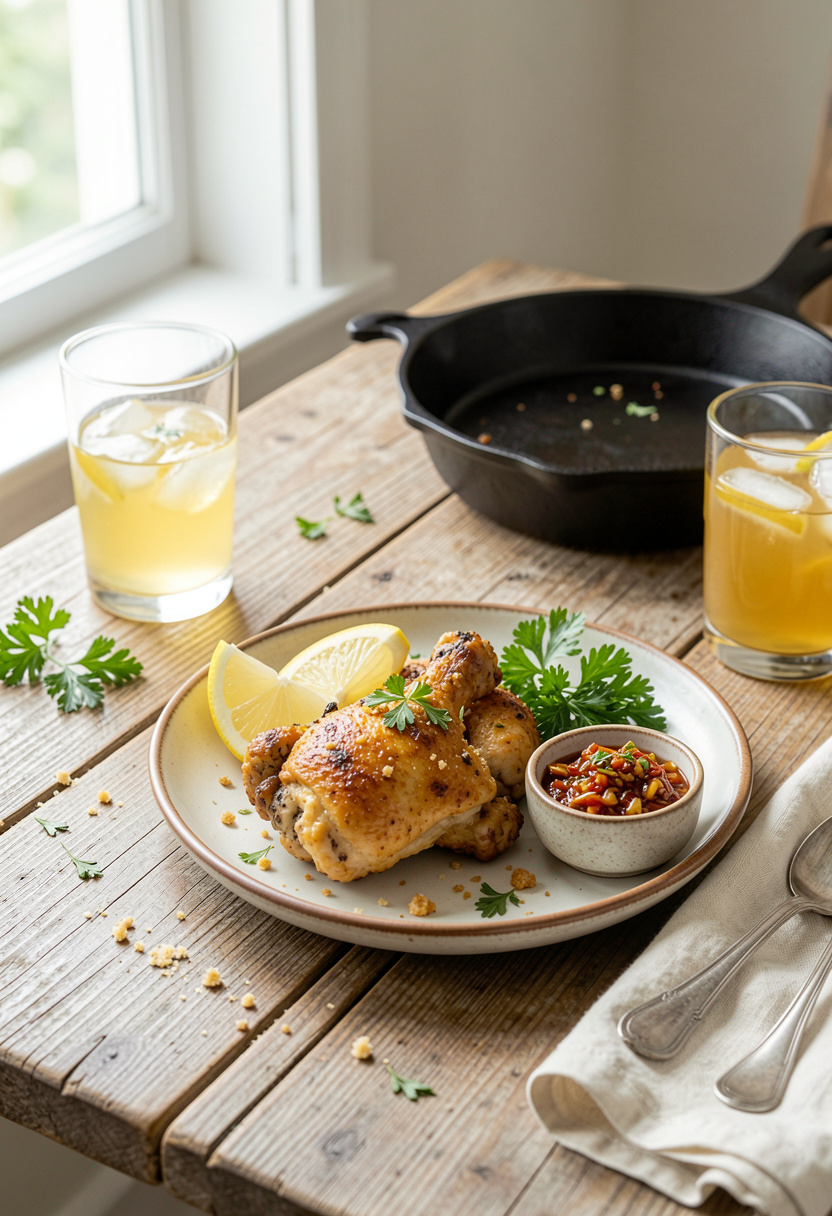
Start with the dry brine. It gives the biggest return for little effort and prevents the classic air fryer dryness problem.
One last tip: check internal temp, then rest. That tiny pause is what converts a good cook into a reliable one.
Will you try the dry-brine method first or jump straight to the quick 2-stage air fry?