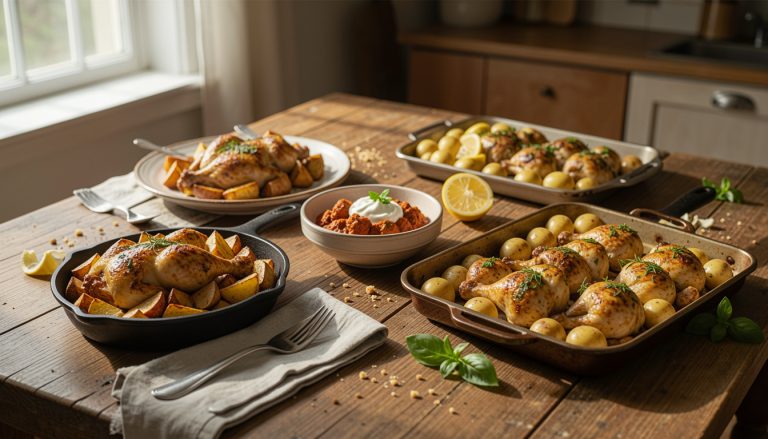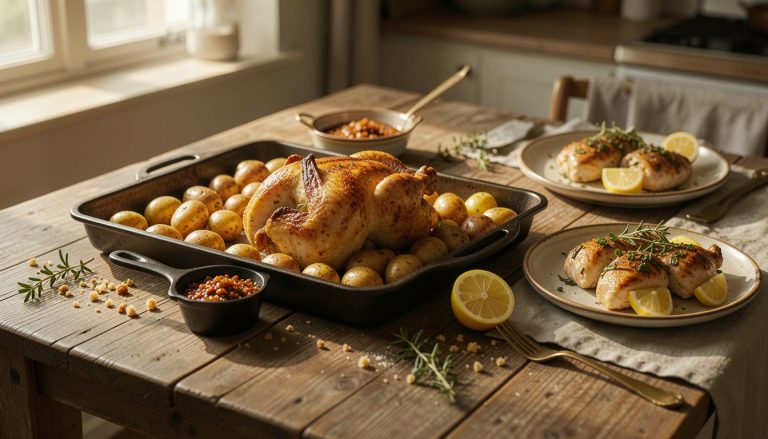

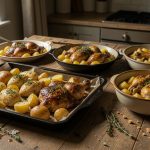




My brother-in-law asked if I had ordered takeout. I said no and felt proud because those thighs were juicy through and through.
If you want to know how to bake chicken thighs so they stay juicy, not dry, I’ll show you my go-to: dry brine, a hot sear, an oven finish, and a patient rest. Weeknight-friendly, about 45 min active, beginner-level apart from one temperature cue.
These thighs are simple comfort food with a bright finish. I started leaning into dry brining and cast iron in 2023 and never looked back; it’s a small 2025 trend that actually works.
1. The Pre-Sear Setup: Dry Brine and Temper
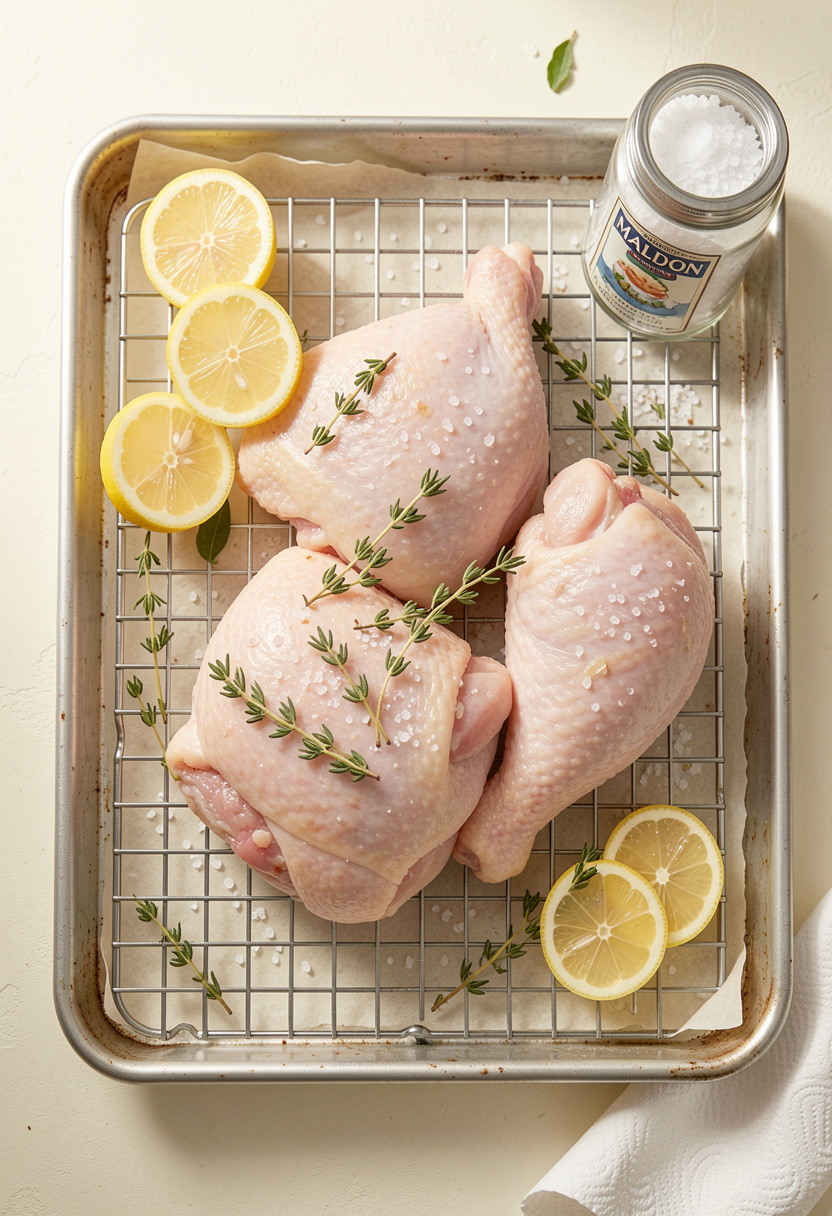

Salt early to win the moisture fight. Pat thighs dry, then sprinkle kosher salt evenly and leave uncovered on a wire rack for 1 to 24 hr in the fridge. I use a light touch: about 1 tsp kosher salt per pound. The salt pulls juices out, then the meat reabsorbs them, seasoning deeper and tightening proteins so they hold water when cooked.
I trust Diamond Crystal kosher salt for consistent granule size and predictable results. Diamond Crystal kosher salt 3 lb box around $5 to $8. If you’re short on time, 30 min at room temp helps the skin dry, which improves browning.
The cooking principle is salt timing. Dry brine enhances protein structure and surface dryness for Maillard browning. Mistake people make: over-salting or using Morton like-for-like. Use weight or measured teaspoons, and if you prefer finer flakes at finish, add Maldon sea salt flakes 4.5 oz at plating instead.
2. The Sear in Smoking-Hot Cast Iron
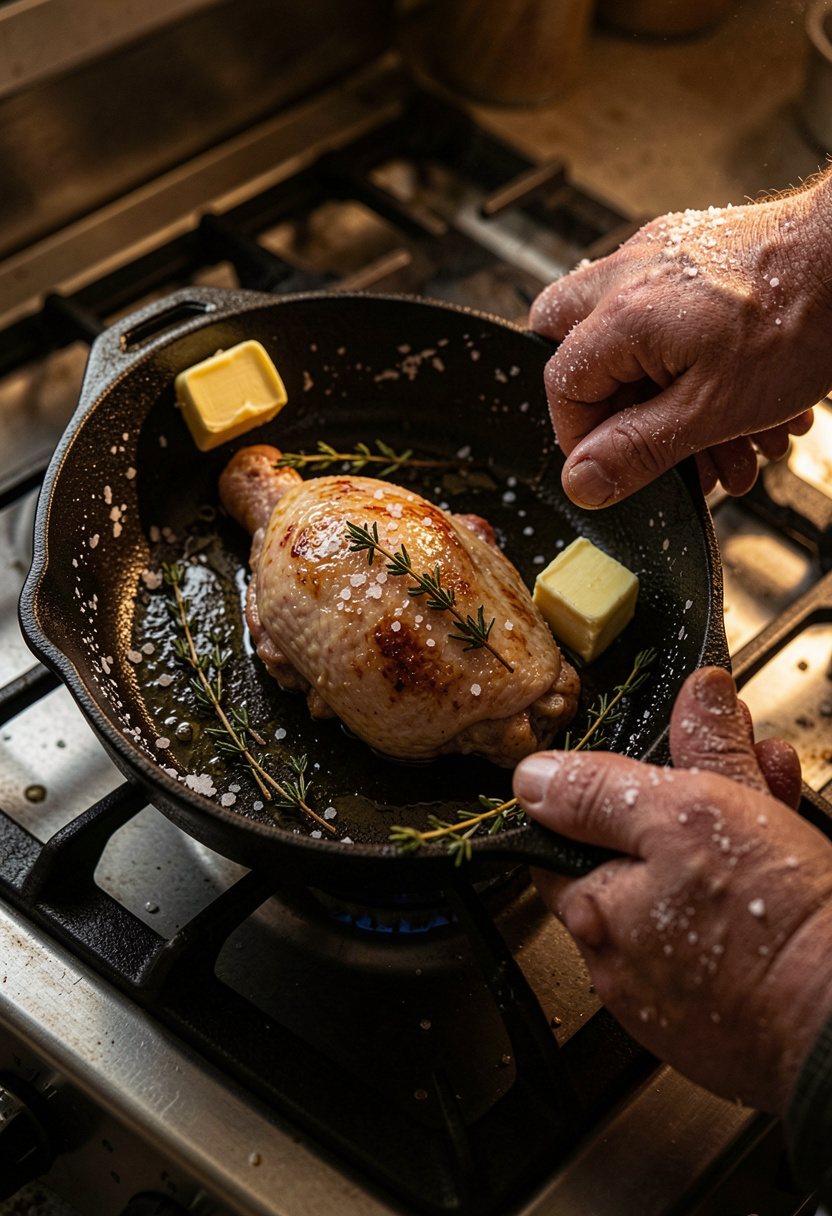

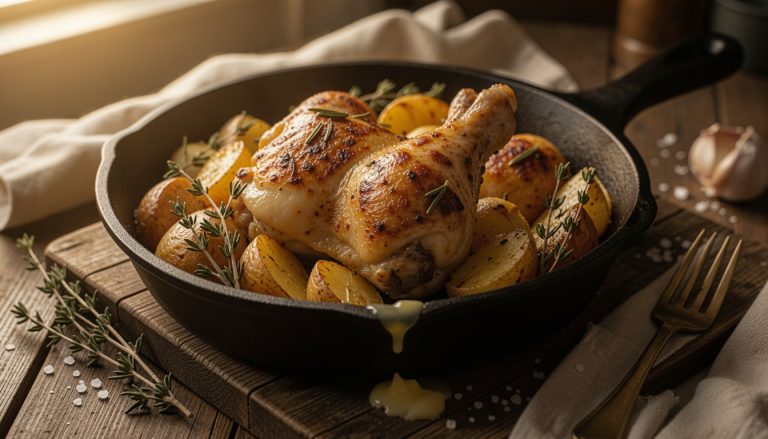
Get serious heat. Heat a Lodge cast iron skillet 12 inch over medium-high until a drop of water sizzles and dances. Add a thin film of oil with a high smoke point like Colavita. Place thighs skin-side down, press once to ensure contact, and don’t move them for 4 to 6 min.
You want deep golden color and rendered fat. That crust is Maillard reaction at work. Flip and sear the other side 2 min to build fond you’ll deglaze later. Use Oxo Good Grips tongs 12 inch to handle pieces without tearing skin.
Ugly truth: crowding the pan is the number one sear killer. If the pan temperature drops you steam instead of sear. Do two batches if needed and keep finished pieces on a wire rack over a sheet pan like this Nordic Ware half sheet pan 18×13 approx $18 to $30.
3. The Oven Finish That Renders Fat, Not Dry
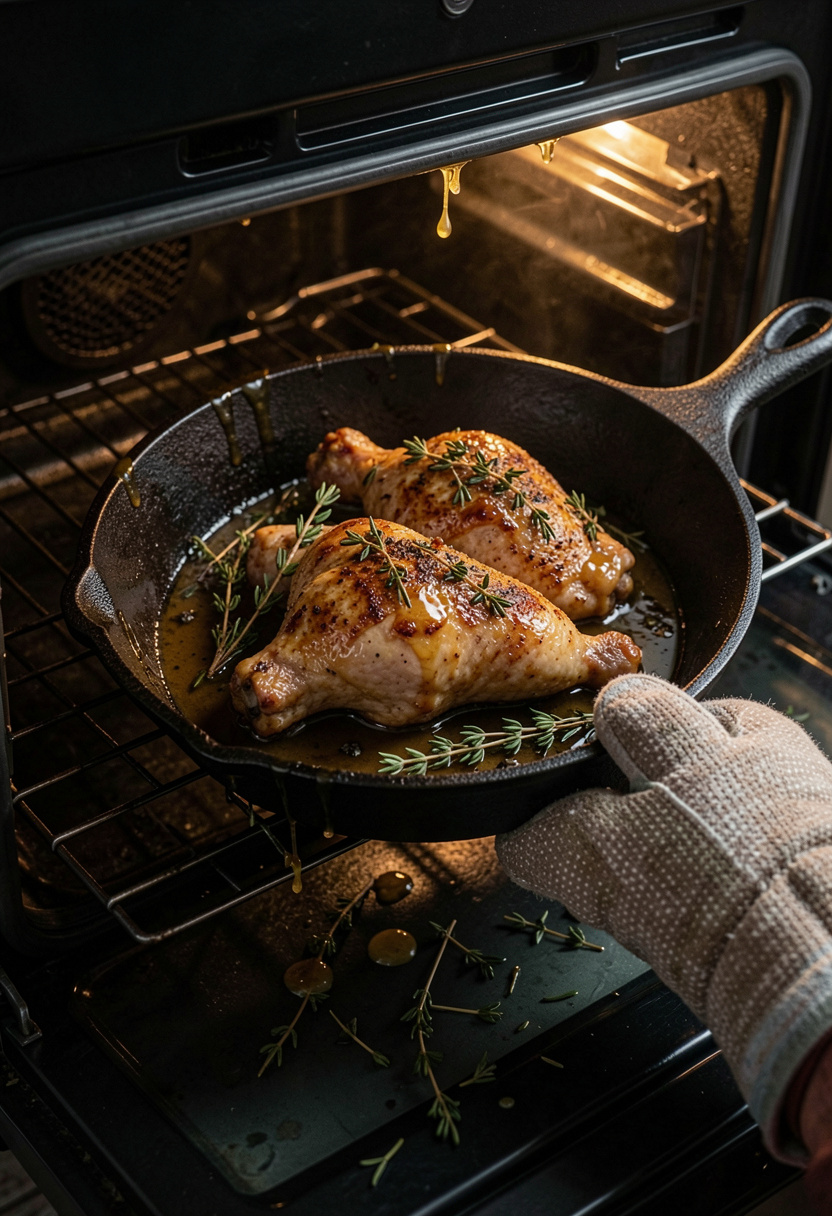

Finish in a 400°F oven to gently carry the crust through without overcooking the interior. After searing, transfer the skillet to the oven for 8 to 12 min depending on thigh size. My cue is 165°F internal for safety per USDA, but I often pull at 170°F to 175°F for extra succulence and allow carryover to settle at about 175°F. Use a reliable probe like the ThermoPro instant-read thermometer or the wireless Meater wireless meat thermometer.
The principle: two-stage cooking preserves crust while letting connective tissue break down. Mistake to avoid: relying on color alone. Thighs brown early; internal temp tells the truth.
4. The Butter Baste, Acid Finish, and Patient Rest
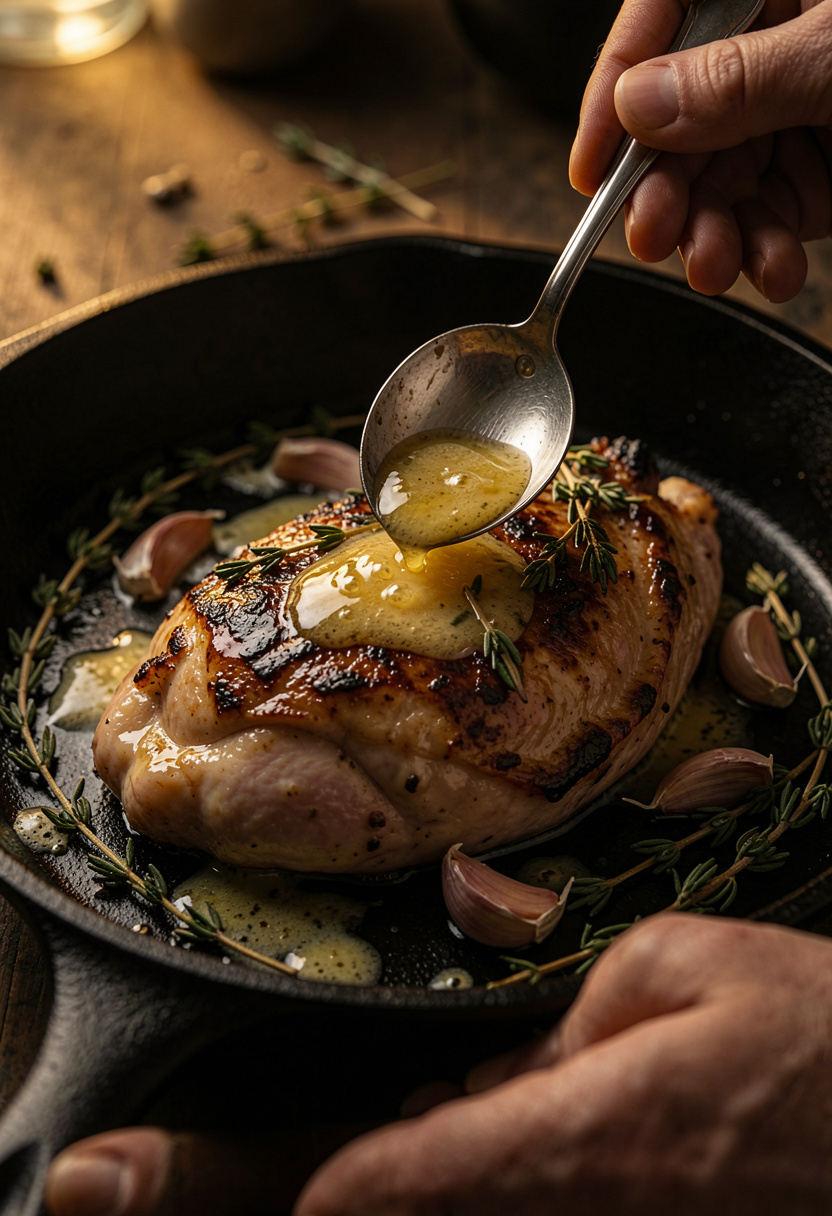

Right after the oven, rest is non-negotiable. Transfer thighs to a wire rack and tent loosely for 8 to 10 min. While resting, spoon hot browned butter, garlic, and thyme over the thighs for extra flavor. I use Kerrygold for a nutty butter note; one tablespoon per two thighs does wonders. Kerrygold unsalted butter 8 oz around $3 to $5.
Add a bright finish: squeeze lemon or a splash of white wine vinegar to cut richness. This is acid balancing fat. Finish with a sprinkle of Maldon flakes for texture. The principle is redistribution of juices; slicing too soon bleeds them out. A common mistake is slicing immediately off-heat and losing those juices to the board.
Common Cooking Mistakes to Avoid
Mistake: Crowding the pan when searing chicken thighs
Why it doesn't work: Pan temperature drops, you steam instead of sear.
Do this instead: Cook in batches and use a Nordic Ware half sheet pan 18×13 to hold finished pieces.
Mistake: Over-marinating in acid for hours.
Why it doesn't work: Acid denatures proteins into a mealy texture.
Do this instead: If using lemon or vinegar, marinate only 30 to 45 min or add acid at the finish. Try a jar of Lao Gan Ma chili crisp 7.4 oz for a late hit of umami.
Mistake: Relying on color for doneness.
Why it doesn't work: Skin browns before interior reaches safe temp.
Do this instead: Check internal temp with a ThermoPro instant-read thermometer.
What You'll Need to Make This
Pantry Staples
Colavita extra virgin olive oil 25.5 fl oz around $12 to $20
Diamond Crystal kosher salt 3 lb box around $5 to $8
Kerrygold unsalted butter 8 oz around $3 to $5
Specialty Ingredients
Lao Gan Ma chili crisp 7.4 oz around $7 to $12
Maldon sea salt flakes 4.5 oz around $6 to $10
White miso paste 8 oz around $6 to $12
Tools That Earn Their Counter Space
Lodge cast iron skillet 12 inch approx $25 to $40
ThermoPro instant-read thermometer around $15 to $35
Nordic Ware half sheet pan 18×13 approx $18 to $30
Cookbooks Worth the Shelf
Salt Fat Acid Heat by Samin Nosrat (price range $18 to $28)
The Food Lab by J. Kenji López-Alt (price range $20 to $30)
Budget Swaps
Morton kosher salt 3 lb around $3 to $6 if Diamond Crystal is out of budget
12 inch stainless steel skillet approx $25 to $50 as a non-cast-iron option
Shopping Guide for This Recipe
Seasonal Protein Tip: Buy bone-in thighs in late summer to fall when whole-bird deals roll through stores. Check local butcher or order bulk packs from Amazon Fresh.
Salt Swap: If you lack Diamond Crystal, use Morton kosher salt 3 lb and reduce by about 25 percent.
Tool Hack: No cast iron. Use a heavy 12 inch stainless steel skillet and preheat longer for browning.
Trend Note (2025): Dry brining and finishing with global condiments like Lao Gan Ma chili crisp 7.4 oz is common now; it adds instant umami.
Splurge vs Save: Splurge on a good thermometer like the Meater wireless meat thermometer if you roast often; save on baking sheets like the Nordic Ware half sheet pan 18×13.
Conclusion
Start with the pre-sear dry brine. That single change gives the biggest payoff in juiciness and flavor.
One finishing trick I never skip is a spoon of browned butter and a squeeze of acid right before resting. It cuts richness and glues the crust to the meat.
Will you try the dry-brine-and-sear route first or jump to the chili crisp finish?