
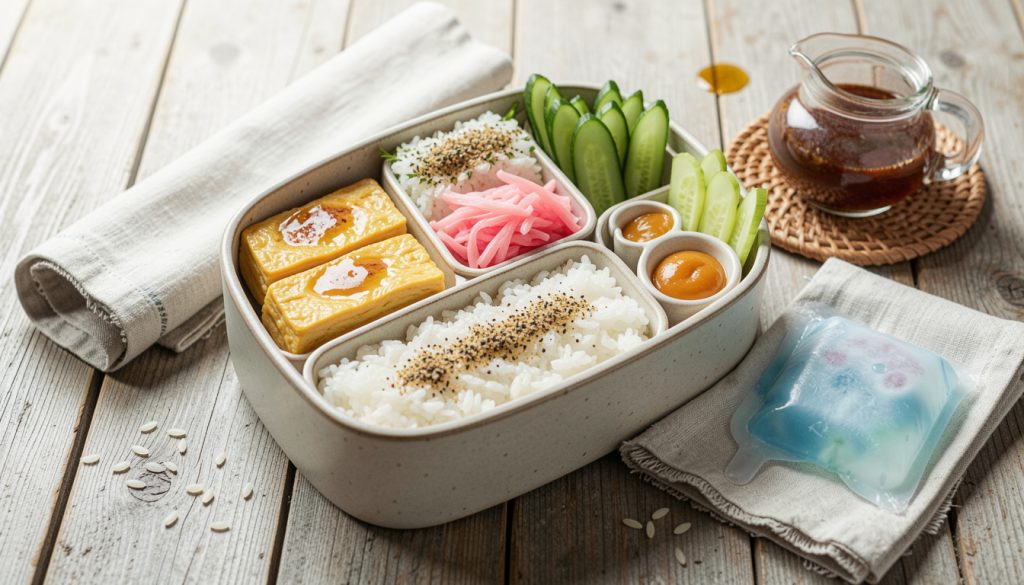

The first time I sent my partner a bento box to work, the rice came back mushy and the cucumber was soggy. I learned fast how to pack a bento box so everything stays fresh until lunch.
This guide shows simple swaps, what to cook ahead, and the pack-and-go order that actually keeps textures crisp and flavors bright. Expect about 25 to 40 min of active time, beginner-friendly steps, and one small trick that saves an embarrassing soggy lunch.
Flavors lean Japanese-inspired with tangy pickles, sesame, and bright citrus. It works for weeknight meal-prep or Sunday batch-cookers who want tidy weekday lunches.
Hands-on time is around 30 min plus cooling. Beginner cooks do fine; the tricky part is cooling and moisture control. I’ve noticed more people using insulated boxes with frozen gel packs in 2025 to keep things chilled longer.
1. The Plan: Pick Components That Play Nice Together
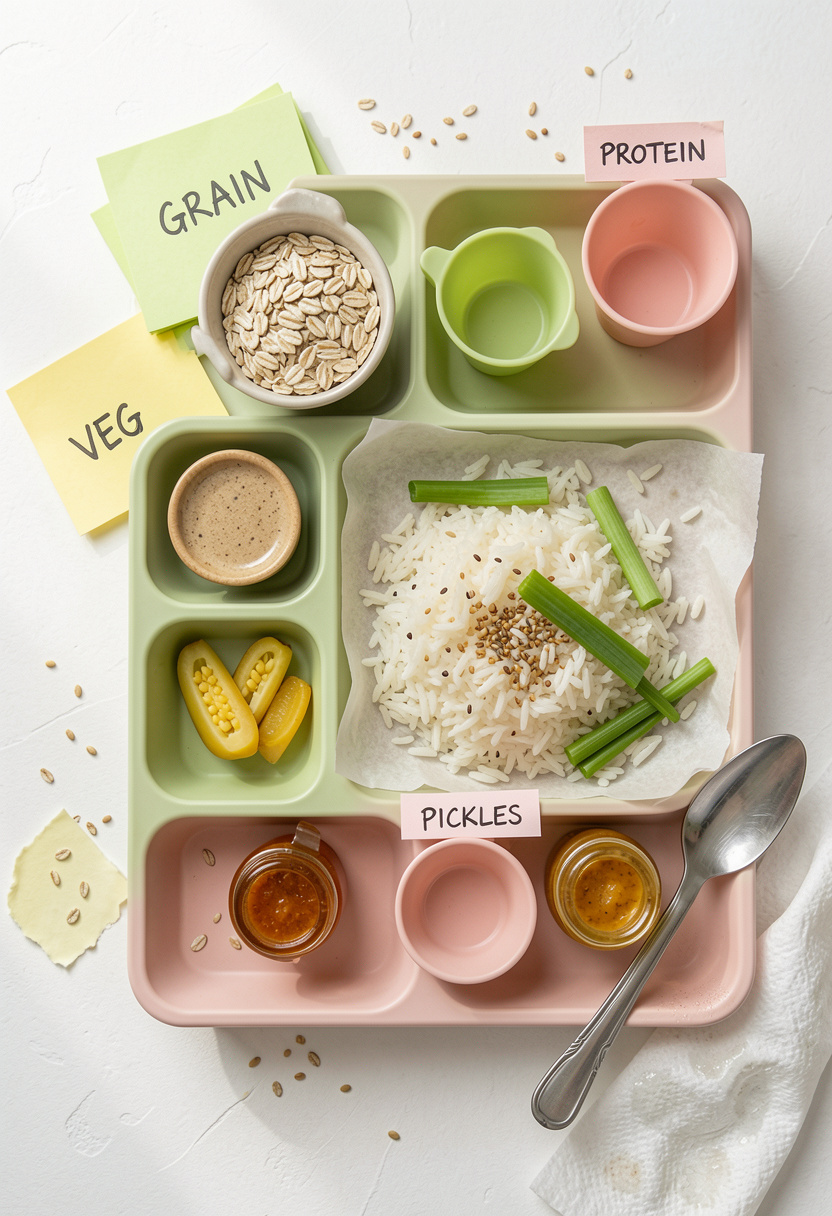

Start by choosing components that hold up. Dense grains (short-grain rice or soba), firm proteins (seared tofu, grilled chicken thigh), pickled veg, and dry garnishes are your best bets.
I pack two warm-stable elements, one chilled item, and one briny or acidic component. This balance keeps flavors lively and buffers moisture. A Zojirushi stainless lunch jar 16 oz works if you want to keep soups hot and separate.
Use silicone cups and leakproof sauce pots so wet things don’t migrate. I reach for silicone muffin cups 12 pack and mini leakproof sauce containers 2 oz.
Mistake people make: choosing too many wet items. Swap one salad for quick-pickled carrots or a firm roasted veg so you avoid soggy textures.
The principle here is separation and contrast. Texture contrast is what makes a bento feel intentional, not like leftovers squeezed into a box.
2. Cook, Cool, and Chill: The Food-Safety Fast Pass
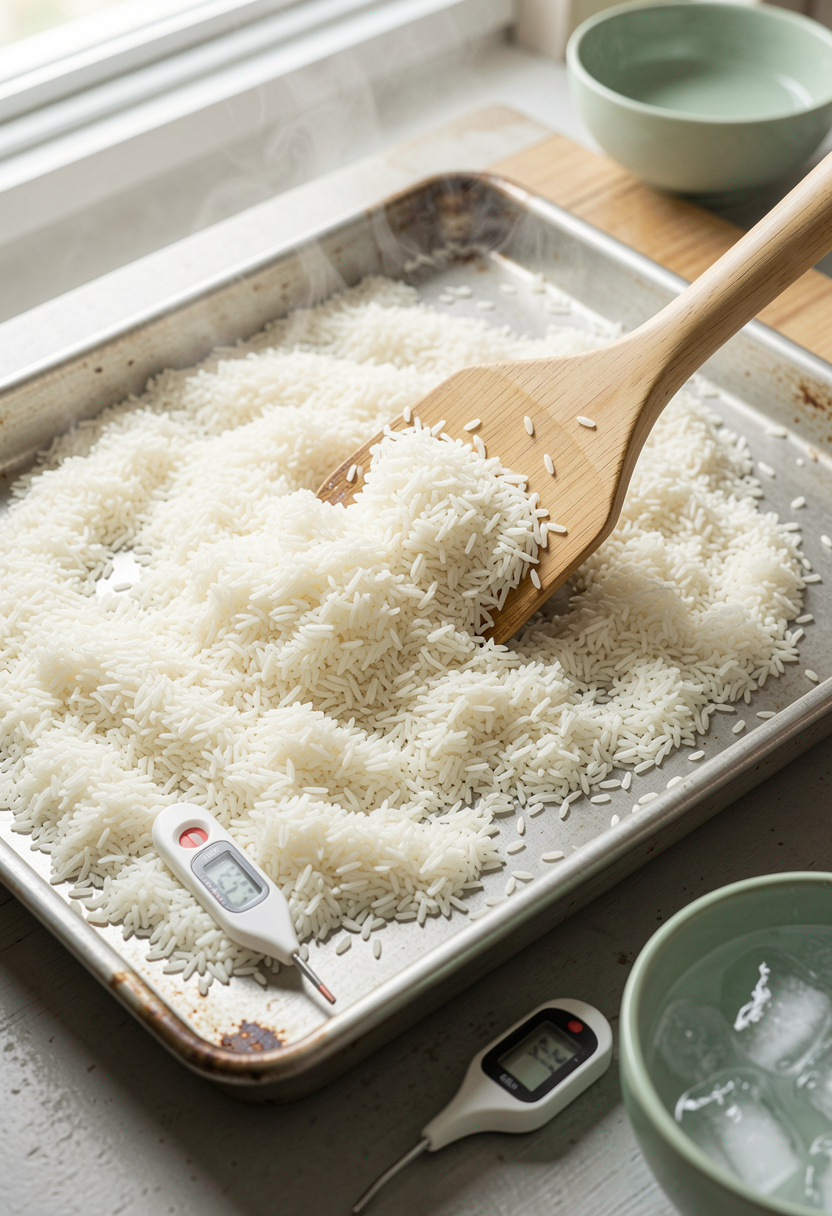

Hot food in a closed box invites condensation and bacteria. The USDA recommends refrigerating perishable foods within 2 hr, and within 1 hr if ambient temps are 90°F or above. I wait until rice and proteins are just warm to the touch before packing.
Spread rice on a shallow tray to cool faster, about 10 to 15 min. Use an instant-read thermometer to check proteins; chicken should hit 165°F internal, tofu firm and dry to the touch.
For chilled items, flash-cool in the fridge on a wire rack for 20 to 30 min before packing. If I need extra chill time, a frozen gel pack tucked above or below the box keeps the temp steady. I like the flexible freezer gel packs 2 pack.
People try the viral “pack hot to keep it warm” trick. Hot steam trapped in a sealed box ruins texture and shortens safe holding time. Cool first, then seal.
3. Layering and Barriers: Keep Wet and Dry Apart
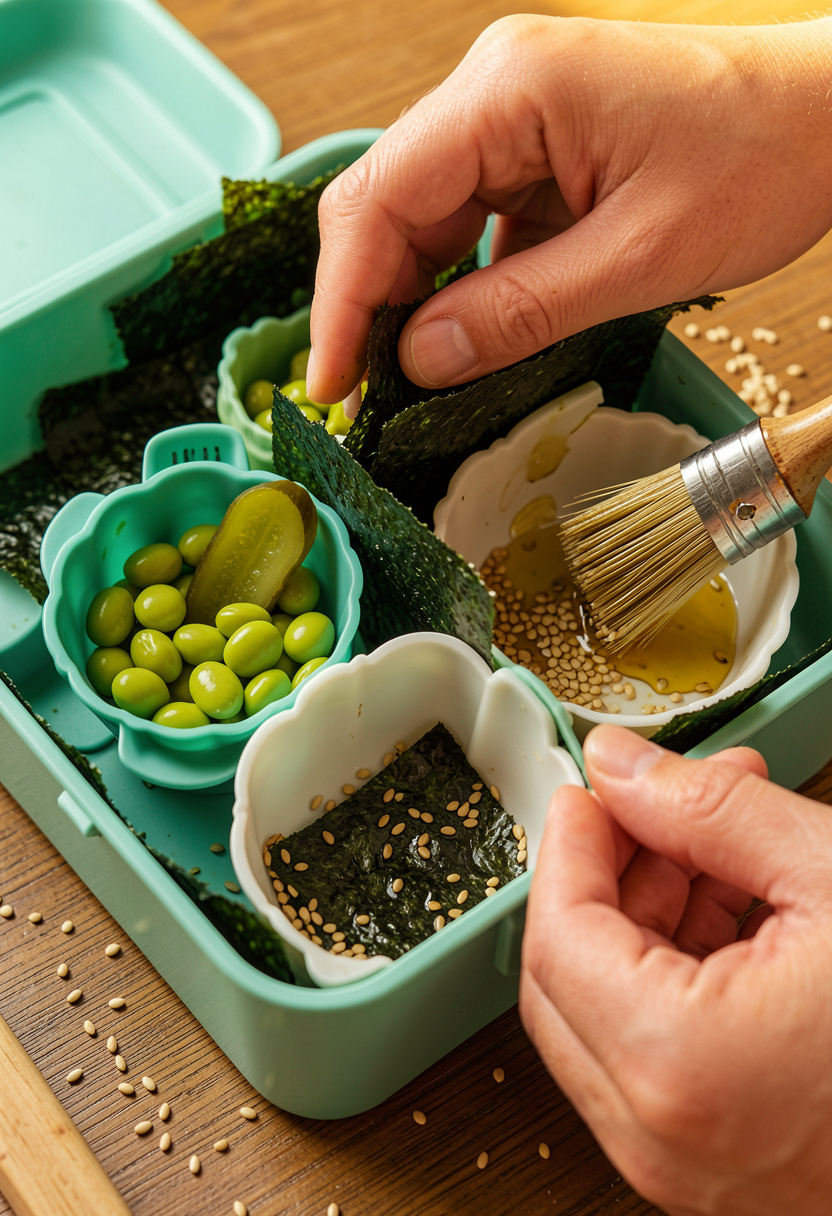

The trick is physical barriers. I use a lettuce or shiso leaf under moist proteins and silicone cups for anything briny or oily.
Nori or parchment works when you need a dry barrier between rice and saucy curry. For oily dressings, pack them in a stainless steel leakproof container 3 oz and add right before eating.
Sprinkle dry garnishes last. A little toasted sesame or crushed nori keeps crunch intact. I like using a small handheld microplane zester for fresh citrus over pickles at the end.
The cooking principle is moisture migration: water moves from wetter to drier compartments. Barriers break that gradient and preserve texture.
A common goof is dunking a saucy protein into the box. Do not do that. Sauce on the side keeps everything visually pleasing and texturally sound.
4. Temperature Control on the Move: Insulation and Gel-Pack Tricks
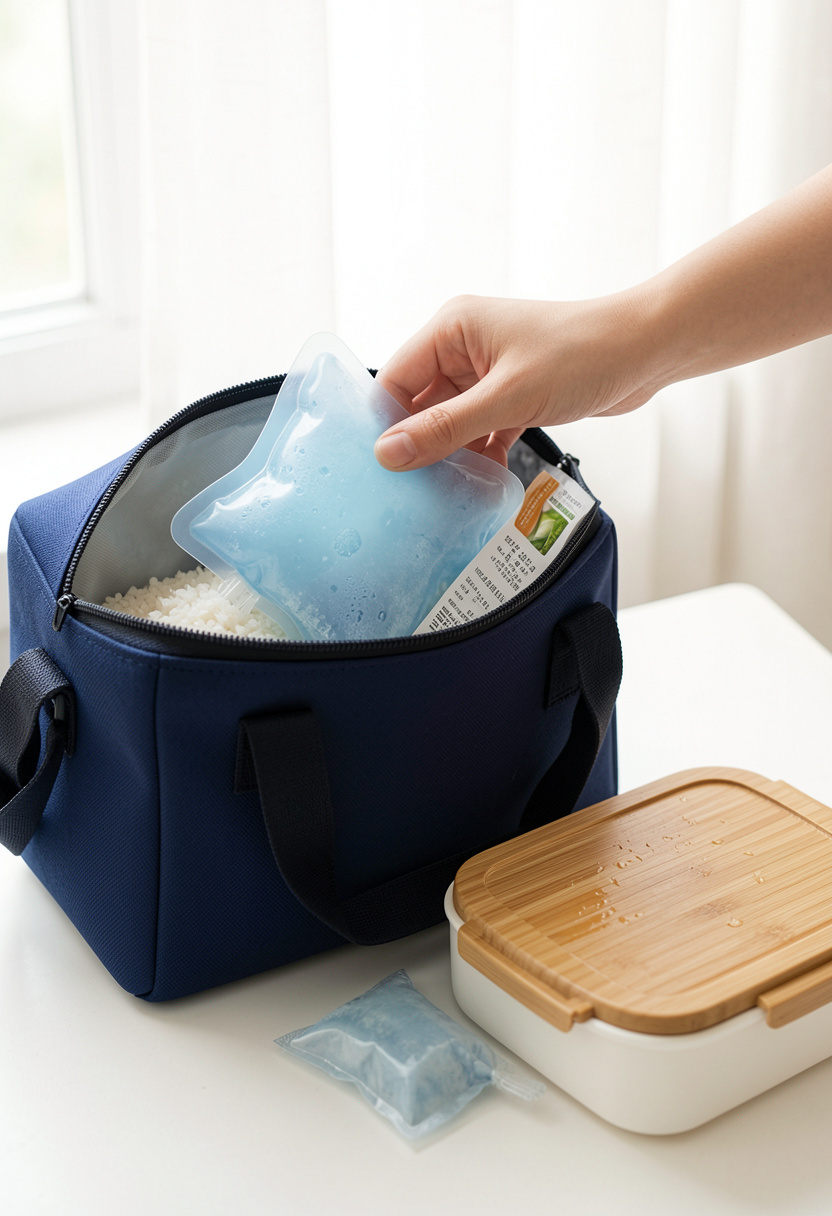

If your commute is over 30 min, insulation matters. A small insulated tote plus a slim gel pack holds temps safely for 4 to 6 hr in mild weather. For real summer heat, I freeze gel packs overnight so they’re rock solid in the morning.
Use a slim frozen gel pack under the rice compartment and another above chilled items. The insulated lunch bag with aluminum lining I bought at Target fits a 900 ml bento and a bottle.
If you need hot food at lunch, a vacuum-sealed food jar like the Zojirushi stainless food jar 16 oz keeps soups or stews hot for hours. Warm the jar with boiling water for 5 min before adding hot food.
Ugly truth: using an ice pack directly on bread makes it soggy. Always separate with cardboard or cloth, or place ice packs around, not on, starches.
Common Cooking Mistakes to Avoid
Mistake: Packing hot food straight into the box
Why it doesn't work: Steam creates condensation and accelerates bacterial growth per USDA timing guidance.
Do this instead: Cool on a wire rack for 10 to 20 min, then pack. Use a wire cooling rack.
Mistake: Putting dressing on salad before packing
Why it doesn't work: Leaves wilt and turn soggy by lunchtime.
Do this instead: Pack dressing in a mini leakproof sauce container 2 oz and toss when you eat.
Mistake: Relying on flimsy silicone cups that tip and leak
Why it doesn't work: Oil and brine migrate under pressure during transit.
Do this instead: Use sturdier collapsible silicone cups with rigid base.
What You'll Need to Make This
Pantry Staples
Diamond Crystal kosher salt 3 lb box around $5 to $8
Sesame oil 5 oz toasted around $6 to $12
Specialty Ingredients
Lao Gan Ma chili crisp 7.4 oz around $6 to $10
Japanese furikake rice seasoning 2 oz around $4 to $8
Tools That Earn Their Counter Space
Bento box with compartments 900 ml around $15 to $30
Flexible freezer gel packs 2 pack around $8 to $15
Instant-read thermometer around $15 to $30
Cookbooks Worth the Shelf
Japanese Home Cooking by Sonoko Sakai (price range $15 to $28)
Budget Swaps
Reusable beeswax wrap 3 pack budget-friendly option around $8 to $15 (Aldi or local markets often have cheaper wraps)
Shopping Guide for This Recipe
Insulation matters: Choose an insulated tote with room for a gel pack and box. See insulated lunch bag with aluminum lining around $20 to $35.
Sauce on the side: Pack dressings in a mini leakproof sauce container 2 oz around $6 to $12.
Freshness hack: For cut fruit, a splash of lemon water keeps browning down. Use a spray bottle 2 oz around $5 to $8.
Trend watch 2025: Reusable soft gel packs and compostable compartment liners are trending for sustainability; try flexible freezer gel packs 2 pack around $8 to $15.
Splurge vs save: Splurge on a quality insulated food jar like Zojirushi stainless food jar 16 oz (~$30 to $45). Save on silicone cups with an affordable silicone muffin cups 12 pack around $6 to $12.
Conclusion
Start with the planning phase; choosing components that travel well is the highest-impact step for a fresh lunch. A quick cool, a few physical barriers, and a slim frozen gel pack will get you reliably crisp veggies and dry rice at noon.
One final tip: store dressings and oily condiments separately until you eat so they do not soften crunchy things.
Will you try the dry-brine protein or go straight to the chilled bento with a frozen gel pack?