
How to make a bunny cake used to be my personal Easter stress test. The ears would crumble, the frosting would slide, and I would “fix” it with more candy until it looked like a parade float.
Here’s the low-drama version that finally stuck: two round pans, one simple cut pattern, a thick frosting that behaves, and decorations that hide the seams instead of highlighting them.
This bunny cake recipe is classic American Easter energy: vanilla cake, sweet buttercream, and a candy face that kids recognize instantly. Plan on about 1 hr 15 min total (less hands-on if you use a cake mix bunny cake), and it’s beginner bunny cake friendly with one rule: do not cut warm cake. I’ve also noticed the 2025 vibe is all about box-mix upgrades that taste homemade, which is perfect here.
1. Bake Two Even Rounds That Won’t Crumble
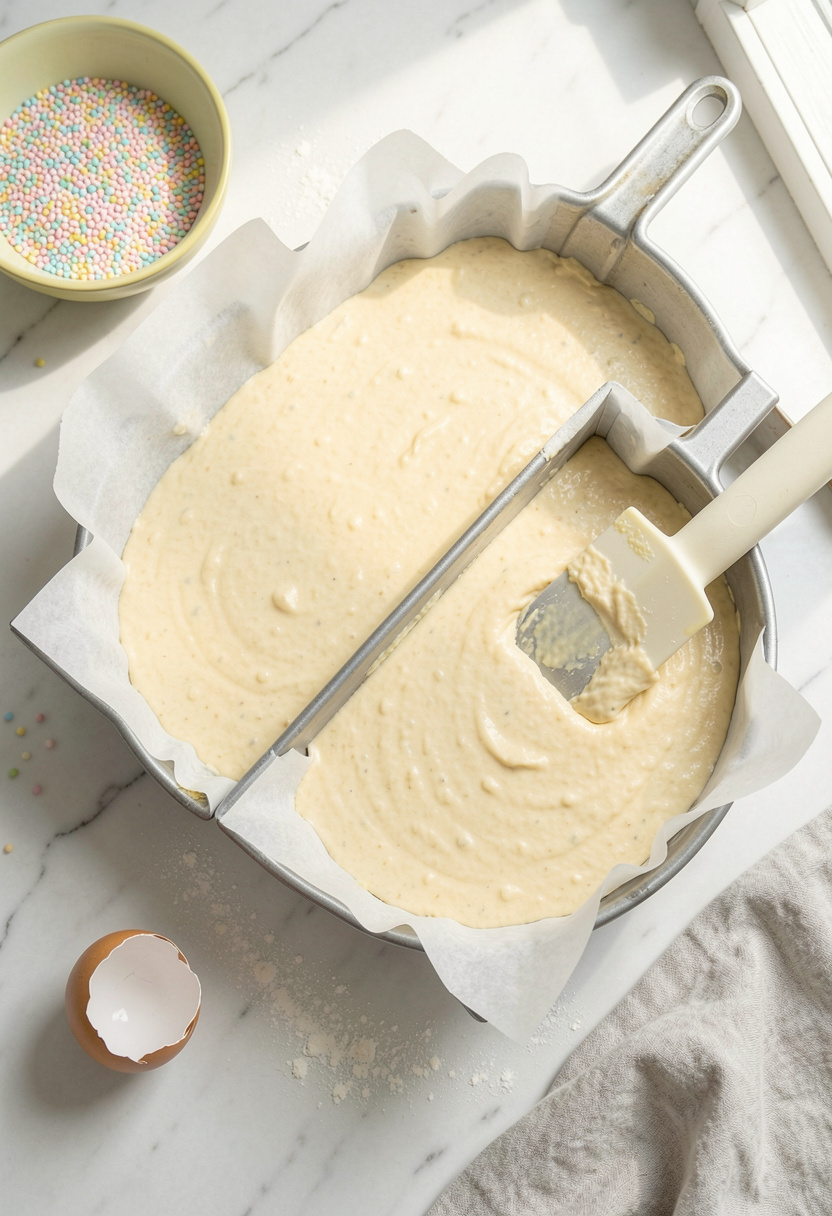
Even layers are the whole game, because your “ears” are only as sturdy as the cake’s structure. I line both pans with parchment paper sheets 12×16 and spray the sides. If you skip this, the cake tears during release and you start the day annoyed.
For the easiest Easter bunny cake, I reach for a boxed mix and do the small upgrades: replace water with milk, add 1 extra egg, and stir in a scoop of sour cream if you have it. That combo keeps the crumb moist and sliceable instead of dry and sandy.
Use 8 inch round cake pans set of 2 or 9-inch if that’s what you own, then bake at the box temp (usually 350°F) until the center springs back and a toothpick comes out clean, 25 min to 35 min.
The principle here is even baking and protein set. You want a cake that holds together under a serrated knife.
Common mistake at this phase: pulling the cakes early because the edges look done. Wait for the center cue, not the rim.
2. Cool It Like You Mean It (This Prevents Ragged Ears)
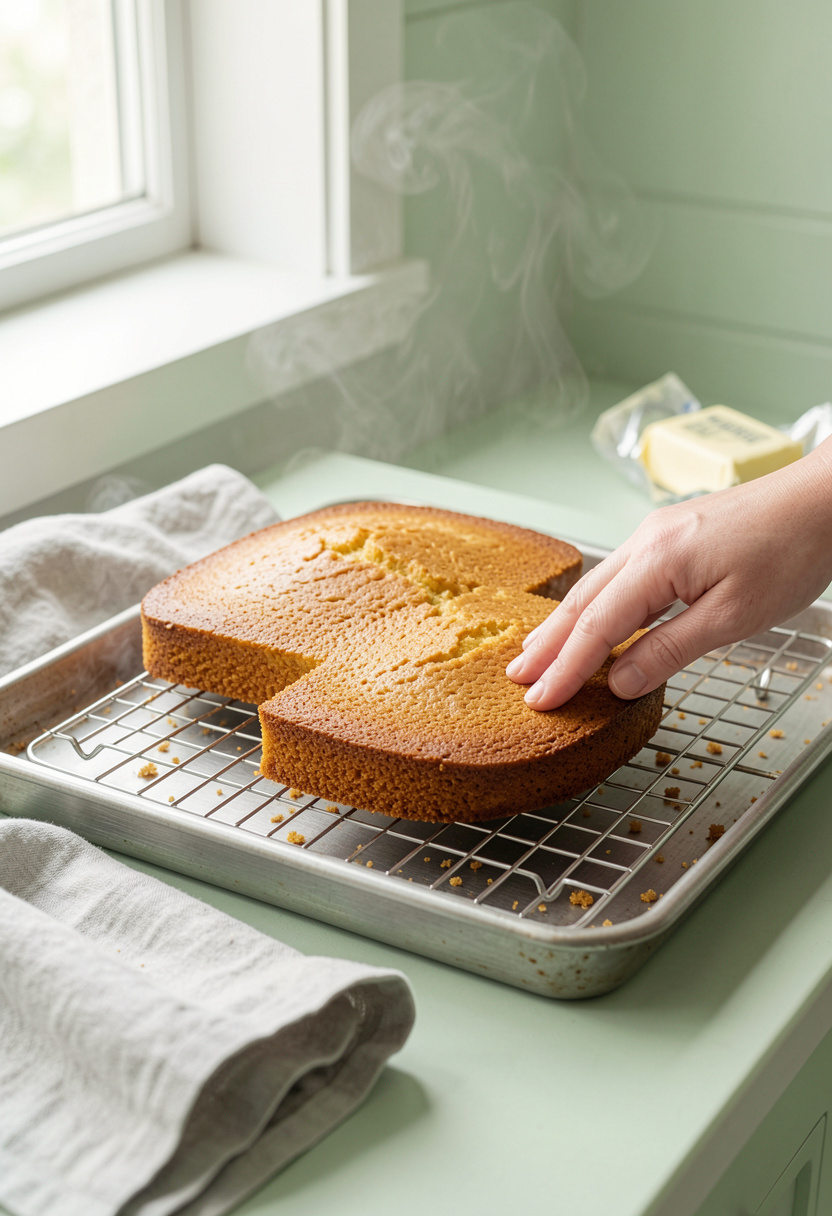
If you take one lesson from me, take this: cooled cake cuts cleanly, warm cake tears. I let the layers sit in the pans 10 min, then turn them out onto a cooling rack wire and cool another 45 min to 60 min.
Want zero stress? Chill the layers 20 min in the fridge before carving. Cold cake behaves like a firm brownie edge, not a fluffy pillow.
This is also where I make frosting decisions. Buttercream is the easiest bunny cake frosting because it can be thick enough to anchor the ears. Cream cheese frosting bunny cake is tasty, but it can go soft fast if your kitchen is warm.
Flavor fix while you’re here: a pinch of salt in frosting makes vanilla taste bigger. I use Diamond Crystal kosher salt 3 lb box because it dissolves evenly and is harder to overdo.
Mistake at this stage: “It feels cool on top, so it’s fine.” The center holds heat. If it’s even slightly warm, wait.
3. Cut the Bunny Shape With One Foolproof Pattern
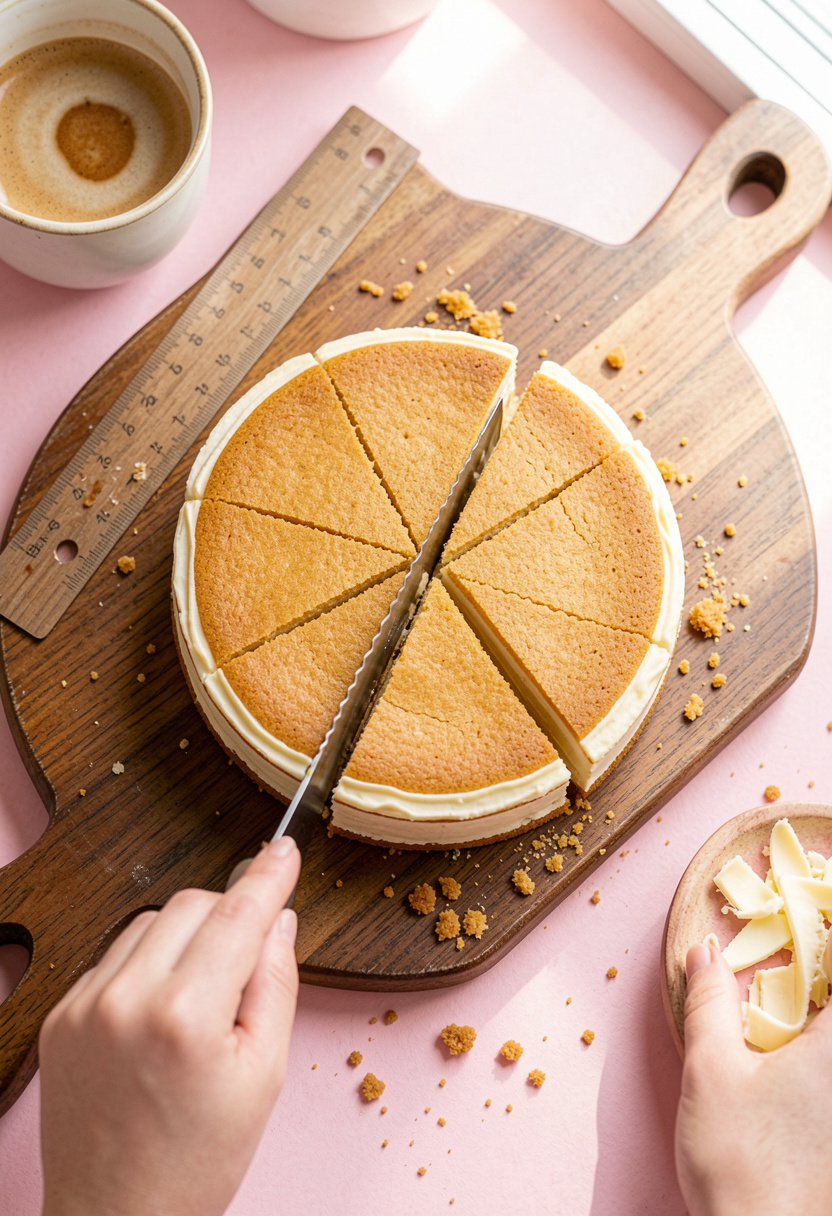
This is the part people overthink when they search how to make a bunny cake. It’s simple: one round is the head. The second round becomes the ears.
Grab a serrated bread knife 10 inch and saw gently, no pressing. Cut the second cake in half, then trim each half into an ear shape (rounded top, slightly wider base). Leave the ears generous. Skinny ears break and look oddly pointy once frosted.
Here’s the under-explained “why” that saves the day: cut a small flat notch at the bottom inner corner of each ear. That notch gives you a flat contact point against the head, so the frosting acts like glue instead of a slippery skid pad.
Place the head on your platter, tuck ears behind it, and adjust until it reads “bunny” from 3 feet away. If it does from 3 feet, it will in photos too.
Mistake: cutting the ears from the head cake because you forgot which layer was flatter. Pick the flatter layer for the head so it sits steady.
4. Crumb-Coat for Clean Frosting and Stable Ears
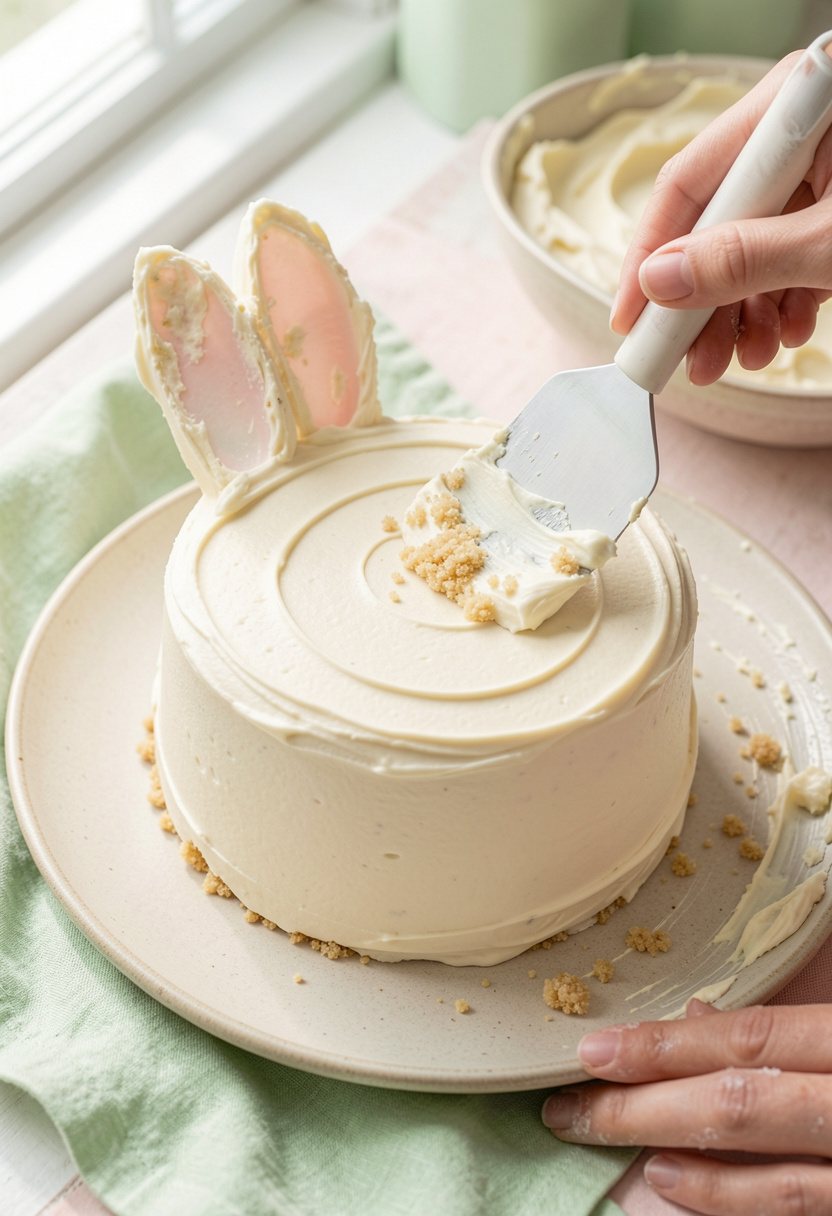
Crumb coat first, always. It locks in crumbs so your final frosting stays clean, and it reinforces the cut edges so the ears stop acting fragile.
Use a thicker buttercream than you think you need. If your spatula leaves floppy waves, add more powdered sugar or chill 10 min. My go-to tools: offset spatula 9 inch for control, plus a butter knife for tight corners.
For flavor, don’t let the frosting be flat sugar. Add a good splash of vanilla extract pure 2 oz and another pinch of salt. That combo makes store-bought cake mix taste less “boxed.”
Apply a thin layer over the head and ears, then chill 15 min. The principle is adhesion and surface sealing. Cold frosting firms up, which makes the final coat faster and smoother.
Mistake: frosting the final layer right away. If crumbs are showing, you skipped the step that keeps it neat.
5. Finish the Fur and Face Without Candy Clutter
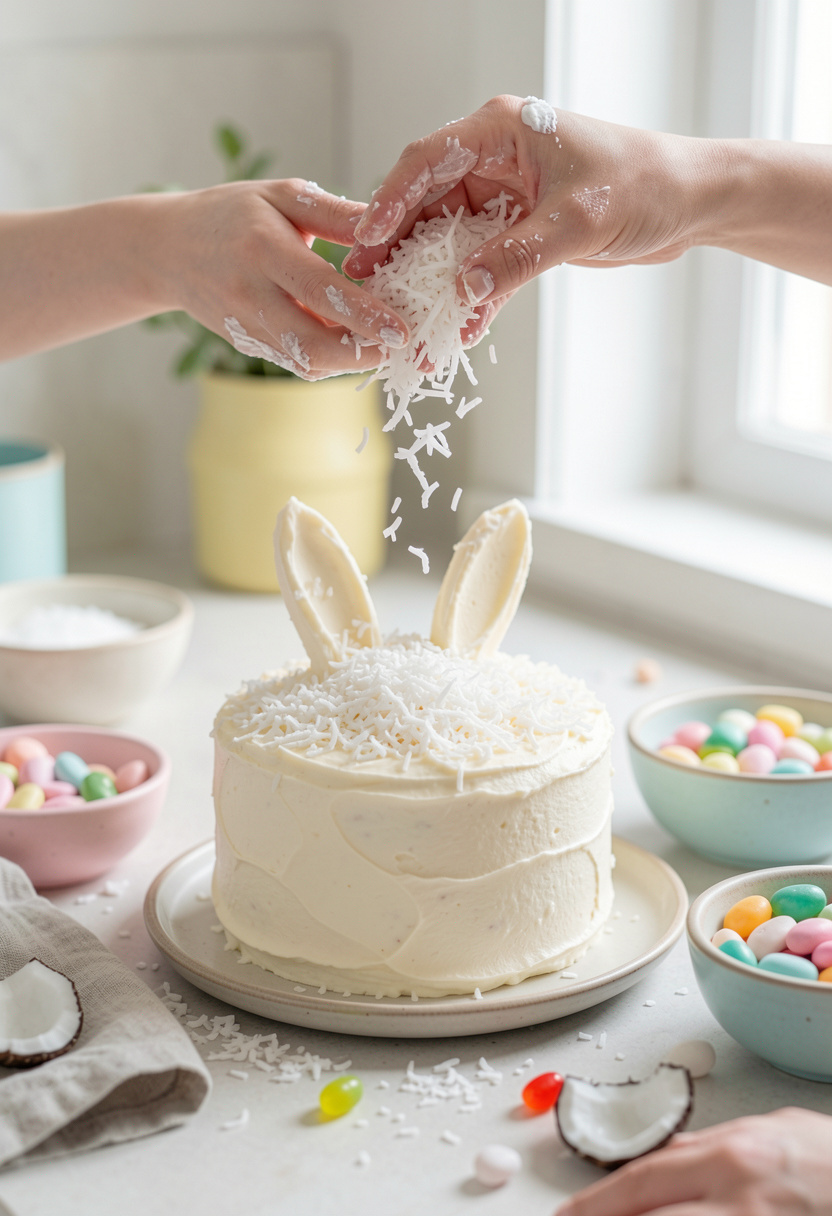
If you want the best bunny cake with the least decorating skill, use coconut. It’s fur that covers every uneven spot and makes the whole cake look intentional.
Press on shredded coconut sweetened 14 oz after the final frosting coat. If you hate coconut, swap to sprinkles, but know this ugly truth: sprinkles highlight lumpy frosting, coconut hides it.
Keep the face simple so it reads fast. Eyes: two dark candies. Nose: pink jelly bean or a pinch of nonpareils pastel mix pressed into a triangle. Whiskers: thin licorice laces. Ear centers: a little pink-tinted frosting or a strip of sprinkles.
One more ugly truth: overdecorated candy faces can make the bunny disappear. When I get carried away, it turns into a candy mask. Stop at eyes, nose, whiskers, ear centers.
Let it set 20 min at cool room temp (or 10 min in the fridge) before moving or slicing.
Common Cooking Mistakes to Avoid
Mistake: Cutting the ears from warm cake
Why it doesn't work: Warm crumb compresses and tears instead of slicing cleanly.
Do this instead: Cool fully on a cooling rack wire, then chill 20 min before carving.
Mistake: Using frosting that is too soft to anchor the ears
Why it doesn't work: The pieces slide and gaps open up on the platter.
Do this instead: Make a stiffer buttercream with powdered sugar 2 lb bag and chill the crumb coat 15 min.
Mistake: Trying to cut with a chef’s knife
Why it doesn't work: Straight blades tear cake, especially at the ear tips.
Do this instead: Use a gentle sawing motion with a serrated bread knife 10 inch.
Mistake: Skipping parchment, then prying the cake out
Why it doesn't work: The top rips and you lose a clean round for the bunny head.
Do this instead: Line pans with parchment paper sheets 12×16 every time.
What You'll Need to Make This
Pantry Staples
unsalted butter 1 lb box around $4 to $9
powdered sugar 2 lb bag around $3 to $7
vanilla extract pure 2 oz around $4 to $12
Specialty Ingredients
shredded coconut sweetened 14 oz around $2 to $6
nonpareils pastel mix around $4 to $12
rainbow sprinkles classic jimmies around $4 to $10
Tools That Earn Their Counter Space
8 inch round cake pans set of 2 around $12 to $28
serrated bread knife 10 inch around $12 to $30
offset spatula 9 inch around $7 to $18
Cookbooks Worth the Shelf
The Pioneer Woman Cooks by Ree Drummond around $15 to $30
The Cake Bible by Rose Levy Beranbaum around $18 to $35
Budget Swaps
hand mixer 5 speed electric around $20 to $45 (skip the stand mixer if you only bake a few times a year)
baking spray with flour around $4 to $8 (faster than buttering and flouring)
Shopping Guide for This Recipe
Save on the base, upgrade the texture: Aldi cake mix plus sour cream beats a fussy dry scratch cake. Keep vanilla extract pure 2 oz on hand (around $4 to $12).
Splurge where you taste it: Buttercream is mostly butter, so better butter matters. Grab unsalted butter 1 lb box (around $4 to $9), or spring for nicer at Whole Foods.
Trend watch: Shortcut holiday baking is the move, so spend your energy on decorations. A nonpareils pastel mix (around $4 to $12) makes the bunny look finished fast.
Make-ahead plan that works: Bake and wrap layers the day before, decorate day-of for clean candy. Freeze layers on a cooling rack wire setup (around $8 to $20) so they cool fast.
Out of coconut: Use sprinkles for “fur,” but pick softer jimmies for a nicer bite. rainbow sprinkles classic jimmies run around $4 to $10.
Conclusion
Start with the part that removes the most stress: cool the cakes all the way, then cut with a serrated knife. Everything gets easier when the crumb is set and the frosting is thick enough to act like glue.
If you want the lowest-effort “polished” finish, coconut fur covers a lot of human-looking frosting. Keep the face simple and let the bunny shape do the work.
Will you do coconut fur, or are you team sprinkles?