
How to make bread in a bread machine stopped being a mystery for me the day I stopped treating ingredients like rough guesses. I used to dump cups by eye and get a dense, sad loaf every time.
This guide shows what to change—exact flour choices, water temps, program picks, and one finishing move that opens the crumb—so you get a light, springy loaf with a thin, glossy crust. It is beginner-friendly and machine-focused; plan 3 hr total for a basic loaf, less if you use a quick cycle.
Bread here leans classic sandwich loaf, modestly herby, slightly sweet. It is weeknight-friendly and will fit well in an Italian-American or simple home-bakery rotation.
I’ve noticed home bakers in 2025 lean toward measured baking and better flour. That matters here; a kitchen scale and a 12–14% protein flour change everything.
1. Nail Dough Hydration and Flour Choice
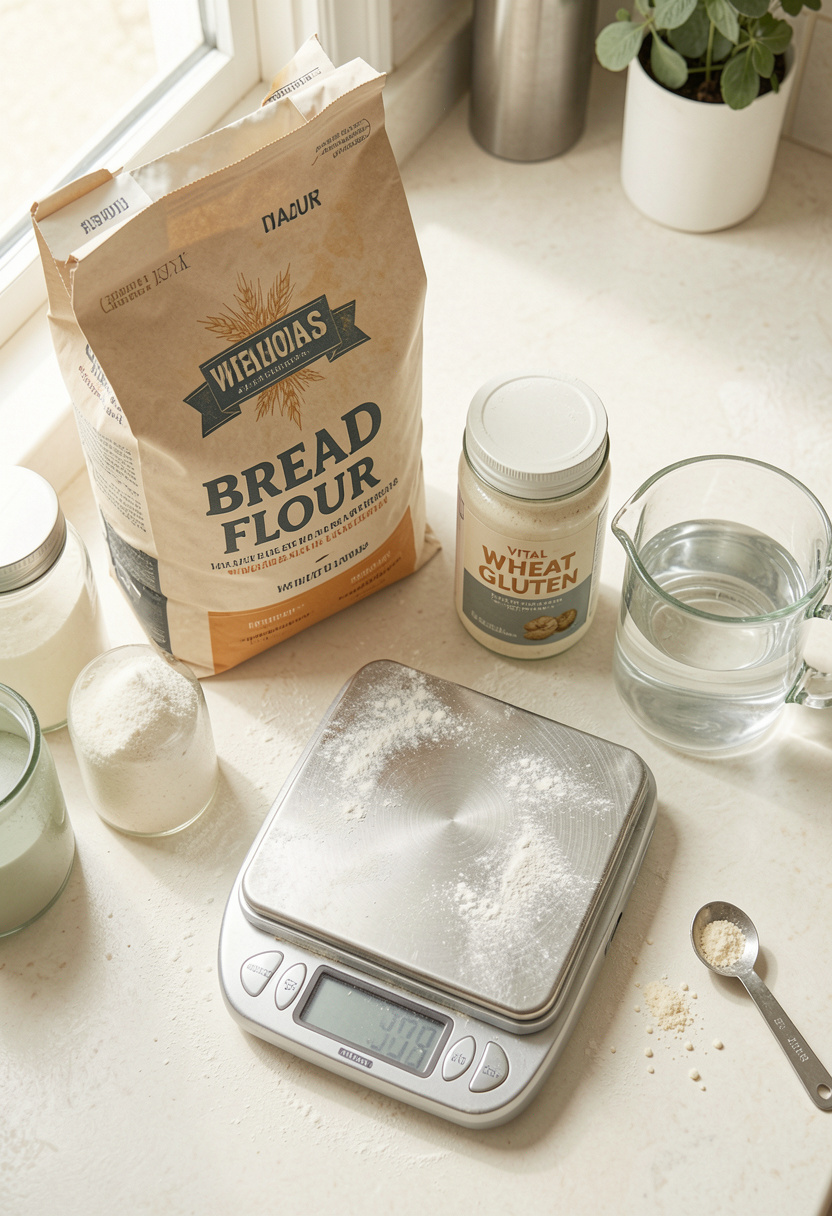
Start here because the loaf’s structure begins with the flour-to-water ratio. Use a high-protein bread flour to build gluten; I prefer King Arthur bread flour for its consistent 12 to 14 percent protein.
Weigh ingredients. A digital scale removes guesswork and keeps hydration exact; try an OXO digital kitchen scale.
Aim for 60 to 65 percent hydration by weight for a standard sandwich loaf. Example: 500 g flour to 300 to 325 g water. This yields a dough that is tacky but pulls cleanly from the bowl during the knead.
Principle: gluten development is math. Too little water makes tight, dense crumbs. Too much and the machine can’t form a loaf pan shape. Mistake: eyeballing cups. Do this instead: weigh flour and water, adjust 5 g at a time.
2. Order, Yeast Type, And Program Selection
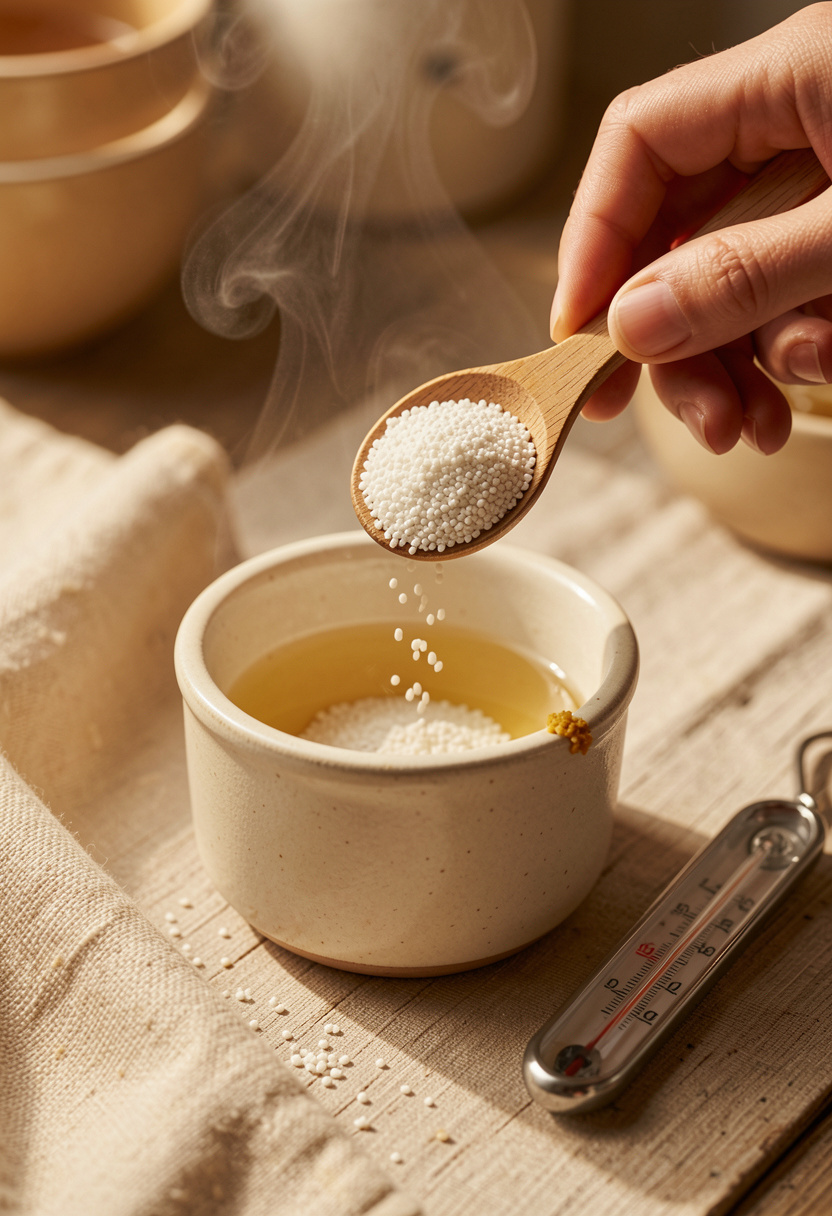
The order you load ingredients matters. Put liquids first, then flour, then salt on the flour, and finally yeast in a small well. This keeps salt from killing yeast during the lag phase.
Use instant yeast for machine cycles unless the machine recommends active dry. If using active dry, proof in 105°F to 110°F water for 5 to 10 min until frothy. For instant yeast, 80°F to 85°F water is safe.
Pick a basic or whole-wheat program that includes a full knead and two rises. Avoid the “quick” cycle for large loaves; it shortchanges gluten development and causes dense crumb.
Tools: Fleischmann’s active dry yeast or SAF instant yeast. Mistake: more yeast is not a fix. Fast rises create irregular flavor and a tight crumb.
3. Add-Ins, Paddle Care, And Shake-Free Kneading
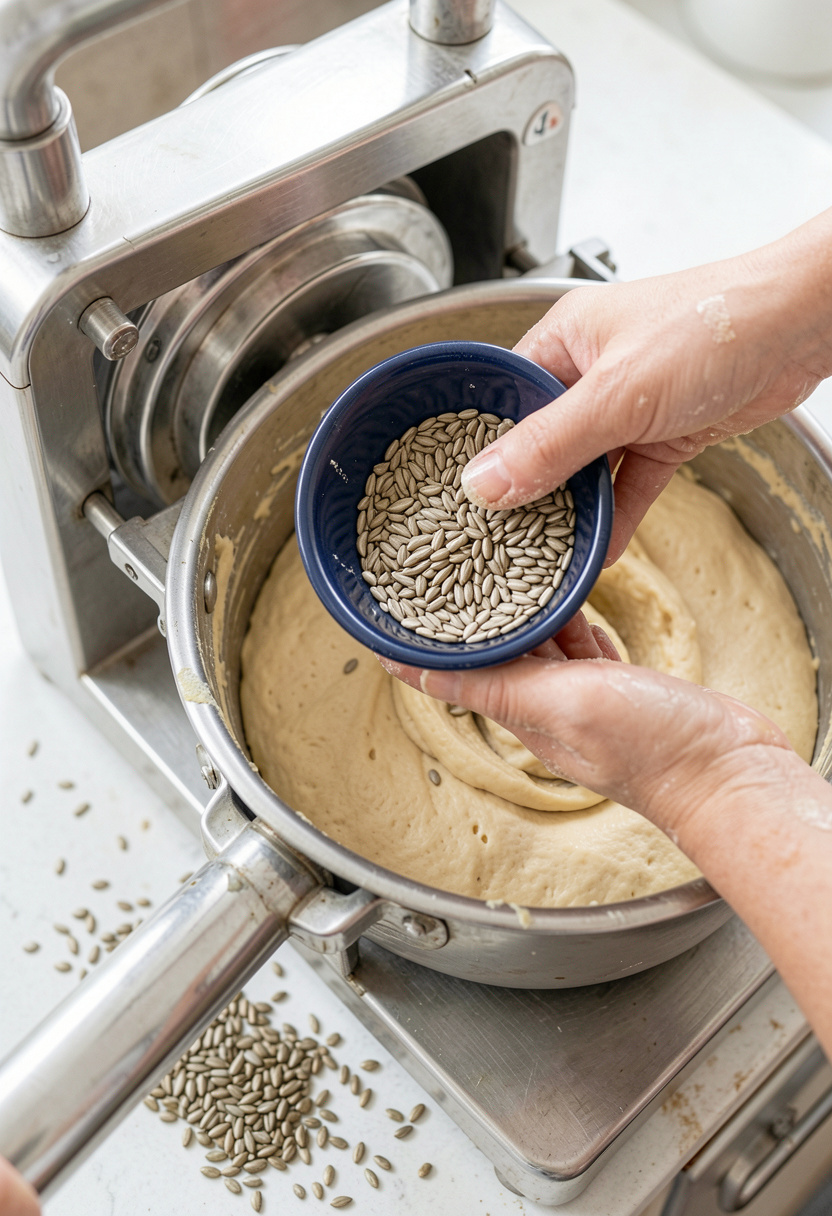
If you add seeds, nuts, or dried fruit, delay them until the machine signals “add” or fold them in by hand after the first knead. Too much weight during kneading drags the gluten network down and yields a dense loaf.
Remove the paddle promptly after the bake if your machine leaves one in. A stuck paddle can tear the crumb. I keep a small silicone spatula and a thin dough scraper for clean removal.
Technique: finish the knead with a 2-minute slow turn or a short hand stretch. That tiny bit of extra gluten alignment opens the crumb. Mistake: crowding with add-ins. Do this instead: 40 g to 60 g of seeds on a 500 g flour recipe.
4. Bake Finish, Cooling, And Slicing For Open Crumb
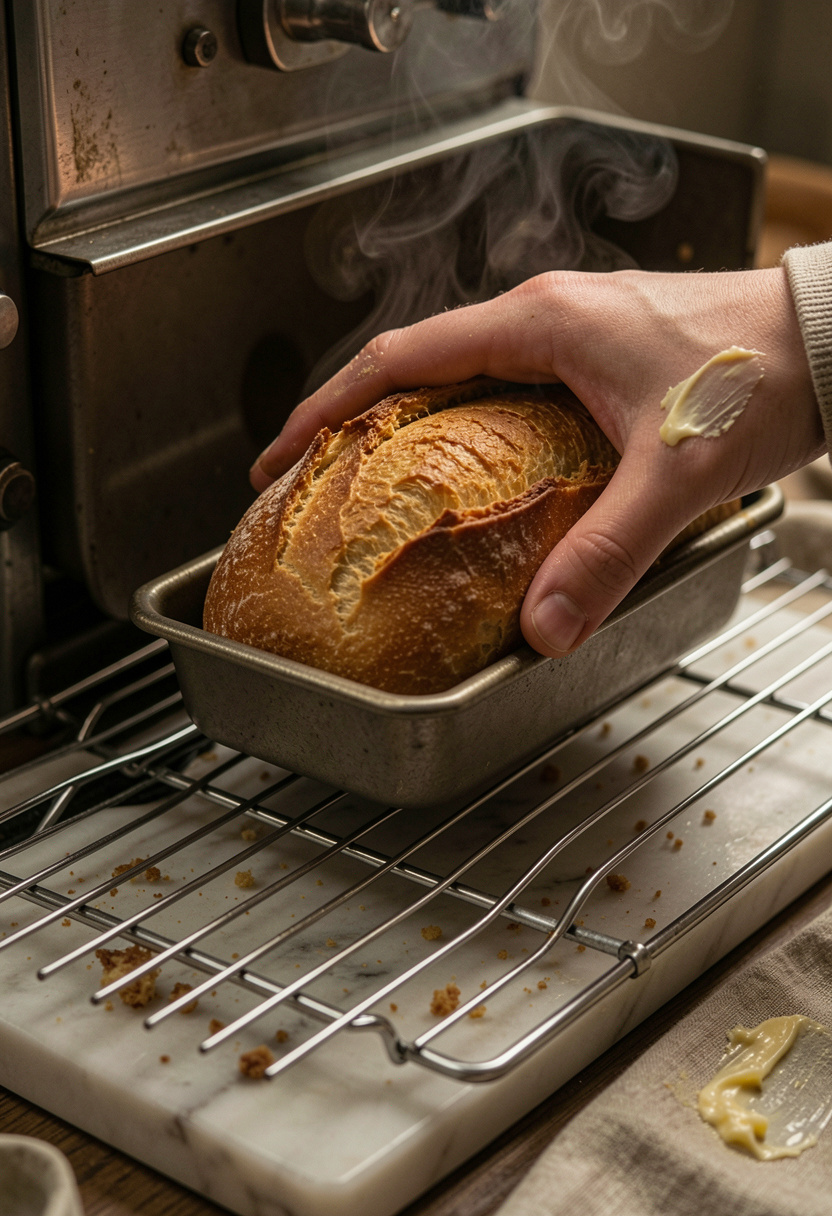
A common mistake is slicing hot. Let the loaf cool at least 45 to 60 min on a rack. The crumb sets as steam escapes. Slicing early yields gummy, compressed crumb.
If your machine’s crust control is weak, finish in a 400°F oven for 5 to 8 min to tighten crust. Use an instant-read thermometer to check internal temp; 190°F to 200°F for enriched loaves, 200°F to 210°F for lean breads.
I like a light butter brush right after slicing to soften crust and add sheen. Use coarse Maldon sea salt on top before the final bake for texture. Mistake: leaving the loaf in the pan to cool. Do this instead: unmold onto a wire rack to prevent sogginess.
Common Cooking Mistakes to Avoid
Mistake: Using the quick cycle every time
Why it doesn't work: Short knead and rise gives tight, uniform crumb and poor flavor.
Do this instead: Choose the basic or whole-wheat program; if pressed, use a Hamilton Beach bread maker with a full cycle.
Mistake: Dumping ingredients without weighing
Why it doesn't work: Cup measures vary, hydration shifts, and gluten fails to develop.
Do this instead: Use a digital kitchen scale for consistent results.
Mistake: Piling in add-ins at the start
Why it doesn't work: Heavy mix-ins prevent proper knead and trap moisture.
Do this instead: Add up to 12 percent add-ins by weight at the machine's beep, or fold them in by hand with a dough scraper.
What You'll Need to Make This
Pantry Staples
King Arthur bread flour around $6 to $12
Diamond Crystal kosher salt 3 lb box around $5 to $8
Local wildflower honey around $8 to $18
Specialty Ingredients
Bob's Red Mill vital wheat gluten around $6 to $12
SAF instant yeast around $6 to $10
Maldon sea salt flakes around $6 to $12
Tools That Earn Their Counter Space
OXO digital kitchen scale approx $20 to $40
Thermapen instant read thermometer approx $60 to $120
Banneton proofing basket oval 1.5 lb around $12 to $25
Cookbooks Worth the Shelf
Flour Water Salt Yeast by Ken Forkish (price range $18 to $30)
The Bread Baker's Apprentice by Peter Reinhart (price range $15 to $30)
Budget Swaps
Hamilton Beach bread maker for entry-level machines, approx $60 to $120 (Aldi and Walmart often carry budget models)
Panasonic bread maker as a mid-splurge machine, approx $150 to $300
Shopping Guide for This Recipe
Weighing matters: Invest in a digital kitchen scale for $20 to $40; it is the single biggest upgrade to loaf consistency.
Yeast swap hack: Out of instant yeast? Proof Fleischmann’s active dry yeast in 105°F to 110°F water for 5 to 10 min.
2025 trend: Many home bakers are adding small amounts of vital gluten for resiliency; try Bob's Red Mill vital wheat gluten 1 to 2 tsp per cup of flour.
Splurge vs save: Splurge on a reliable scale and thermometer; save on a basic bread machine like Hamilton Beach if you bake weekly.
Conclusion
Start with weighing flour and water, and pick a cycle that gives a full knead and two rises. That single change corrected most of my dense-loaf problems.
One final tip: small additions of vital wheat gluten and a short oven blast at 400°F for 5 min can improve oven spring and crust color.
Will you try the full-measure approach first or test the vital gluten tweak on your next loaf?