
Runny buttercream frosting used to be my birthday-cake villain. One minute it looked fluffy, the next it was sliding down the sides like it gave up.
Here’s how to fix runny buttercream frosting without starting over, in 10 to 30 min, using the same bowl. The key is doing the fixes in the right order so you do not end up with frosting that’s sweeter, gritty, or weirdly greasy.
American-style buttercream is the vibe here: buttery, vanilla-forward, and built for cakes and cupcakes. It’s beginner-friendly, but the one tricky step is temperature control, especially in warm kitchens.
The 2025 trend I keep seeing (and using) is “pro” troubleshooting at home: chill, rewhip, then add structure in tiny doses. It’s boring advice until it saves your cake.
1. Diagnose Why It’s Runny Before You Add Anything
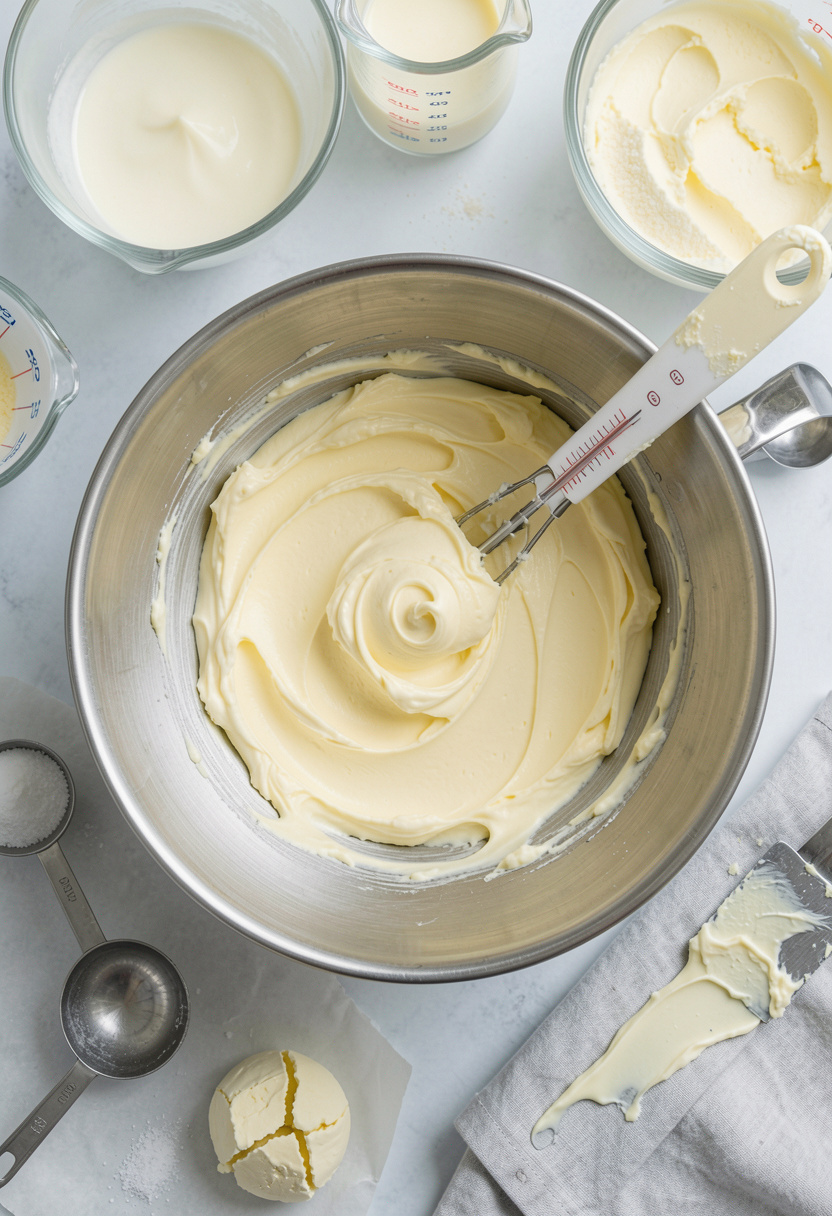
Before you reach for more sugar, do a 15-second check: is it warm, over-liquefied from extra milk, or under-whipped? The fix depends on the cause, not the panic level.
Touch the outside of the bowl. If it feels even slightly warm, that’s your culprit. Buttercream turns slack fast once the butter gets too soft. If you have one, a Thermapen ONE instant read thermometer helps: buttercream starts acting sketchy once it creeps past about 72°F to 75°F.
Now taste it. If it’s already sweet enough, you’ll want a low-sweetness thickener later (cornstarch or meringue powder) instead of dumping in powdered sugar.
Mistake I made for years: adding more liquid “to make it spread.” That turns frosting too runny into frosting soup. If it’s loose, stop adding milk. Full stop.
2. Chill the Bowl, Save the Structure (10 to 30 min)
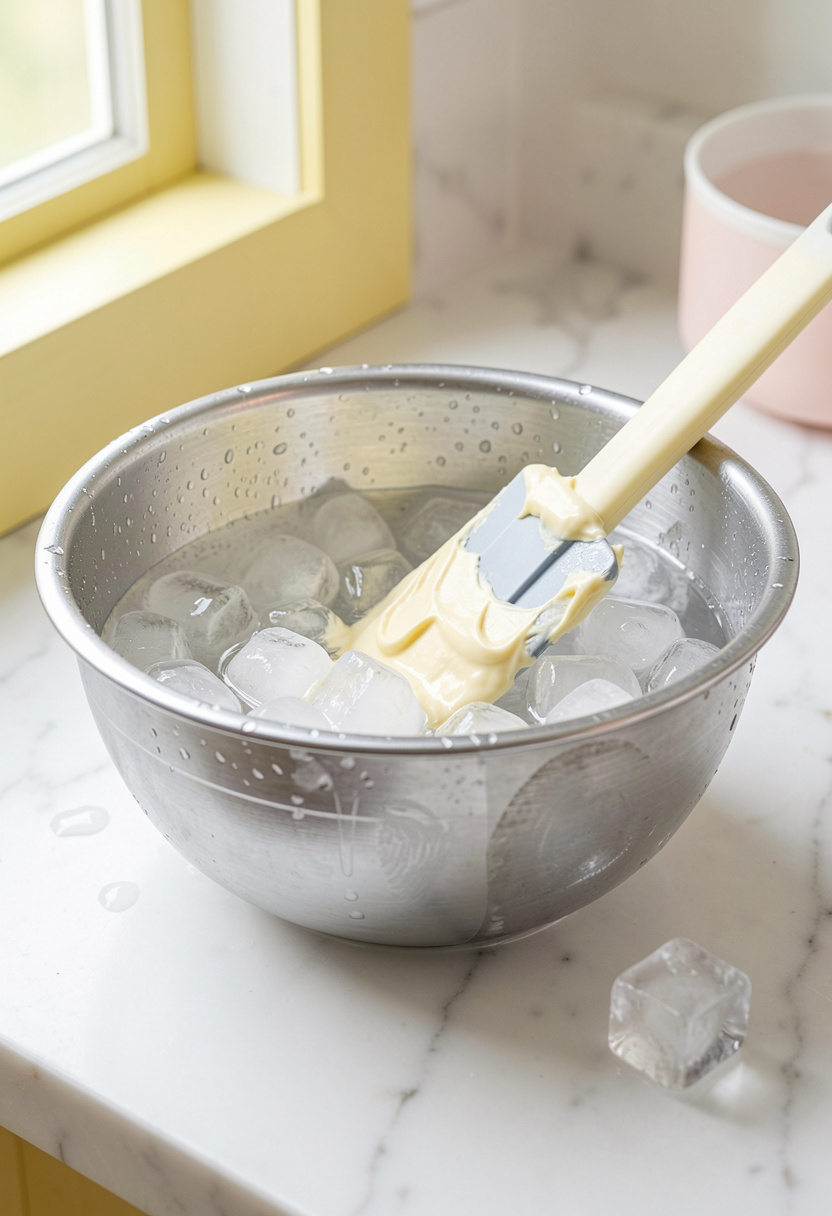
The fastest fix for runny buttercream frosting is usually chilling, because butter is the structure. Put the whole bowl in the fridge for 10 to 20 min.
If you’re on a deadline (been there, cupcakes on the counter, guests texting), use the under-covered trick: an ice bath. Set your mixing bowl into a larger bowl of ice water for 3 to 5 min, stirring once or twice. You’re aiming for cool, not cold.
This is pure temperature control. Cooling firms the fat so it can hold air again once you whip.
Tools help here. A flexible OXO good grips silicone spatula set makes it easy to scrape the sides down so the whole batch chills evenly.
Common mistake: forgetting it in the fridge for 45 min. Then you get stiff, lumpy frosting that looks curdled when you beat it. If that happens, let it sit 5 min at room temp, then proceed to the next phase.
3. Rewhip Gently for Fluffy, Spreadable Texture
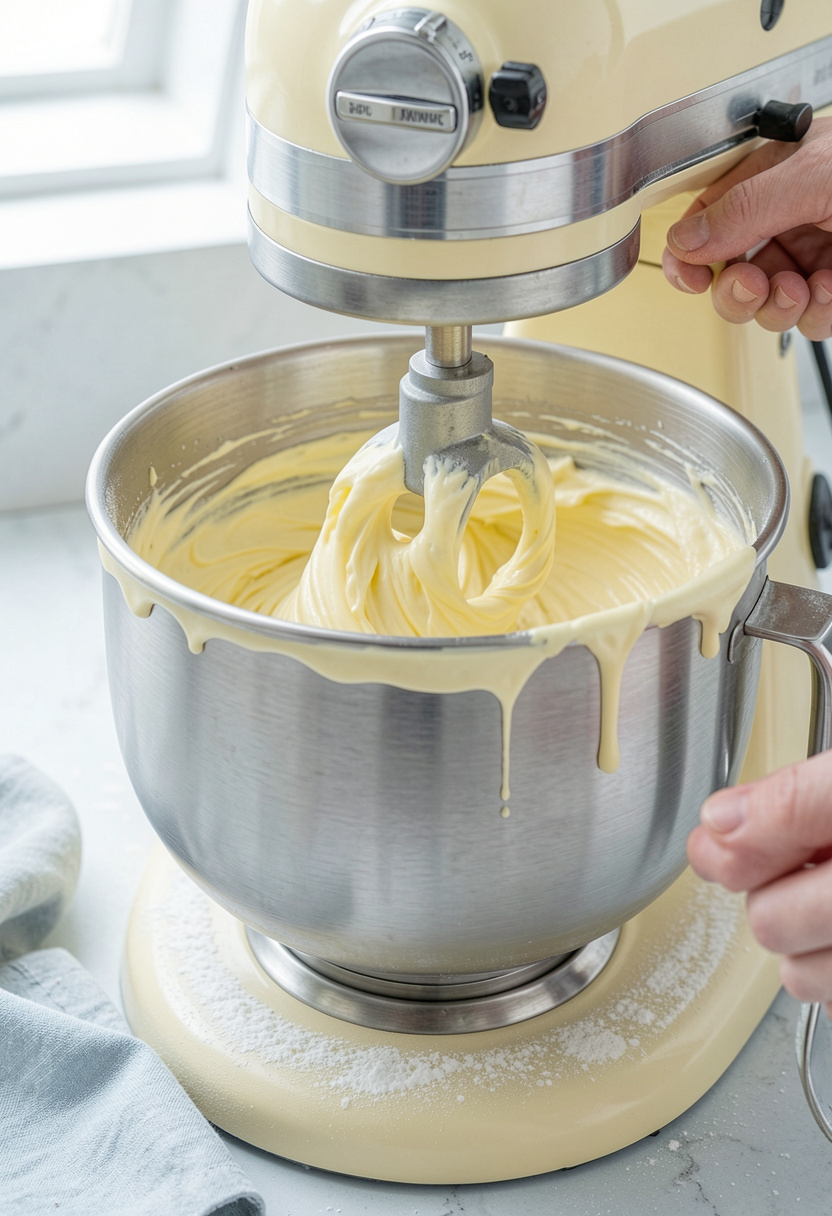
Chilling alone gives you thicker frosting, but it can look dull. Rewhipping is where it becomes fluffy again, because you’re rebuilding the emulsion and aerating at the same time.
Use medium speed for 30 to 90 seconds, then drop to low for another 30 seconds to knock out big air pockets. A stand mixer makes this easy, but a hand mixer works too. If you bake often, a KitchenAid stand mixer 5 qt artisan is the “buy once, cry once” option.
If your buttercream won’t hold peaks, pause and scrape the bowl. Warm streaks hide on the sides and keep the center loose.
Ugly truth: “beat it harder until it thickens” is a flop in a warm kitchen. If the frosting is warm, more mixing can push it looser or slightly greasy. Chill first, then whip. The frosting should finish with soft peaks for spreading, or firmer peaks for piping.
4. Add Structure One Tablespoon at a Time (Without Ruining Flavor)
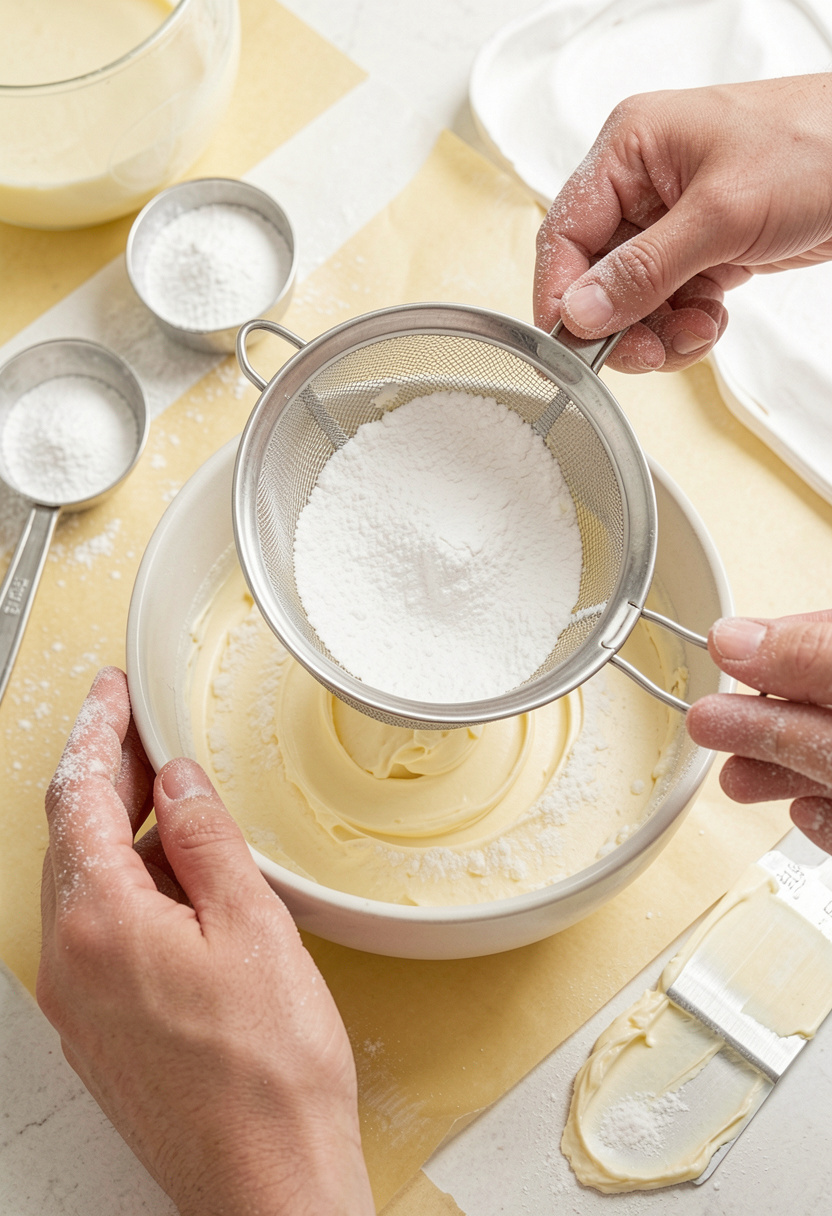
If chilling and rewhipping didn’t get you to “just the right consistency,” it’s time to thicken. The one-tablespoon sugar rule is the move: add 1 tbsp at a time, mix 15 seconds, repeat.
Sift first so you don’t get gritty frosting. A fine mesh sieve stainless steel takes 20 seconds and saves you from crunchy sugar pockets. Use a reliable powdered sugar 2 lb bag and stop the second it holds peaks.
Need to thicken buttercream without making it too sweet? Add 1 tsp cornstarch (mixed into the powdered sugar), or start with 1 tsp and reassess. A basic cornstarch 1 lb box is cheap insurance for “sweetness is already maxed out” situations.
Mistake people make here: dumping in a big cup of sugar at once. That oversweets fast and can leave the frosting feeling heavy. Small increments let you hit pipeable frosting territory without wrecking the taste.
5. Stabilize for Piping, Then Fix the “Too Sweet” Problem
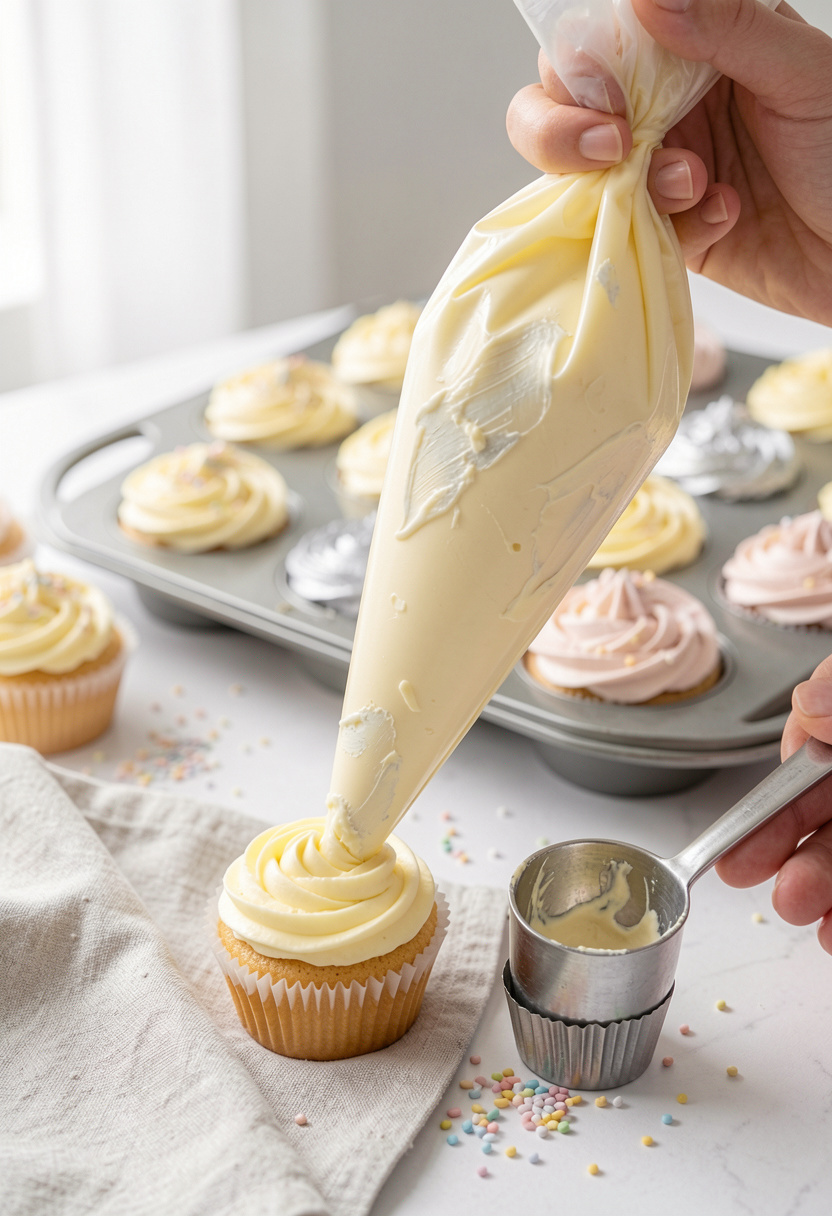
For layer cakes you can spread, a softer buttercream is fine. For piping roses or tall swirls, you need more stability. This is where meringue powder earns its keep.
Add 1 to 2 tsp meringue powder 8 oz, whip 30 seconds, then let the frosting sit 2 min. It tightens slightly as it hydrates. This is moisture absorption plus structure, and it helps in hot kitchens.
Now the flavor fix that nobody told me early enough: salt. A pinch makes sweet buttercream taste more like vanilla ice cream and less like sugar. I keep Diamond Crystal kosher salt 3 lb box for baking because it’s easy to pinch and control.
If you want the bakery-style vanilla finish, add 1 tsp vanilla extract pure 2 oz or a smaller amount of paste. Mistake: adding extra vanilla before texture is fixed. Liquid flavorings can loosen an already-runny batch, so do it at the end.
Common Cooking Mistakes to Avoid
Mistake: Adding more milk when frosting is too runny
Why it doesn't work: Extra liquid breaks the balance and makes the emulsion harder to thicken.
Do this instead: Thicken with sifted powdered sugar 2 lb bag one tablespoon at a time.
Mistake: Microwaving the bowl to “fix” texture
Why it doesn't work: Heat collapses buttercream fast and turns it slack.
Do this instead: Chill and rewhip, or use an ice bath and monitor with a Thermapen ONE instant read thermometer.
Mistake: Dumping in a huge amount of sugar at once
Why it doesn't work: Oversweetens and can make frosting gritty.
Do this instead: Sift through a fine mesh sieve stainless steel and add in spoonfuls.
Mistake: Trying to pipe with warm, soft buttercream
Why it doesn't work: It won’t hold peaks, especially in humid kitchens.
Do this instead: Stabilize with meringue powder 8 oz and chill 10 min before bagging.
What You'll Need to Make This
Pantry Staples
powdered sugar 2 lb bag around $2 to $6
Diamond Crystal kosher salt 3 lb box around $5 to $8
vanilla extract pure 2 oz around $6 to $15
Specialty Ingredients
meringue powder 8 oz around $7 to $15
pure vanilla bean paste 4 oz around $12 to $25
Maldon flaky sea salt 8.5 oz around $7 to $12
Tools That Earn Their Counter Space
KitchenAid stand mixer 5 qt artisan around $250 to $450
Breville hand mixer around $80 to $140
fine mesh sieve stainless steel around $8 to $18
Cookbooks Worth the Shelf
Bravetart by Stella Parks (price range $18 to $30)
The Cake Bible by Rose Levy Beranbaum (price range $15 to $30)
Budget Swaps
cornstarch 1 lb box around $2 to $4 (Aldi is usually cheapest)
European style unsalted butter around $6 to $12 (save with Costco butter when baking big batches)
Shopping Guide for This Recipe
Save Your Cake With Temperature Control: Grab a Thermapen ONE instant read thermometer around $75 to $110 and aim to keep buttercream under about 75°F while mixing.
Less-Sweet Thickening Hack: Keep cornstarch 1 lb box around $2 to $4 for thickening when extra sugar would ruin the flavor.
Splurge vs Save Butter: Splurge on European style unsalted butter around $6 to $12 for the cleanest flavor, save with standard grocery butter for kid-party cupcakes.
Powdered Sugar Matters for Texture: A fresh, dry powdered sugar 2 lb bag around $2 to $6 prevents that damp, clumpy thickening that turns gritty.
Pipeable Frosting in Hot Kitchens (2025 Trend): Stabilize with meringue powder 8 oz around $7 to $15 so swirls hold up longer on the counter.
Conclusion
Start with the chill-and-rewhip fix. It solves most runny buttercream frosting cases without changing the sweetness, and it feels like a magic trick when the bowl goes from slump to soft peaks in a minute.
Then thicken in spoonfuls, and finish with a pinch of salt for balance. If you want that clean vanilla punch, end with pure vanilla bean paste 4 oz.
Are you fixing frosting for a cake you’re spreading, or do you need full pipeable frosting for swirls and roses?