
I burned my first pan of thighs until the kitchen smelled like an outdoor grill on bad weather day. That was before I learned how to time salt, heat, and fat.
If you want to know how to cook boneless chicken thighs so they turn out juicy, this guide shows the exactly-right dry brine, the sear that builds flavor, the butter baste that keeps juices in, and the rest that finishes the texture. It takes about 45 min with hands-on beginner-friendly steps.
My kitchen leans toward cozy weeknight food with global pantry hits. I’ve noticed dry brining and chili crisp finishes keep showing up on dinner tables lately. The USDA recommends cooking poultry to 165°F for safety, and FoodData Central shows thighs have roughly double the fat of breasts, which explains why they forgive more heat and taste richer when handled right.
1. The Pre-Sear Setup: Dry Brine and Temper
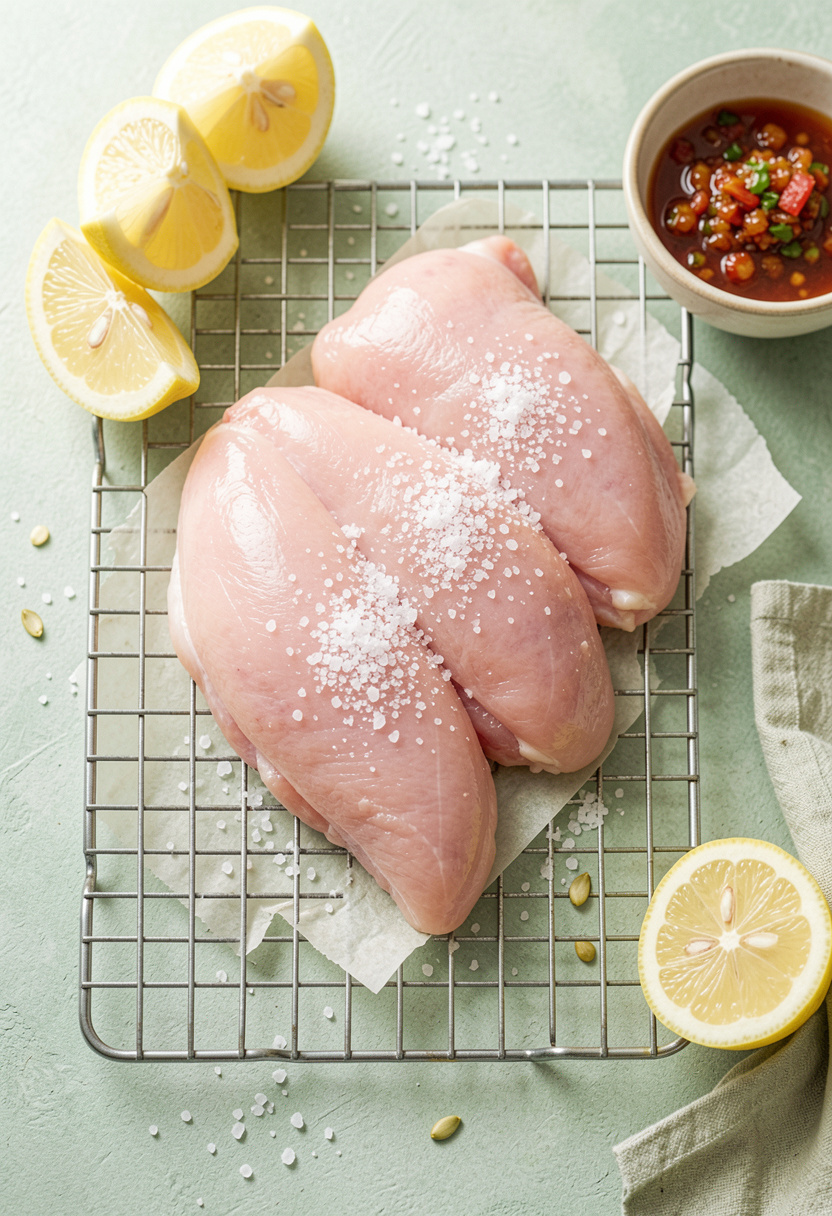
Salt timing is the secret. Salt the thighs 40 to 60 min before cooking for a quick dry brine. The salt draws moisture out, then proteins reabsorb it with seasoning, which helps the meat hold on to juices. This is why thighs taste better than breasts even at the same internal temp.
I use Diamond Crystal kosher salt 3 lb box around $5 to $8 and set the thighs on a wire rack half sheet pan approx $12 to $25 to air under them. Let them sit at fridge temp if you have time, or 40 min on the counter if you’re rushed.
Why this works is simple chemistry. Salt unfolds surface proteins so they bind water. The result is meat that stays juicy after a high-heat sear. Mistake to avoid: salting right before you sear. That pulls moisture out and flushes it away on the pan. Salt earlier, then come back with dry skin.
2. The Sear in Smoking-Hot Cast Iron
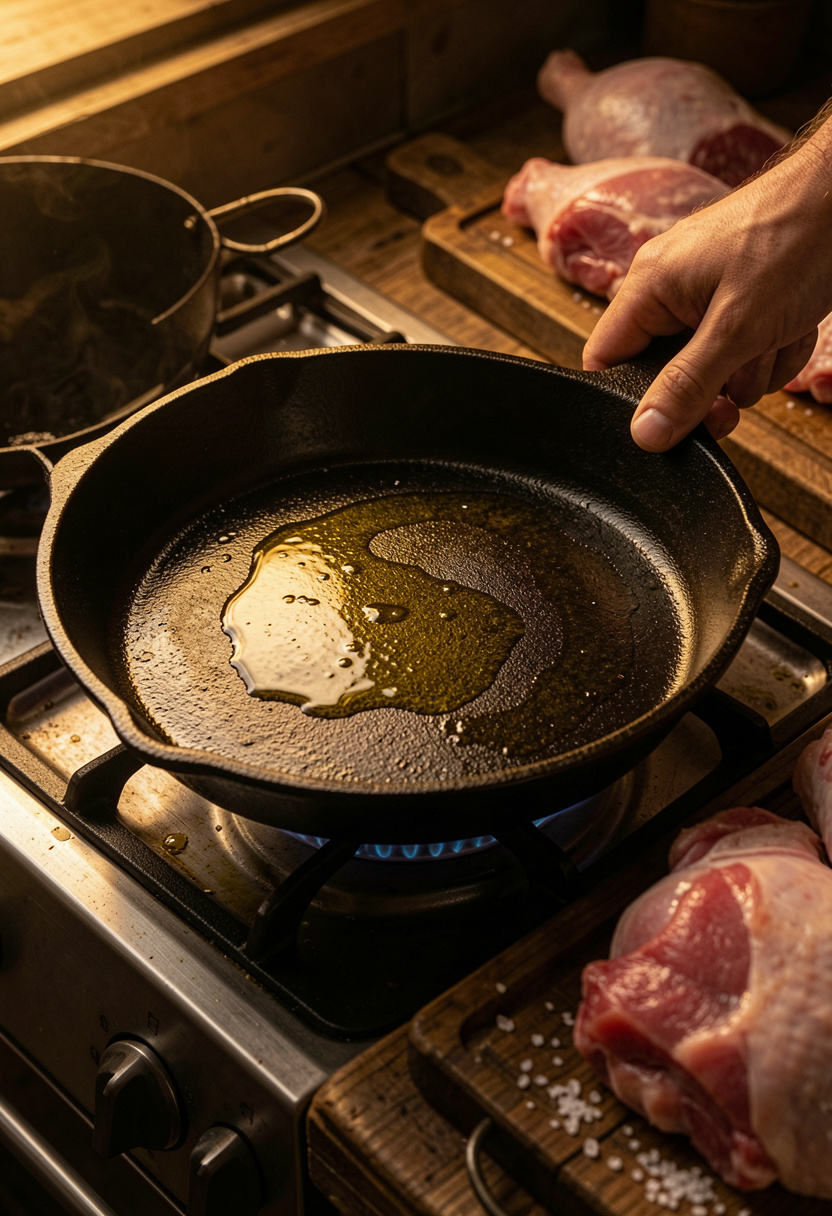
Heat is not negotiable. Preheat a Lodge cast iron skillet 12 inch approx $25 to $40 until a drop of water sizzles away instantly. Add a tablespoon of high-smoke oil like avocado oil 16 oz approx $8 to $15 and place thighs skin-side down or smooth-side down for 3 to 4 min until a deep golden crust forms.
The Maillard reaction creates the crust and flavor; you want that fond in the pan for later. Flip and sear the other side 2 to 3 min. Doneness cue: the browned side should look deeply caramelized and the center should give a bit when pressed. Mistake many cooks make: using nonstick pans or medium heat. That produces pale, soft skin. Use cast iron and intense, even heat instead. If the crust forms too quickly, lower heat a touch and finish in oven.
3. The Butter Baste with Garlic and Thyme
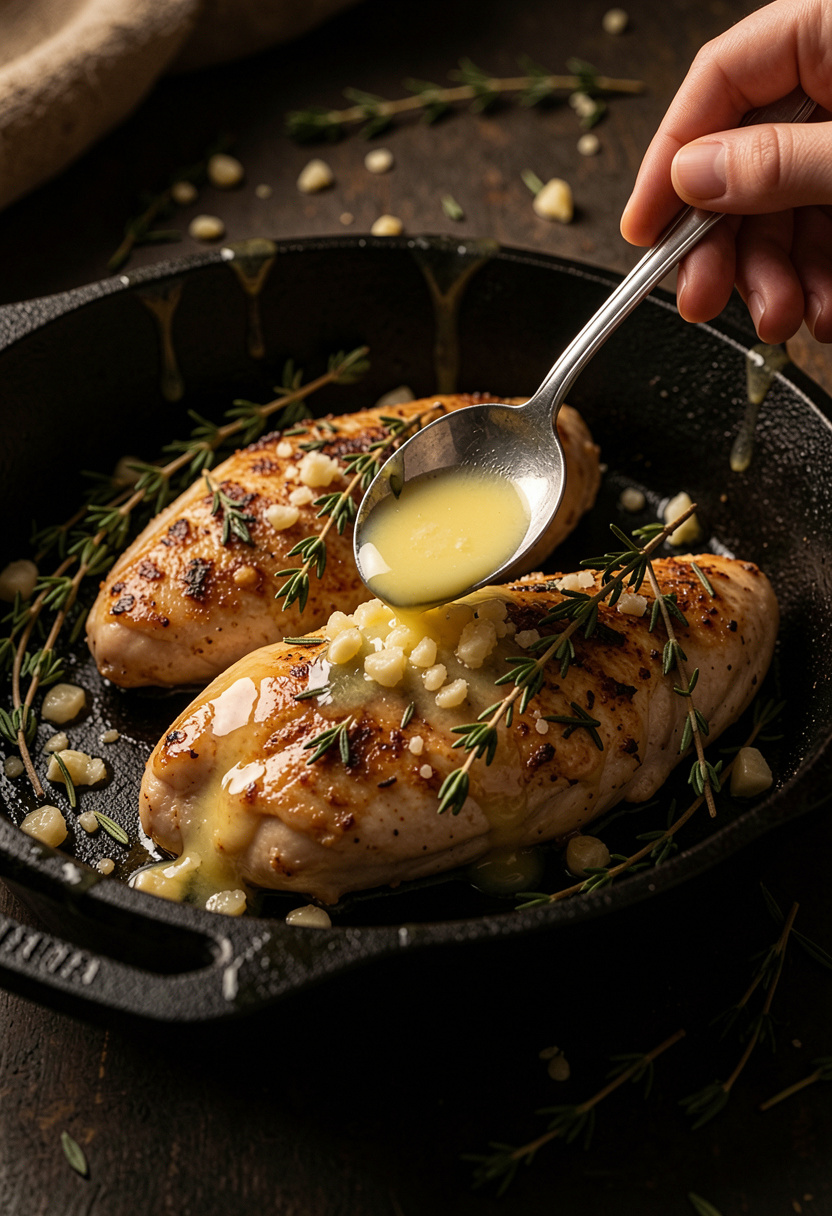
This is the stage where texture meets flavor. Add 2 tablespoons of unsalted butter, a smashed garlic clove, and a few thyme sprigs to the hot pan. I use Plugra unsalted butter 1 lb around $4 to $6 for that fuller butter flavor.
Tilt the pan and spoon the melted butter over the thighs for 60 to 90 seconds. The fat carries flavor into the meat while the garlic and thyme aromatics perfume the crust. The cooking principle is basting as heat transfer and flavor infusion. Mistake: dumping cold butter in. Bring the butter to foaming stage first so it emulsifies with pan juices. The result is glossy, savory thighs with aromatic top notes.
4. The Rest That Makes or Breaks the Bite
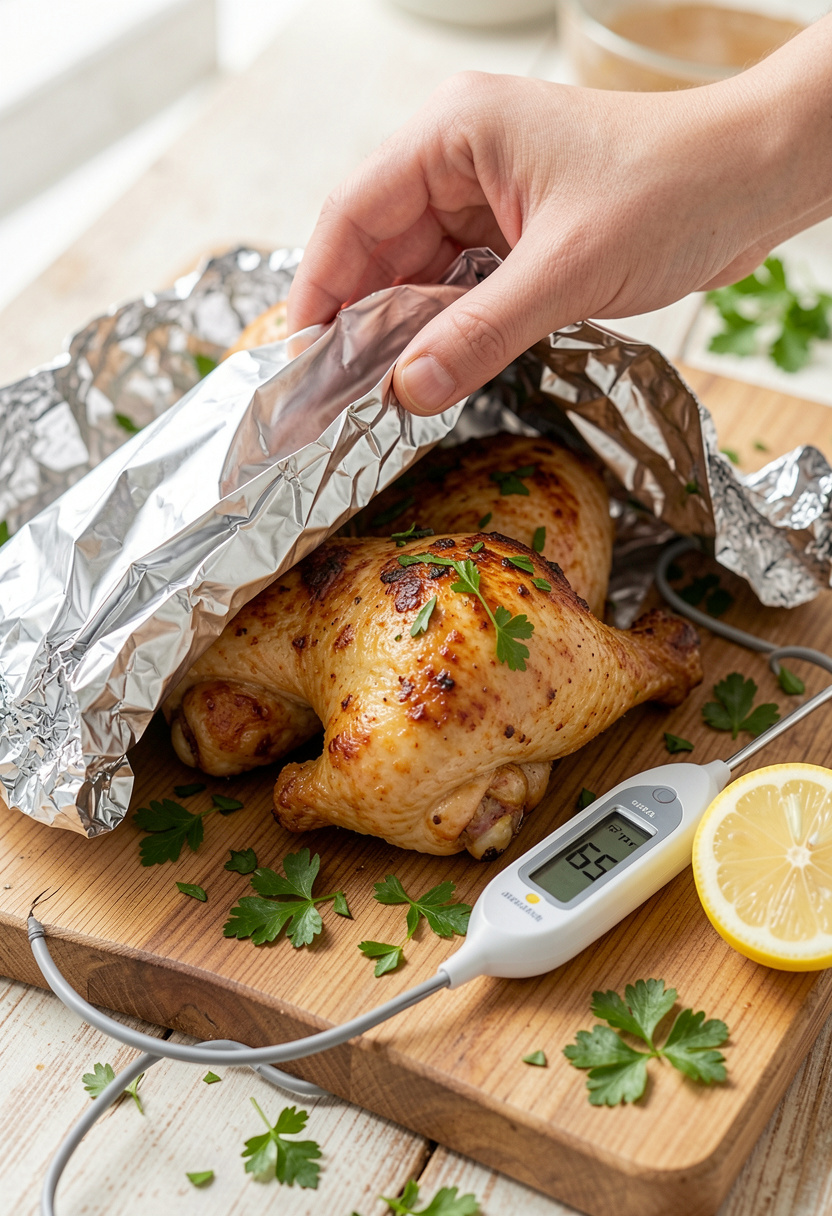
Rest for 8 to 10 min after the thighs hit 165°F internal. I use an instant-read thermometer approx $15 to $100 to verify. Resting lets juices redistribute and the meat finish carryover cooking without drying out.
Tent loosely with foil so steam does not collect and soften the crust. After resting, finish with a squeeze of lemon and a sprinkle of Maldon sea salt flakes 4 oz around $6 to $12. Mistake: slicing immediately. Cutting too soon dumps juices onto the board. Let it rest and the bite becomes tender, glossy, and forgiving.
Common Cooking Mistakes to Avoid
Mistake: Crowding the pan when searing thighs
Why it doesn't work: Pan temperature drops and the meat steams instead of browns.
Do this instead: Cook in batches with 1 inch between pieces using a Lodge cast iron skillet 12 inch approx $25 to $40.
Mistake: Salting only at the end
Why it doesn't work: Surface seasoning won’t penetrate and the meat tastes flat.
Do this instead: Dry brine 40 to 60 min with Diamond Crystal kosher salt 3 lb box around $5 to $8.
Mistake: Relying on visual color alone for doneness
Why it doesn't work: Color can be misleading; undercooked or overcooked meat follows.
Do this instead: Use an instant-read thermometer to hit 165°F.
What You'll Need to Make This
Pantry Staples
Diamond Crystal kosher salt 3 lb box around $5 to $8
Extra virgin olive oil 25.5 oz approx $10 to $20
Specialty Ingredients
Lao Gan Ma chili crisp 7.4 oz approx $6 to $12
Maldon sea salt flakes 4 oz around $6 to $12
Tools That Earn Their Counter Space
Lodge cast iron skillet 12 inch approx $25 to $40
Instant-read thermometer approx $15 to $100
Microplane zester around $10 to $20
Cookbooks Worth the Shelf
Salt Fat Acid Heat by Samin Nosrat (price range $18 to $28)
The Food Lab by J. Kenji Lopez-Alt (price range $20 to $35)
Budget Swaps
Avocado oil 16 oz approx $8 to $15 (save) vs. European butter like Plugra unsalted butter 1 lb around $4 to $6 (splurge for finishing).
Shopping Guide for This Recipe
Choose thighs with good color: Look for even pink meat and minimal liquid. Chicken thigh boneless pack approx $6 to $12.
Substitution hack: Out of butter? Use 1 tbsp olive oil plus 1 tsp white miso for umami. Miso paste 8.8 oz around $6 to $10.
Trend pick for 2025: Finish with chili crisp or gochujang glaze for punch; both are pantry-friendly. Gochujang 17.6 oz approx $6 to $12.
Splurge vs save: Splurge on a reliable thermometer, save on nonstick tongs. Thermapen instant-read thermometer approx $90 to $120 vs OXO tongs 12 inch around $8 to $15.
Conclusion
Start with the dry brine if you only take one thing away. It is the highest-impact move for juiciness.
Finish with the butter baste and a proper rest. Those two steps turn good thighs into weeknight winners.
Will you try the dry-brine method first or jump straight to butter basting?