
My first attempt at how to cook boneless chicken thighs ended in leathery edges and bland insides. I learned the hard way that quick pan frying without salt or rest ruins the texture.
After a few dozen tries I settled on a simple loop: dry brine, sear, baste, rest. You will learn exact temps, timing, and the tools that actually matter for juicy, restaurant-quality thighs in about 45 min total.
Chicken thighs are forgiving and richly flavored, so the cuisine can swing from Italian-American lemon-thyme to Korean gochujang glaze. Expect around 45 min hands-on, beginner-friendly with one small timing trick: the dry brine.
I’ve noticed dry brining and chili crisp finishes showing up in home kitchens in 2025. This method leans on Maillard browning and a finish-acid to cut richness.
1. The Pre-Sear Setup: Dry Brine and Temper
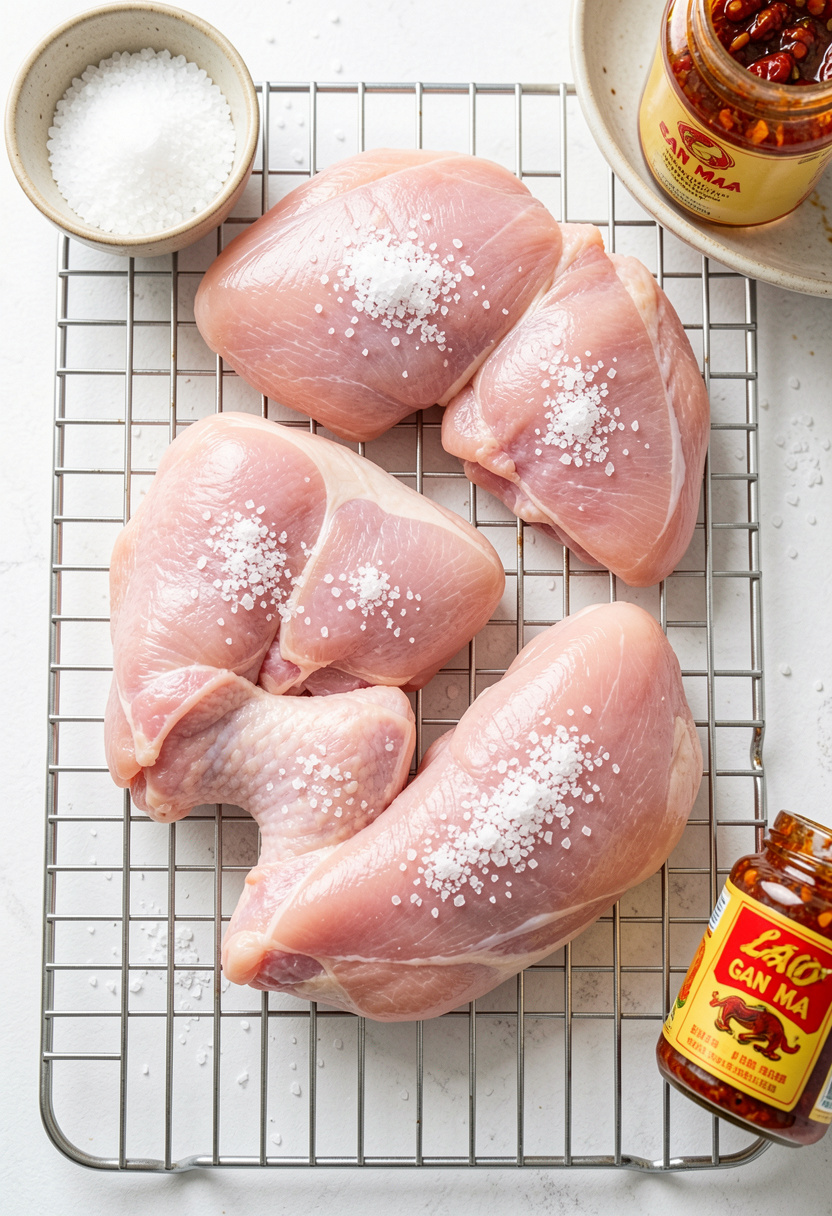
Salt timing is the single biggest flavor lever for thighs. Pat dry, sprinkle kosher salt evenly (about 3/4 tsp per pound), and let the thighs sit uncovered on a wire cooling rack 10×14 in the fridge for 1 to 4 hr. This is dry brining. It firms the surface and helps the meat hold moisture during the sear by letting salt penetrate.
While they rest, temper to room temperature for 20 to 30 min so the pan doesn’t overcook the outside before the inside warms. I use a quick instant-read thermometer to check that the thighs have climbed from fridge cold to about 50°F at the thickest point.
Principle: salt restructures proteins and draws juices back in as they rebind. Mistake: skipping the fridge step because you are in a rush. What happens then is a wet surface that steams. Do this instead and you’ll get a cleaner sear and a juicier bite.
2. The Sear in Smoking-Hot Cast Iron
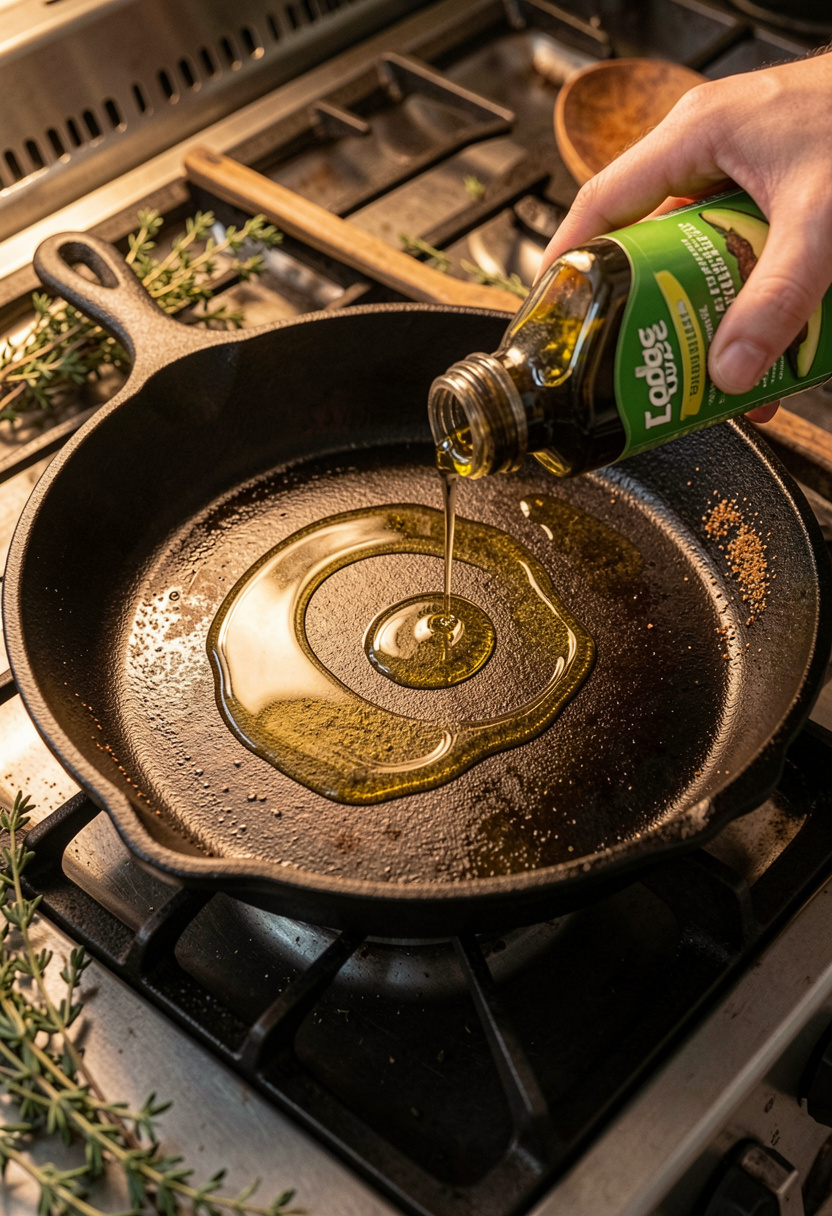
Heat is where Maillard happens. Preheat a Lodge cast iron skillet 12 inch over medium-high for 5 to 7 min until it is rip-roaring hot. Add a tablespoon of high-smoke-point oil like refined avocado oil 16 oz and place thighs skin-side or presentation-side down. Sear 3 to 4 min without moving until a deep brown crust forms.
Flip and sear the other side 2 min just to set color. The cue is sound and sight: steady sizzling and a rich brown crust. Principle: surface sugars and proteins brown into flavor. Mistake: crowding the pan. If you put too many pieces in, the pan temperature collapses and you steam the meat. Cook in two batches if needed.
3. The Butter Baste with Garlic and Thyme
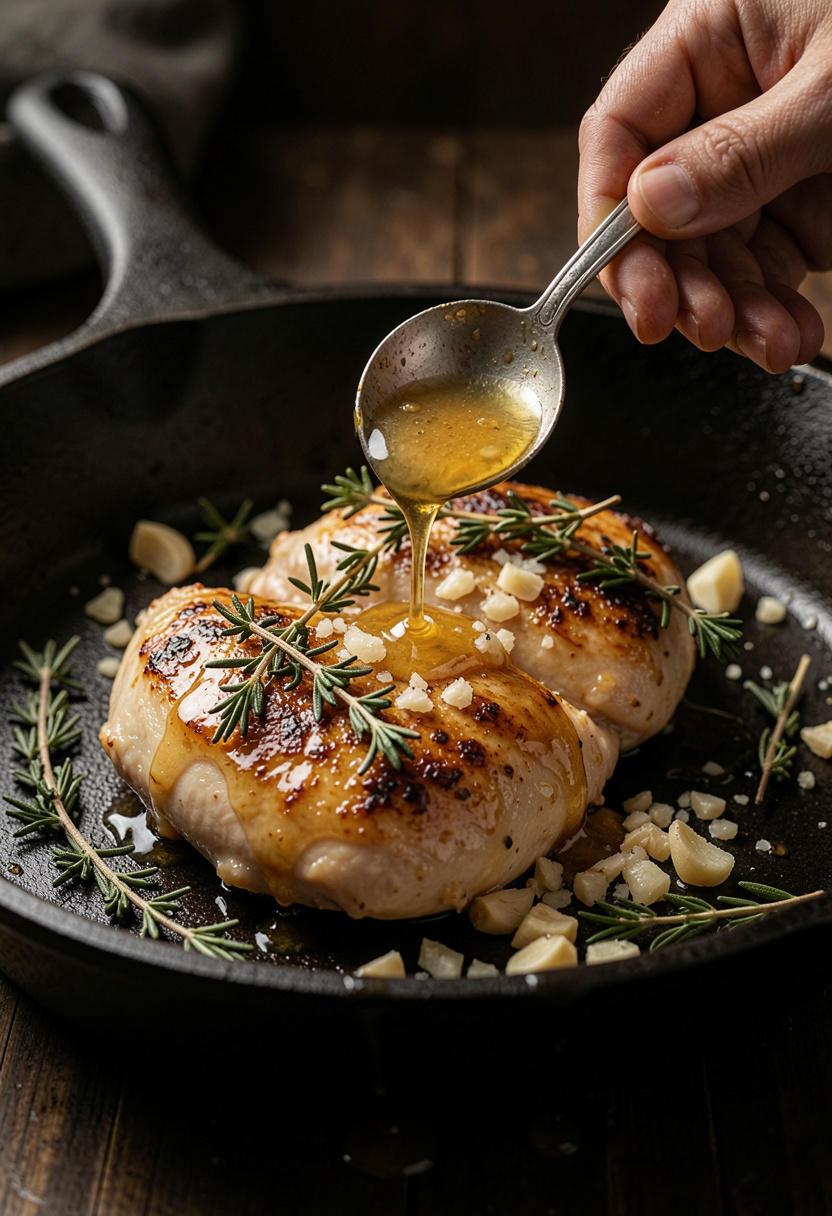
After the flip, lower heat to medium and add 2 tablespoons of unsalted butter like Kerrygold unsalted butter 8 oz, two smashed garlic cloves, and a few thyme sprigs. Tilt the pan and spoon the foaming butter over each thigh for 60 to 90 sec. Basting adds fat, carries aromatics, and builds a glossy finish.
Technique note: if your butter starts to smoke, pull the pan off heat briefly. The goal is aromatic browning not burned butter. Principle: continuous basting transfers heat evenly and emulsifies pan juices into a glaze. Mistake: dumping cold butter in at high heat. It can scorch and leave a bitter finish. Warm the butter and spoon slowly.
4. The Rest That Makes or Breaks the Bite
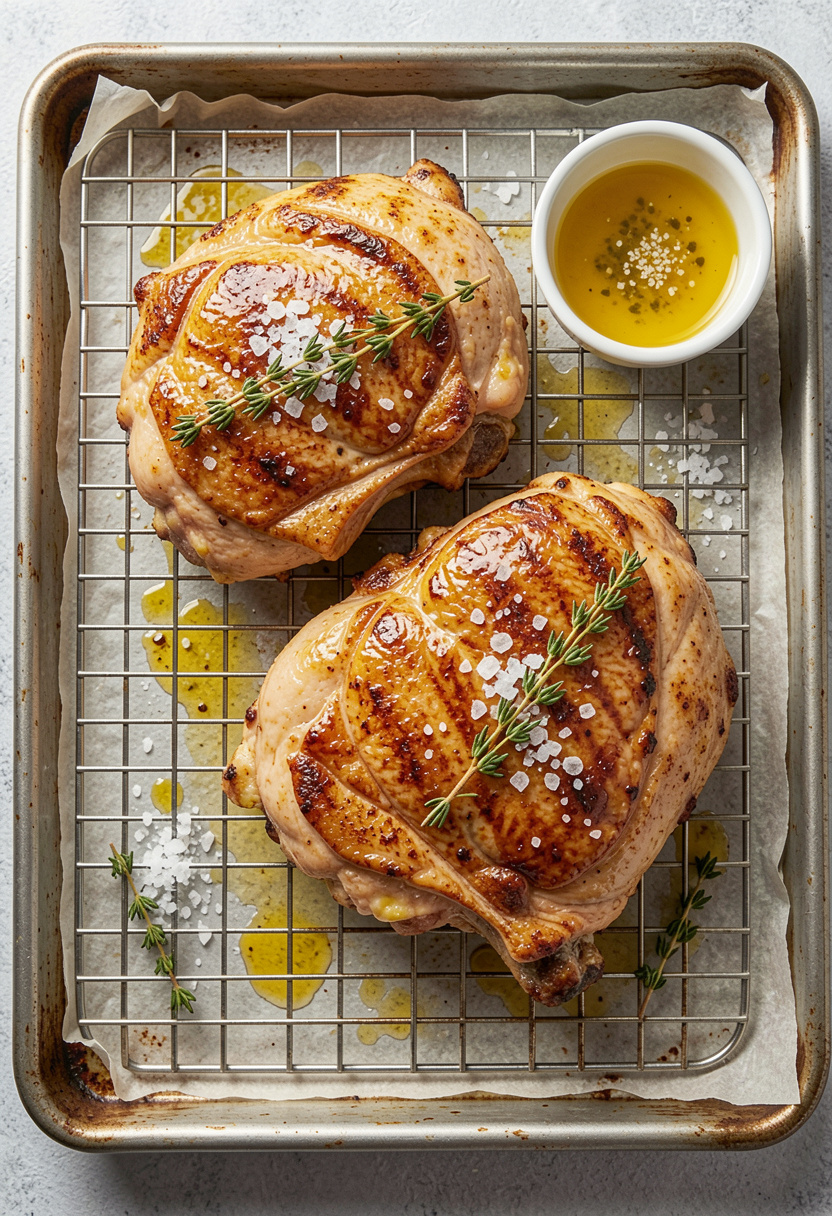
Rest the thighs 8 to 10 min on a baking sheet half sheet pan on a rack. Resting lets internal juices redistribute so they do not spill out when you cut. For boneless thighs, pull at an internal temp of 155°F then rest to 165°F to 170°F; dark meat can sit higher than white meat and still feel succulent. USDA lists 165°F as safe endpoint for poultry.
Finish with a sprinkle of Maldon sea salt flakes 4.4 oz and a quick squeeze of lemon or a splash of sherry vinegar. Mistake: slicing immediately off the pan. You will lose juices and the texture will be dry. Resting is non-negotiable.
Common Cooking Mistakes to Avoid
Mistake: Crowding the pan when searing thighs
Why it doesn't work: Pan temperature drops and meat steams instead of browns.
Do this instead: Cook in batches with a Lodge cast iron skillet 12 inch so each piece has 1 inch of space.
Mistake: Marinating overnight in a heavy acid like lemon or vinegar
Why it doesn't work: Acid can break down proteins and make the meat mushy.
Do this instead: Use a short 30 to 60 min acidic finish or a spoon of Lao Gan Ma chili crisp 7.4 oz after cooking.
Mistake: Relying on color alone for doneness
Why it doesn't work: Brown crust does not equal safe internal temp.
Do this instead: Use an instant-read thermometer to target 155°F off-heat, resting to 165°F to 170°F.
What You'll Need to Make This
Pantry Staples
Diamond Crystal kosher salt 3 lb box around $5 to $8
Refined avocado oil 16 oz approx $8 to $15
Specialty Ingredients
Lao Gan Ma chili crisp 7.4 oz about $7 to $12
Maldon sea salt flakes 4.4 oz around $6 to $10
Tools That Earn Their Counter Space
Lodge cast iron skillet 12 inch approx $25 to $40
wire cooling rack 10×14 around $10 to $18
Thermapen instant-read thermometer price range $80 to $115
Cookbooks Worth the Shelf
Salt Fat Acid Heat by Samin Nosrat (price range $18 to $28)
The Food Lab by J. Kenji López-Alt (price range $15 to $30)
Budget Swaps
ThermoPro instant-read thermometer cheaper option approx $12 to $25
Shopping Guide for This Recipe
Buy the right salt: Diamond Crystal works for dry-brine math; Diamond Crystal kosher salt 3 lb box about $5 to $8.
Oil choice matters: Use a high-smoke oil like refined avocado oil 16 oz for a clean sear, around $8 to $15.
Substitution hack: No skillet. Roast after searing on a baking sheet half sheet pan for 6 to 8 min at 425°F, about $12 to $25.
Trend pick for 2025: Try finishing with a spoon of Lao Gan Ma chili crisp 7.4 oz for crunch and umami, $7 to $12.
Conclusion
Start with the dry brine. It is the highest-impact habit for juicy thighs and takes almost no effort.
Finish with a bright acid and flaky salt to cut richness. A small tool like a Thermapen instant-read thermometer pays for itself in confidence.
Will you try the dry-brine first or jump straight to the butter-baste?