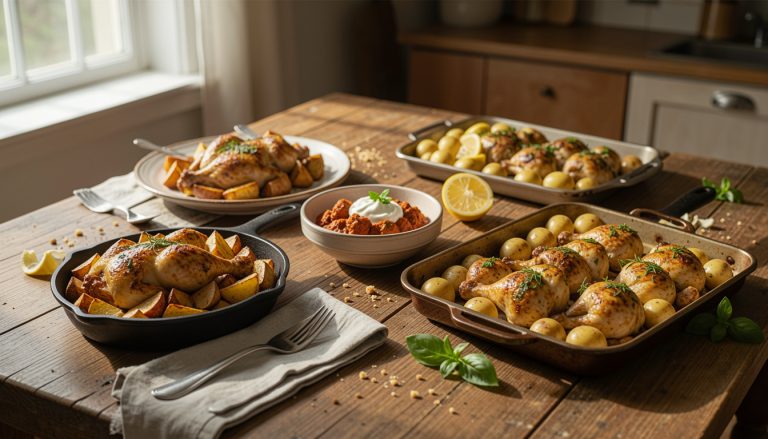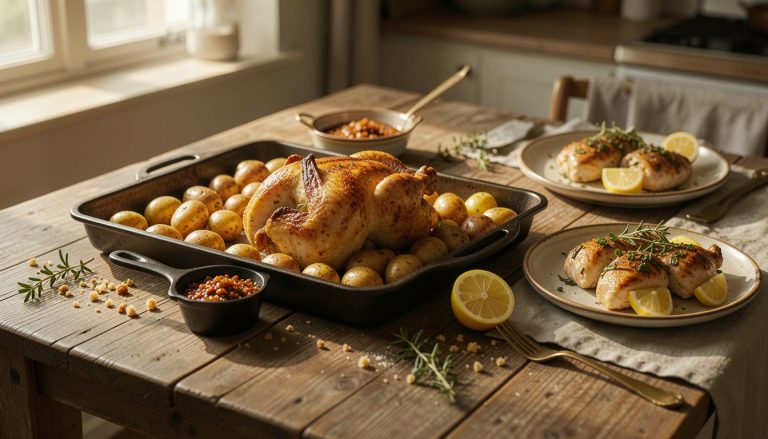

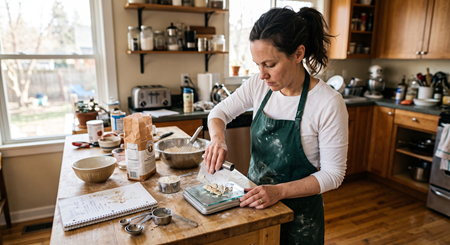
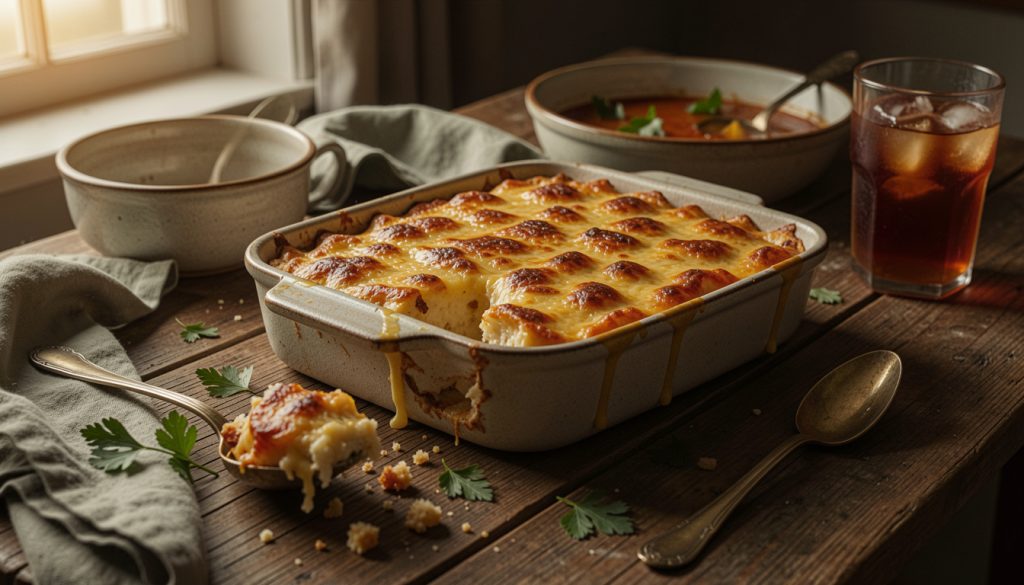

I once had 20 minutes and a single shallot and had to figure out how to make a casserole for dinner that tasted like intention, not desperation.
This guide shows you how to turn odds-and-ends into a weeknight casserole in about 45 min hands-on, 1 hr total; beginner-friendly with one slightly technical step (the binder). I tested this when my fridge looked like a sad deli case and it still fed everyone twice.
Leftovers safety and a few cooking cues matter here (USDA recommends keeping cooked leftovers 3 to 4 days). I’ll walk you through flavor math, a quick sear, the binder that holds everything, and the finish that gives a crunchy top.
1. The Fridge Audit: Build the Flavor Math
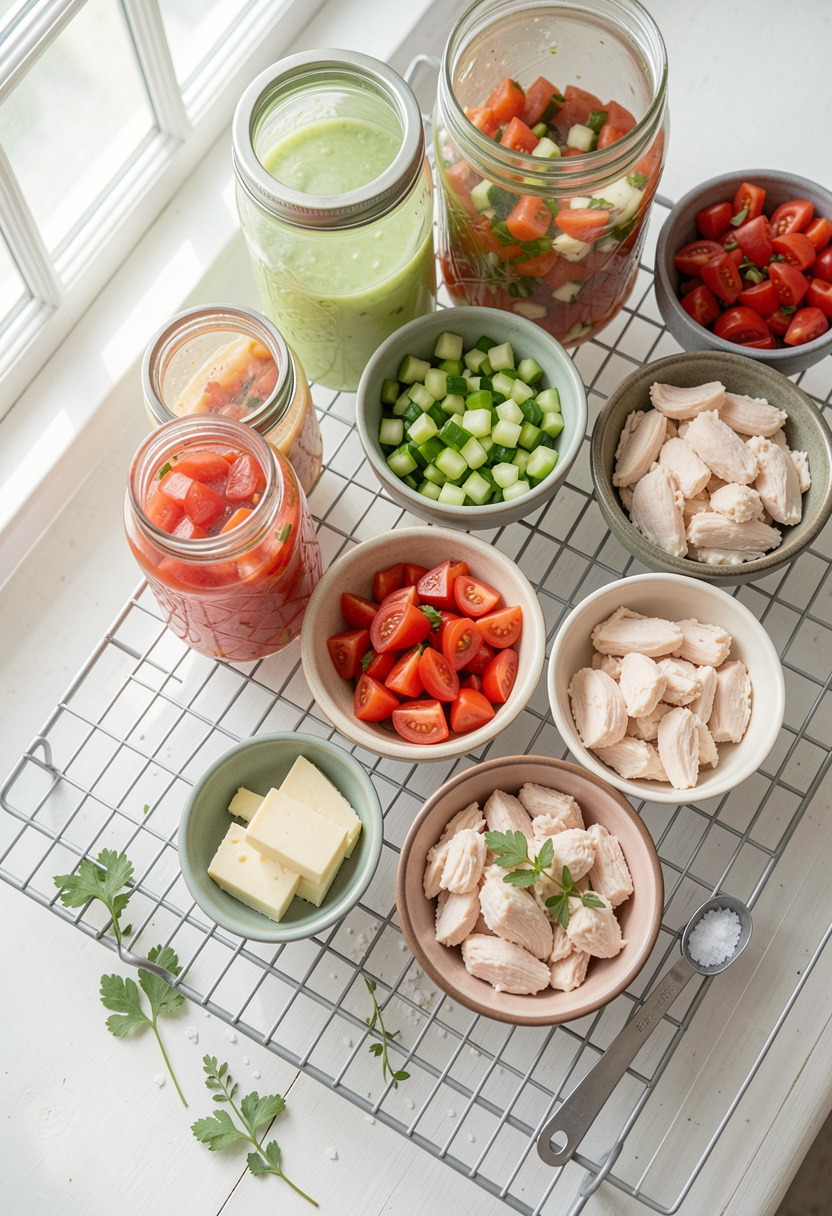

Start by categorizing what’s usable: protein (cooked chicken, sausage, canned tuna), starch (leftover rice, pasta, potatoes), veg (roasted, raw, frozen), and a flavor accent (olive oil, chili crisp, feta).
The trick is ratios: aim for roughly 2 cups starch, 2 cups veg, 2 cups protein for a 9×13 pan. That gives you structure without a soupy finish.
I keep a Pyrex glass baking dish 9×13 on hand for fast assembly and a ThermoPro instant read thermometer for meat checks.
This phase is about selection, not perfection. Mistake people make: trying to use raw root veg without pre-cooking. Do this instead: dice small or par-cook for 6 to 10 min so the bake time matches everything.
2. The Browning Base: Amp Up Savory Notes
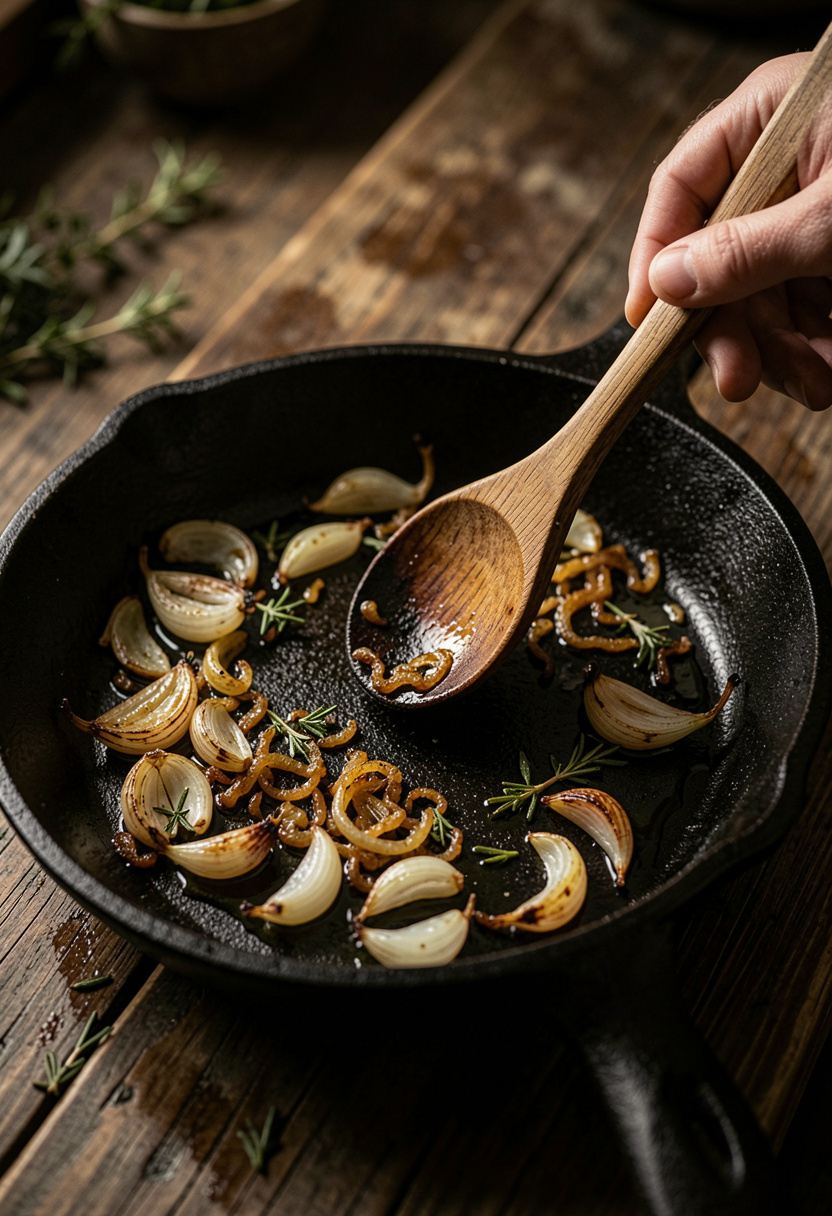

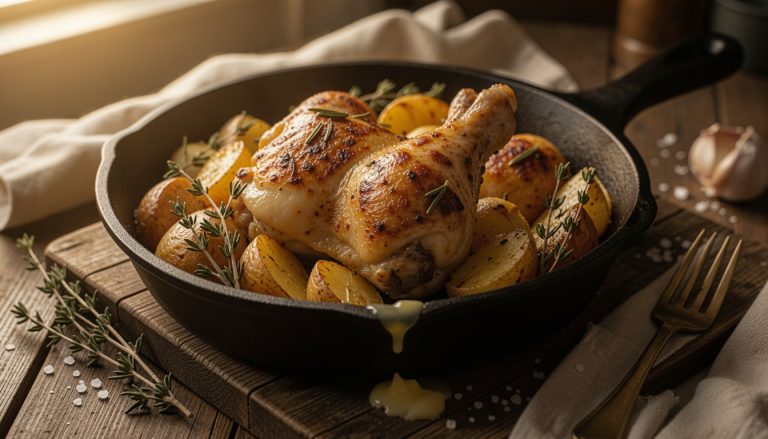
A quick sear concentrates flavor. Get the pan hot until the oil shimmers. Use a Lodge cast iron skillet 10 inch or a roomy stainless pan.
Start with 1 to 2 tbsp olive oil per 2 cups veg. Sear proteins until edges brown, 2 to 4 min per side for small pieces. For vegetables, char edges for color and sugar development. That Maillard reaction is the backbone of deep casserole flavor.
I hit the pan with a splash of acid at the end—1 tbsp white wine or 1 tsp vinegar—to loosen the fond and brighten the base.
Common mistake: tossing everything raw into the dish. That makes the casserole flat. Brown first, then assemble.
3. The Binder That Holds It Together
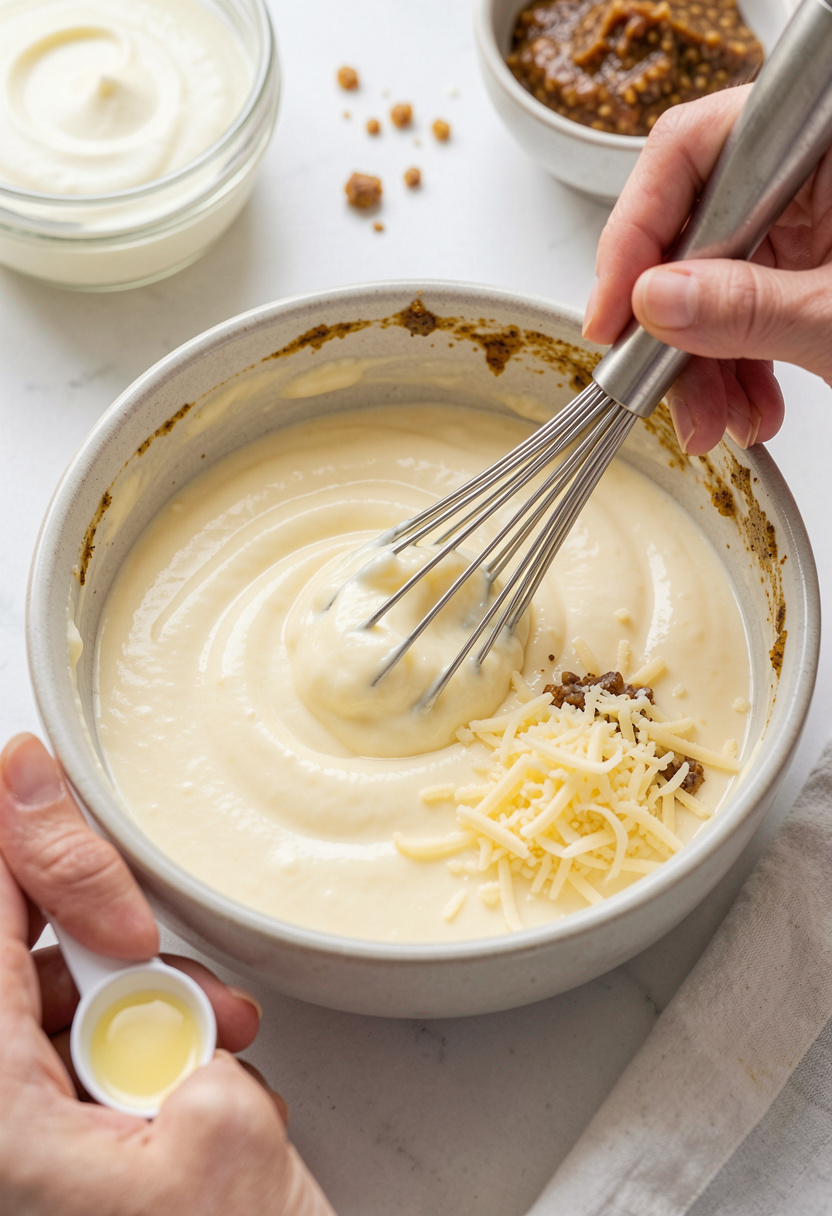

This is where science meets comfort. A good binder equals creamy, sliceable casserole rather than a watery bake. For a 9×13, I use 1 cup full-fat yogurt plus 1 to 2 tbsp white miso to add umami and stabilize moisture.
Try Hikari white miso 17.6 oz blended with Fage plain whole milk yogurt 24 oz. Add 1 egg or 2 tbsp cornstarch if you want a firmer set.
The principle: proteins and starches absorb and set as they heat, emulsifying the fat into a silky matrix. Bake at 375°F for 25 to 35 min until bubbling at the edges and center registers 160°F.
People follow viral "no binder" trends and end up with soup. Add a binder and your slices will hold.
4. The Crunch Finish: Bake, Top, and Rest
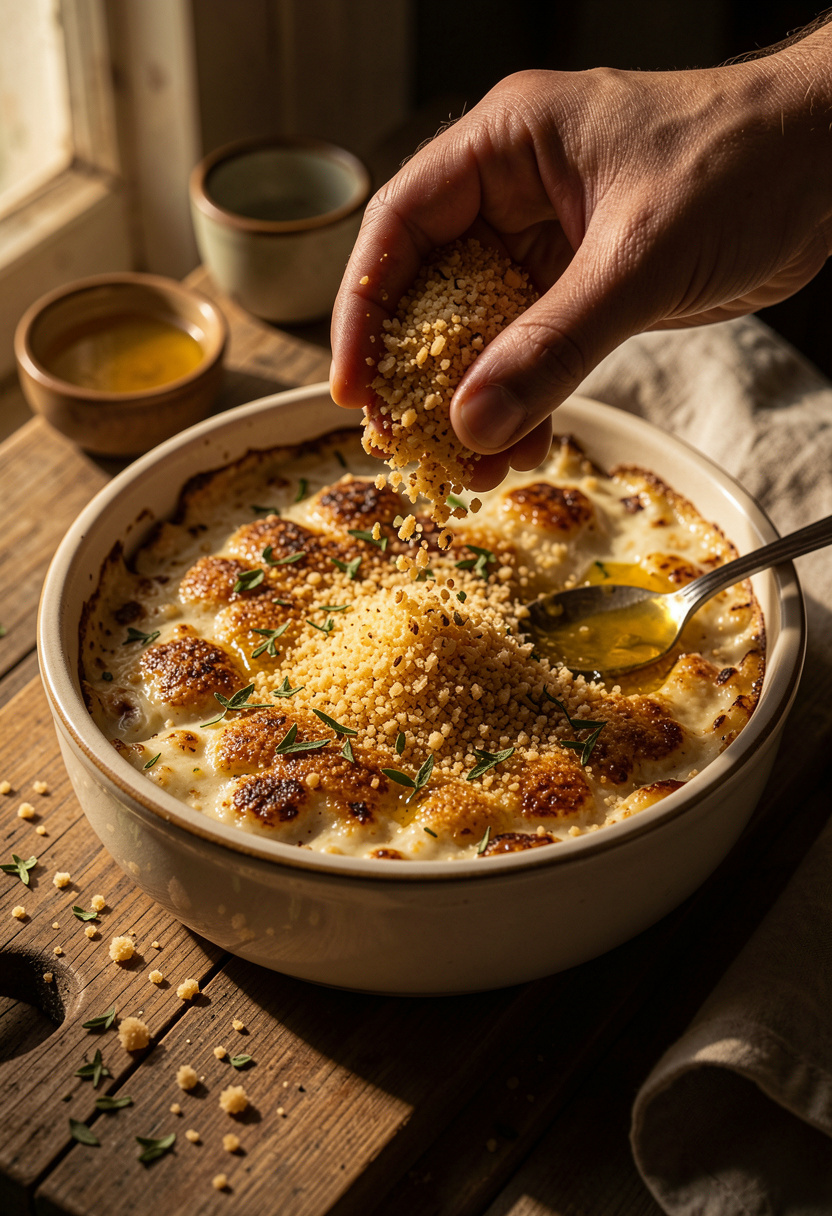

A crunchy top makes people think you spent hours. Mix 3/4 cup panko with 2 tbsp melted butter and 1/4 cup grated Parm. I use Panko breadcrumbs 8.5 oz and finish with flaky salt.
Bake at 400°F for the last 6 to 10 min to brown the top. If the edges are browning too fast, tent with foil for 5 min. Let rest 10 to 15 min before serving so the binder firms and slices cut clean.
Mistake: eating straight from the oven. Resting gives structure and mellows heat. Finish with a sprinkle of Maldon flaky sea salt 4.4 oz and a tiny acid hit like lemon or a spoon of Lao Gan Ma chili crisp 7.4 oz for contrast.
Common Cooking Mistakes to Avoid
Mistake: Crowding the pan when searing proteins
Why it doesn't work: The pan cools, you steam instead of brown.
Do this instead: Work in batches and use a Lodge cast iron skillet 12 inch if you need space.
Mistake: Using watery dairy like low-fat yogurt for the binder
Why it doesn't work: It separates and yields a runny casserole.
Do this instead: Use full-fat options such as Fage plain whole milk yogurt 24 oz.
Mistake: Skipping the rest before slicing
Why it doesn't work: The casserole falls apart and is too hot to eat.
Do this instead: Let sit 10 to 15 min on a wire cooling rack 10×15.
What You'll Need to Make This
Pantry Staples
Diamond Crystal kosher salt 3 lb box around $5 to $8
California Olive Ranch extra virgin olive oil 16.9 oz approx $10 to $18
San Marzano whole peeled tomatoes 28 oz approx $3 to $6
Specialty Ingredients
Hikari white miso 17.6 oz approx $8 to $12
Lao Gan Ma chili crisp 7.4 oz approx $6 to $10
Parmigiano Reggiano 8 oz wedge around $10 to $18
Tools That Earn Their Counter Space
Pyrex glass baking dish 9×13 approx $10 to $20
ThermoPro instant read thermometer around $10 to $20
Microplane Classic Zester/Grater approx $10 to $20
Cookbooks Worth the Shelf
Salt Fat Acid Heat by Samin Nosrat (price range $18 to $28)
The Food Lab by J. Kenji López-Alt (price range $20 to $30)
Budget Swaps
Pyrex glass baking dish 9×13 is a cheaper stand-in for stoneware; Aldi or local discount stores often match for less.
Shopping Guide for This Recipe
Peak produce: Buy tomatoes and zucchini in late summer for best texture; try San Marzano whole peeled tomatoes 28 oz.
Substitution hack: No cooked rice Use leftover pasta or 2 cups mashed potato instead; add an extra egg or 1 tbsp cornstarch.
2025 trend tip: Pantry-first cooking leans on umami pastes like miso; grab Hikari white miso 17.6 oz.
Splurge vs save: Splurge on good olive oil like California Olive Ranch extra virgin olive oil 16.9 oz, save on bulk panko.
Conclusion
Start with the fridge audit; that one phase changes how the dinner tastes more than any topping.
Remember the finishing rule: brown, bind, crisp, then rest. A final sprinkle of flaky salt or a spoon of chili crisp pulls everything together.
Will you try the binder-first method or jump straight to a crunchy topping?