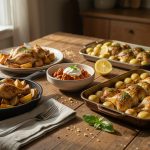
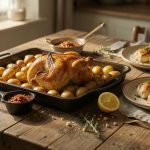
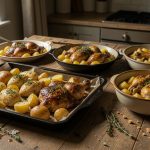
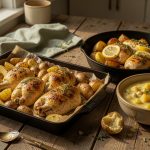

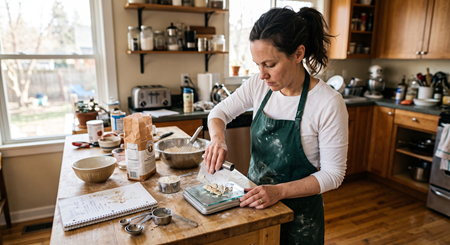
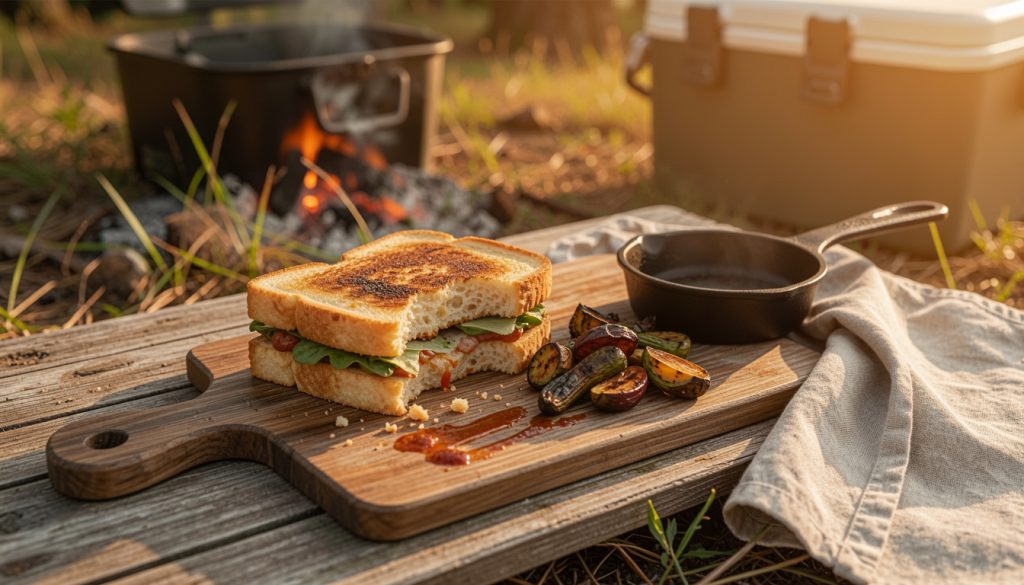

The first time my lunch turned into mush by night two I blamed the cooler. Then I learned how I packed it.
This guide on how to pack food for camping teaches the exact phases I use to keep bread crisp, salads snap, and sauces separated for two nights. Expect easy swaps, a few honest flops, and beginner-friendly timing you can follow in under 30 min prep.
Food here leans rustic campboard style: cured meats, toasted bread, charred veg, and bright dressings. It’s doable for a weekend car camp or an overnight backpack if you downsize.
Plan on about 30 min hands-on prep, a couple of simple tools, and one small trick that makes the biggest difference. I’ve been testing this across damp coast trips and 90°F mountain days — packing matters more than the menu.
1. The Dry-Brine and Dehydrate Prep That Keeps Crunch
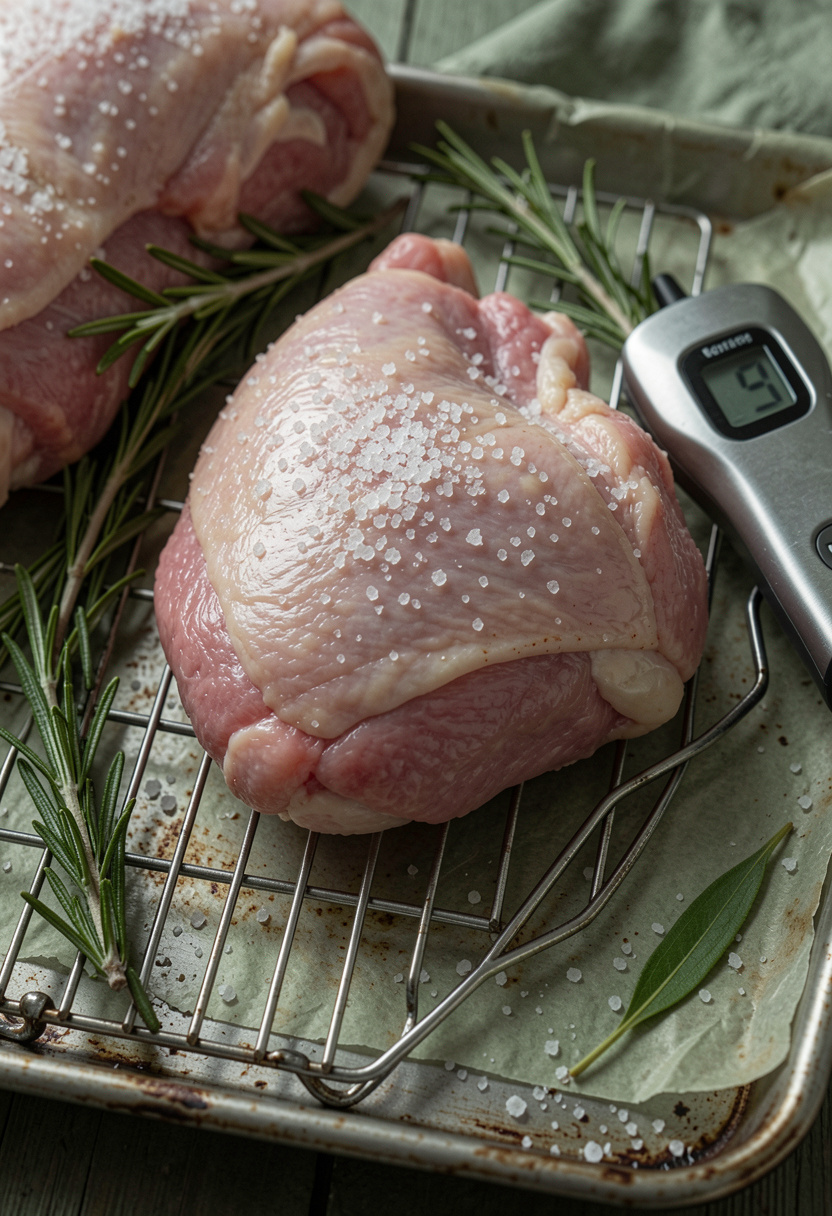

Start with the goal: remove surface moisture so crusts and chips survive transit.
Dry-brine proteins and sturdy veg. Sprinkle Diamond Crystal kosher salt to taste and rest in the fridge for 30 min to 4 hr depending on thickness. Salt draws moisture out, then the meat reabsorbs it and holds juiciness while the surface dries for crisping.
For chips, toast in the oven 3 to 5 min at 350°F until barely golden, then cool completely. Toasted bread gets a light brush of olive oil and a 3 min toast per side so it won’t steam inside a bag.
Tools that matter here are a wire rack and an instant-read thermometer for safety, and a FoodSaver vacuum sealer if you want zero-air storage. A common mistake is sealing hot food; cool everything to fridge-temp first or you trap steam and ruin crispness.
2. The Layered Packaging Trick: Wet Away From Dry
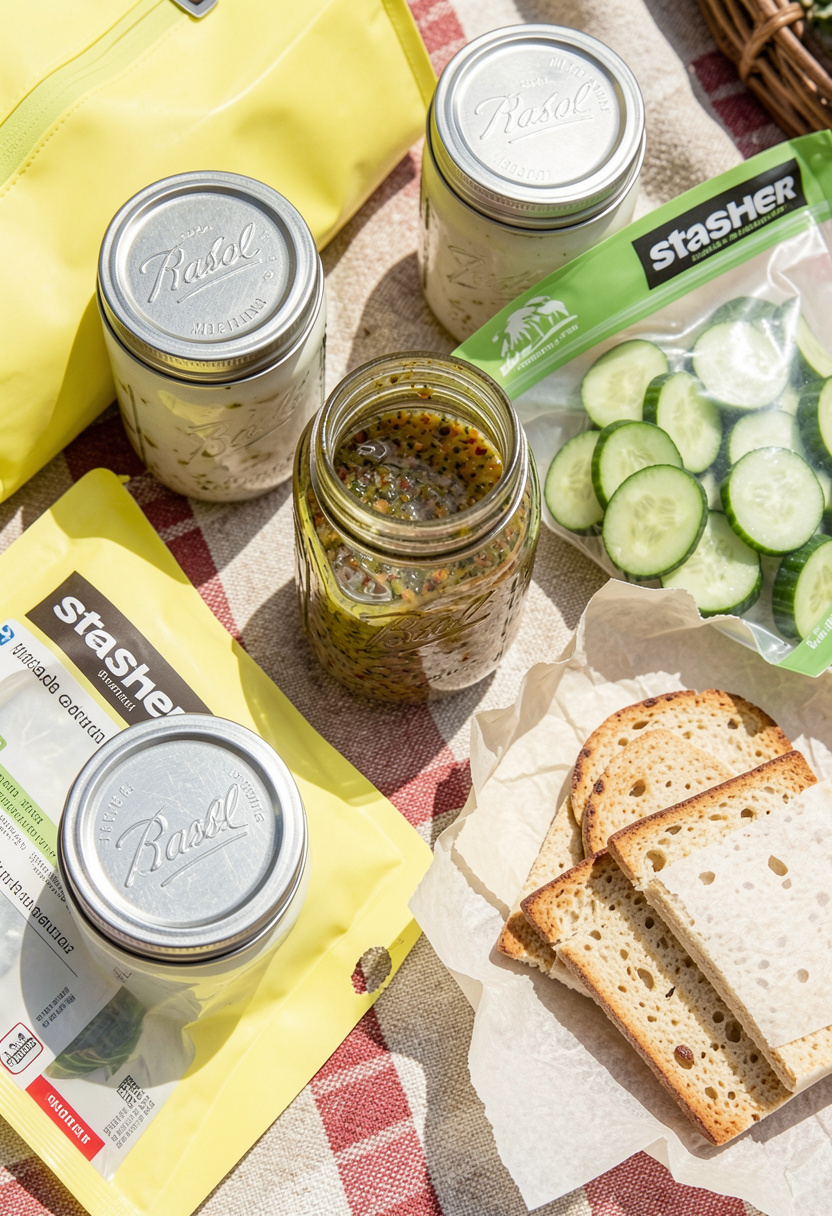

Separate sauce from the thing it dresses.
Pack dressings and salsas in 16 oz wide-mouth Mason jars. They stack, screw tight, and you can pour only what you need. Pack salad leaves in a paper towel-lined Stasher reusable silicone bag to absorb any stray dampness.
For sandwiches, wrap the bread in parchment, then layer wet fillings in a smaller sealed bag. Use Ziploc freezer gallon bags for marinated veg; they hold shape and are easy to drain. The packaging principle is the same as restaurant takeout: isolate moisture, not just contain it.
People often toss everything in one cooler compartment. That invites condensation and soggy textures. Instead, create mini-zones in your cooler for dry, chilled, and frozen items.
3. The Camp Finish: Re-Crisp, Don’t Re-Sog
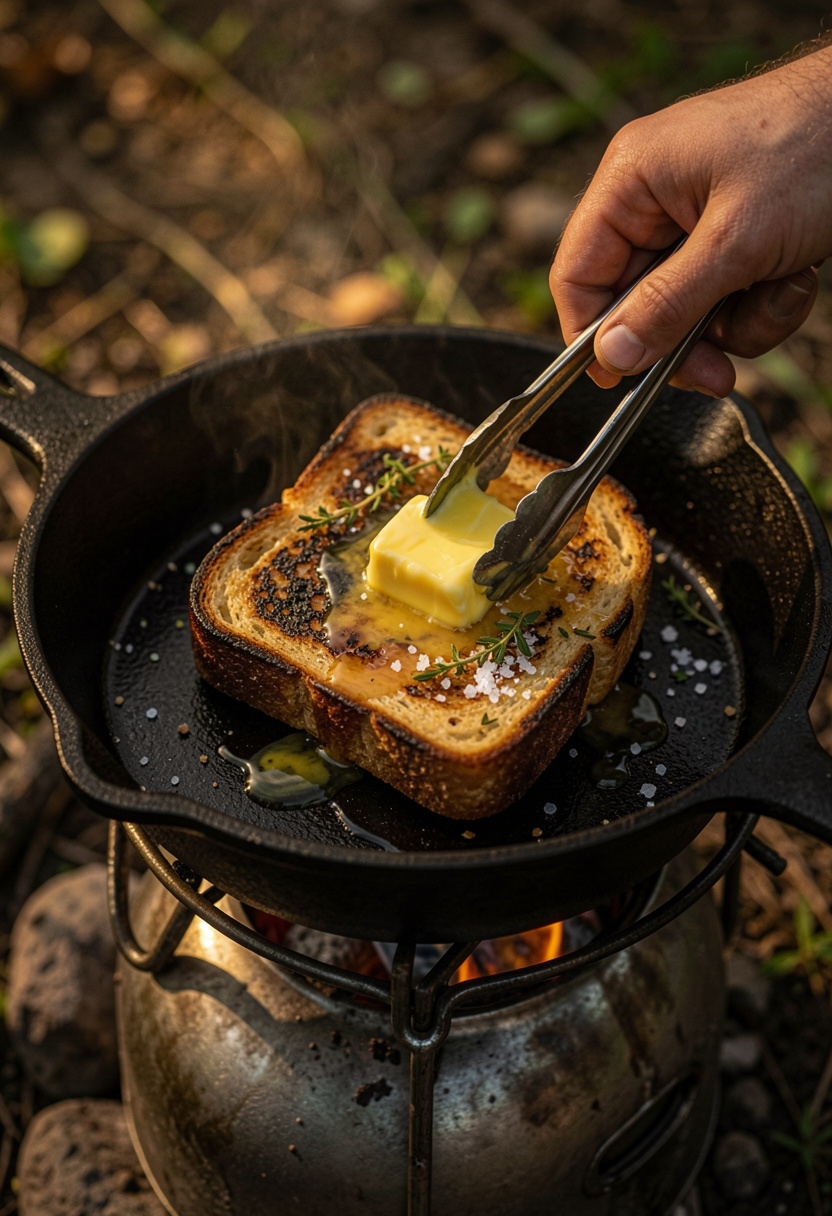

Re-crisping is the secret to a happy night-two meal.
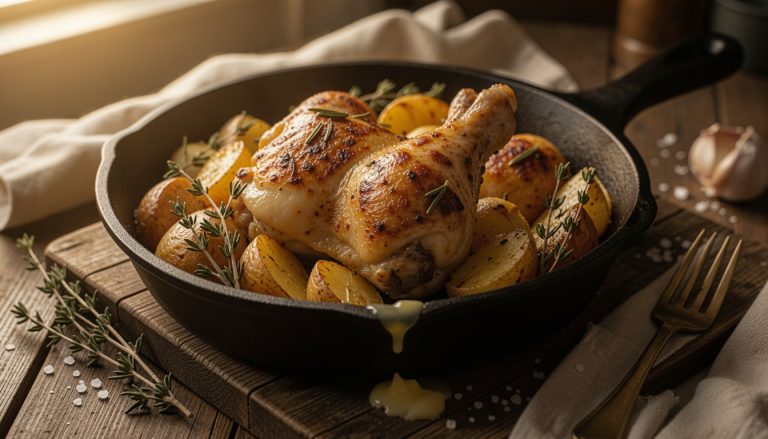
Heat a Lodge cast iron skillet 12 inch over a portable Jetboil stove or camp grill. Drop a knob of butter or a spritz of oil and toast bread 1 to 2 min per side until a deep golden crust forms. Use tongs to press lightly and flip once.
For previously sauced proteins, pat them dry with a paper towel before the skillet. The Maillard reaction needs dry surface to create color and texture. A mistake I made early was heating stews to re-crisp things; you can’t crisp a wet surface. Finish with a sprinkle of Maldon sea salt flakes and a squeeze of lemon for lift.
4. The Cooler Setup That Keeps Temps and Textures Right
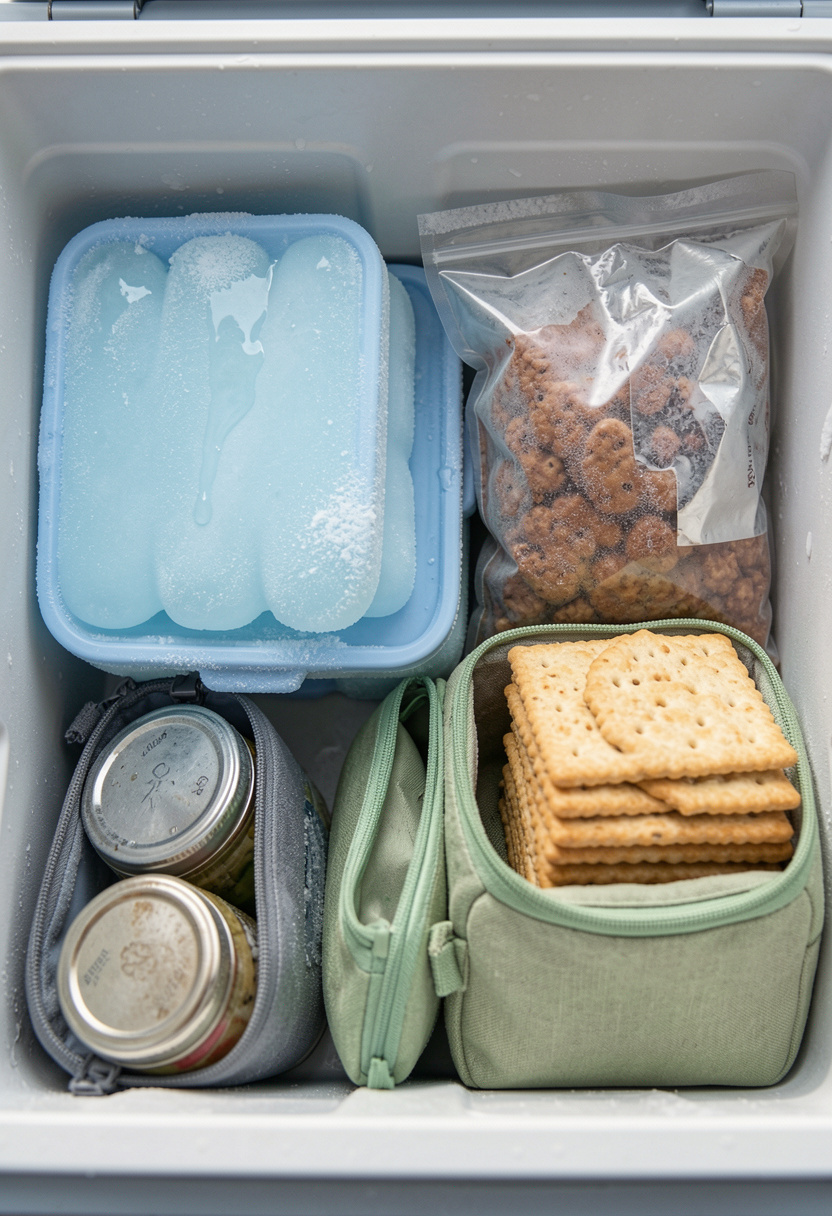

Cold chain rules save both food and appetite.
Use separate frozen gel packs for a frozen zone and liquid ice for the chilled zone. A mid-size Coleman cooler 28 quart balances weight and hold time. Stack the frozen items at the bottom, dry goods on top. Aim to keep perishables under 40°F (CDC/USDA guidance) and never leave perishable food out more than 2 hr, or 1 hr above 90°F.
If space is tight, vacuum-seal proteins with a FoodSaver to reduce air and keep them colder longer. Ugly truth: a soggy cooler is usually a packed-wrong cooler. Organize and minimize door openings.
Common Cooking Mistakes to Avoid
Mistake: Packing dressed salad or sandwich with mayo ahead of time
Why it doesn't work: Dressing breaks down tissue and makes leaves and bread limp.
Do this instead: Pack dressing in a 16 oz Mason jar and assemble at the site.
Mistake: Sealing hot food into plastic bags
Why it doesn't work: Steam creates condensation and softens crusts.
Do this instead: Cool to room temp and use a FoodSaver vacuum sealer or breathable Stasher bag.
Mistake: Overpacking one cooler compartment with mixed items
Why it doesn't work: Cold won’t circulate, leading to warm pockets and soggy food.
Do this instead: Create zones with gel packs and a Coleman cooler 28 quart.
What You'll Need to Make This
Pantry Staples
Diamond Crystal kosher salt 3 lb box around $5 to $8
Extra virgin olive oil 500 ml around $8 to $18
Specialty Ingredients
Lao Gan Ma chili crisp 7.4 oz around $6 to $12
Maldon sea salt flakes 4.4 oz around $6 to $12
Tools That Earn Their Counter Space
Stasher reusable silicone bag sandwich around $8 to $15
FoodSaver vacuum sealer around $60 to $150
ThermoPro instant-read thermometer around $12 to $35
Cookbooks Worth the Shelf
Salt Fat Acid Heat by Samin Nosrat (price range $18 to $28)
The Food Lab by J. Kenji López-Alt (price range $18 to $30)
Budget Swaps
Lodge cast iron skillet 12 inch approx $25 to $40 (save here, don’t skimp on a stove)
Shopping Guide for This Recipe
Pack smart: Buy Stasher reusable silicone bags for snacks and wet/dry separation, around $8 to $15.
Cooler strategy: A Coleman cooler 28 quart holds 2 nights for two people, around $40 to $70.
Substitution hack: Out of Mason jars? Use sturdy Ziploc freezer gallon bags and double-seal, around $8 to $15.
2025 trend: Folks are packing more gourmet, shelf-stable condiments like Lao Gan Ma chili crisp for big flavor with little space, about $6 to $12.
Splurge vs save: Splurge on a reliable vacuum sealer for long trips; save on a basic Lodge cast iron skillet 12 inch which lasts decades, approx $25 to $40.
Conclusion
Start with the packaging phase. Dry-brine what you can, isolate liquids, and create cooler zones. The simplest action that changes everything is packing sauces separately and re-crisping at the stove.
One finishing tip: flaky salt after re-crisping makes textures feel new again. Will you try the dry-brine first or build your cooler zones before your next trip?