
The first time I tried to make beef stew, the meat came out chewy and gray. I thought low and slow was enough. It was not.
If you want to know how to make beef stew that’s rich, tender, and cozy, I’ll show the small moves that change everything: salting early, a rip-roaring sear, a focused braise, and a bright finish. Total hands-on time: about 45 min, braise 2 hr. Beginner-friendly, with one tricky sear.
My kitchen smells like roasted beef for hours after this. The payoff is worth the few precise steps.
This is an Italian-American style braise leaning on tomato, thyme, and sherry vinegar. Expect deep beefiness, glossy sauce, and vegetables that still hold shape.
Plan: 45 min active, 2 hr braise. This is a Sunday-ish project that’s also doable on a weeknight if you cut simmer time in half and use smaller cubes.
I’ve also noticed a pantry-forward trend—fermented condiments (think chili crisp) and bone broths showing up in 2025 menus. I use both as accents, not crutches.
1. The Pre-Sear Setup: Dry Brine and Temper
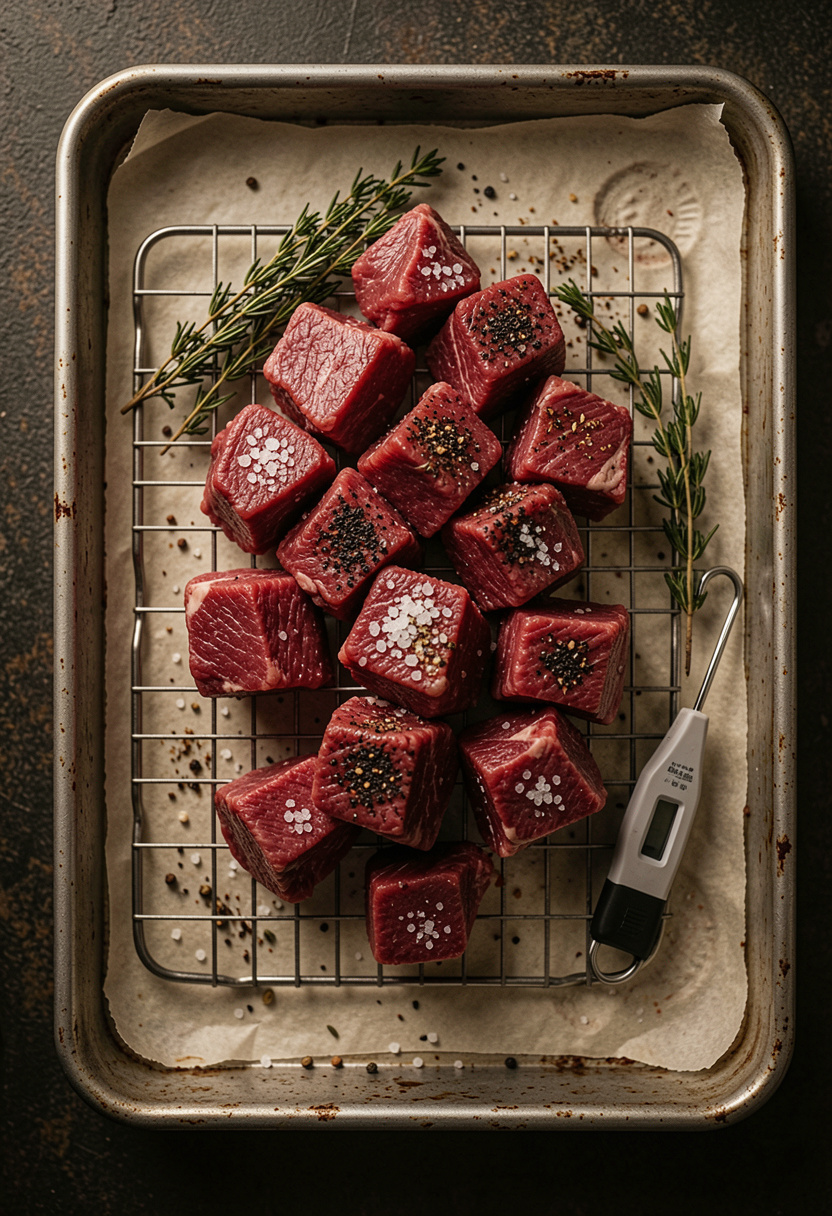
Salt early. At least 30 min, ideally 1 hr for big cubes. Salt draws out then reabsorbs moisture and tightens the exterior so you get a better sear and juicier inside. That’s why this comes first.
Tools I reach for: a Diamond Crystal kosher salt 3 lb box around $5 to $8 and an instant read thermometer approx $12 to $30. Temperature matters. Let the meat come closer to room temp so the center doesn’t stay cold when you hit the pan.
Principle: salt timing and tempering affect protein structure and searing. Mistake people make: searing straight from the fridge. That drops your pan temp and yields a boiled look. Instead, salt, rest, then sear.
Result: deep-browned flavor on the outside and beef that stays tender after hours of braise.
2. The Sear in Smoking-Hot Cast Iron
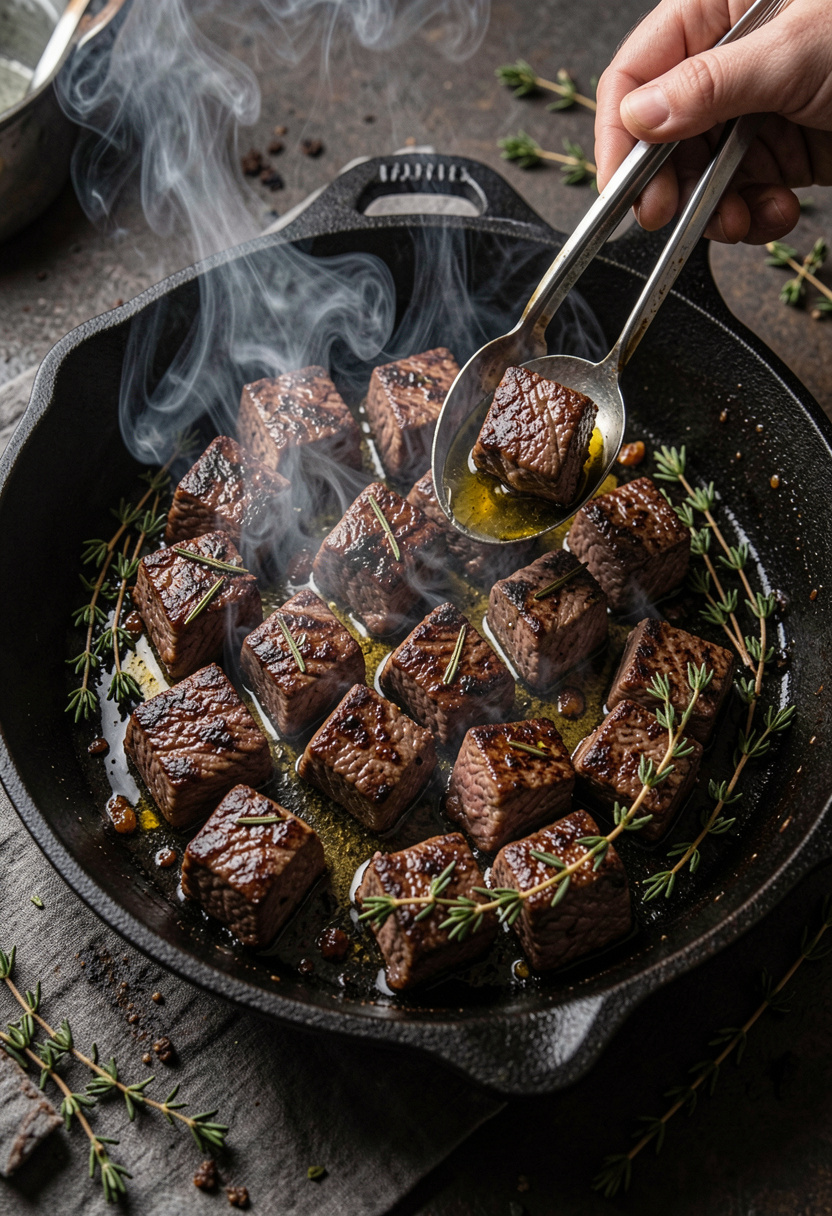
You want the Maillard reaction. It kicks in above about 285°F (Harold McGee explains why that brown crust equals flavor). A Lodge cast iron skillet 12 inch approx $25 to $40 holds heat and builds that crust.
Use a high smoke-point oil like Chosen Foods avocado oil 16 oz about $6 to $14. Get the pan ripping hot, add oil, dry beef in batches, and don’t move pieces until a deep brown forms. That fond is the backbone of the sauce.
Mistake: crowding the pan. It cools the surface and you steam. Do two batches. Deglaze between batches so you capture every sticky bite.
Result: concentrated beef flavor and a glossy, deeply flavored braising liquid.
3. The Fond, Deglaze, and Low Simmer That Builds Sauce
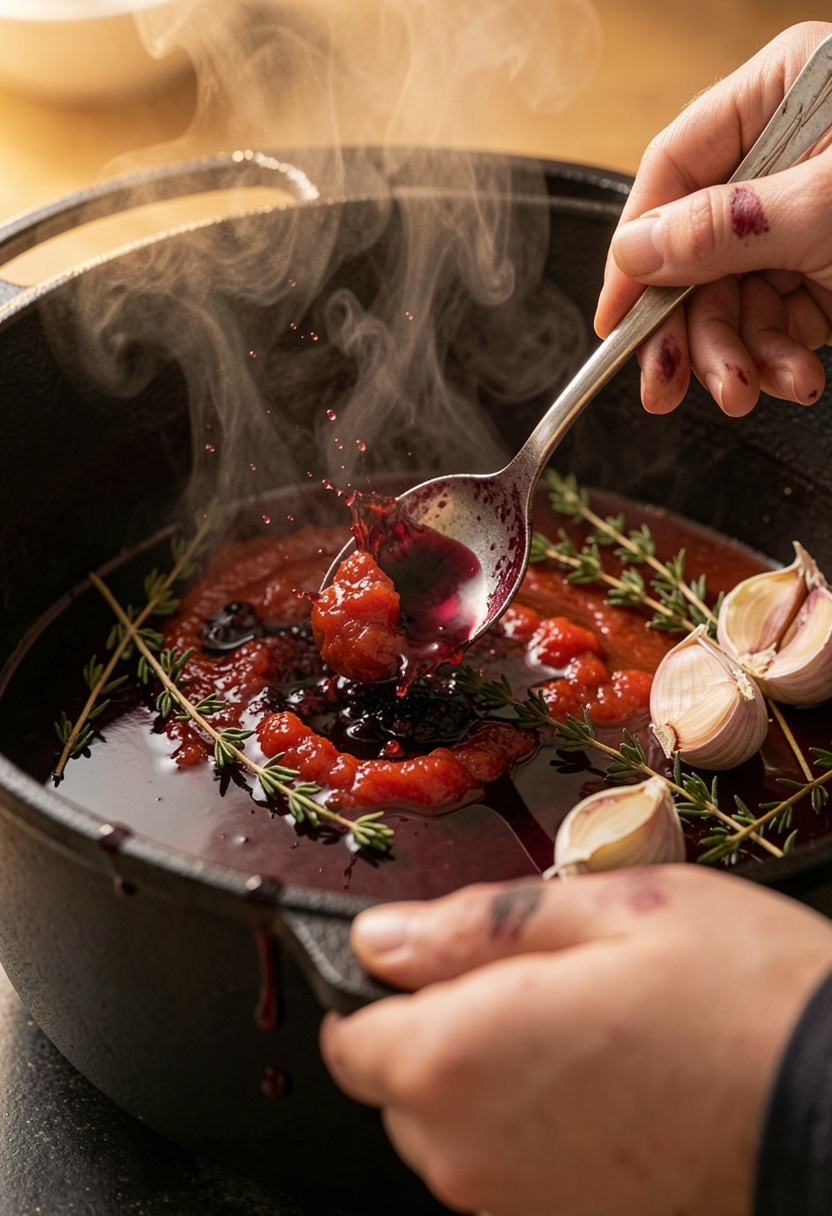
After searing, move everything into a heavy pot. I use a Lodge enameled cast iron Dutch oven 6 quart approx $75 to $120 to carry heat evenly.
Bloom 2 Tbsp tomato paste in the fat until it darkens. Add a splash of red wine or 1/2 cup stock to deglaze and scrape up the fond. Then add beef, stock, a tablespoon of Lea and Perrins Worcestershire sauce 10 oz around $4 to $8, and aromatics.
Principle: fond dissolves into the liquid to form the base of the sauce; low simmer converts collagen to gelatin. Simmer at a bare bubble, lid partly on, for 1.5 to 2 hr until cubes give under tongs.
Mistake: boiling hard. That rips proteins and makes meat tough. Keep it gentle and consistent.
Result: silky, unctuous sauce and fork-tender meat.
4. The Finish That Adds Brightness and Texture
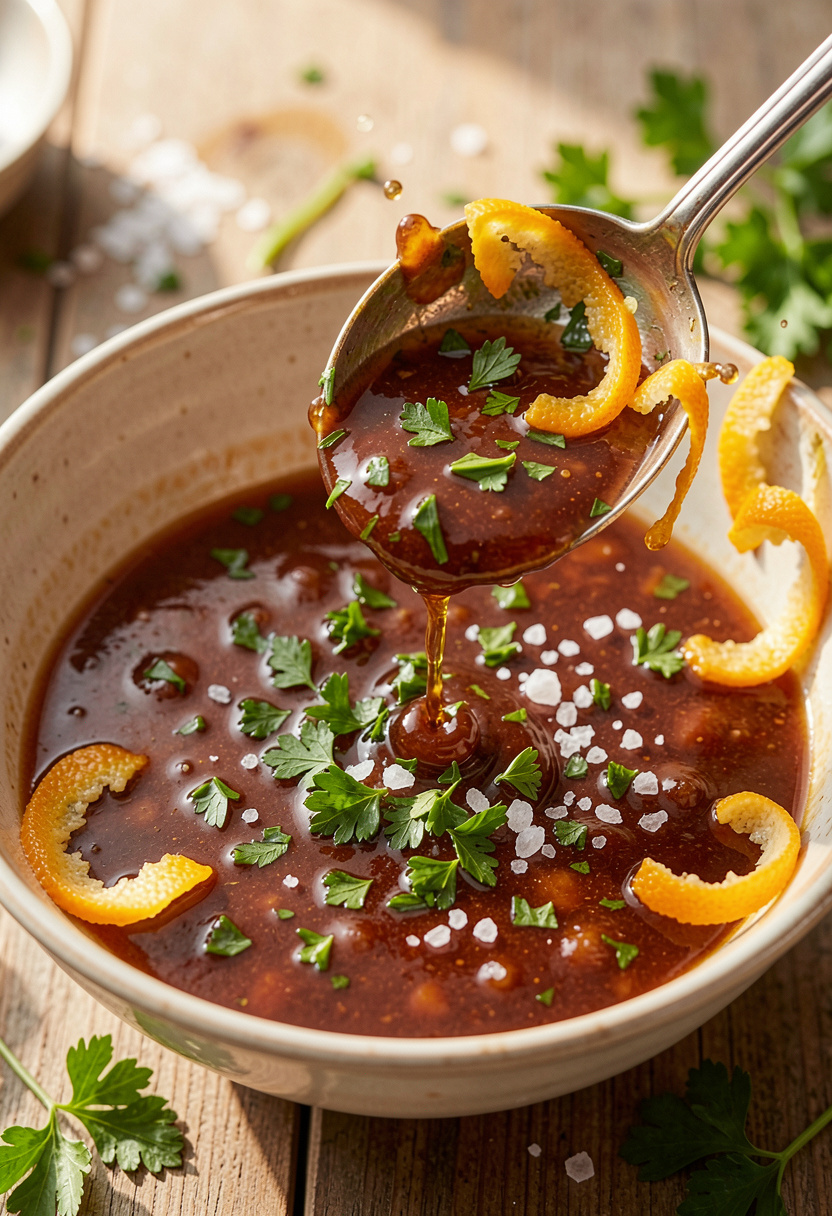
Finish with acid and salt to wake the dish. I hit mine with 1 to 2 tsp Colavita sherry vinegar 500 ml around $8 to $15 and taste for balance.
If the sauce needs body, whisk in a tablespoon of cold water with 1 tsp cornstarch at the end, or a tablespoon of Better Than Bouillon beef base about $6 to $12 for an umami lift. Finish with Maldon flaky sea salt 4.5 oz approx $6 to $12 for texture.
Principle: acid brightens richness; salt highlights layers. Let the stew rest 10 to 15 min before serving so flavors settle. Ugly truth: some viral hacks like dumping chili crisp as the base can mask depth; use it sparingly as a garnish.
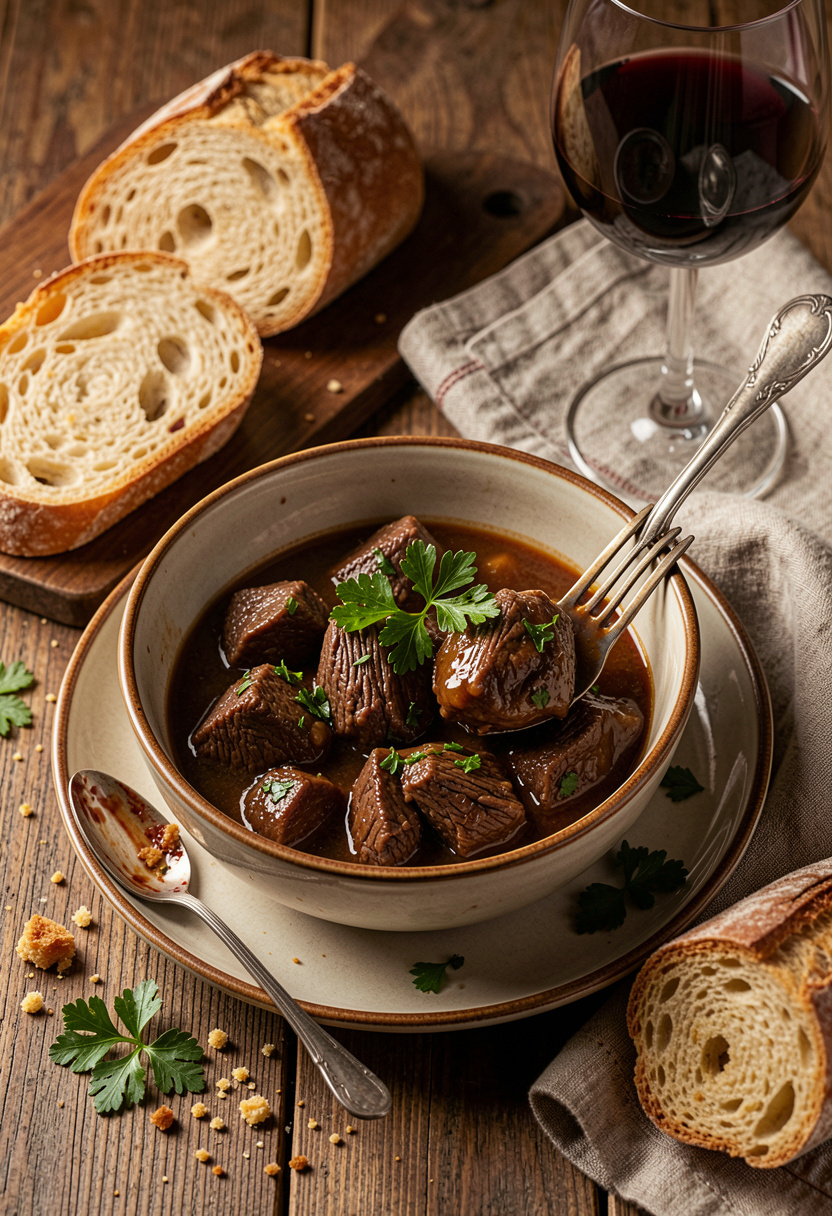
Result: a glossy, balanced stew with tender meat and a bright finishing note.
Common Cooking Mistakes to Avoid
Mistake: Crowding the pan when searing beef
Why it doesn't work: Pan temperature drops and meat steams instead of browning.
Do this instead: Work in batches using a Lodge cast iron skillet 12 inch approx $25 to $40.
Mistake: Boiling the braise hard for speed
Why it doesn't work: Violent bubbles tighten proteins and dry meat.
Do this instead: Maintain a bare simmer for 1.5 to 2 hr in a Lodge enameled cast iron Dutch oven 6 quart approx $75 to $120.
Mistake: Adding cornstarch too early in the cook
Why it doesn't work: Starch breaks down and thins over long heat.
Do this instead: Make a cold slurry with a small bowl and an instant read thermometer approx $12 to $30 and add at the end.
What You'll Need to Make This
Pantry Staples
Diamond Crystal kosher salt 3 lb box around $5 to $8
Cento tomato paste 6 oz approx $1 to $3
Lea and Perrins Worcestershire sauce 10 oz around $4 to $8
Specialty Ingredients
Anchovy paste 2.25 oz approx $3 to $7
Lao Gan Ma chili crisp 7.4 oz around $6 to $12
Kettle & Fire beef bone broth 32 oz about $8 to $12
Tools That Earn Their Counter Space
Lodge cast iron skillet 12 inch approx $25 to $40
Lodge enameled cast iron Dutch oven 6 quart approx $75 to $120
Instant read thermometer approx $12 to $30
Cookbooks Worth the Shelf
Salt Fat Acid Heat by Samin Nosrat (price range $18 to $28)
The Food Lab by J. Kenji Lopez-Alt (price range $16 to $30)
Budget Swaps
Better Than Bouillon beef base about $6 to $12 (save vs. boxed bone broth)
Chosen Foods avocado oil 16 oz around $6 to $14 (save vs. specialty grapeseed)
Shopping Guide for This Recipe
Buy the right cut: Choose well-marbled chuck roast from your butcher; frozen is fine in a pinch. (Local butcher or grocery.)
Substitution hack: Out of fresh stock? Use Kettle & Fire beef bone broth 32 oz about $8 to $12 and reduce salt.
2025 pantry trend: Fermented condiments remain a quick flavor booster—try a spoon of Lao Gan Ma chili crisp 7.4 oz around $6 to $12 as a garnish.
Splurge vs save: Splurge on a heavy Dutch oven for heat stability; save on stock with Better Than Bouillon beef base about $6 to $12.
Conclusion
Start with the sear. It is the phase that gives you the deepest flavor for the least extra work.
One final tip: carryover heat raises meat about 5 to 10°F after you remove it from the braise (Serious Eats Meat Lab), so pull slightly before your target and let it rest 10 to 15 min.
Will you try the dry-brine and high-heat sear first or go straight for the slow braise?