
My first attempts at almond flour pancakes fell apart at the flip. Batter ran, edges tore, and the first pancake always looked sad.
How to make almond flour pancakes that flip clean every time is what I chased for three Saturday mornings. I’ll show you the exact ratios, tools, heat cues, and one small trick that stopped the crumble. Expect 25 to 30 min total, beginner-friendly, and weeknight-fast once you get the feel.
Almond pancakes are nutty, lightly sweet, and denser than wheat pancakes. They fit a low-carb or gluten-free brunch but still want moisture and a binder.
This method is for cooks who want reliable pancakes that brown, hold together, and taste like breakfast, not glue. I’ve noticed in 2025 that nut flours keep appearing on brunch menus, especially paired with browned butter and citrus.
1. The Hydration Setup: Resting the Batter for Structure
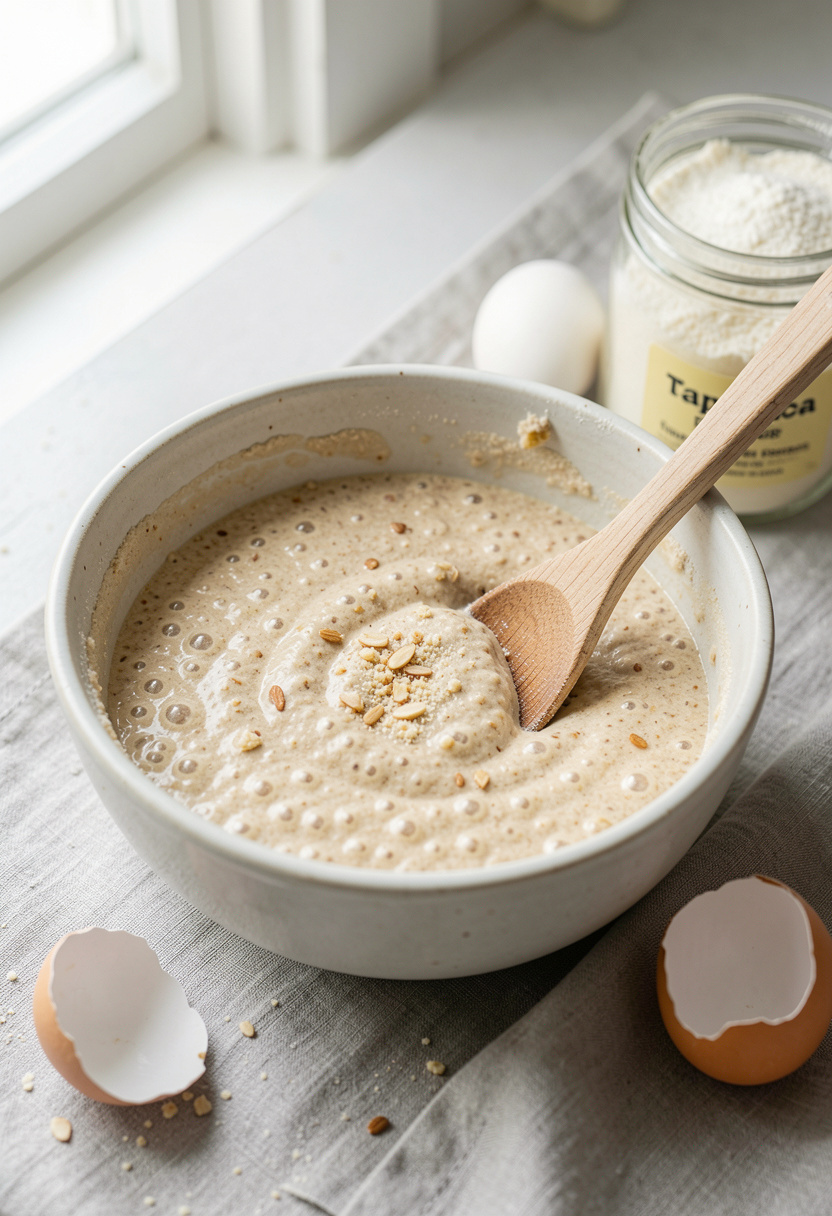
Start by mixing dry to wet in this order so hydration happens evenly. Use 1 cup blanched almond flour to 1 to 1.5 tbsp tapioca starch, 2 large eggs, and 3 tbsp milk (dairy or oat). The starch adds stretch; the eggs set the cake. I use Bob's Red Mill blanched almond flour 16 oz around $8 to $12 and Bob's Red Mill tapioca starch 16 oz around $4 to $7.
Whisk just to combine, then let the batter rest 10 to 15 min. Resting lets almond particles hydrate and tapioca swell so the batter holds together when you flip. That’s starch gelatinization in action.
Common mistake: pouring immediately because you want the pan hot. The result is loose batter and torn edges. Wait the 10 to 15 min. The batter will thicken and spread less.
2. The Surface Pact: Heat and Fat for a Golden Crust
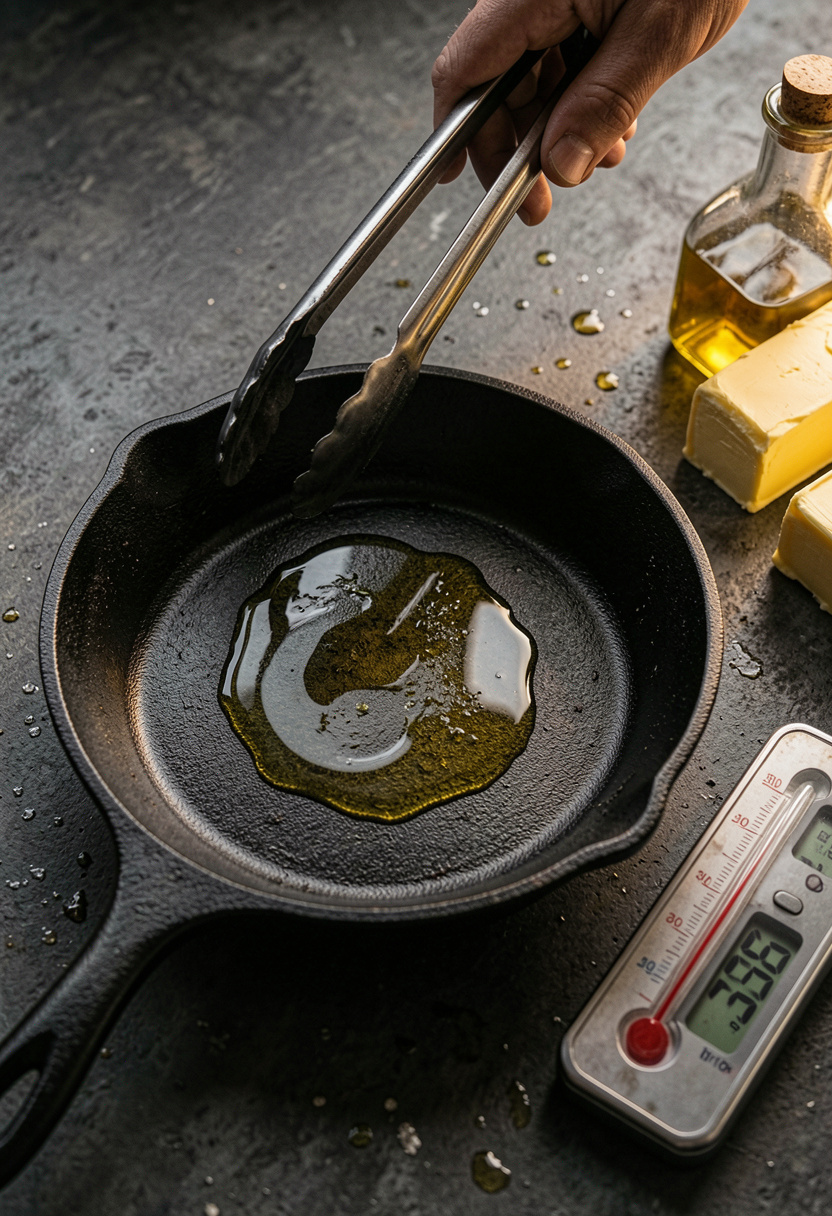
Get the pan to medium heat so the surface sits around 325°F to 350°F. I check with an instant-read thermometer Thermapen ONE approx $169 to $210 or test with a water droplet that dances. Use a thin layer of a high-smoke oil like refined avocado oil and a small pat of butter for flavor. I grab refined avocado oil 16 oz around $8 to $14.
Why this matters: Maillard reaction at the surface gives color and a slight crisp. Too hot and the exterior burns before the center cooks. Too cool and pancakes steam and stick.
Mistake: spraying nonstick into hot pan because people think it is safe. It burns and leaves a gummy residue. Use oil plus a butter pat instead.
3. The Scoop-and-Wait: Portioning and the Flip Cue
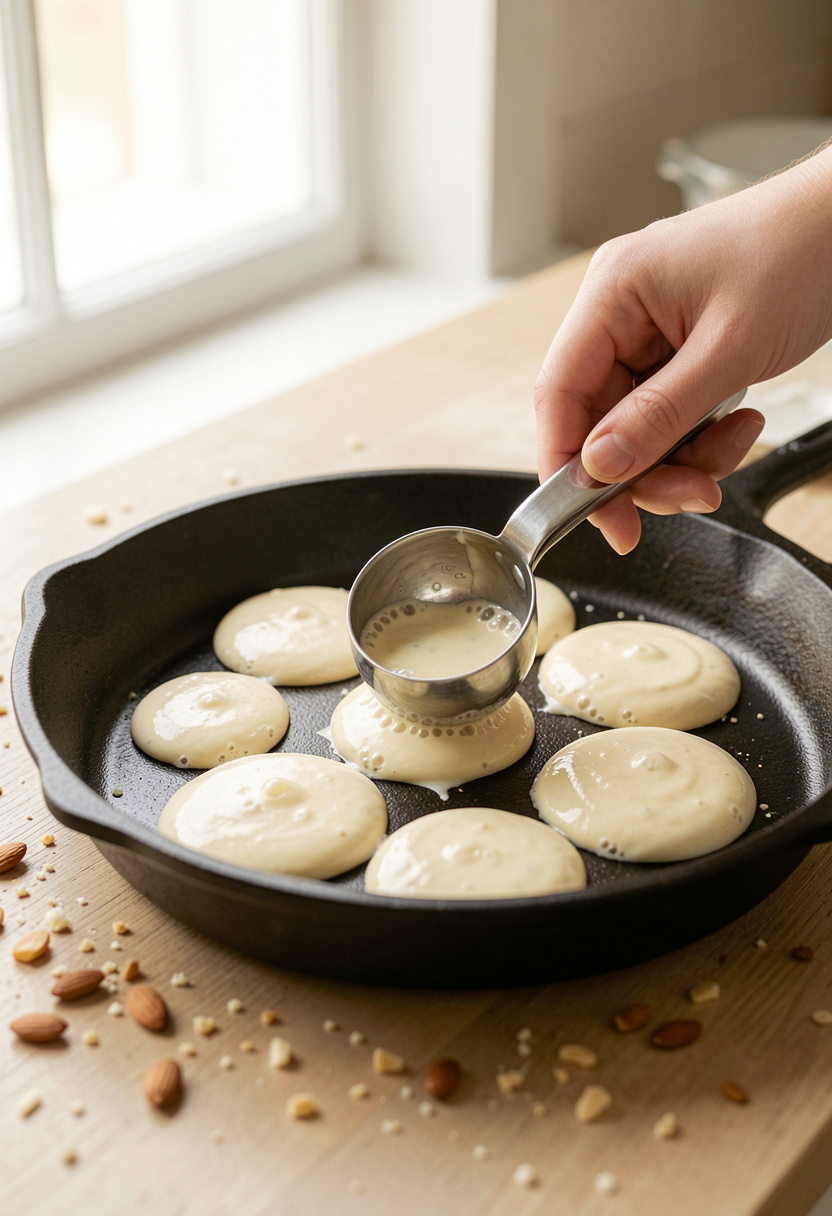
Use a 1.5 tbsp or 2 tbsp scoop for control. I use a Spring Chef mini cookie scoop around $6 to $12 to make uniformly sized pancakes so they cook evenly.
The flip cue is visual: bubbles appear across the surface and the edges matte and pull away slightly. That usually takes 2 to 3 min per side on my skillet. Slide a thin OXO Good Grips turner around the pancake and flip confidently. A flimsy spatula will tear; a thin, wide turner slides under safely.
Technique principle: protein coagulation and starch set the crumb. Flip too early and the center is runny. Wait for the matte top and persistent bubbles.
4. The Finish and Keep-Warm: Butter, Heat, and Texture
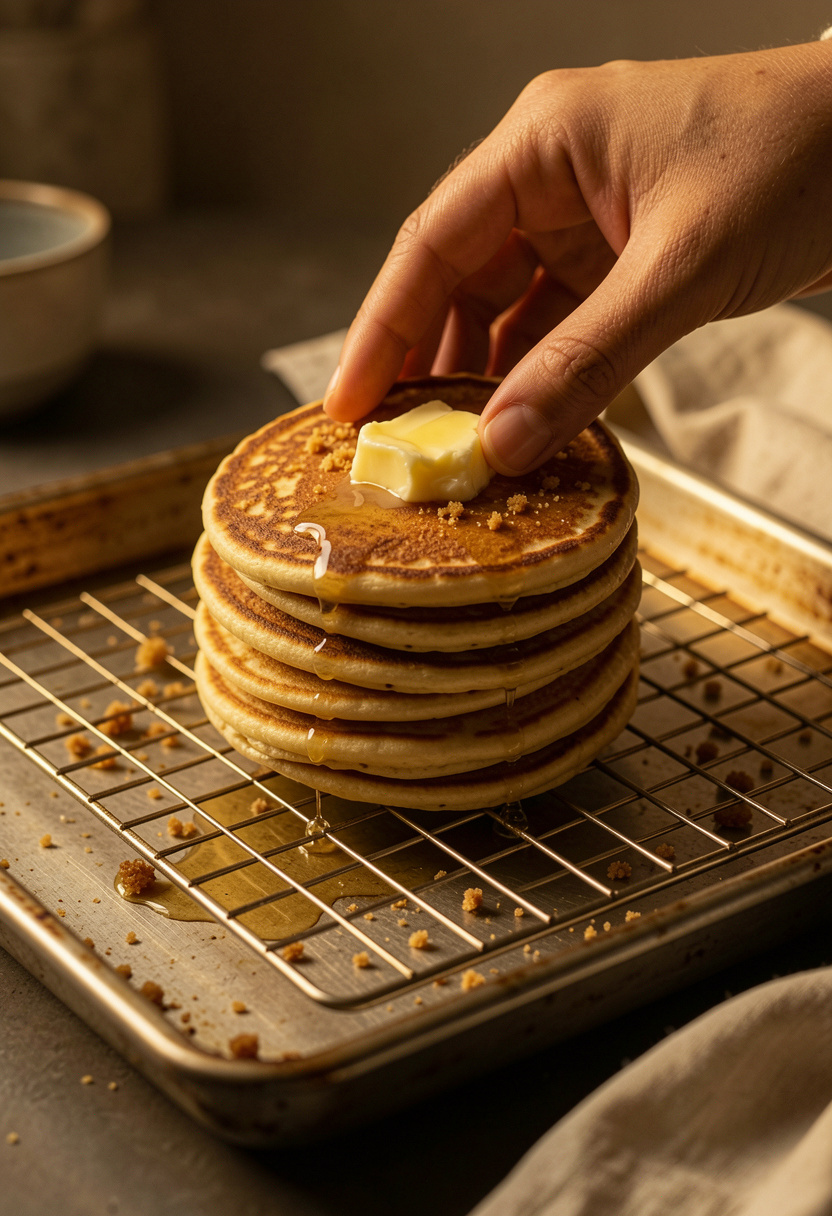
If you're making more than two pancakes, keep them on a wire cooling rack over a Nordic Ware half sheet pan around $12 to $22 at 200°F in the oven. This prevents sogginess and keeps the edges crisp.
Finish with a pat of butter or a quick drizzle of maple and a squeeze of lemon to brighten the nuttiness. I like Kerrygold unsalted butter 8 oz around $4 to $6 for that browned butter sheen.
Mistake: stacking hot pancakes directly. They steam and soften. Rack first, then stack if you must.
Common Cooking Mistakes to Avoid
Mistake: Using only coconut flour because it is low-carb
Why it doesn't work: Coconut flour is highly absorbent and makes dry, crumbly pancakes.
Do this instead: Use a mix like Bob's Red Mill blanched almond flour 16 oz plus tapioca.
Mistake: Crowding the pan when cooking batches
Why it doesn't work: Surface temperature drops and pancakes steam instead of brown.
Do this instead: Cook in batches on a Lodge cast iron skillet 12 inch approx $20 to $35.
Mistake: Flipping with a too-small or flexible spatula
Why it doesn't work: The pancake folds and tears.
Do this instead: Use a wide turner like the OXO Good Grips turner and slide under fully before turning.
What You'll Need to Make This
Pantry Staples
Diamond Crystal kosher salt 3 lb box around $5 to $8
Clabber Girl baking powder 8.1 oz around $3 to $6
Refined avocado oil 16 oz around $8 to $14
Specialty Ingredients
Bob's Red Mill blanched almond flour 16 oz around $8 to $12
Bob's Red Mill tapioca starch 16 oz around $4 to $7
Nielsen-Massey Madagascar Bourbon Pure Vanilla Extract 2 oz around $14 to $20
Tools That Earn Their Counter Space
Lodge cast iron skillet 10 inch approx $18 to $30
Thermapen ONE instant read thermometer approx $169 to $210
OXO Good Grips turner around $12 to $18
Cookbooks Worth the Shelf
The Food Lab by J. Kenji López-Alt (price range $18 to $28)
Salt Fat Acid Heat by Samin Nosrat (price range $14 to $26)
Budget Swaps
Kirkland Signature almond flour 3 lb around $18 to $30 (bulk save)
Spring Chef mini cookie scoop around $6 to $12
Shopping Guide for This Recipe
Pick blanched and finely ground: Buy Bob's Red Mill blanched almond flour for a neutral, light crumb.
Substitution hack: Out of tapioca? Use 1 tbsp arrowroot starch per cup almond flour.
2025 trend note: Nut flours paired with browned butter and citrus are showing up on menus; try Kerrygold butter for that finish.
Splurge vs save: Splurge on a precise Thermapen ONE for consistent heat; save on scoops with a Spring Chef mini cookie scoop.
Conclusion
Start with the hydration phase. Letting the batter rest made the single biggest difference for me; it turns loose batter into confident rounds that brown and flip.
One finishing tip: a tiny squeeze of lemon brightens the nutty richness and keeps the palate fresh.
Will you try the resting trick first or test the tapioca starch swap?