
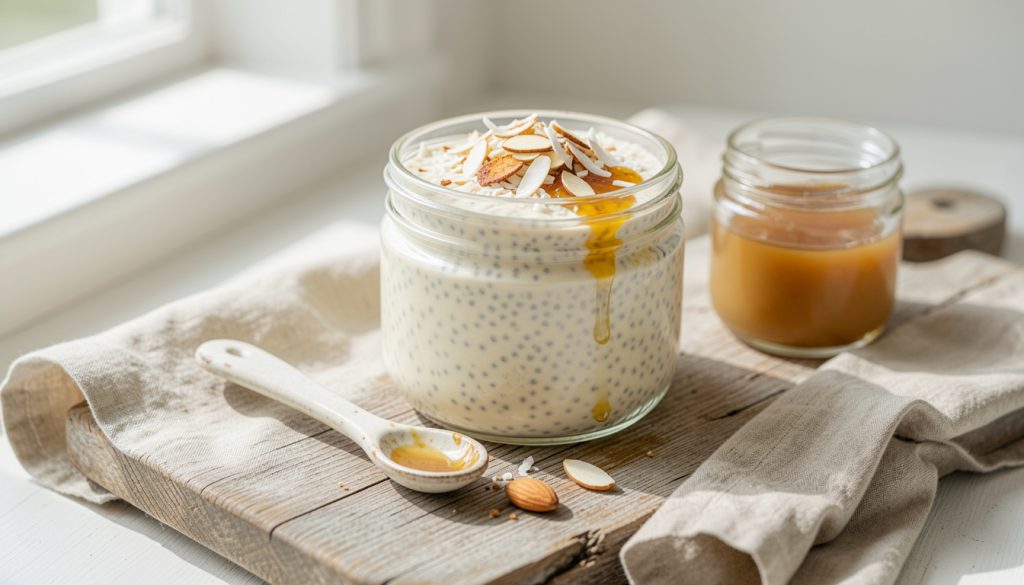

My first chia pudding attempt was watery and gloopy at the same time. I wanted silky, spoonable cream, not a jar of floating seeds.
This guide shows how to make chia pudding that sets thick, creamy, and never watery. You’ll learn exact ratios, texture hacks, and make-ahead moves that save mornings.
The flavor frame is bright, subtly sweet, and nutty—think lemon zest or toasted coconut finishing. Prep is beginner-friendly; active time is about 10 to 15 min, chilling 4 hr to overnight. I notice 2025 breakfasts skew plant-forward and jar-friendly, so these tips fit both weeknights and pantry cooking.
1. Get the Ratio Right: Seed To Liquid Math
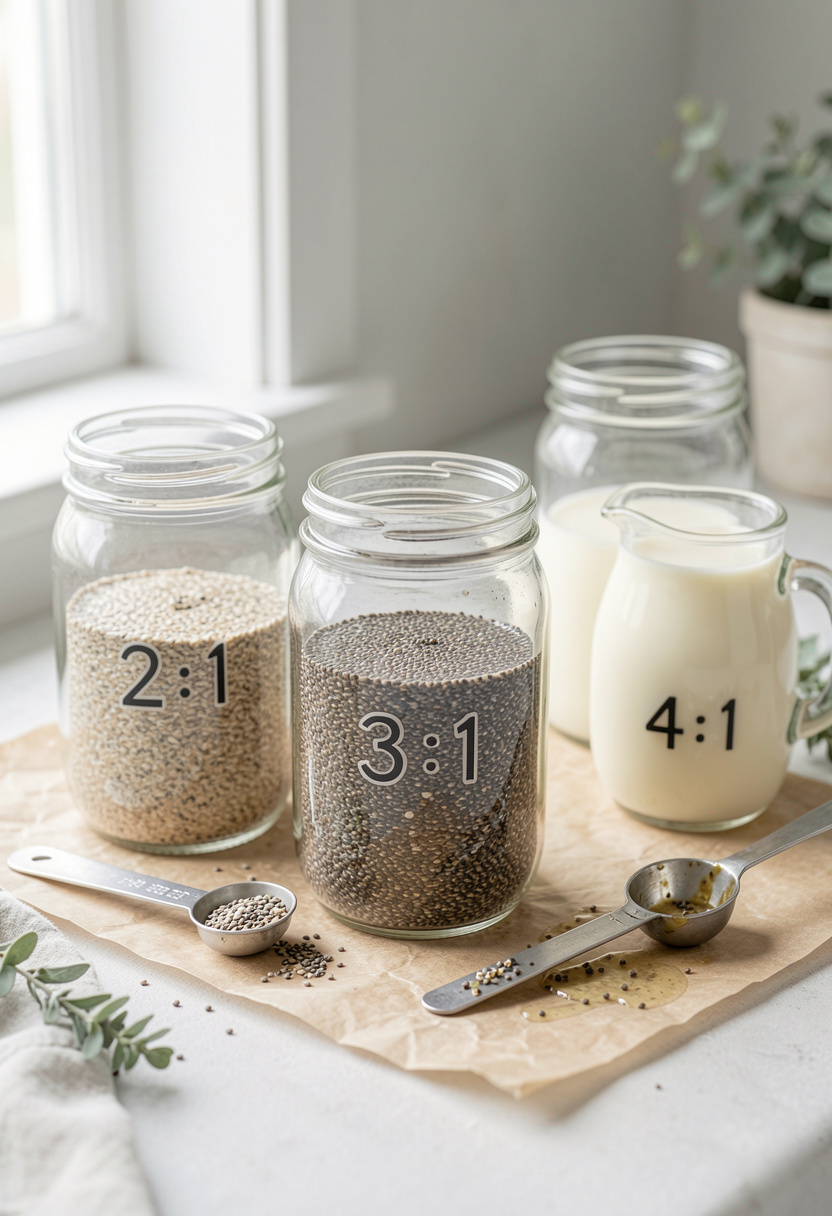

The trick is not guessing a scoop. Chia seeds absorb up to about 10 times their weight in liquid, so ratio controls texture.
My go-to is 1:6 chia to liquid by volume for spoonable cream. That’s 3 tbsp chia to 1 cup liquid. If you want pudding with bite, use 1:5. For drinkable, 1:8.
Use Bob's Red Mill chia seeds 12 oz for consistent gel. Whisk chia into cold liquid for 30 seconds, then briskly again at 5 min to break clumps.
Principle: hydration and surface area. Clumps hide dry centers. Mistake: dumping seeds and walking away. Stir twice in the first 10 min so every seed meets liquid.
2. Choose Your Liquid: Creaminess vs. Clean Flavor
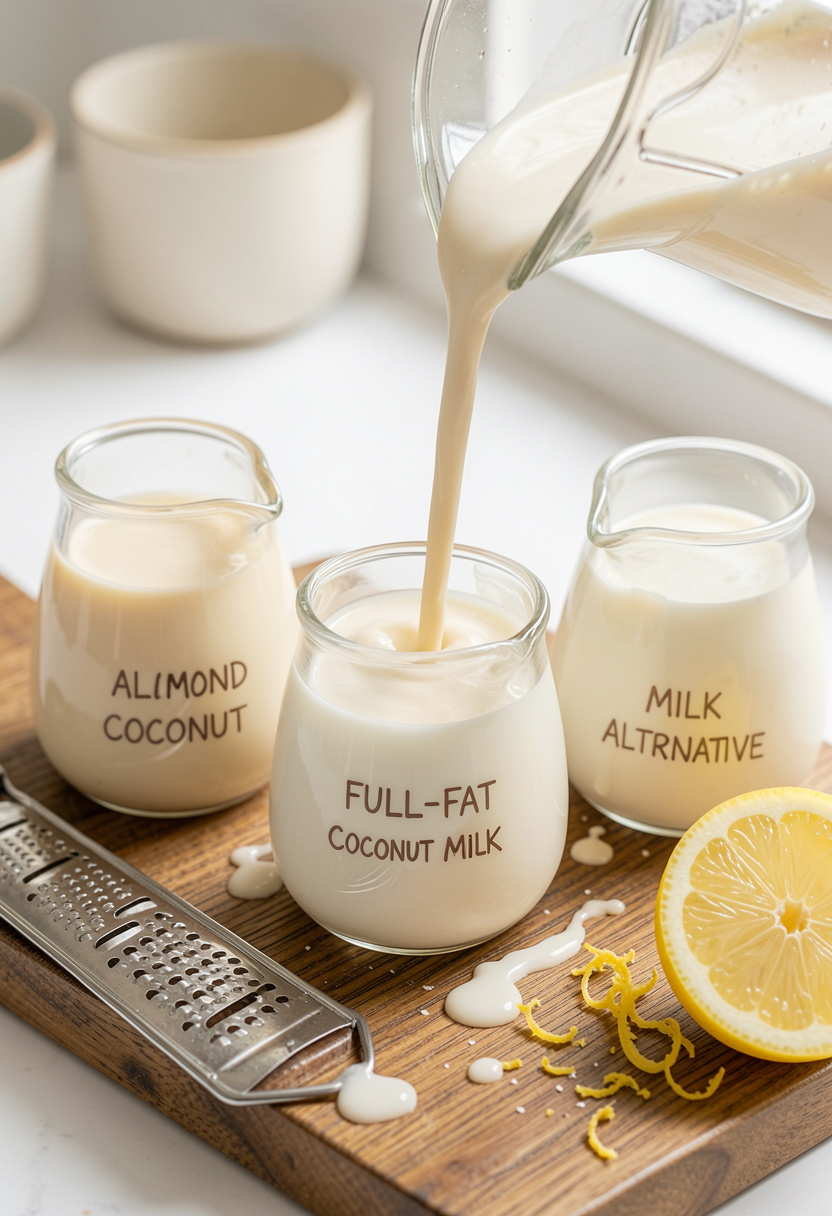

Full-fat liquids = silkier set. Canned coconut milk gives body and sheen; plant milks thin out more.
If you want indulgent texture, use 1 cup full-fat coconut milk with 3 tbsp chia. Try Thai Kitchen coconut milk 13.5 oz or a 50/50 mix of canned coconut and unsweetened almond milk for balance using Califia Farms unsweetened almond milk 32 oz.
Principle: fat increases perceived creaminess by coating the gel matrix. Mistake: picking skim milk for richness. Instead, add 1 to 2 tbsp plain yogurt or a splash of cream for body when using low-fat milks.
3. Layer Flavors Early: Salt, Acid, and Heat
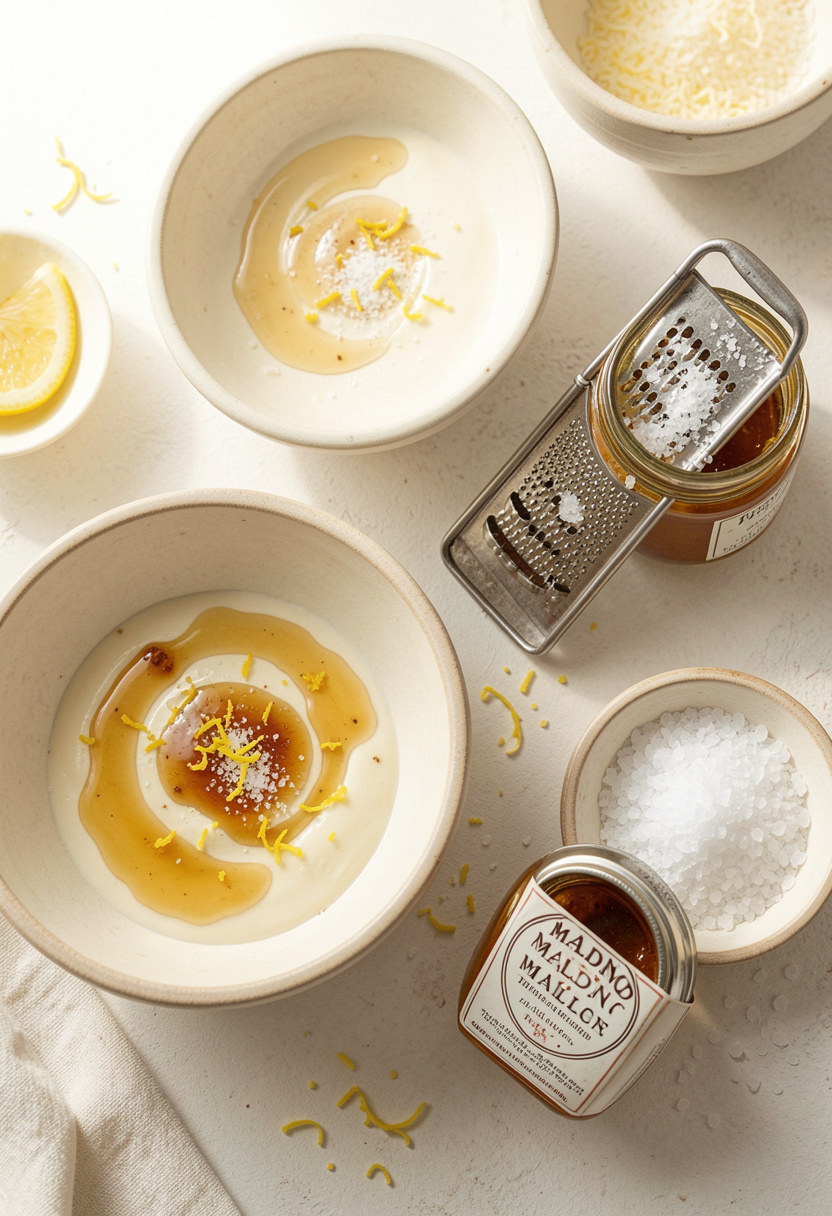

Add flavor when you whisk the seeds into liquid. A tiny pinch of salt and 1/4 tsp vanilla deepen sweetness without extra sugar.
I use real vanilla for warmth. Nielsen-Massey pure vanilla extract 2 oz and Maple Grove Farms pure maple syrup 12 oz are reliable.
Principle: salt enhances sweetness; acid brightens fatty bases. For a bright finish, fold in 1 tsp lemon zest per jar right before chilling. Mistake: adding citrus too early. The acid can loosen the gel; add zest or a splash of citrus at serving.
4. Texture Tricks: Blend, Rest, Or Warm
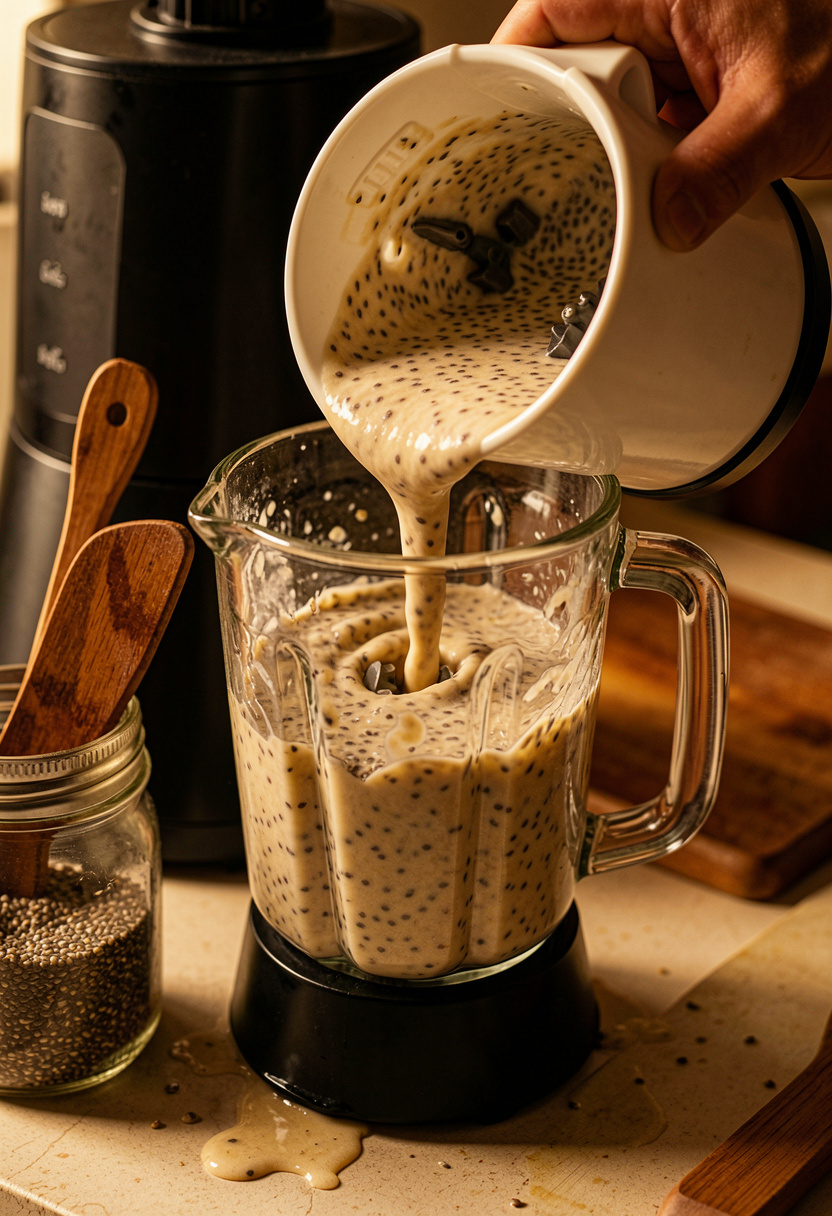

For ultra-smooth pudding, pulse 4 to 6 times in a blender before chilling. A short blitz breaks seed hulls for a mousse-like mouthfeel.
If you prefer visible seeds, skip blending. For speed, warm 1 cup liquid to just below simmer (about 180°F) and whisk in chia for 1 min; heat accelerates hydration so it thickens in 30 to 60 min once cooled.
I use a Vitamix 5200 blender for silky texture. Principle: mechanical shear opens seeds and releases mucilage, creating creamier gel. Mistake: over-blending. Too long and it becomes slimy. Pulse briefly, check texture, then stop.
5. Finish, Layer, and Store Like a Pro
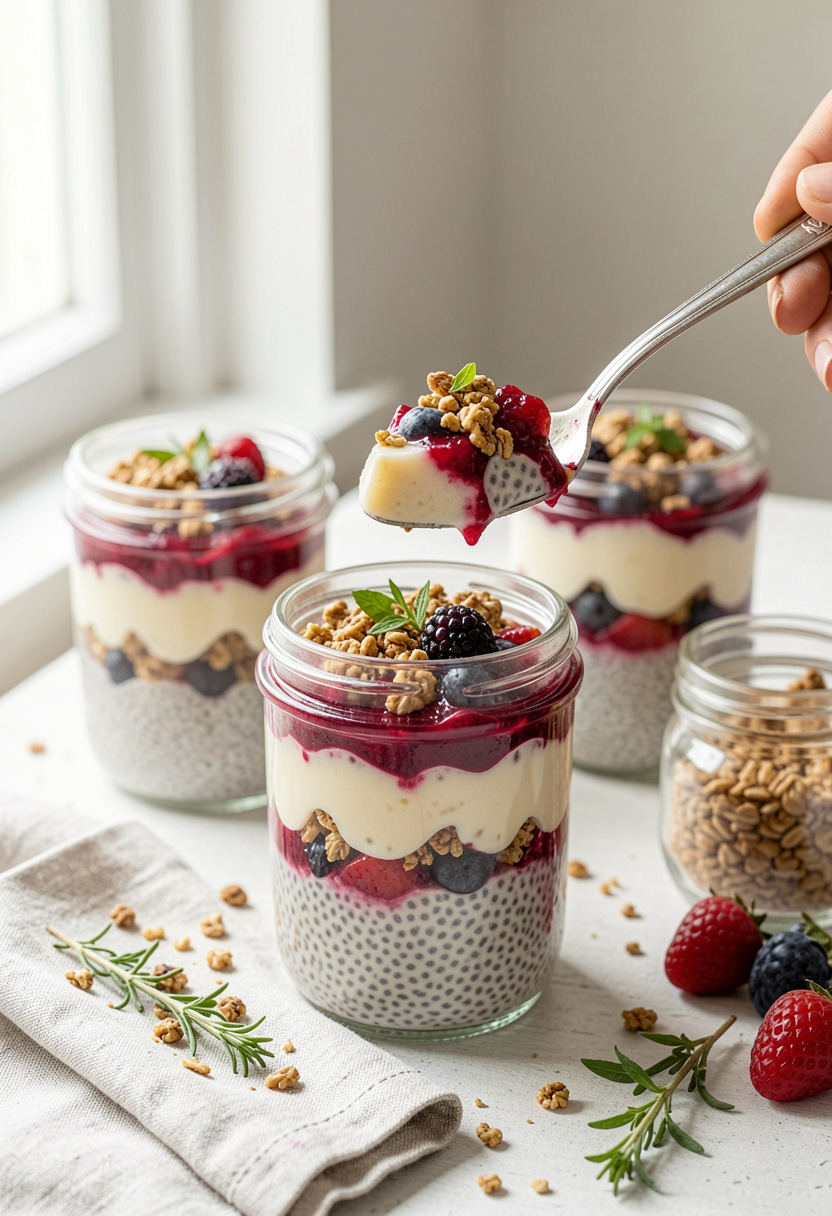

Chill at least 4 hr or overnight for best set. Stir once after 1 hr to redistribute moisture if using whole milk.
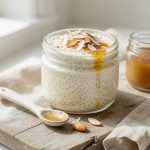
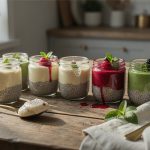
Layer fruit compote on bottom or top for texture contrast. For storage, use Wide Mouth Mason Jars 8 oz 12-pack for portable portions. Chia pudding keeps 4 to 5 days refrigerated.
Mistake: sealing hot compote in jars on top of pudding. The steam loosens the gel. Cool toppings completely before layering.
Common Cooking Mistakes to Avoid
Mistake: Using a 1:4 ratio expecting a creamy set
Why it doesn't work: Too many seeds create a gluey, dense gel.
Do this instead: Use 1:6 ratio and try a Vitamix blender pulse if you want extra silkiness.
Mistake: Adding citrus juice at mixing stage
Why it doesn't work: Acid can break the gel network and thin the pudding.
Do this instead: Stir in zest and add a small splash of juice at serving; use Nielsen-Massey vanilla for depth.
Mistake: Skipping the initial double-stir
Why it doesn't work: Clumps form and seeds hydrate unevenly.
Do this instead: Stir immediately and again at 5 to 10 min using a stainless steel whisk 10 inch.
What You'll Need to Make This
Pantry Staples
Bob's Red Mill chia seeds 12 oz around $8 to $12
Diamond Crystal kosher salt 3 lb box around $5 to $8
Maple Grove Farms pure maple syrup 12 oz around $6 to $12
Specialty Ingredients
Thai Kitchen coconut milk 13.5 oz around $2 to $4
Nielsen-Massey pure vanilla extract 2 oz around $12 to $18
Maldon sea salt flakes 4.2 oz around $8 to $12
Tools That Earn Their Counter Space
Wide Mouth Mason Jars 8 oz 12-pack around $12 to $20
Vitamix 5200 approx $350 to $550
Fine mesh strainer 5 inch stainless around $8 to $15
Cookbooks Worth the Shelf
Salt Fat Acid Heat by Samin Nosrat (price range $18 to $28)
Budget Swaps
NutriBullet blender 600 watt approx $60 to $100 (save instead of a high-end blender)
Shopping Guide for This Recipe
Fat For Texture Tip: Use canned coconut for body; Thai Kitchen coconut milk 13.5 oz around $2 to $4.
Substitution Hack: No coconut? Mix 2 tbsp plain yogurt into almond milk for creaminess with Califia Farms almond milk 32 oz around $3 to $5.
2025 Trend Tip: Plant-forward breakfasts lean on layered jars; buy Wide Mouth Mason Jars 8 oz 12-pack around $12 to $20 to prep weekly.
Splurge vs Save: Splurge on pure vanilla like Nielsen-Massey if you care about depth; save on sweetener by using a local maple or supermarket brand.

Conclusion
Start with the ratio phase. Dial 1:6 chia to liquid and taste for texture after chilling 4 hr.
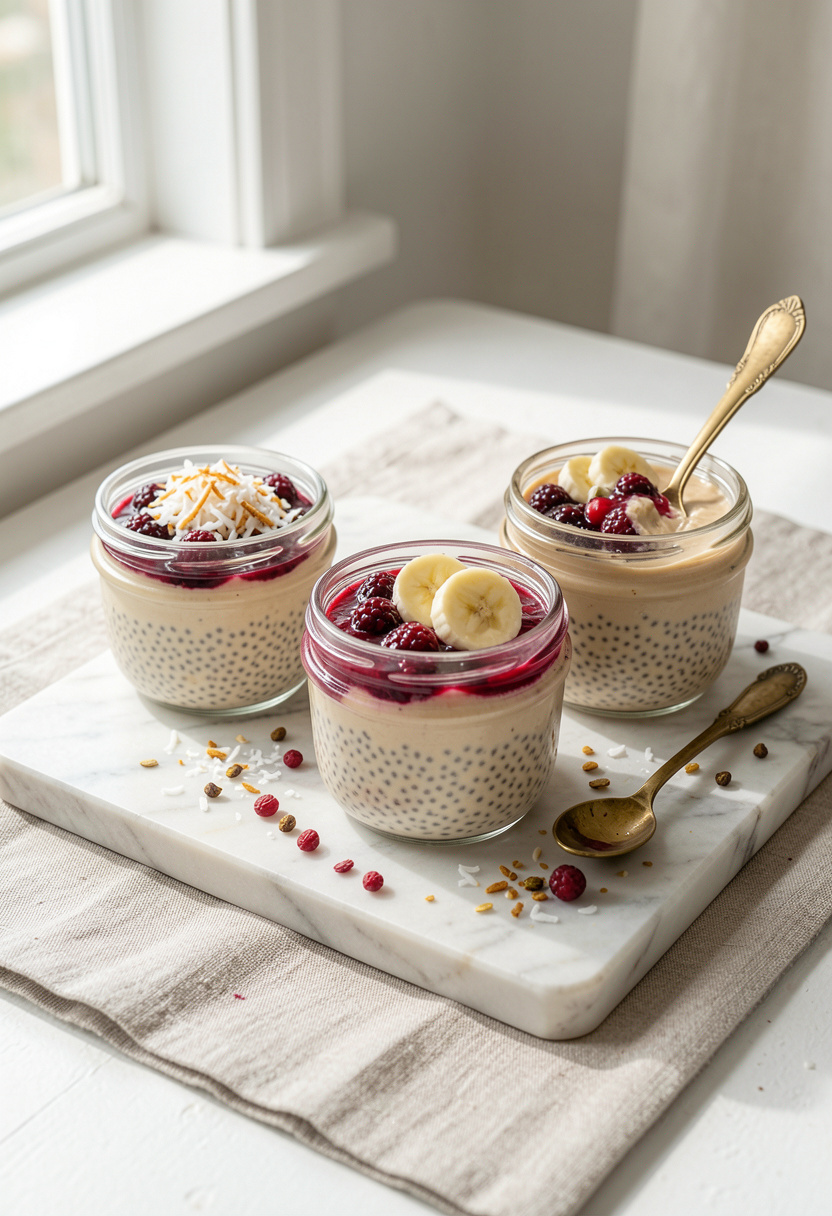
A quick finish trick: pulse briefly in a blender for silk, then top with a squeeze of citrus or a sprinkle of Maldon salt to brighten. Try blending one jar and leaving another whole to compare textures.
Will you try the blended silky version first or the seeded jar with compote?