
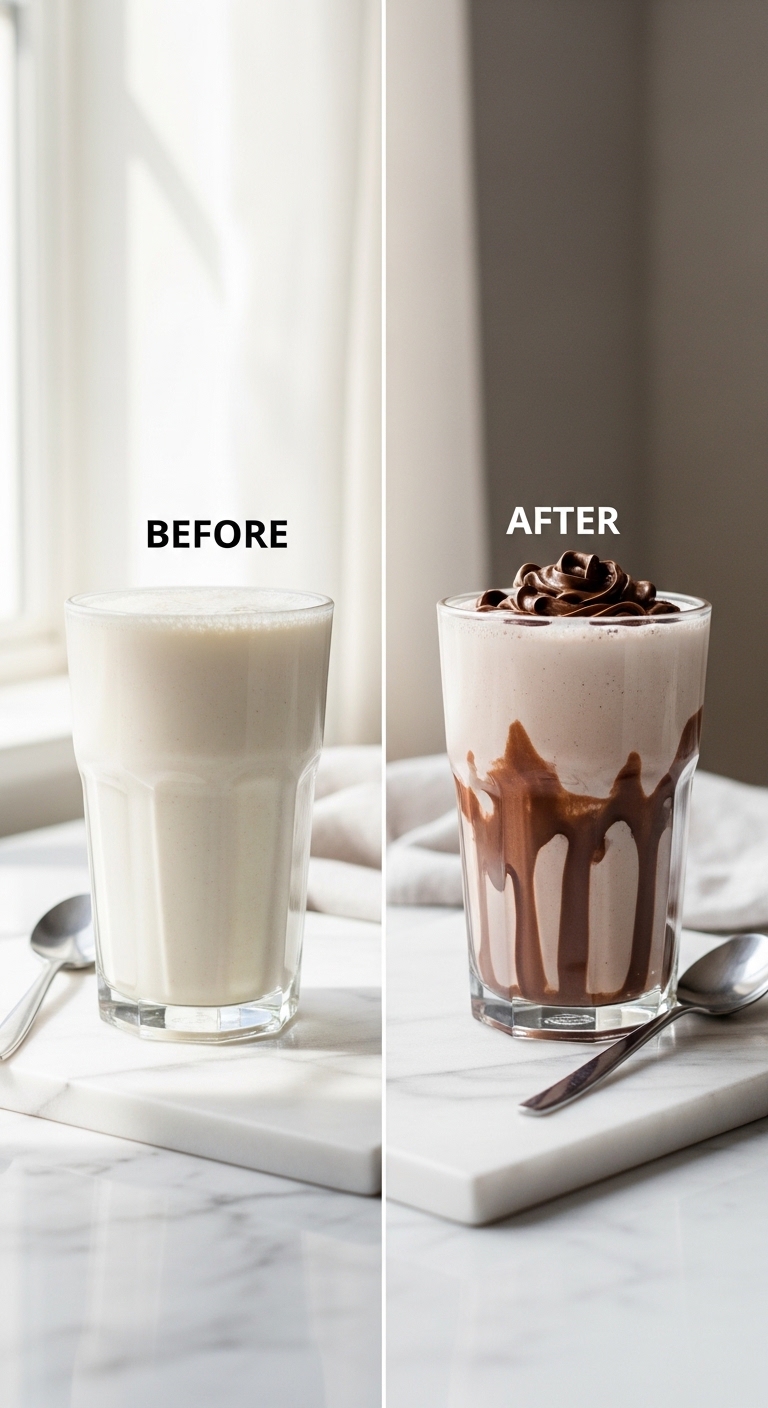
Craving the creamiest chocolate-hazelnut treat? If you’ve ever made a thin, icy milkshake that lacked richness, you’re not alone. This guide teaches you how to make Nutella milkshake that is creamy and delicious — every single time. You’ll learn simple swaps and exact measurements that fix runny or grainy shakes.
The secret is technique and the right tools. A good high-speed blender helps break down frozen chunks without over-diluting the shake (https://www.amazon.com/s?k=high+speed+blender&tag=bitearchive-20). A reliable digital kitchen scale keeps your proportions perfect (https://www.amazon.com/s?k=digital+kitchen+scale&tag=bitearchive-20). Follow along and you’ll make a pint-worthy Nutella milkshake in minutes.
You’ll get exact measurements, step-by-step mixing, texture checks, toppings ideas, and storage tips. Expect a thick, glossy shake with a silky mouthfeel. Pin this guide and try it today.
Preparing Your Ingredients
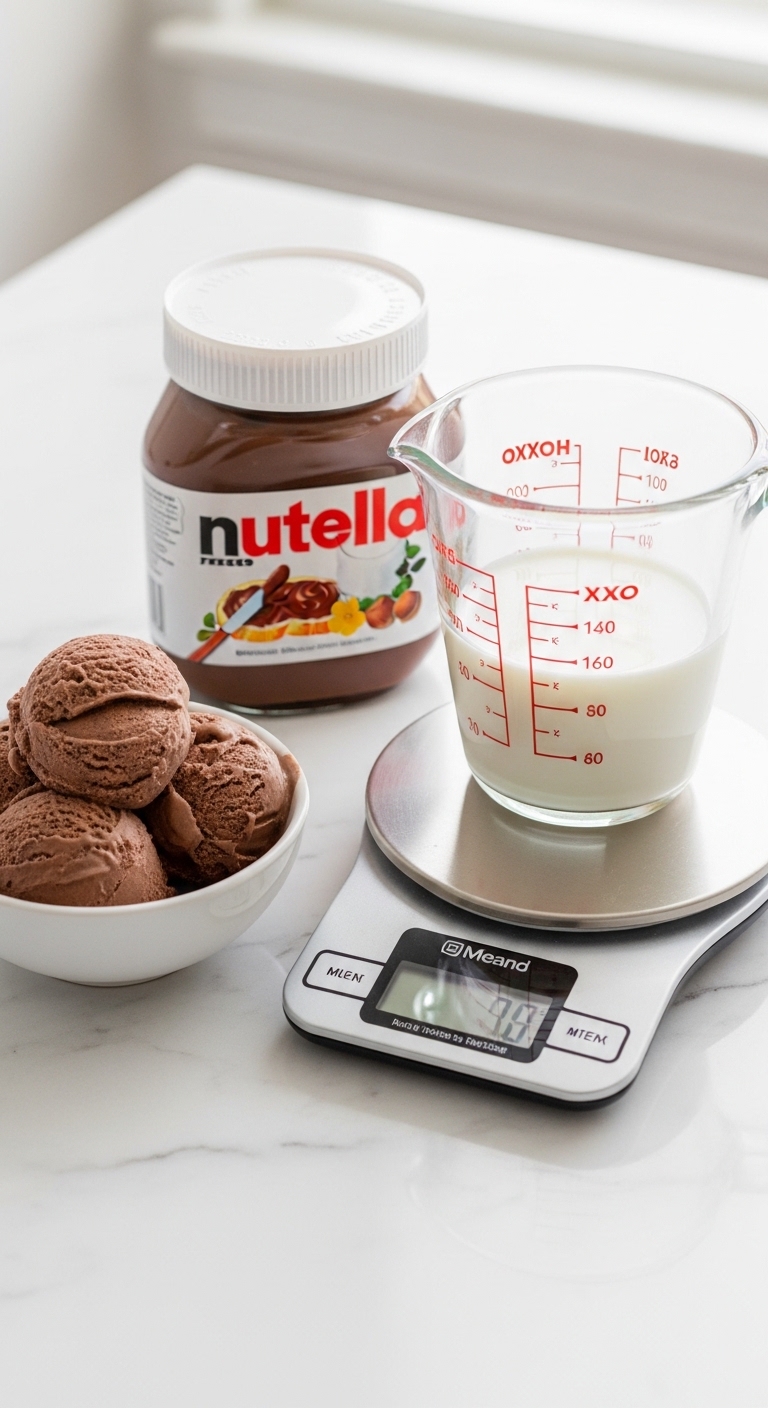
Start by assembling everything. This prevents over-blending and watery milkshakes. Use a digital kitchen scale to weigh the ice cream if you want precise texture (https://www.amazon.com/s?k=digital+kitchen+scale&tag=bitearchive-20).
- Ingredients: 2 cups vanilla ice cream, 3 tbsp Nutella, 1/2 cup whole milk, 1/4 cup heavy cream (optional), pinch of salt.
- Have a measuring cup and spoons handy (https://www.amazon.com/s?k=measuring+cups+and+spoons&tag=bitearchive-20).
- Let the ice cream sit out 2–3 minutes to soften slightly; this helps the blender work faster.
Tip: Scoop ice cream with a sturdy ice cream scoop for even portions (https://www.amazon.com/s?k=ice+cream+scoop&tag=bitearchive-20).
The Blending Technique
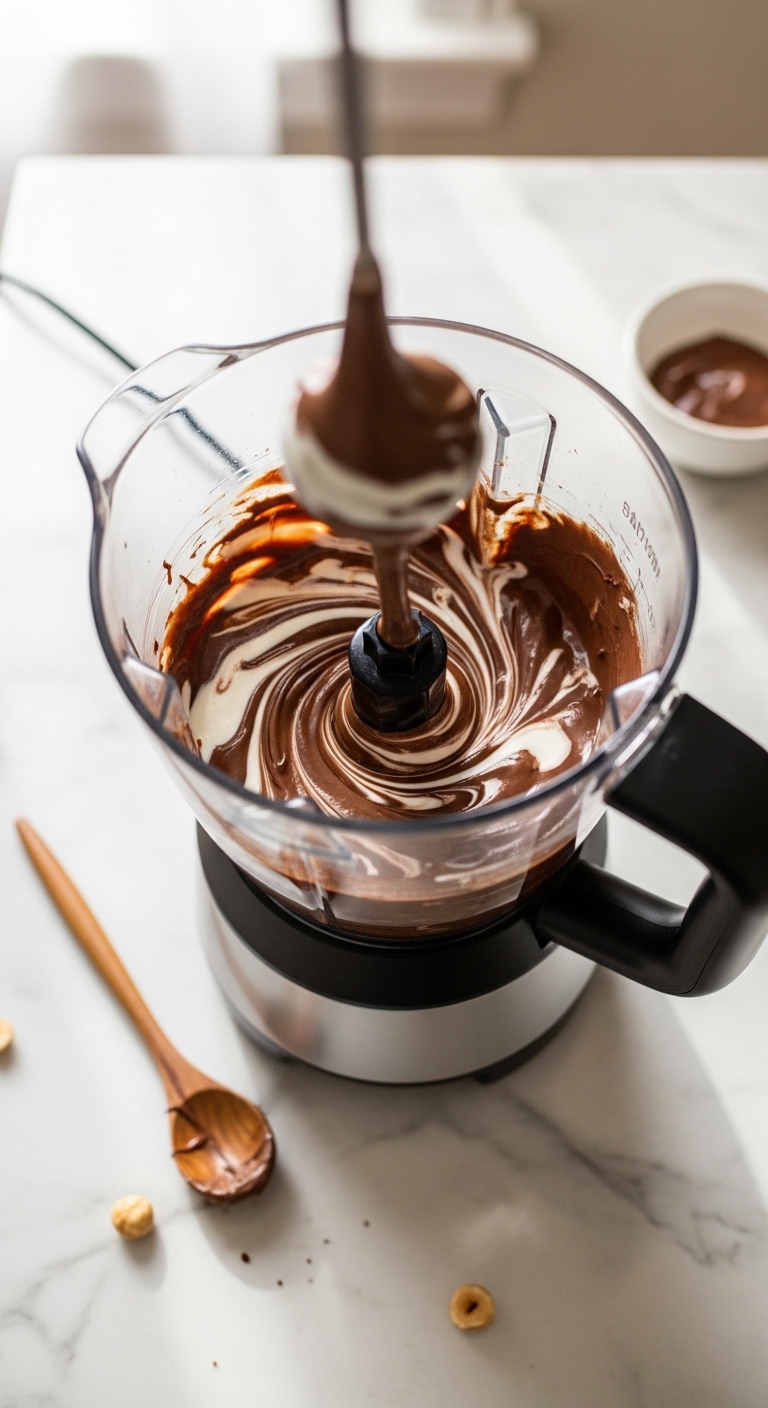
How you blend decides the shake’s creaminess. Use a high-speed blender or an immersion hand blender for control (https://www.amazon.com/s?k=immersion+hand+blender&tag=bitearchive-20). Follow these steps:
- Add milk and heavy cream first — 1/2 cup then 1/4 cup — to create a liquid base.
- Add 2 cups vanilla ice cream and 3 tbsp Nutella.
- Pulse for 10 seconds, then blend on medium for 15–20 seconds.
- Stop and scrape sides with a silicone spatula if needed (https://www.amazon.com/s?k=silicone+spatula&tag=bitearchive-20).
- If too thick, add 1 tbsp milk at a time. If too thin, add 2 tbsp ice cream.
Tips:
- Pulse first to break frozen bits without over-aerating.
- A high-speed blender melts less ice, preserving density (https://www.amazon.com/s?k=high+speed+blender&tag=bitearchive-20).
Getting the Perfect Texture
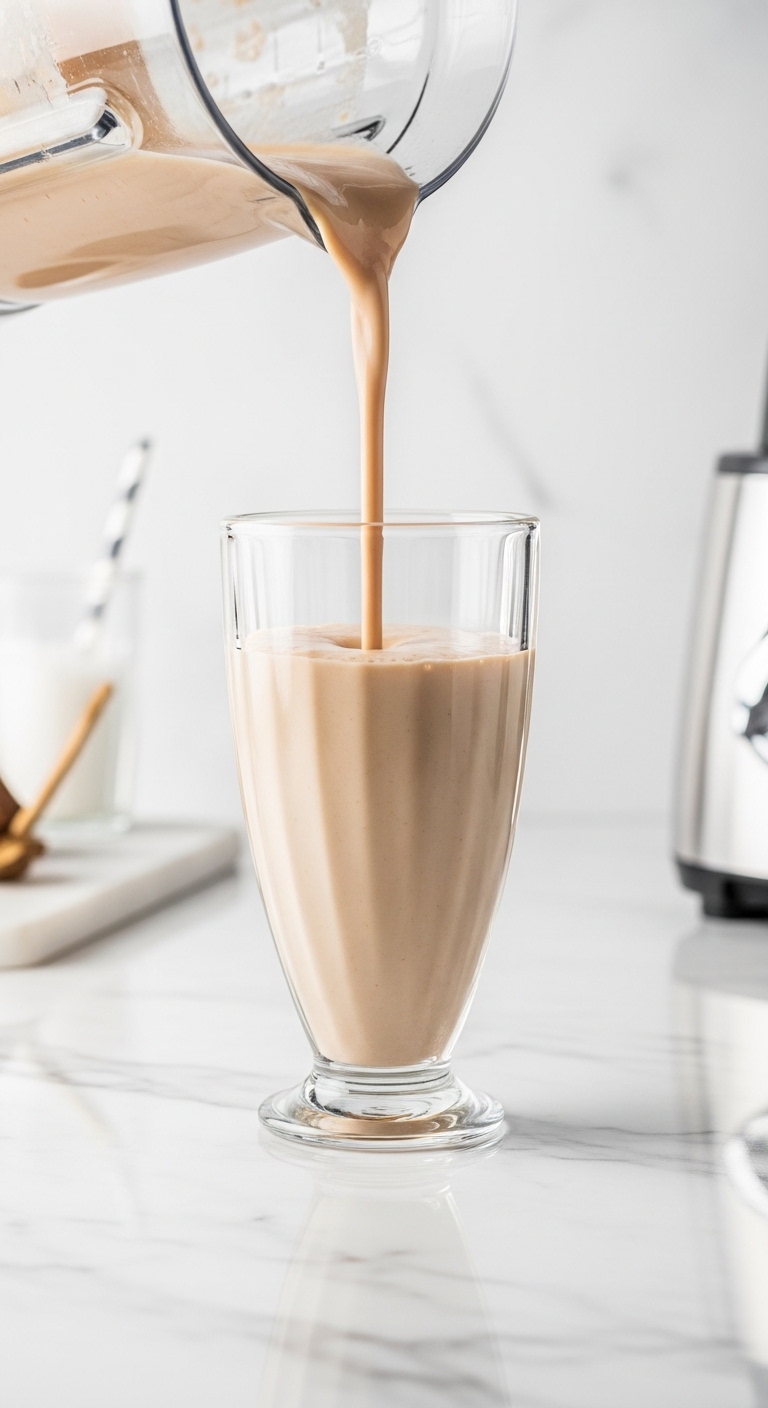
You want a thick pour that still moves. Aim for a satin ribbon that falls from the blender and disappears into the glass within 2–3 seconds.
- Visual cue: the shake should coat the back of a spoon.
- Taste cue: you should get Nutella flavor on the first sip without it being cloying.
- For ultra-creamy texture, fold in 2 tbsp whipped cream with a spoon after blending.
Avoid over-blending — it warms the mixture and thins the shake. If separation happens, blitz briefly for 3–4 seconds.
Use chilled glasses for a slower melt. I like simple tall milkshake glasses for presentation (https://www.amazon.com/s?k=milkshake+glasses&tag=bitearchive-20).
Finishing Touches and Serving
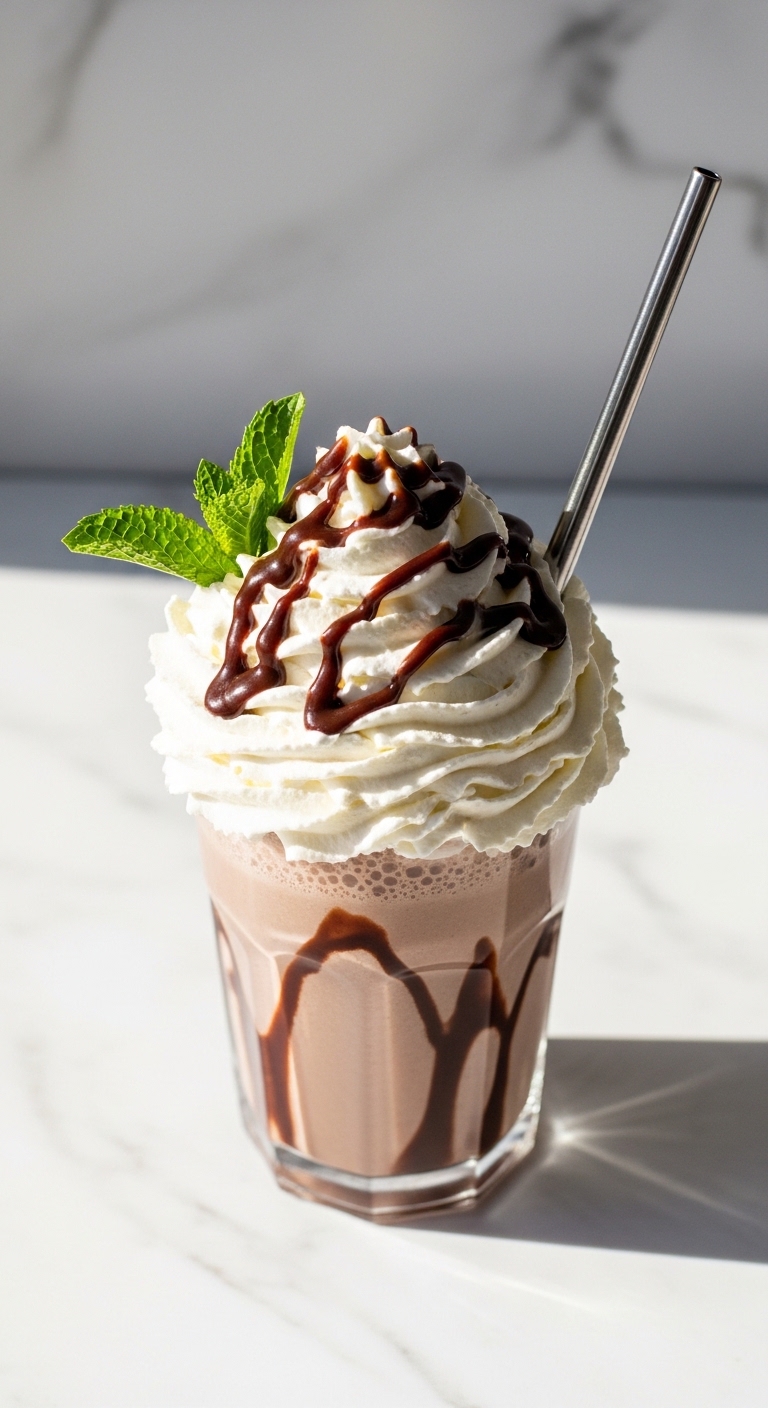
Make it pin-worthy with quick finishes:
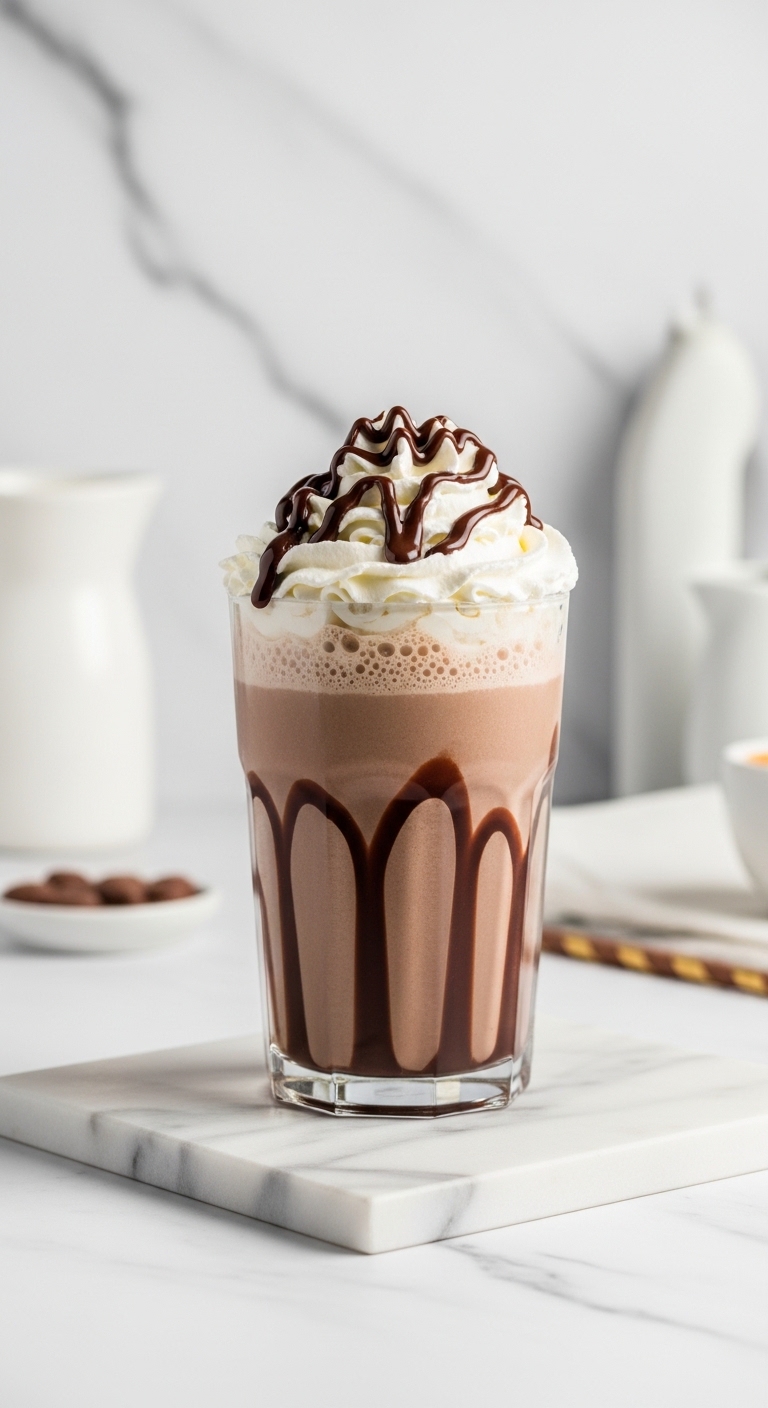
- Top with whipped cream, a drizzle of Nutella, and chopped toasted hazelnuts.
- Add a stainless straw for a modern look (https://www.amazon.com/s?k=reusable+stainless+steel+straws&tag=bitearchive-20).
- Serve with a small jar of extra Nutella on the side for dipping.
Storage and make-ahead:
- Leftover shake separates; store in glass storage containers and re-blend briefly before serving (https://www.amazon.com/s?k=glass+storage+containers&tag=bitearchive-20).
- For parties, pre-scoop ice cream into a tray and freeze solid. Scoop straight into the blender when ready.
Common mistakes:
- Adding too much milk — pour slowly.
- Over-blending — use pulses.
- Using low-fat milk — whole milk or cream gives the best mouthfeel.
Finish with a small pro tip: keep a silicone spatula handy to scrape every last drop (https://www.amazon.com/s?k=silicone+spatula&tag=bitearchive-20).
You’ve just learned how to make Nutella milkshake that is creamy and delicious, with exact portions and simple tricks to avoid a thin, icy result. Save this guide and pin it for your next treat. Which topping will you try first — extra Nutella drizzle or toasted hazelnuts? If you want hands-free blending, consider a high-speed blender (https://www.amazon.com/s?k=high+speed+blender&tag=bitearchive-20) for restaurant-style texture. Ready to make one now? Let’s do it!