
I used to make soggy breakfast sandwiches on weekday mornings. The first line of defense is knowing how to make a breakfast sandwich that stays crispy, melty, and quick.
This guide shows you how to get a crunchy exterior, a jammy egg, and melted cheese in about 10 min, using tools and tiny timing tricks that actually work.
Flavor-wise this is American brunch comfort with room for a chili crisp kick or a herby swap. It is beginner-friendly, weeknight-proof, and rides a 2025 trend toward handheld, restaurant-quality breakfasts that are fast to make at home. I noticed searches spike every Sunday on Google Trends, and the NPD Group has been tracking more at-home handheld breakfasts in recent years, so now is the moment to master this.
1. The Pre-Sear Setup: Pick Bread, Protein, Salt Timing
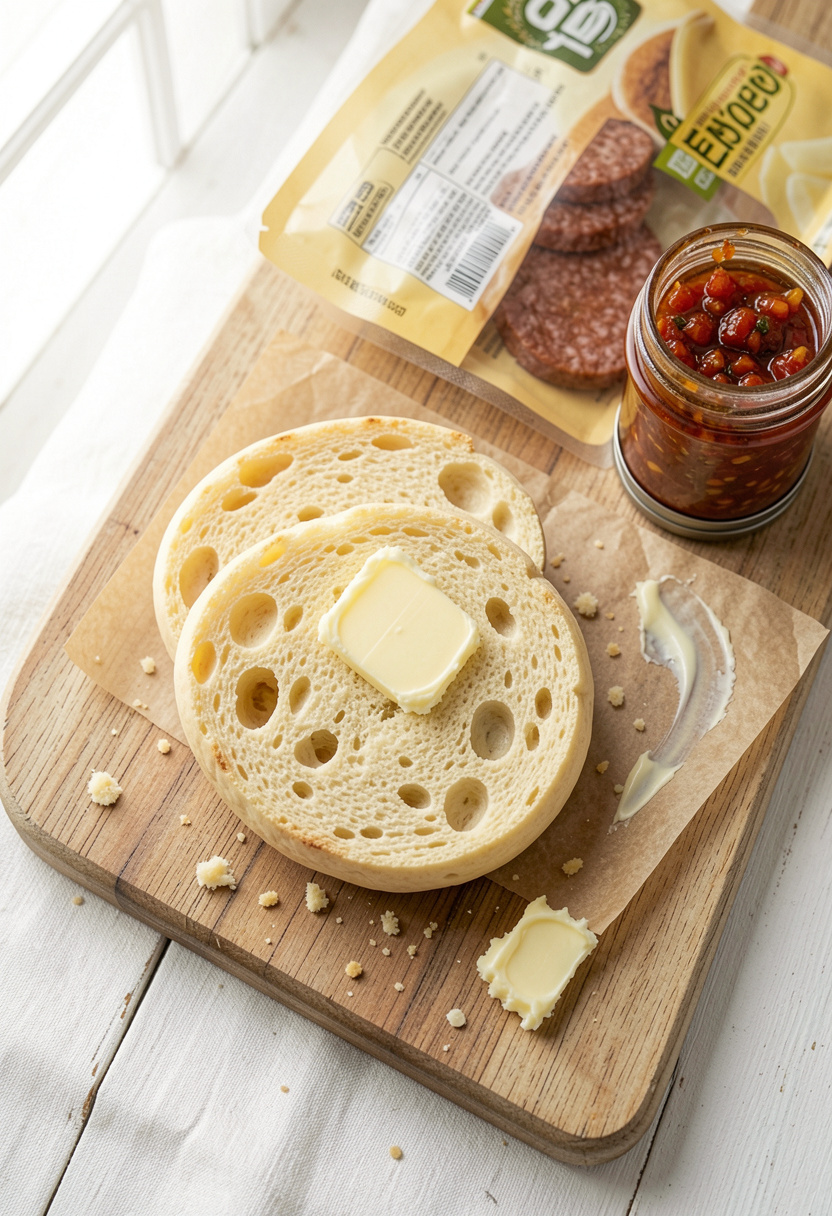
Pick your bread first because it decides crispness. My go-to is a split and lightly toasted Thomas English Muffins for the nooks that hold butter and melted cheese.
Choose a thin protein so it heats through in the time you have. I like pre-formed Jimmy Dean breakfast sausage patties for speed, or a thin slice of Hormel Canadian bacon if you want leaner meat.
Salt timing matters. Salt meat or bacon right before it hits the pan. For bread, butter the faces and hit the griddle. Salt restructures proteins and draws out moisture, which is why salting too early on thin sausage makes it dense. Mistake to avoid: salting bread surface like a steak; it can pull moisture. Do the quick salt on protein, then assemble.
2. The Sear in Smoking-Hot Cast Iron
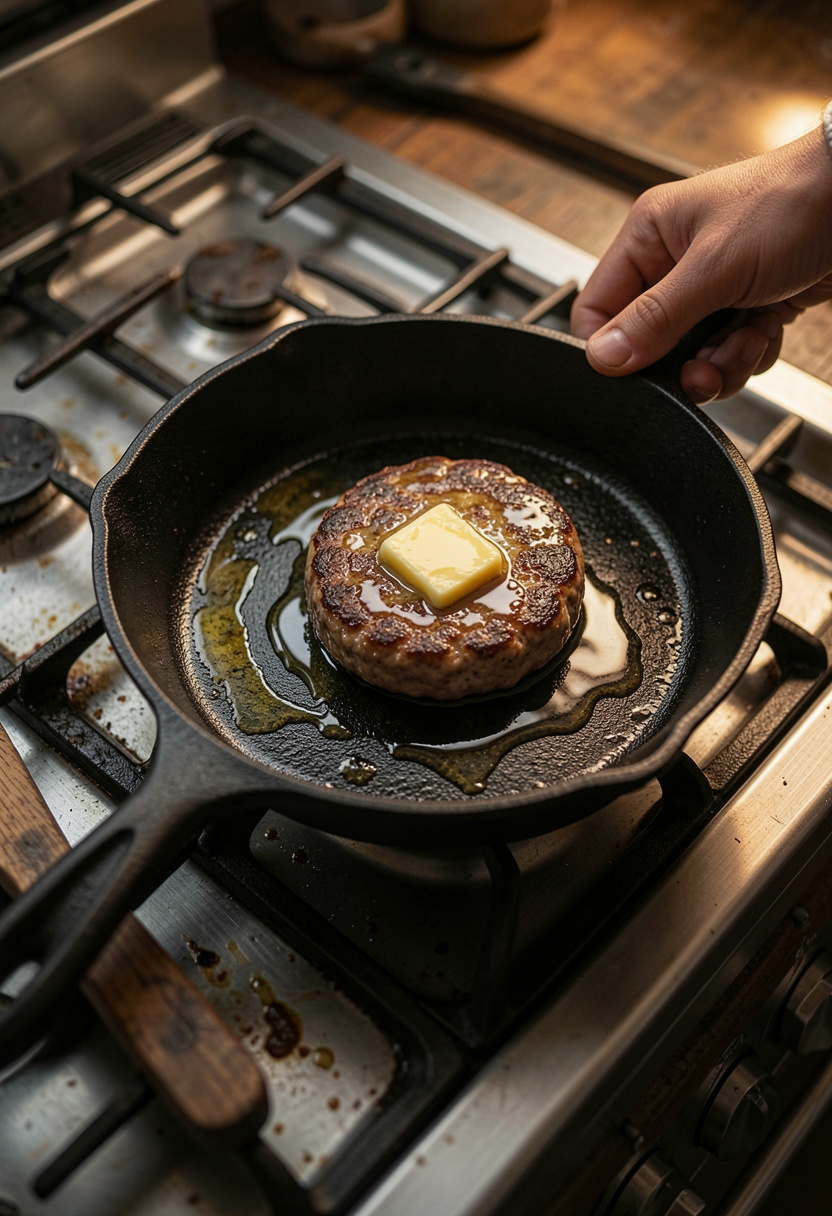
A rip-roaring skillet gives you caramelized, crunchy edges. Preheat a Lodge cast iron skillet 12 inch on medium-high until a drop of water dances, or aim for roughly 425°F surface feel.
Add a tablespoon of Kerrygold butter for flavor and fast browning. Sear thin sausage 1 to 2 min per side until deep brown. The Maillard reaction is doing the heavy lifting here, creating toast-like aromatics that read as crisp even after assembly.
Common mistake: crowding the pan and steaming your protein. Cook in a single layer, then move cooked pieces to a warm plate. The result is a crunchy sear and a fond that you can quickly deglaze for a finishing smear if you want extra flavor.
3. The Egg Hack That Gives Run Without Sog

The trick is a short steam and baste. Heat the skillet to medium. Grease a stainless egg ring, crack an egg in, then cover with a lid for 45 to 60 sec to set the whites while keeping the yolk jammy.
If you prefer a fried top, baste with melted butter using a silicone spatula heat resistant for 20 to 30 sec, spooning hot butter over the whites. The technical principle is controlled coagulation plus steam to finish the top quickly without flipping.
Mistake: microwaving the egg in the sandwich. It sets fast but makes the bread soggy and the texture rubbery. This pan method gives a glossy yolk and a little butter sheen that keeps the sandwich lively.
4. The Melt, Rest, and Crisp Assembly
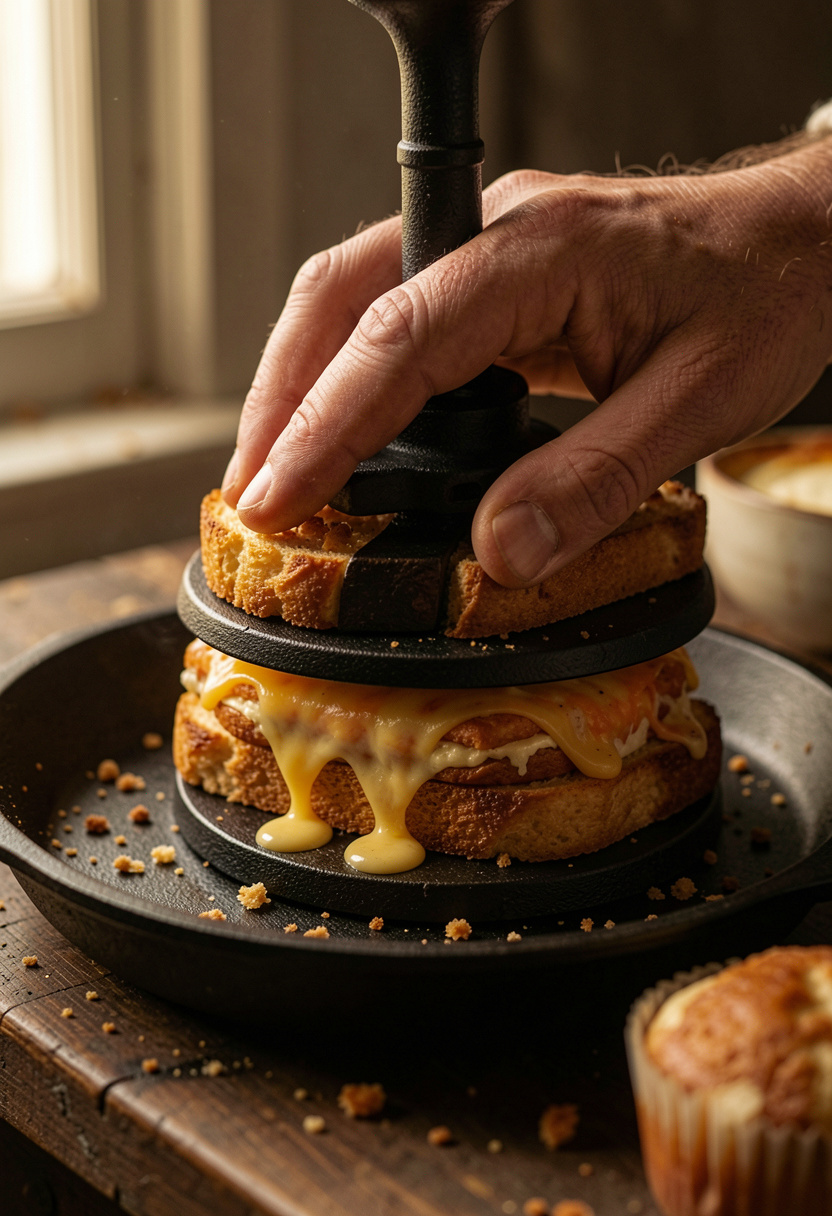
Build hot to hot. Butter both English muffin faces, toast cut-side down 60 to 90 sec in the hot skillet until golden.
Assemble: bottom muffin, protein, cheese slice, egg, top muffin. Place back on the skillet and press gently with a cast iron grill press for 30 to 45 sec to seat the layers and encourage melt.
Finish with flaky salt. I reach for Maldon flaky sea salt because a little on the egg or cheese heightens the contrast between buttery and savory. Rest 30 sec before eating so steam doesn’t sog the muffin. Result: crunchy exterior, melty center, runny yolk if you like it that way.
Common Cooking Mistakes to Avoid
Mistake: Crowding the pan when searing sausage or bacon
Why it doesn't work: Pan temperature drops and you steam instead of sear.
Do this instead: Cook in 1 layer or use a 12-inch stainless steel skillet and two quick batches.
Mistake: Microwaving the egg inside the sandwich
Why it doesn't work: Texture becomes rubbery and the muffin wets out.
Do this instead: Use a stainless steel egg ring and cover the pan for controlled steam.
Mistake: Over-buttering the muffin face and burning it on high heat
Why it doesn't work: Burned butter tastes bitter and ruins the crunch.
Do this instead: Use a modest pat of Kerrygold butter and medium heat.
What You'll Need to Make This
Pantry Staples
Diamond Crystal kosher salt 3 lb box around $5 to $8
Kerrygold butter salted 8 oz around $4 to $6
Specialty Ingredients
Thomas English Muffins 6-count around $3 to $5
Lao Gan Ma chili crisp 7.4 oz around $6 to $10
Maldon flaky sea salt 4.4 oz around $8 to $12
Tools That Earn Their Counter Space
Lodge cast iron skillet 12 inch approx $25 to $40
Stainless steel egg ring around $6 to $12
Thermapen instant read thermometer approx $80 to $115
Cookbooks Worth the Shelf
Salt Fat Acid Heat by Samin Nosrat (price range $18 to $28)
The Food Lab by J. Kenji López-Alt (price range $20 to $30)
Budget Swaps
Store-brand English muffins if you want to save; Aldi often has a near-identical for half the price.
Shopping Guide for This Recipe
Buy the bread fresh: Look for English muffins with lots of nooks; Thomas English Muffins hold butter best, about $3 to $5.
Pick speedy proteins: Pre-formed patties like Jimmy Dean sausage patties heat evenly, $4 to $8.
Trend alert for 2025: Plant-forward breakfast proteins are rising; try a seasoned plant patty instead of meat. Search "vegan breakfast patties" for options.
Splurge vs save: Splurge on the skillet like Lodge cast iron skillet 12 inch approx $25 to $40, save on the English muffins.
Conclusion
Start with toasting and the pan temperature; that single choice decides whether the sandwich is crunchy or limp. Keep your layers hot to hot, and rest 30 seconds so steam does not wreck the muffin.
If you try one change first, make it the press-and-rest step. A quick press and a 30-second rest turn fast into satisfying.
Will you try the dry-seared sausage and butter-basted egg, or the chili crisp finish first?