
My first bread machine loaves were dense, sad hockey pucks. I was convinced the machine was to blame.
Then I learned small choices matter more than model names. In this guide you will learn how to make bread in a bread machine that rises tall, has an open crumb, and keeps its flavor for days. Expect beginner-friendly tweaks, 90 to 120 min total, and a couple of surprising swaps that fix the usual problems.
This is weeknight-friendly baking. Think Italian-American sandwich loaves, not sourdough theater. The trick is control: of flour, hydration, yeast temperature, and the bake cycle.
I have a few ugly truths up front. Machines cannot replicate a professional steam oven. Old yeast kills the party. And recipes that copy-paste cup measures often lie. Read on for phase-by-phase fixes I actually used until my tiny kitchen smelled like a bakery.
1. Measure Like a Chemist For an Open Crumb

Weighing ingredients fixes 80 percent of dense-loaf problems. Cups compress differently. Use grams.
A King Arthur bread flour 5 lb bag around $8 to $14 gives reliable protein for good gluten. I keep Diamond Crystal kosher salt 3 lb box for even seasoning. Weigh flour, then add water to reach the recipe hydration, not the other way around.
Salt and yeast must be apart at start. Put salt along the pan wall and yeast in a shallow well on top of the flour. I use SAF instant yeast 11.5 oz about $6 to $12. Instant yeast tolerates the machine’s timings better than expired active dry.
Mist people make: adding too much liquid because flour looks dry. Instead, measure, then add 5 to 10 g more water only if the dough looks stiff after initial knead.
2. Choose the Right Program and Temperature Cues

Not all programs are equal. If your machine lets you choose crust darkness and loaf size, use 2 lb and medium crust for an open crumb. Short cycles compress rise, long cycles can overproof.
If your model allows temperature control, aim for a dough temperature around 78°F when mixing. A quick tool I trust is the OXO Good Grips digital kitchen scale around $20 to $40 for accurate grams. I check dough temp with a ThermoPro instant read thermometer approx $12 to $25 to be sure.
The science: yeast activity and gluten development are temperature sensitive. Too cold, and the loaf barely rises. Too hot, and yeast dies. Mistake to avoid: choosing a rapid bake. Rapid cycles create a tight crumb. Pick standard or basic settings.
3. Add Strength Without Turning It Chewy
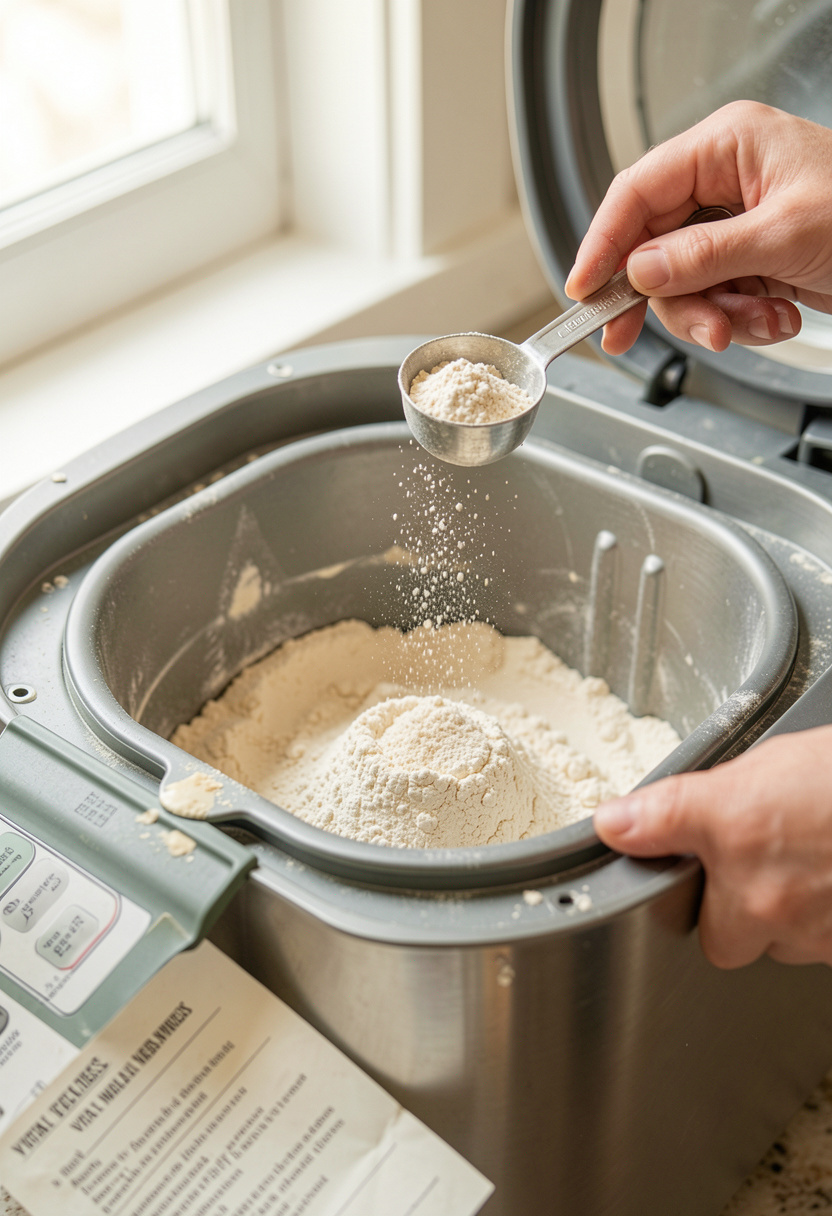
If your loaf collapses or is gummy, a small boost of strength helps. Add 1 to 2 tablespoons of King Arthur vital wheat gluten 16 oz around $6 to $12 per 5 cups of flour. It tightens the gluten network without making the bread chewy.
For crust texture, brushing the finished loaf with a thin coat of good olive oil yields a glossy bite. I use California Olive Ranch extra virgin olive oil 16.9 fl oz approx $10 to $18. The principle here is moisture control and surface tension during baking.
Common botch: dumping seeds or high-moisture add-ins in at the start. Use your machine’s mix-in beep, or fold in mix-ins after initial knead. Otherwise the dough will overhydrate and sink.
4. Cool, Slice, Store to Keep the Crumb

Cooling is non-negotiable. Heat continues to set the crumb. Let your loaf cool at least 1 hr on a wire rack before slicing. A premature cut makes the crumb gummy.
For slicing, a good knife makes a difference. I use a Mercer serrated bread knife 10 inch around $20 to $35. For storing, a linen-lined bread bag keeps crust crisp for 24 hours, then switch to a sealed container. I like the OXO bread container approx $15 to $30 for longer storage.
Mistake many make: sealing a warm loaf. Let it cool fully. Heat trapped under plastic invites sogginess.
Common Cooking Mistakes to Avoid
Mistake: Using old or dead yeast
Why it doesn't work: Yeast cannot raise dough if it's past its prime.
Do this instead: Test yeast in 100°F water with a pinch of sugar, or use SAF instant yeast 11.5 oz about $6 to $12.
Mistake: Free pouring water into flour
Why it doesn't work: Hydration swings wreck crumb structure.
Do this instead: Weigh with an OXO Good Grips digital scale around $20 to $40.
Mistake: Cutting too soon
Why it doesn't work: The crumb is still setting and becomes gummy.
Do this instead: Wait 1 hr on a wire rack and slice with a Mercer serrated bread knife 10 inch around $20 to $35.
What You'll Need to Make This
Pantry Staples
King Arthur bread flour 5 lb around $8 to $14
Diamond Crystal kosher salt 3 lb box around $5 to $8
California Olive Ranch extra virgin olive oil 16.9 fl oz approx $10 to $18
Specialty Ingredients
King Arthur vital wheat gluten 16 oz around $6 to $12
SAF instant yeast 11.5 oz about $6 to $12
Tools That Earn Their Counter Space
OXO Good Grips digital scale around $20 to $40
ThermoPro instant read thermometer approx $12 to $25
Mercer serrated bread knife 10 inch around $20 to $35
Cookbooks Worth the Shelf
The Food Lab by J. Kenji Lopez-Alt (price range $15 to $30)
Budget Swaps
Generic store-brand bread flour 5 lb half the price of premium flour at Aldi or local grocer
Shopping Guide for This Recipe
Buy flour in stable climates: store at room temp, buy smaller bags in summer. King Arthur bread flour 5 lb around $8 to $14.
Substitution hack: out of bread flour? Add 1 tbsp vital wheat gluten to 1 cup all-purpose.
2025 trend tip: people are using small amounts of whole-grain for flavor and keeping hydration up for open crumb. Try 10 percent whole wheat. Whole wheat flour 5 lb around $6 to $12.
Splurge vs save: splurge on good yeast and a scale, save on basic olive oil. SAF instant yeast 11.5 oz about $6 to $12 vs store brand.
Conclusion
Start with the measurement and yeast tips. Those two changes fixed my loaf faster than any newer machine model.
Final finisher: a thin brush of olive oil right when the loaf is hot gives a glossy, slightly softer crust that keeps slices tender.
Will you try the weigh-first method or test the vital wheat gluten trick first?