
Easy bento cake designs are easier than they look, and yes I burned my first attempt. I’m sharing 17 simple bento cake designs beginners can decorate without panic, most take under 30 min of decorating time, a couple are weekend splurges. These are weeknight-easy, forgiving, and teach techniques that actually stick.
Interest in tiny, personalized desserts has climbed in recent years, according to Google Trends, and Pinterest Predicts 2025 singles out DIY dessert kits and personalizable treats as a growing moment. Most of these designs are vegetarian-friendly, a few are best made ahead, and one or two require a little patience.
1. Kawaii Animal Face Mini Cake (Playful Texture)
Time: 45 min total | Difficulty: Easy | Best For: Kids’ lunches | Diet: Vegetarian
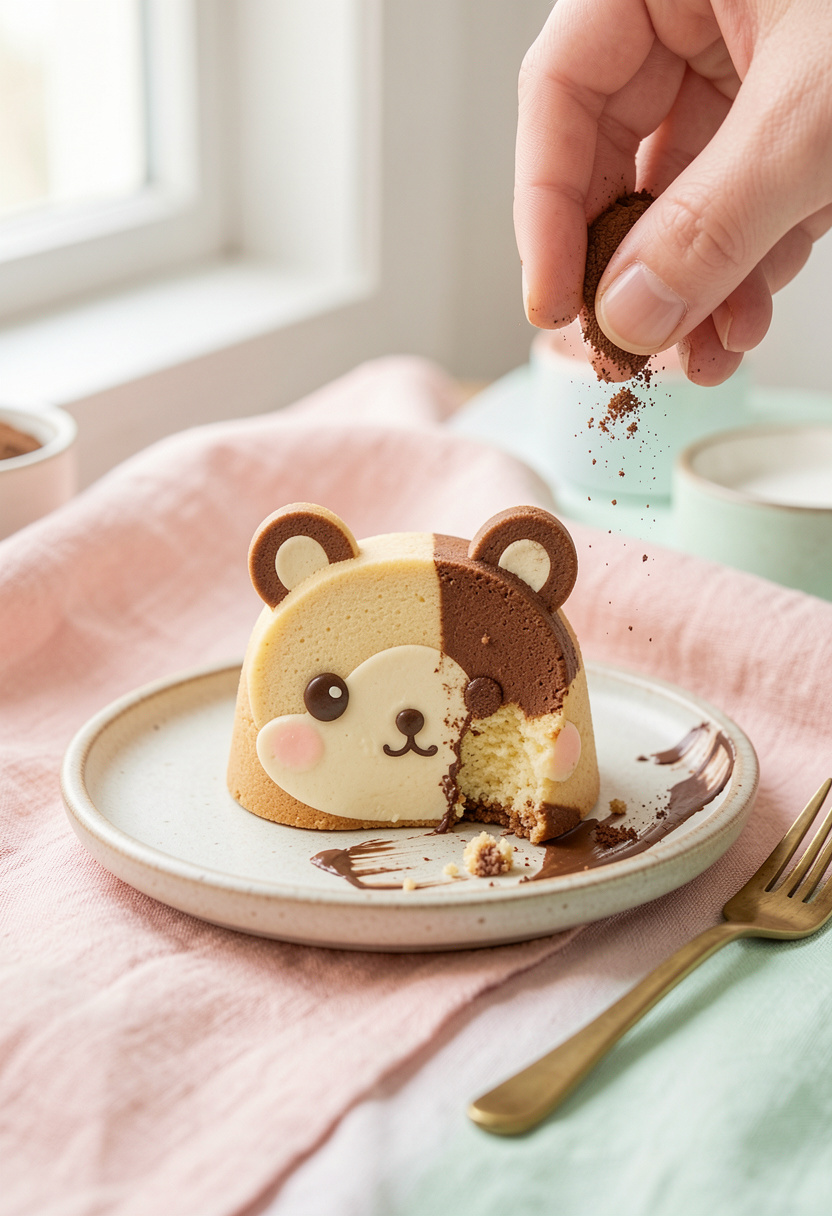
This one taught me patience — dot eyes with a round tip and step back. I use a Wilton round tip for the eyes and AmeriColor gel for stable color. Shop the kit, then practice dots on a plate first.
Ingredients:
- 2 small 4-inch sponge cake layers
- 1 cup stabilized buttercream (see tip)
- 1 tbsp cocoa powder (for eyes)
- gel food color, a few drops (link below)
Steps:
- Stack cakes with a thin crumb coat, chill 15 min until firm.
- Pipe thick dots for cheeks and eyes with a round tip, use cocoa for tiny pupils.
- Add ears with piped triangles or fondant, chill 10 min then finish edges smooth.
Shop this recipe:
2. Ombre Rose Swirl Mini Cake (Soft Gradient)
Time: 40 min total | Difficulty: Easy | Best For: Bridal showers | Diet: Vegetarian
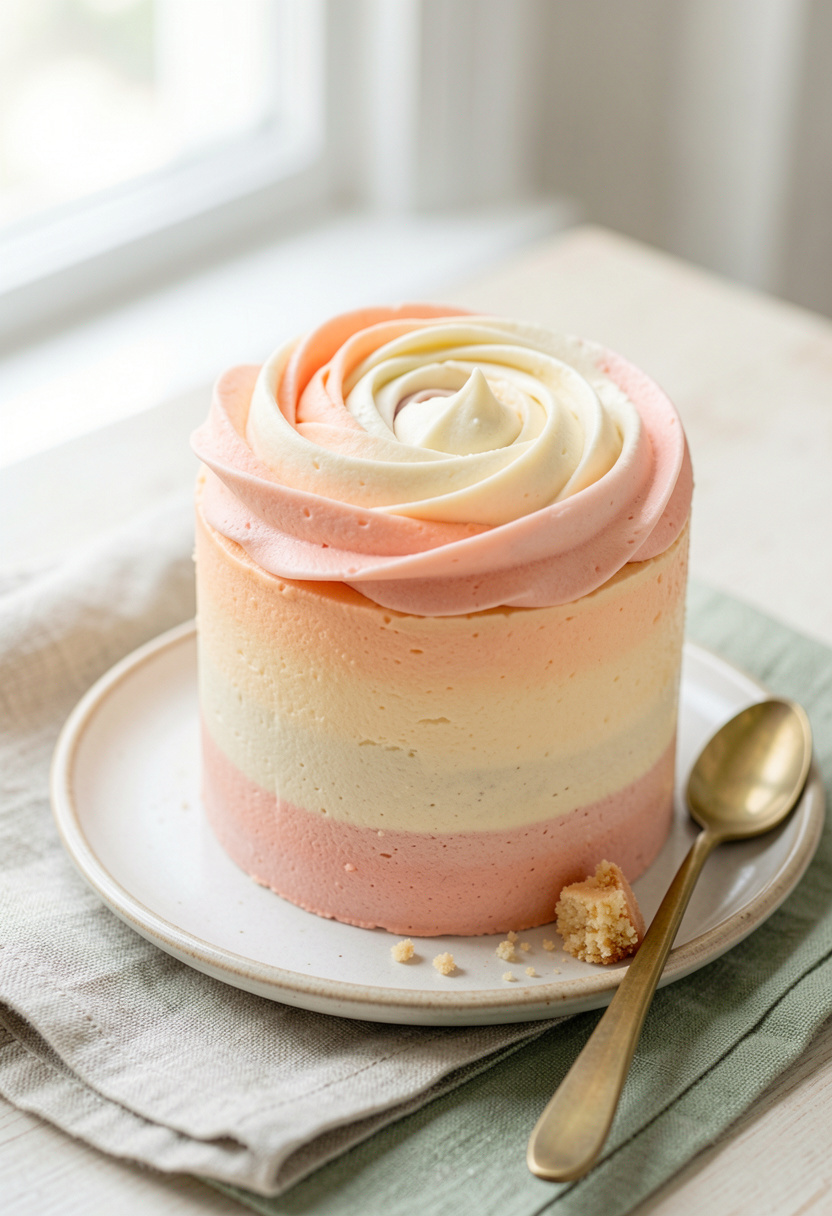
Start with one buttercream recipe and tint three shades; the trick is thick icing so petals hold. I use an offset spatula and slow circular motions for the rose.
Ingredients:
- Two 4-inch vanilla cake layers
- 1 1/2 cups buttercream, divided and tinted
- 1 tsp vanilla extract
Steps:
- Crumb coat and chill 10 min.
- Pipe three concentric rings of tinted buttercream, then smooth inward to blend.
- Chill and add a tiny dot in the center; store chilled.
Shop this recipe:
3. Fresh Fruit Mosaic Mini Cake (Bright & Fresh)
Time: 30 min total | Difficulty: Easy | Best For: Spring picnics | Diet: Vegetarian, GF option
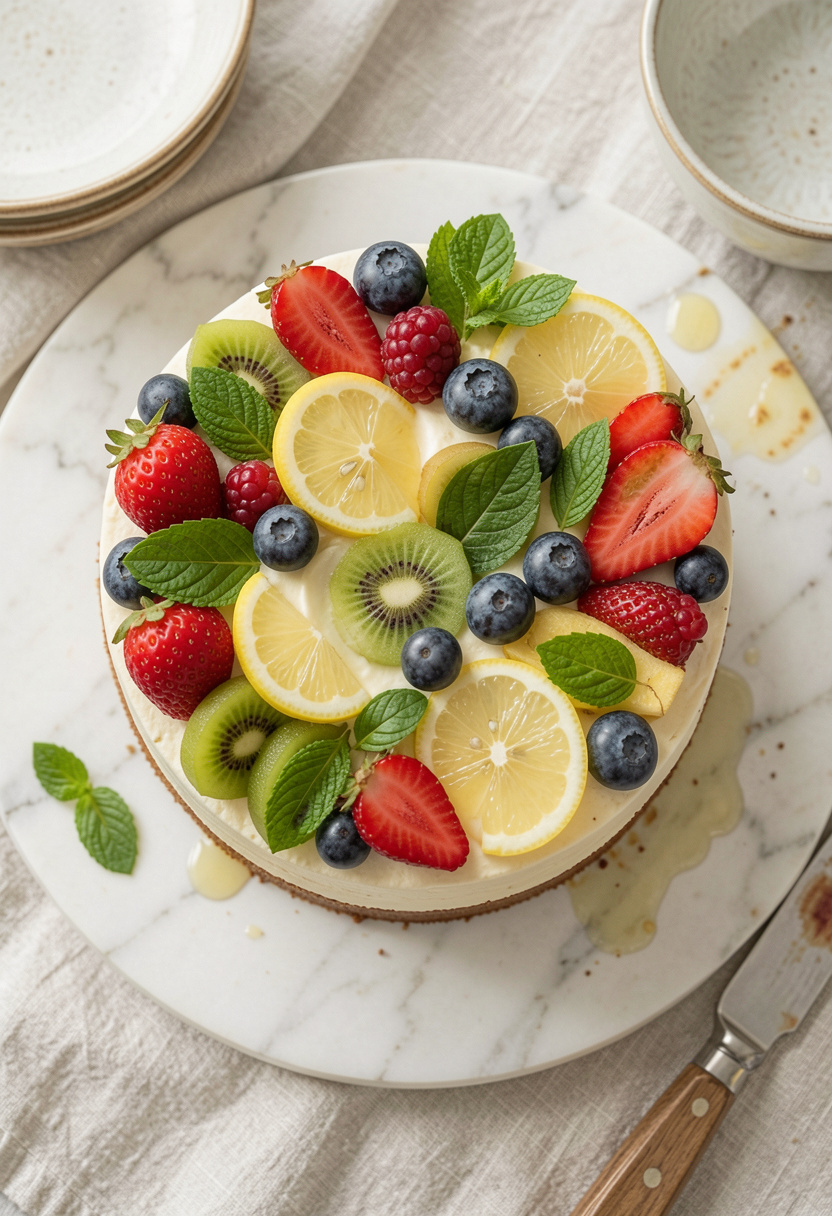
Fresh berries arranged like tiles look impressive but are forgiving. I steal fruit combos from farmers-market finds; Trader Joe’s fresh raspberries are my go-to when in a rush.
Ingredients:
- Two 4-inch sponge layers, brushed with simple syrup
- 1 cup stabilized whipped cream
- 1 cup mixed berries, thinly sliced
Steps:
- Spread a thin layer of cream on each layer, stack.
- Arrange sliced fruit in concentric tiles, pressing lightly so they don’t slide.
- Chill 20 min before boxing.
Shop this recipe:
4. Sprinkle Confetti Layer Mini Cake (Fun Crunch)
Time: 35 min total | Difficulty: Easy | Best For: Birthdays | Diet: Vegetarian
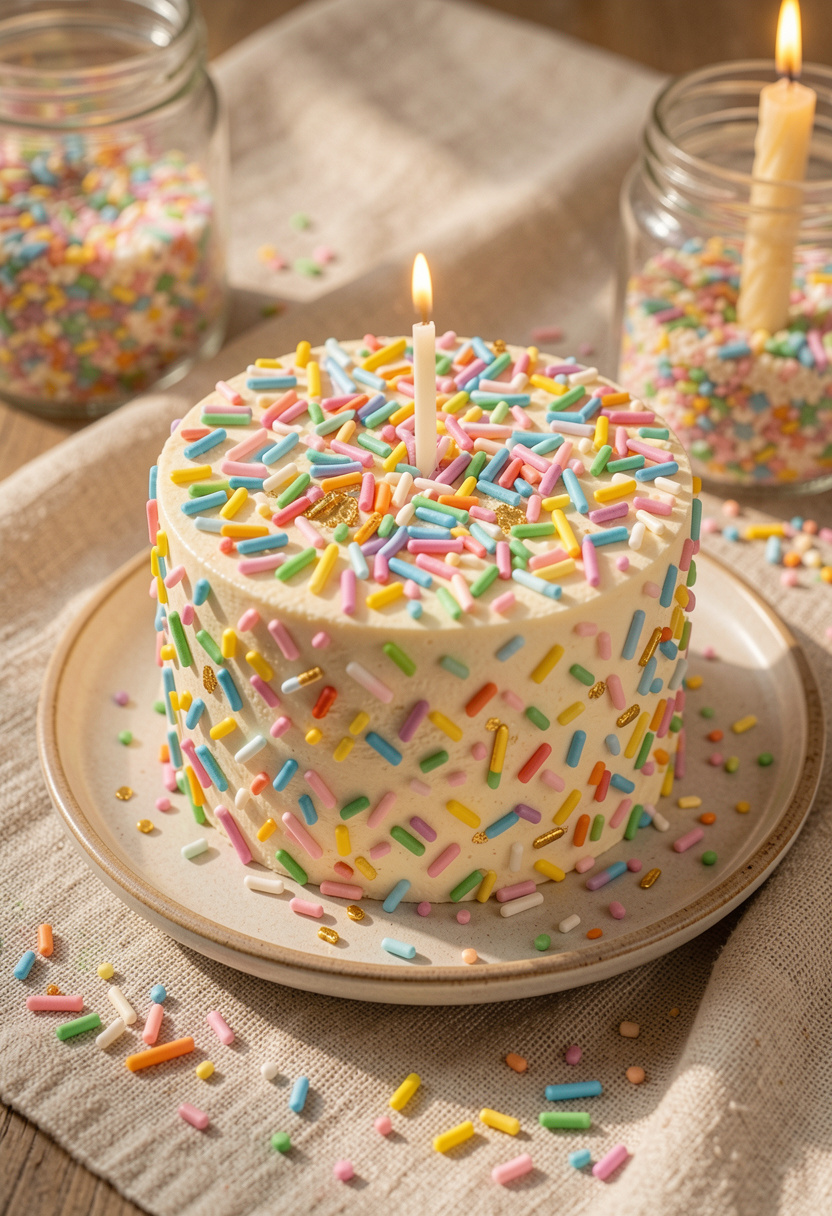
Sprinkles hide a lot of rookie mistakes. Press them into slightly tacky buttercream for an even coat. Ugly truth: pouring sprinkles over a moving cake turns into a glitter storm, so press instead.
Ingredients:
- Two 4-inch vanilla layers
- 1 1/4 cups buttercream
- 1/3 cup rainbow sprinkles
Steps:
- Crumb coat and chill 10 min.
- Apply final coat, then press sprinkles onto sides with a flat spatula.
- Top with a few loose sprinkles and chill.
Shop this recipe:
5. Single-Flower Pressed Shortcake (Elegant Minimal)
Time: 25 min total | Difficulty: Easy | Best For: Gifts | Diet: Vegetarian
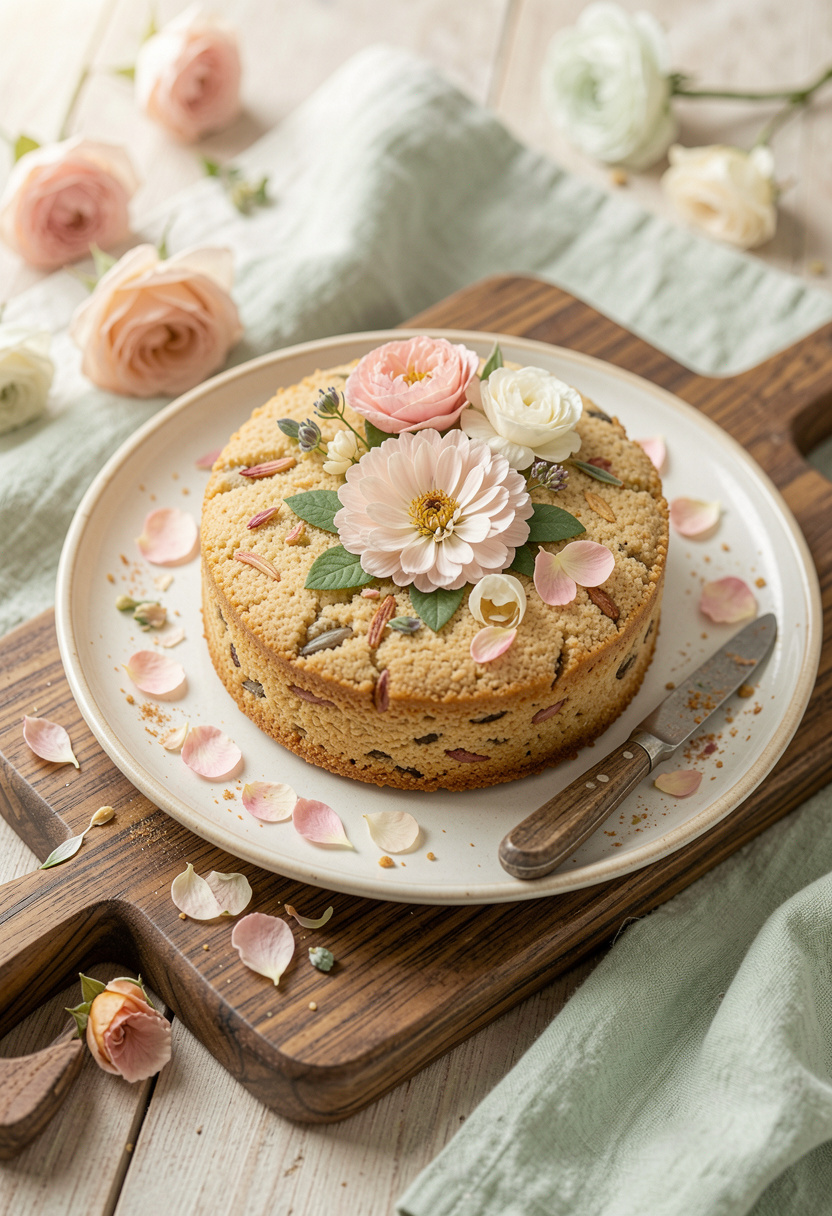
Pressed edible flowers make a quiet statement. I pick pansies or violas from a trusted source, not grocery flowers. Ugly truth: non-edible florist flowers will poison a cake, so double-check labels.
Ingredients:
- Two 4-inch sponge layers
- 1 cup whipped cream stabilized with 1 tsp gelatin
- 1 edible flower, pressed and dried
Steps:
- Stack cakes with thin cream layer, chill.
- Once firm, place pressed flower gently on top, do not press.
- Box carefully and keep cool.
Shop this recipe:
6. Checkerboard Slice Bento Cake (Surprise Inside)
Time: 1 hr total | Difficulty: Intermediate | Best For: Weekend baking | Diet: Vegetarian
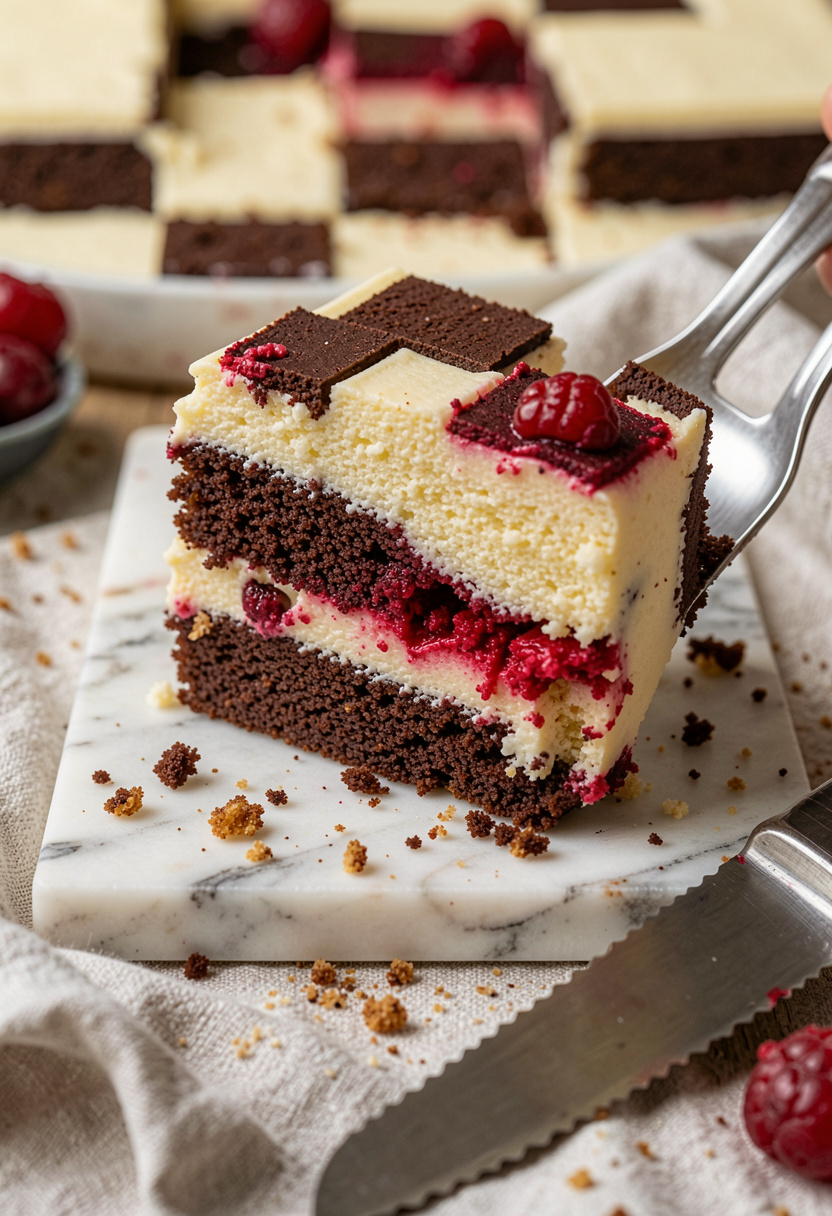
This one feels fancy but is doable with a cookie cutter. I once misaligned rings and got a lopsided pattern; the trick is chill between steps.
Ingredients:
- 2 vanilla and 2 chocolate mini layers
- 1 cup buttercream
- 1 small round cookie cutter 2-inch
Steps:
- Trim centers with cutter to make rings, alternate vanilla and chocolate.
- Stack rings to form checkerboard, fill and chill 20 min.
- Crumb coat, chill, finish with smooth buttercream.
Shop this recipe:
7. Matcha Dusting Sakura Mini Cake (Herby Brightness)
Time: 30 min total | Difficulty: Easy | Best For: Afternoon tea | Diet: Vegetarian
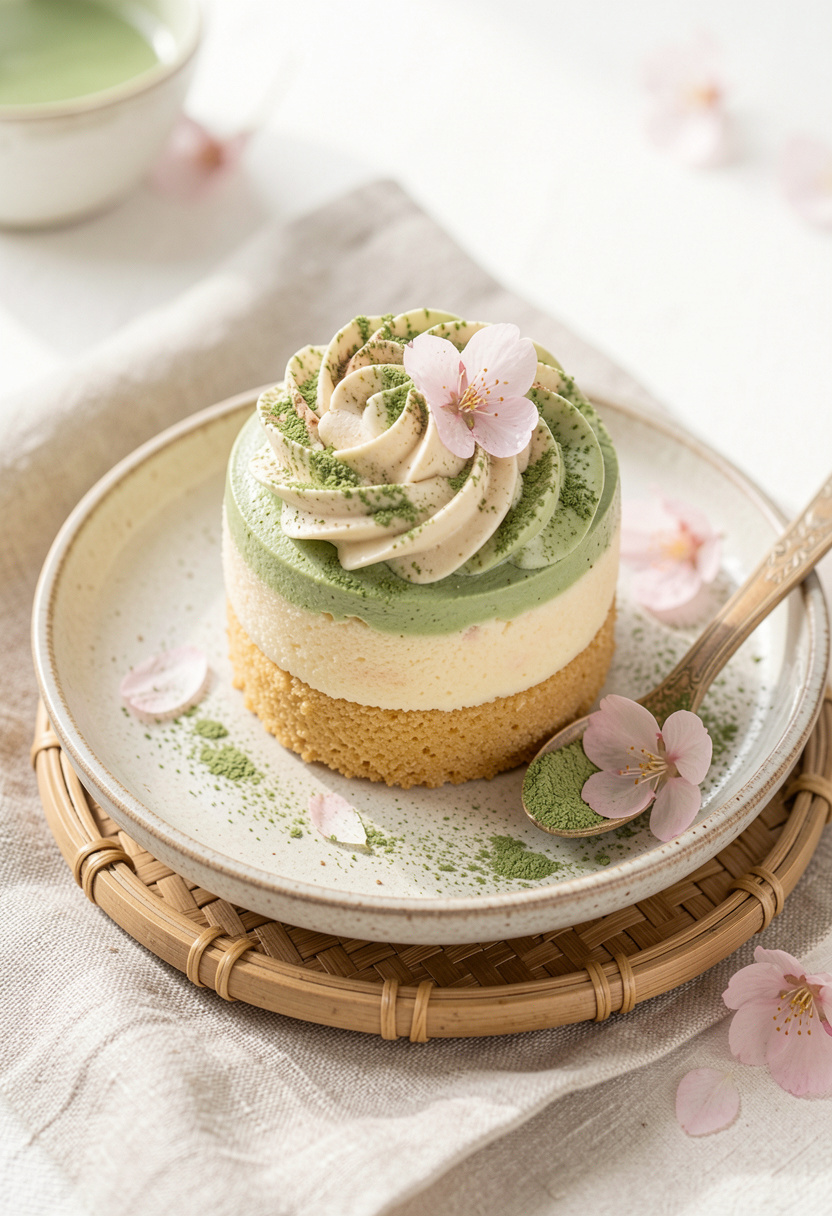
Matcha powder dusted through a stencil feels professional. I buy ceremonial-grade matcha for dusting; cheaper powder tastes bitter. The trick is a fine sieve and light taps.
Ingredients:
- Two 4-inch sponge layers
- 1 cup white chocolate ganache
- 1 tsp ceremonial matcha, sifted
- sakura petals or fondant blossoms
Steps:
- Smooth ganache over chilled cake, chill 10 min.
- Position a stencil and dust matcha, tapping lightly for even coverage.
- Add a single sakura petal and store cool.
Shop this recipe:
8. Chocolate Drip Mini Cake (Glossy Finish)
Time: 40 min total | Difficulty: Easy | Best For: Date nights | Diet: Vegetarian
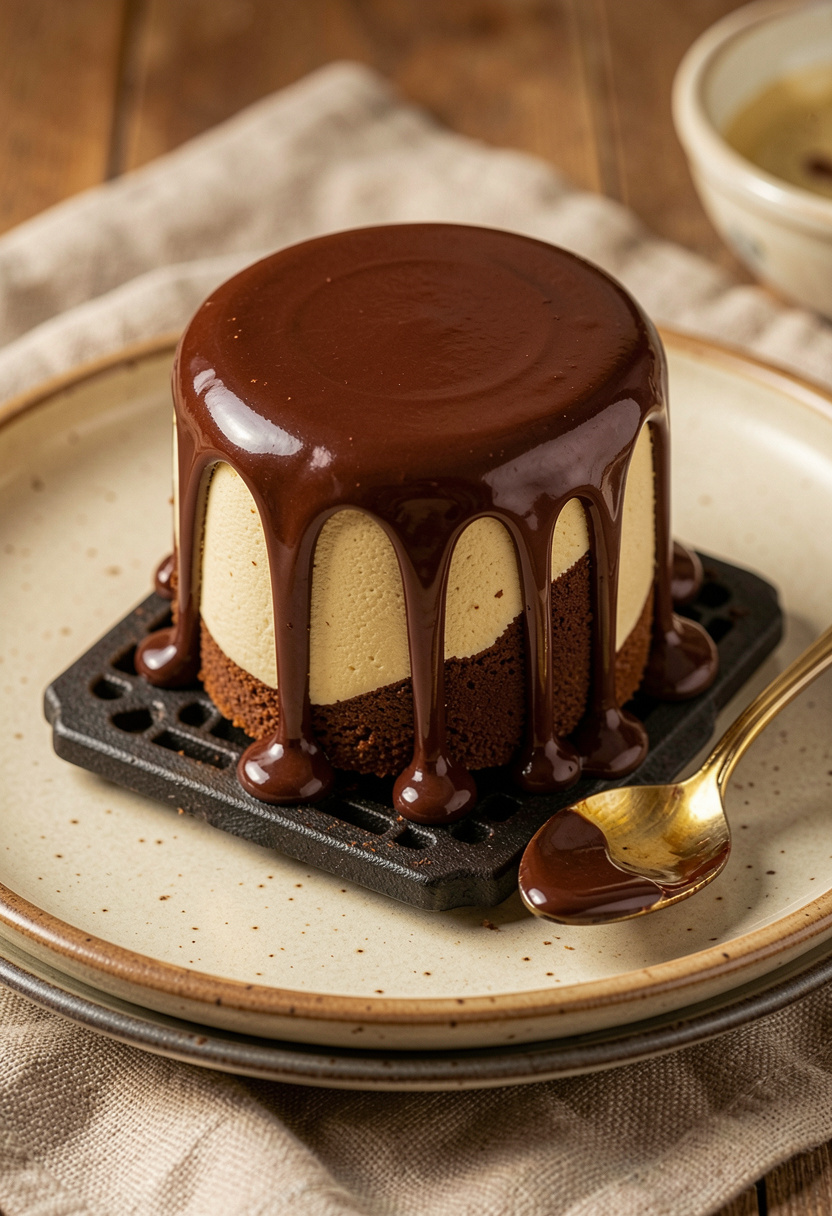
A glossy ganache drip can elevate a small cake. I learned the hard way that too-warm ganache slides right off; cool it to about 90°F before spooning. Use a thermometer.
Ingredients:
- Two 4-inch chocolate sponge layers
- 3/4 cup chocolate ganache (60% cacao)
- 1/2 cup buttercream for crumb coat
Steps:
- Crumb coat and chill 15 min.
- Bring ganache to 90°F, spoon around edge for drips.
- Top center with a small pool and chill.
Shop this recipe:
9. Petal Buttercream Rosette Mini Cake (Textured Bloom)
Time: 35 min total | Difficulty: Easy | Best For: Mother’s Day | Diet: Vegetarian
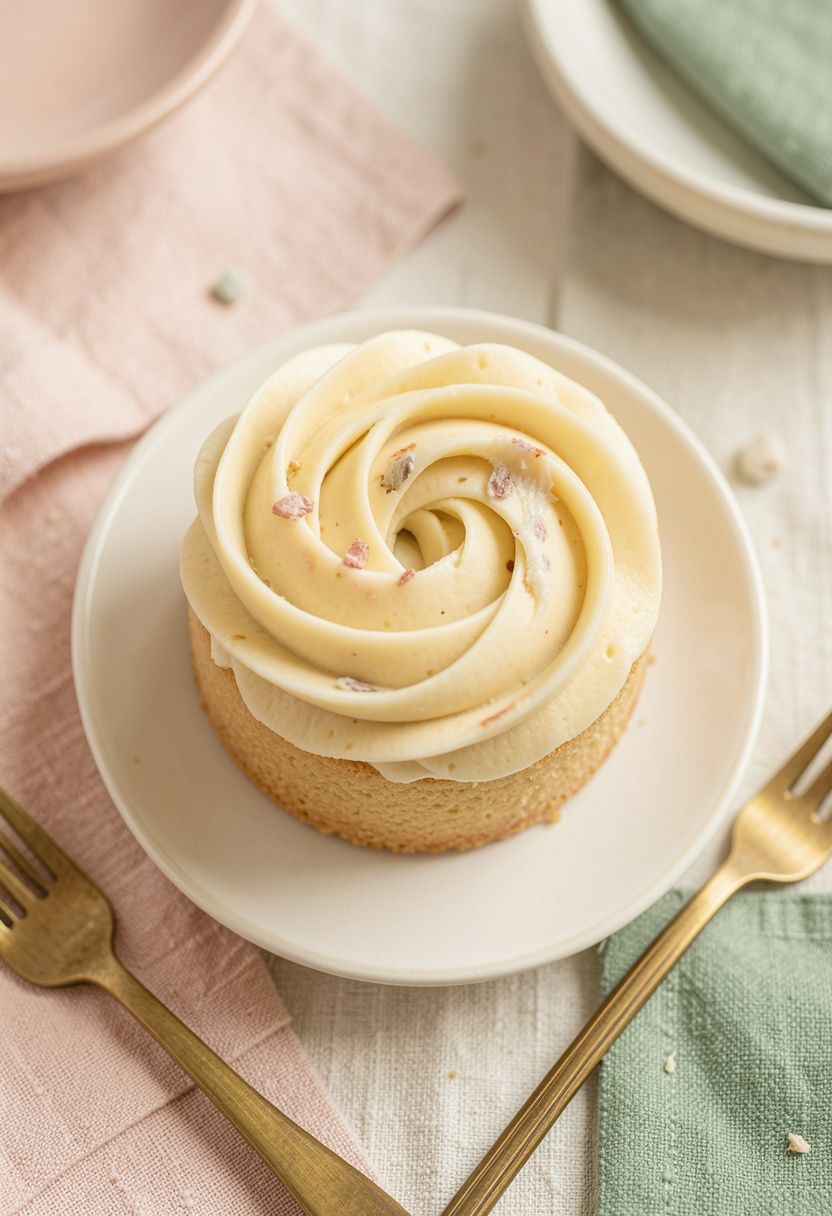
Rosettes hide uneven layers and look polished with a single petal tip. I once used whipped cream and it collapsed in summer heat. Use butter-rich buttercream in warm months.
Ingredients:
- Two 4-inch vanilla layers
- 1 1/4 cups stiff buttercream
- Ateco petal tip or star tip
Steps:
- Crumb coat and chill 10 min.
- Pipe rosettes across the top starting from center, work outward.
- Chill to set and box.
Shop this recipe:
10. Stenciled Message Mini Cake (Personal Note)
Time: 30 min total | Difficulty: Easy | Best For: Small celebrations | Diet: Vegetarian
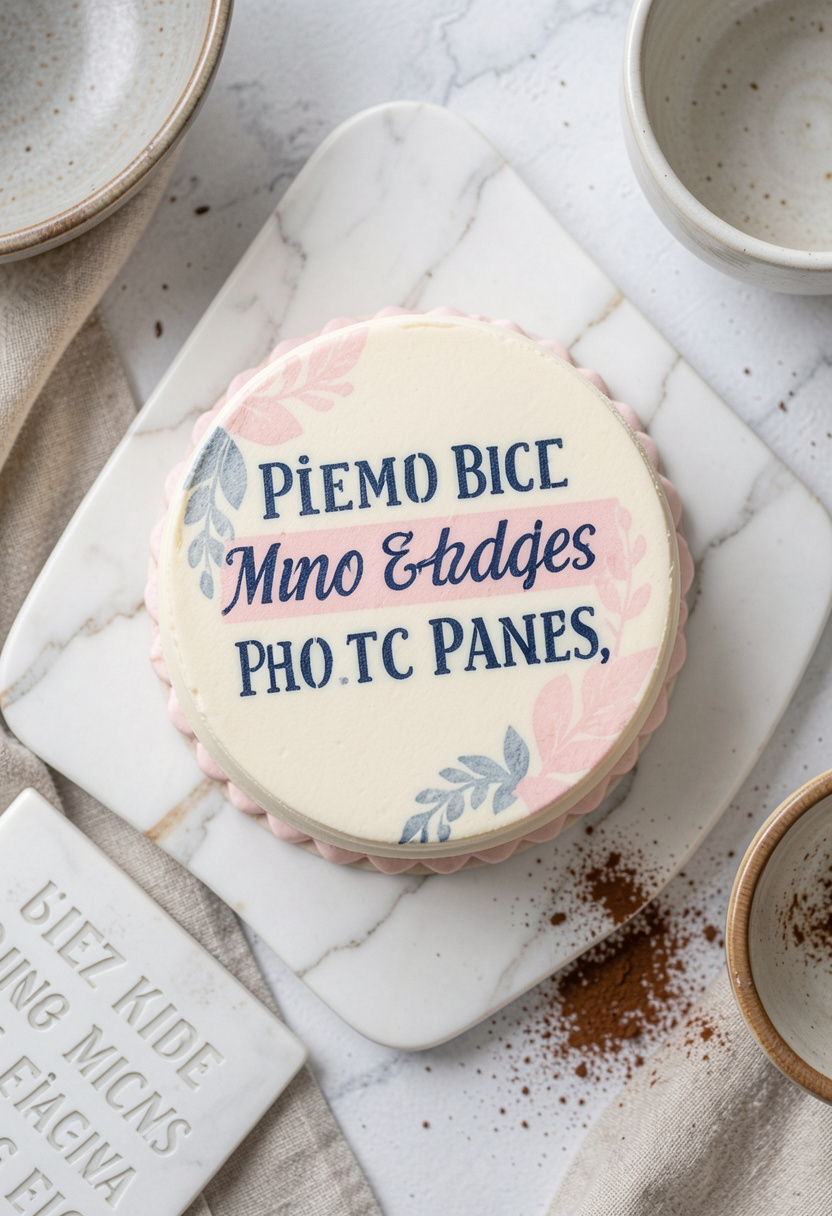
Stencils make clean text without finesse. I use a cocoa powder dusting for dark text on light cakes. Ugly truth: wet icings smear stencils, so always dust on a set surface.
Ingredients:
- Two 4-inch sponge layers
- 1 cup buttercream
- Cocoa or powdered sugar for dusting
- small letter stencil
Steps:
- Smooth top and chill 10 min.
- Place stencil and sift cocoa evenly.
- Lift stencil straight up, chill before boxing.
Shop this recipe:
11. Cookie Collage Topper Mini Cake (Crunch & Charm)
Time: 30 min total | Difficulty: Easy | Best For: Teen parties | Diet: Vegetarian
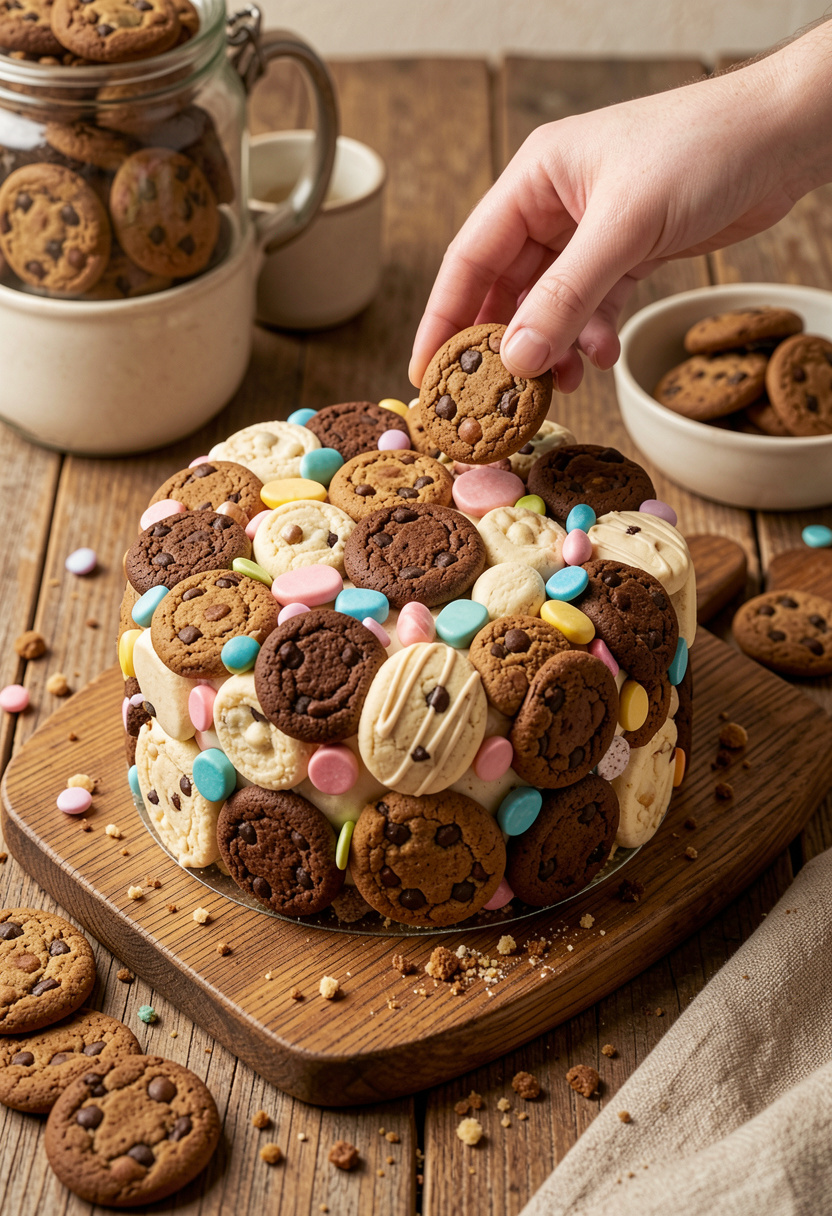
Topping a cake with small cookies looks decadent with zero piping skill. I learned not to use soggy cookies; keep them crisp and add them right before serving.
Ingredients:
- Two 4-inch vanilla layers
- 1 cup light buttercream
- 6-8 small cookies (mini Oreos or shortbread)
Steps:
- Crumb coat and chill 10 min.
- Arrange cookies on top, press gently.
- Store chilled and add fresh cookies before serving.
Shop this recipe:
12. Whipped Ganache Cloud Mini Cake (Silky, Light)
Time: 35 min total | Difficulty: Easy | Best For: Light desserts | Diet: Vegetarian
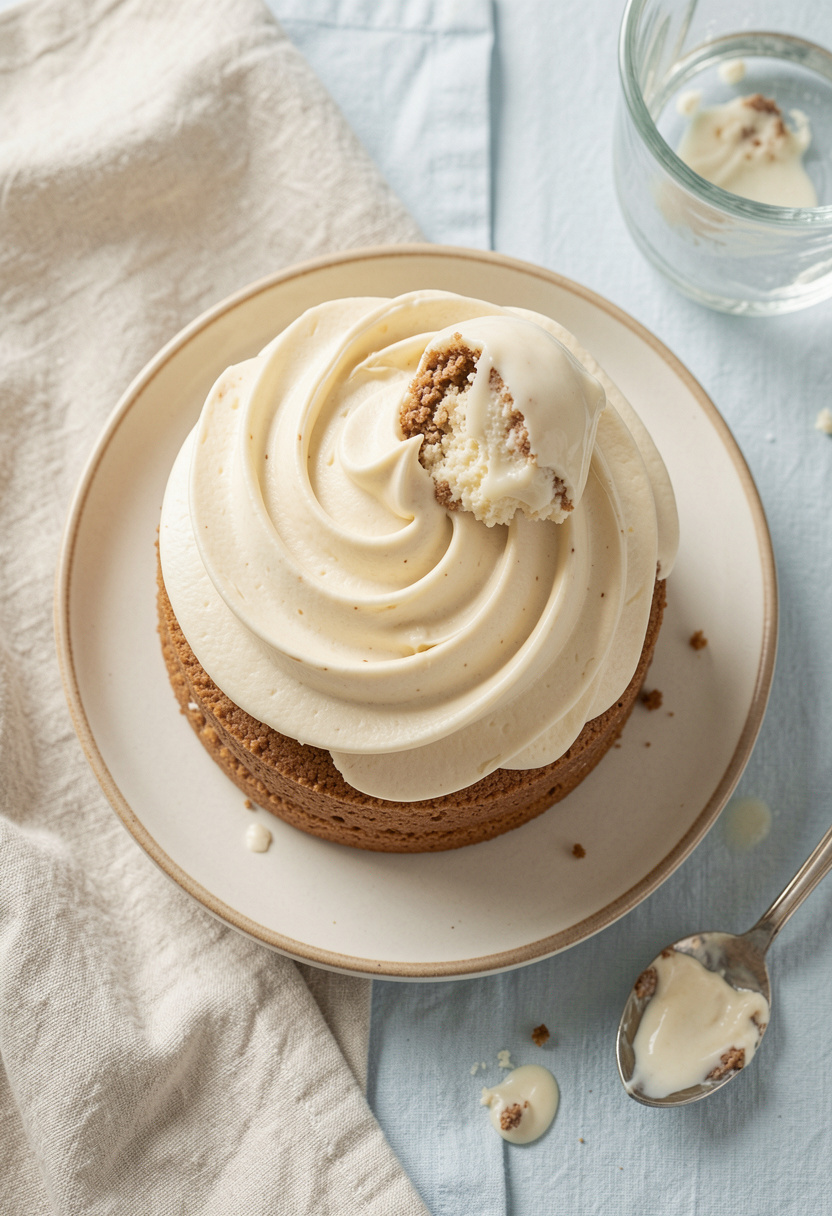
Whipped ganache gives a silky finish without heavy butter. I use a 3:1 chocolate to cream ratio chilled to set. Ugly truth: under-whipping yields greasy texture.
Ingredients:
- Two 4-inch sponge layers
- 1 cup whipped ganache (chilled)
- pinch sea salt
Steps:
- Chill ganache until spreadable, whip briefly to aerate.
- Spread gently over chilled layers, create soft peaks.
- Chill and serve within 24 hours.
Shop this recipe:
13. Mirror Glaze Petit Gateau (Glossy Mini Showstopper)
Time: 1 hr 30 min total | Difficulty: Intermediate | Best For: Impressing guests | Diet: Vegetarian
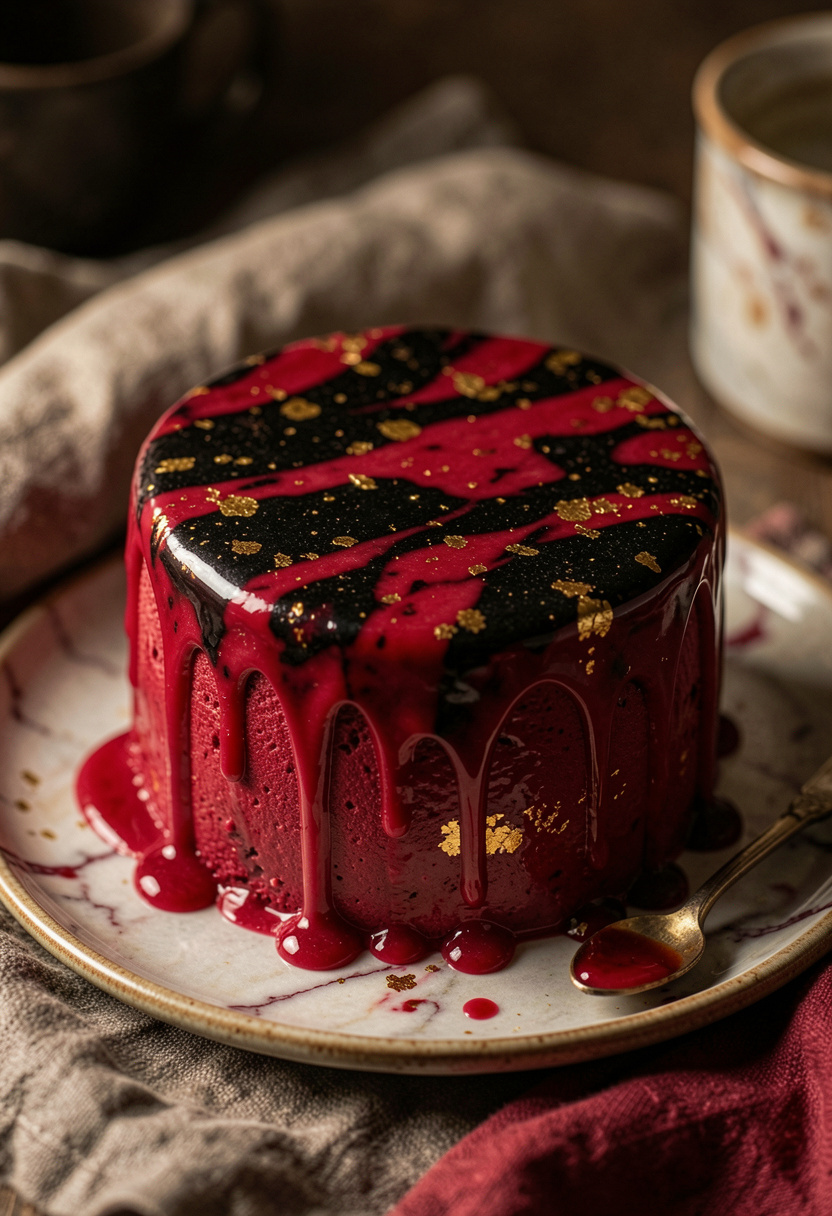
Glossy mirror glaze looks pro but is temperature-sensitive. I practiced twice before it looked right; the glaze should be about 90°F when poured. Use a thermometer and strain well.
Ingredients:
- Two small mousse-filled layers or dense sponge
- 1 cup mirror glaze (prepared with gelatin)
- edible gold leaf optional
Steps:
- Freeze cakes solid for 2 hours.
- Warm glaze to 90°F, strain and pour over frozen cakes for smooth coverage.
- Thaw in fridge before serving.
Shop this recipe:
14. Lemon Curd Dot Mini Cake (Bright Tang)
Time: 30 min total | Difficulty: Easy | Best For: Sunny afternoons | Diet: Vegetarian
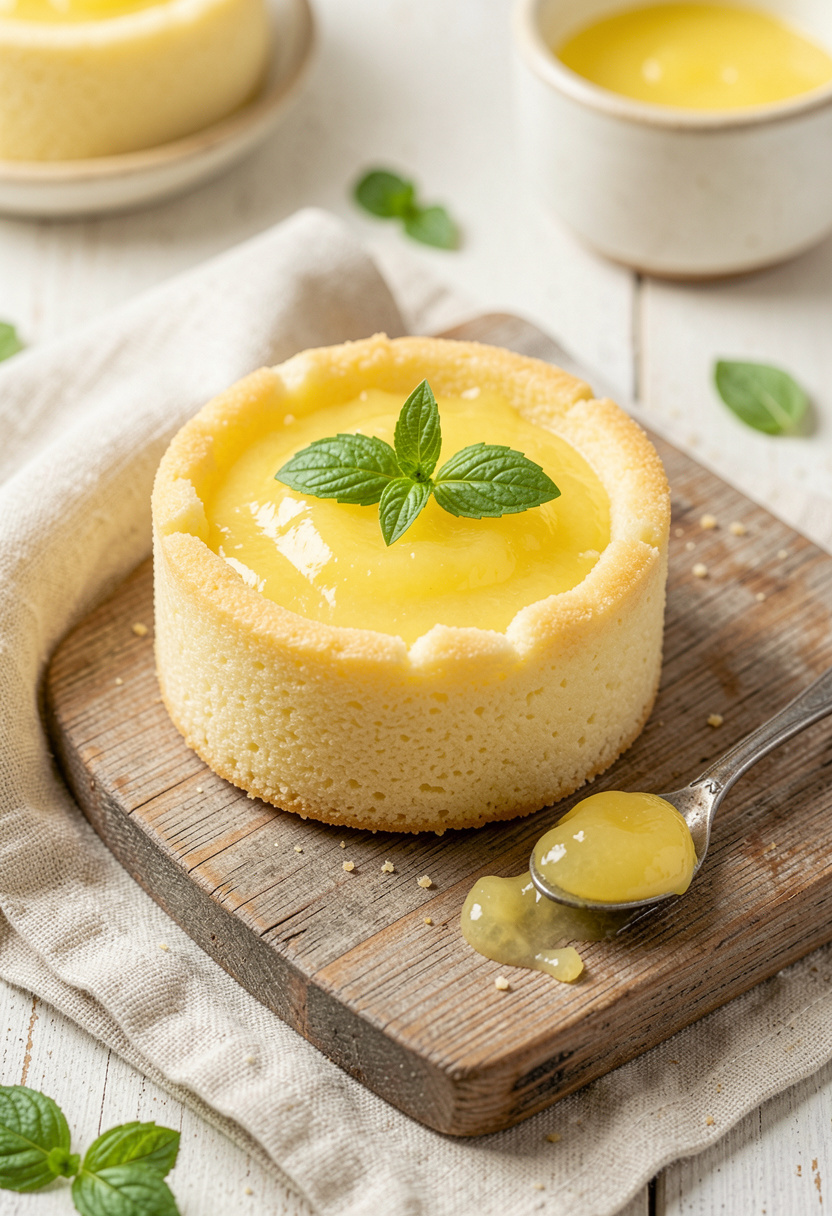
Lemon curd dotted on top gives bright pockets of flavor. I use store-bought curd in a pinch; homemade wins every time. Avoid overfilling or the curd will run off the sides.
Ingredients:
- Two 4-inch vanilla layers
- 1 cup vanilla buttercream
- 1/4 cup lemon curd
Steps:
- Crumb coat and chill 10 min.
- Pipe small dots of curd across the top, leaving space between.
- Chill and serve within 48 hours.
Shop this recipe:
15. Nutty Crunch Edge Mini Cake (Textural Finish)
Time: 35 min total | Difficulty: Easy | Best For: Coffee breaks | Diet: Vegetarian
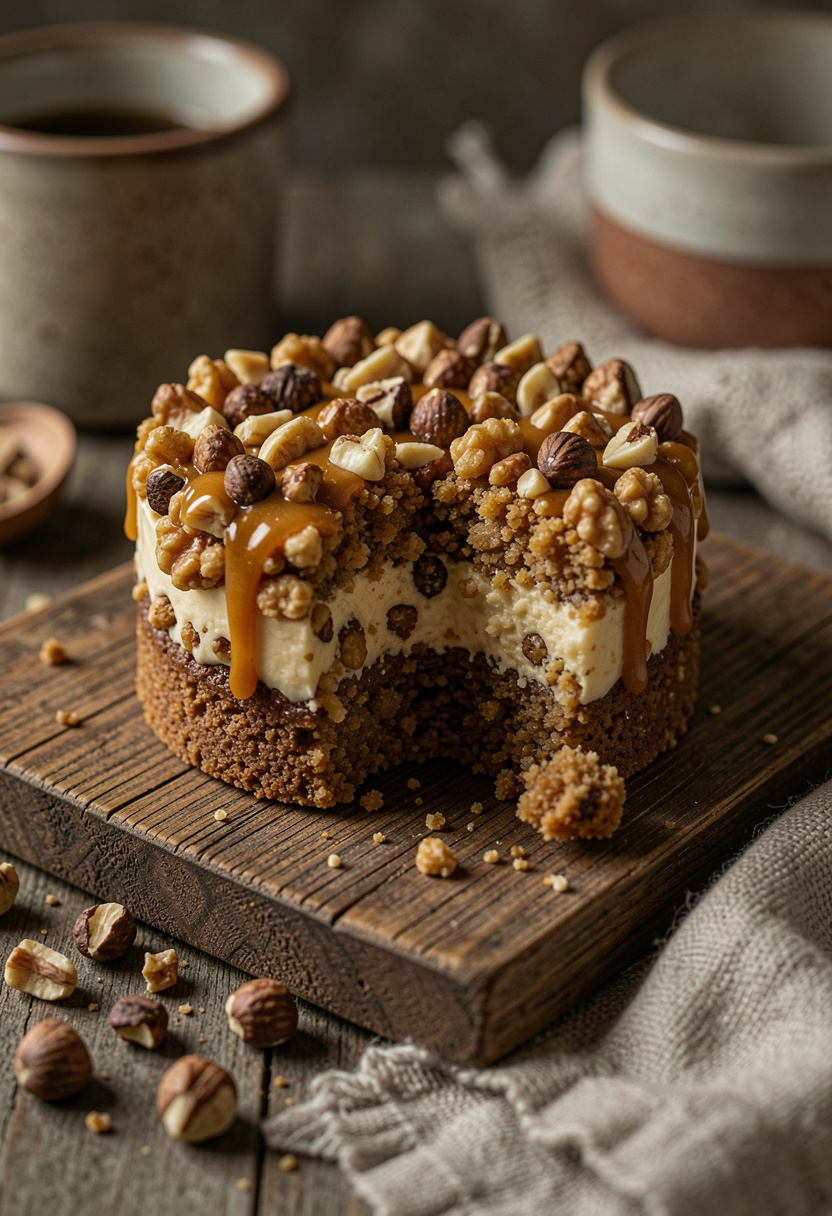
Press chopped toasted nuts around the base for a bakery feel. I toast nuts 5–7 min at 350°F for more aroma. Ugly truth: oily nuts will slide on warm frosting, so chill first.
Ingredients:
- Two 4-inch chocolate or coffee layers
- 1 1/4 cups buttercream
- 1/2 cup toasted chopped nuts
Steps:
- Chill crumb-coated cake 10 min.
- Press nuts around chilled sides with gloved hands.
- Chill and store in an airtight box.
Shop this recipe:
16. Minimalist Candle Mini Cake (Simple & Chic)
Time: 25 min total | Difficulty: Very Easy | Best For: Tiny birthdays | Diet: Vegetarian
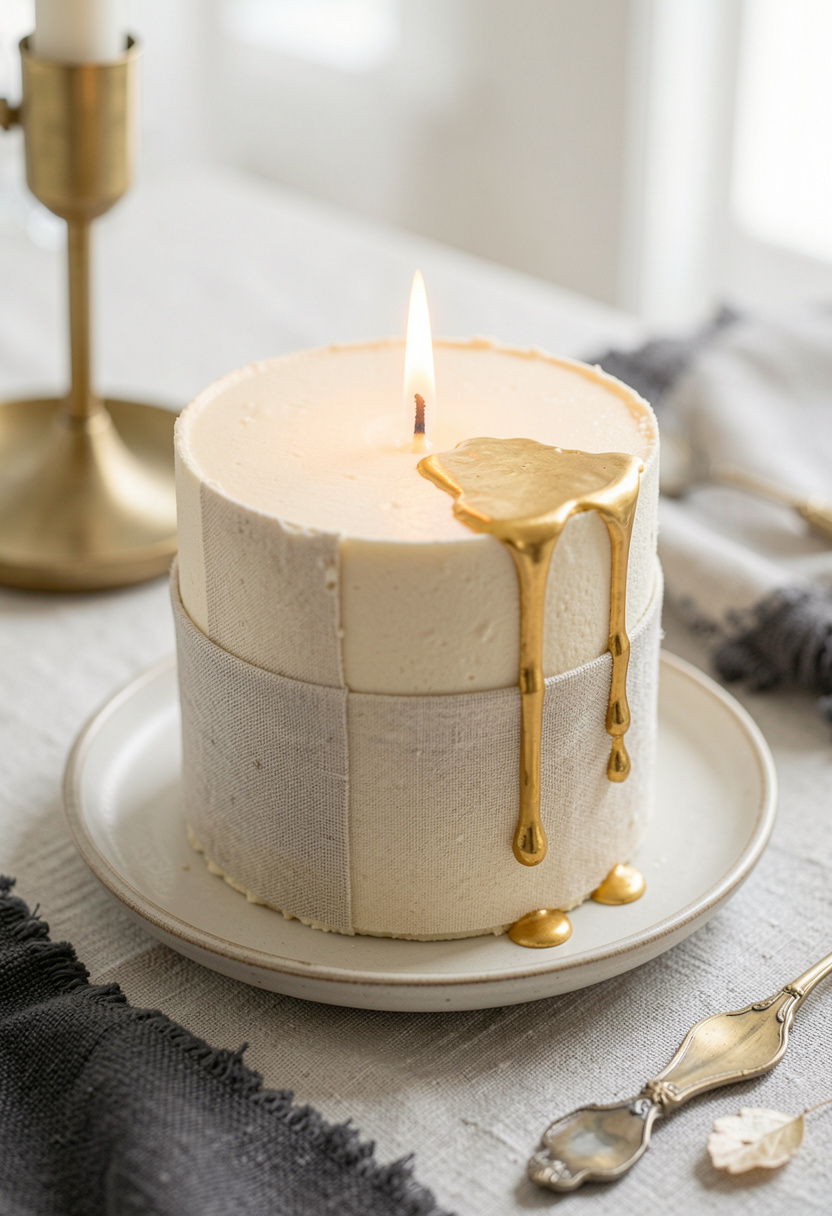
Sometimes less is more. A smooth finish and a single candle looks deliberate. The trick is a cold cake and a warm hand smoothing with a small bench scraper.
Ingredients:
- Two 4-inch sponge layers
- 1 cup thin buttercream for smooth finish
- 1 single tapered candle
Steps:
- Chill crumb coat 10 min.
- Apply thin final coat and smooth with a small bench scraper.
- Add candle right before serving.
Shop this recipe:
17. Tea-Time Layer Mini Cake (Classic with Jam)
Time: 40 min total | Difficulty: Easy | Best For: Afternoon tea | Diet: Vegetarian
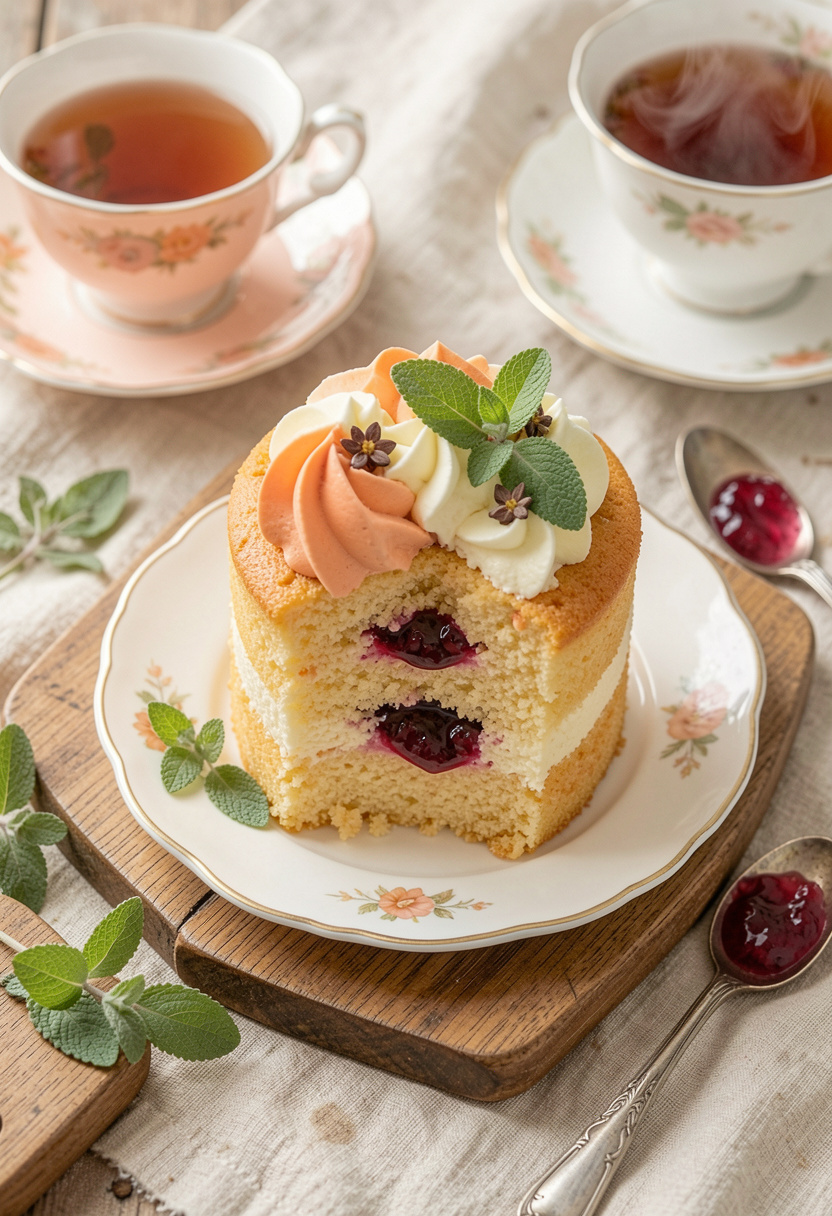
A jam-and-cream filling is comforting and forgiving. I learned not to use runny jam or your layers slip; reduce jam slightly or use a smear of buttercream as an anchor.
Ingredients:
- Two 4-inch sponge layers
- 1/2 cup fruit jam (reduced if runny)
- 1 cup whipped cream stabilized
Steps:
- Spread a thin anchor layer of buttercream, then jam, then cream.
- Stack and chill 15 min.
- Finish with a light dusting of powdered sugar.
Shop this recipe:
What You'll Need to Make These
Pantry Staples
- Diamond Crystal kosher salt 3 lb box around $5 to $8
- Granulated sugar 4 lb bag around $3 to $6
- All-purpose flour 5 lb bag around $4 to $8
- Unsalted butter 1 lb block around $3 to $6
Specialty Ingredients
- AmeriColor gel food color set approx $20 to $35
- Ceremonial matcha powder around $12 to $25
- Edible flowers, dried mix around $8 to $18
Tools That Earn Their Counter Space
- Wilton 6 inch round cake pan approx $12 to $25
- Bench scraper cake smoother approx $8 to $18
- Ateco round piping tips set around $10 to $22
Cookbooks Worth the Shelf
- Salt Fat Acid Heat by Samin Nosrat (price range $18 to $28)
- The Food Lab by J. Kenji Lopez-Alt (price range $20 to $35)
Budget Swaps
- Generic gel food color set approx $8 to $15 (swap for AmeriColor)
- Store-brand powdered sugar around $2 to $4 (swap for fine icing sugar)
Cooking Tips for These Recipes
1. Thick Buttercream Wins: Use a higher butter-to-sugar ratio when piping details for more structure, especially in warm kitchens. Try AmeriColor gel colors for vivid hues.
2. Chill Between Stages: A 10–20 min chill after crumb coat changes everything; it makes smoothing and drips predictable. Use a small cake turntable.
3. Test Textures: Before committing, practice a tiny rosette or dot on parchment. Unforgiving hacks like thinning frosting with milk often fail. Wilton piping bags disposable help keep things tidy.
4. Follow 2025 Trends: Personalizable, gift-ready desserts are trending, so focus on small batches and clean presentation; a letter stencil set makes a big impact.
5. Make-Ahead Tip: Freeze unglazed layers up to 1 month, thaw overnight in the fridge, then decorate within 24 hours for best texture. Store in an airtight container.
Frequently Asked Questions
Q: Can I make these ahead and freeze them?
A: Yes, most unfilled sponge layers freeze well up to 1 month; thaw overnight in the fridge and decorate within 24 hours. Use a freeze-safe container set.
Q: What frosting holds up in warm weather?
A: Swiss meringue buttercream or stabilized buttercream holds better than whipped cream in heat. Try Swiss meringue buttercream recipe tools like a reliable hand mixer.
Q: Are edible flowers safe?
A: Only use flowers labeled edible; otherwise, they can be toxic. I buy a trusted dried edible flower mix and keep it sealed. See edible flower mix, dried.
Q: How do I get a smooth finish every time?
A: Chill between coats and use a bench scraper held steady while spinning on a turntable. A bench scraper cake smoother is worth the counter space.
Conclusion
Start with one small design, like the sprinkle confetti or kawaii face, to build momentum. The core technique across these is patience—chill, then decorate—and one small product makes a big difference, like an offset spatula or gel color set. Which design will you try first this week?