
I used to make five identical lunches and end up with limp, sad vegetables by Wednesday. Learning how to meal prep bento box lunches changed that.
This guide shows you how to prep five workday bento lunches with crisp veg, sturdy grains, and proteins that stay juicy. Expect one Sunday session of about 60 to 90 min hands-on, beginner-friendly, with one fiddly but worth-it step.
The vibe: weekday-friendly, slightly global (think soy, citrus, chili crisp), and built around keeping textures intact.
1. The Plan: Pick Durable Veg And A Weekly Flavor Thread
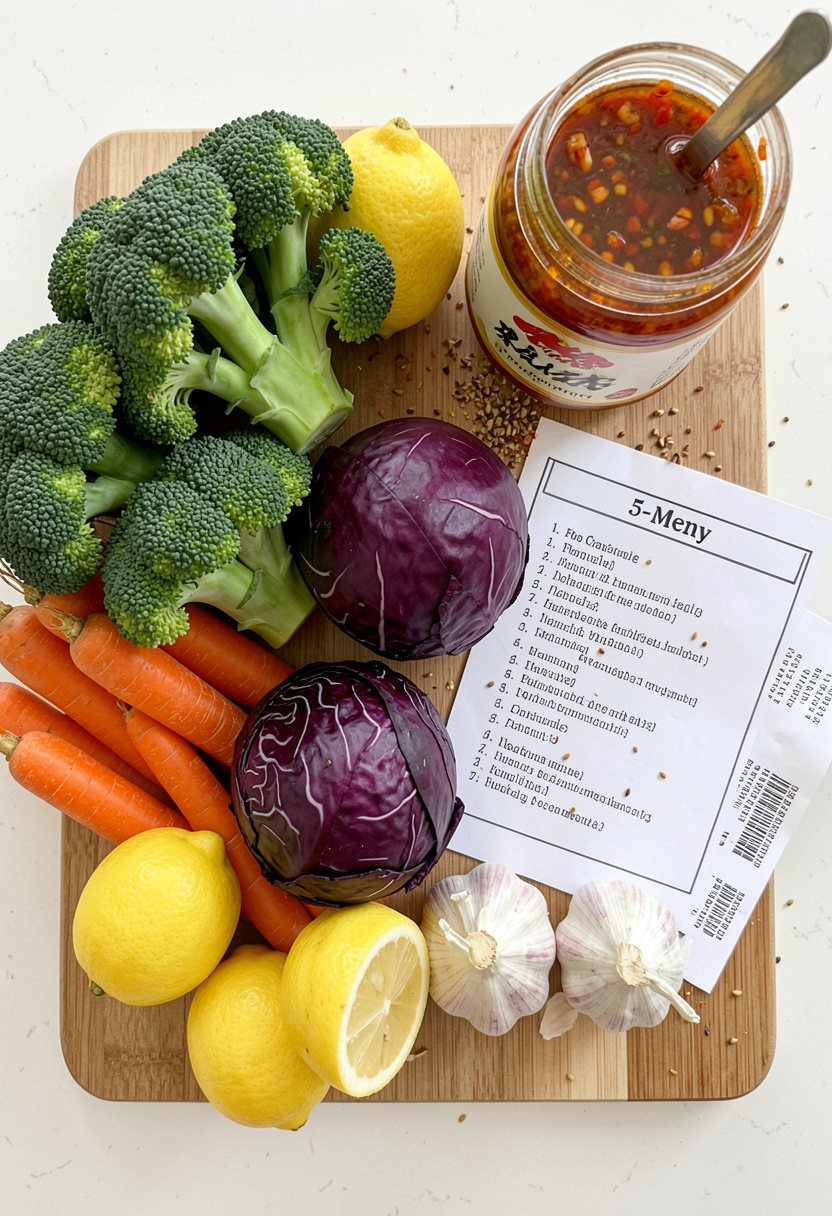
Start by choosing veg that travel well. I pick broccoli, carrots, bell peppers, and radishes over lettuce and cucumber for long-hold crunch.
Why this order: durable veg handle roast or quick-blanch without turning soggy. The cooking principle is cell structure: dense vegetables lose less water and keep bite.
Tools to make this painless: a OXO Good Grips salad spinner for removing surface water and a Microplane zester for bright citrus finishing.
A common mistake is prepping wet greens into boxes. Instead, dry completely then store in a lined container. The result is crisp veg Monday through Friday.
2. The Grain Base: Cook Once, Portion Smart
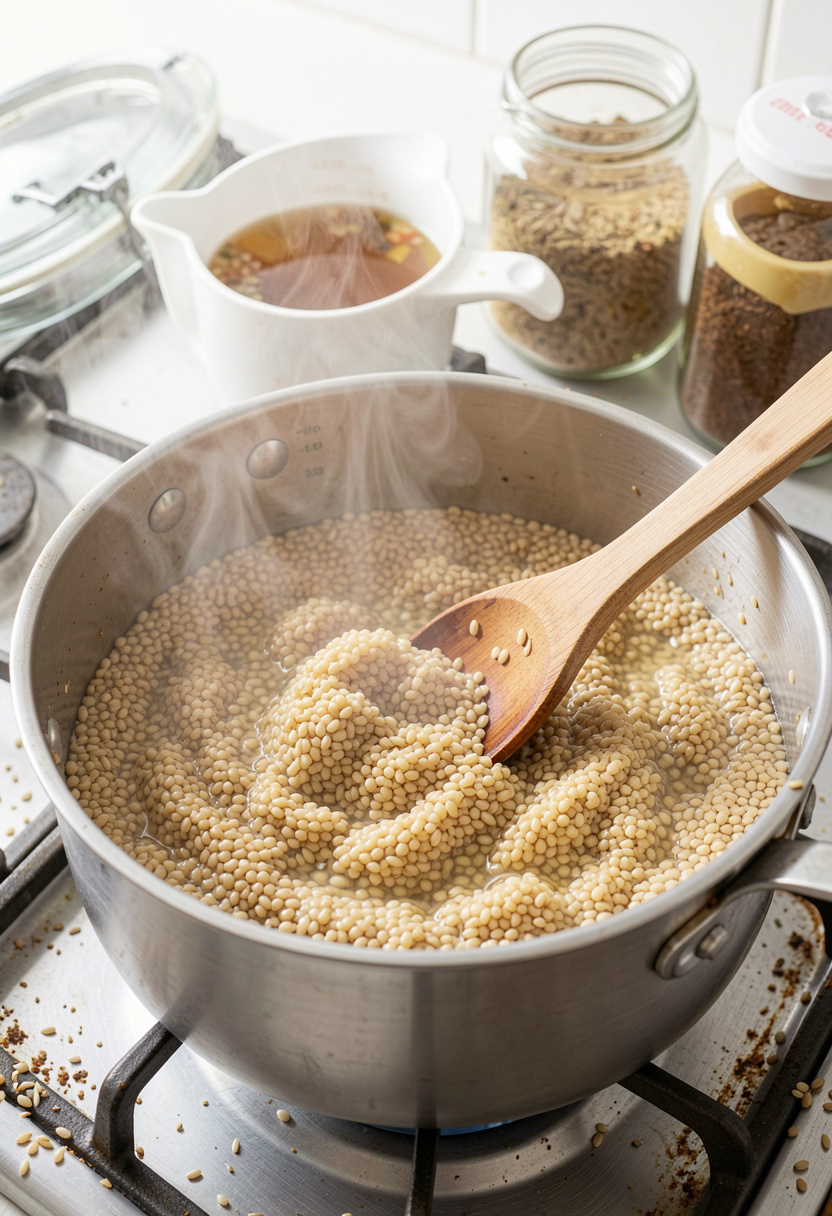
I make a heartier grain like farro or brown rice because they stand up to dressing and reheating. Farro cooks in 20 to 25 min at a simmer; drain and toss with 1 tsp salt per cup cooked.
Use an Instant Pot Duo 6 qt if you want set-and-forget timing. The cooking principle is starch gelatinization: fully cooked, then cooled grains firm up and absorb flavors without going mushy.
Portion while warm: 3/4 to 1 cup per container. Mistake people make is over-saucing warm grains. Let grains cool slightly before adding any dressing to avoid limp texture.
3. Protein With A Crunch: High Heat Finish For Juicy Results
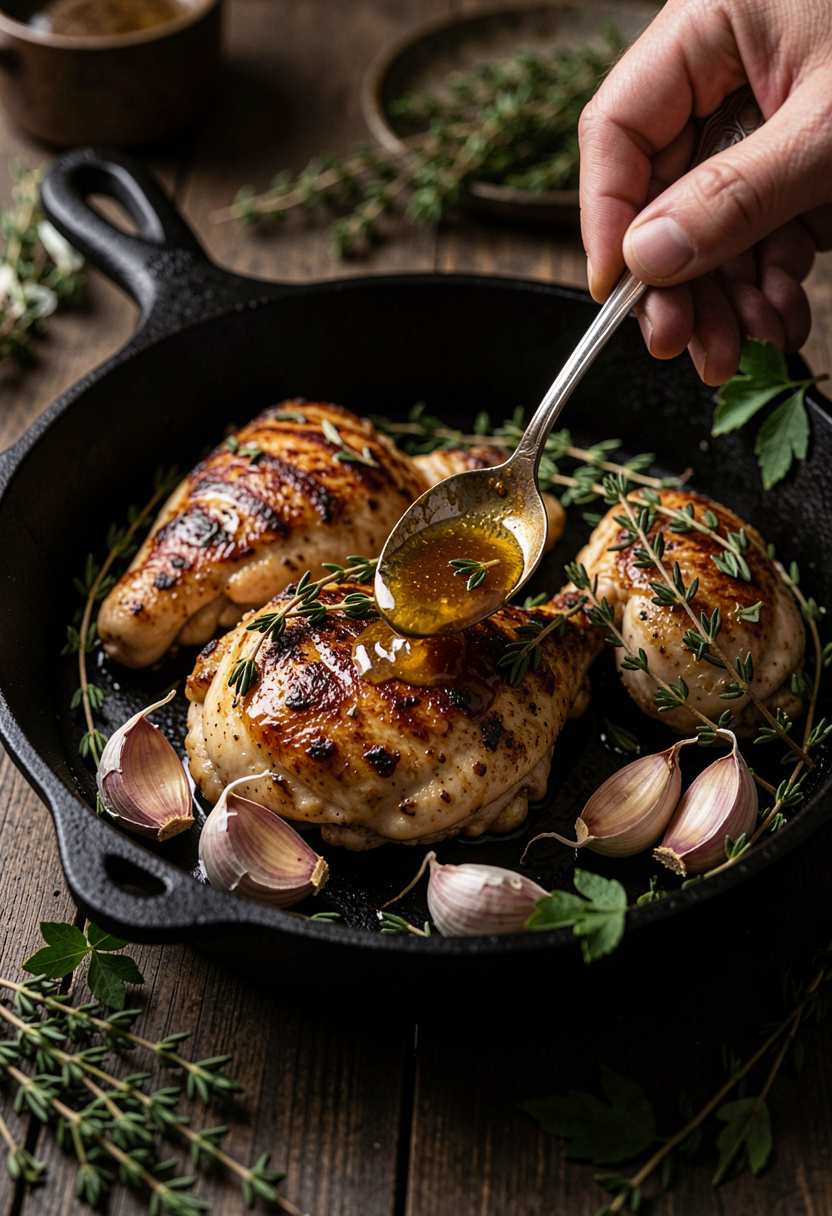
The trick for juicy protein is dry brine, hot sear, then rest. Sprinkle 1/2 tsp kosher salt per thigh and chill uncovered for 1 to 4 hrs. Pat dry before searing.
I use a Lodge cast iron skillet 12 inch and heat it until shimmering (around 400°F surface feel). Sear thighs 4 to 5 min per side, then finish in a 425°F oven for 8 to 10 min until 165°F internal.
Principle: Maillard reaction gives crust and flavor while resting lets juices redistribute. A common flop is flipping too often. Flip once and let the crust form.
4. Brightness That Keeps: Quick Pickles And Dry Dressings
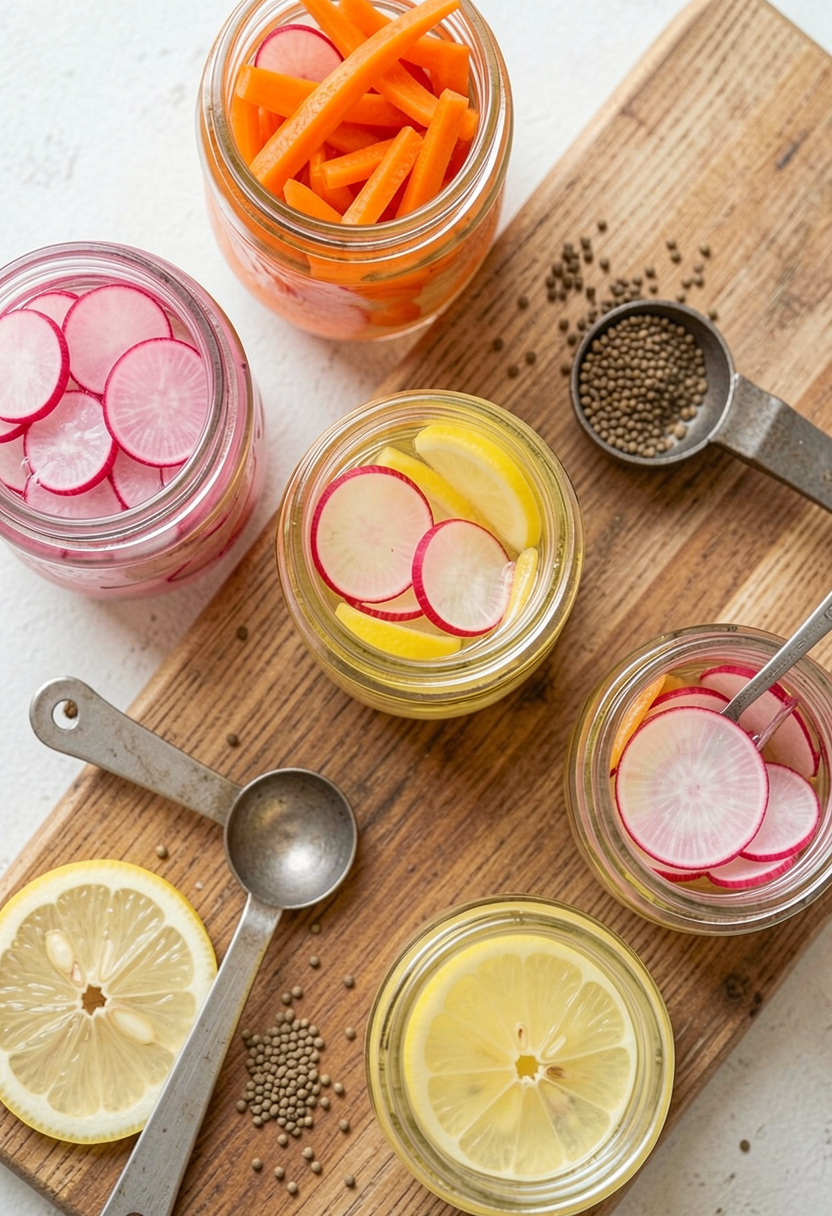
Quick pickles are my secret for day-long crunch. A 1:1:1 ratio of water, vinegar, and sugar with 1 tsp salt per cup of liquid keeps things balanced for 30 min to 1 hr pickles.
I use Mason jars 16 oz to store pickles. The principle is osmotic tightening: acid firms vegetable cells instead of making them soggy.
Avoid tossing wet veg straight into grain bowls. Instead, pack pickles in jars or silicone cups so brine never touches the other components until you eat.
5. Cool, Layer, Seal: Storage And Daily Assembly Tricks
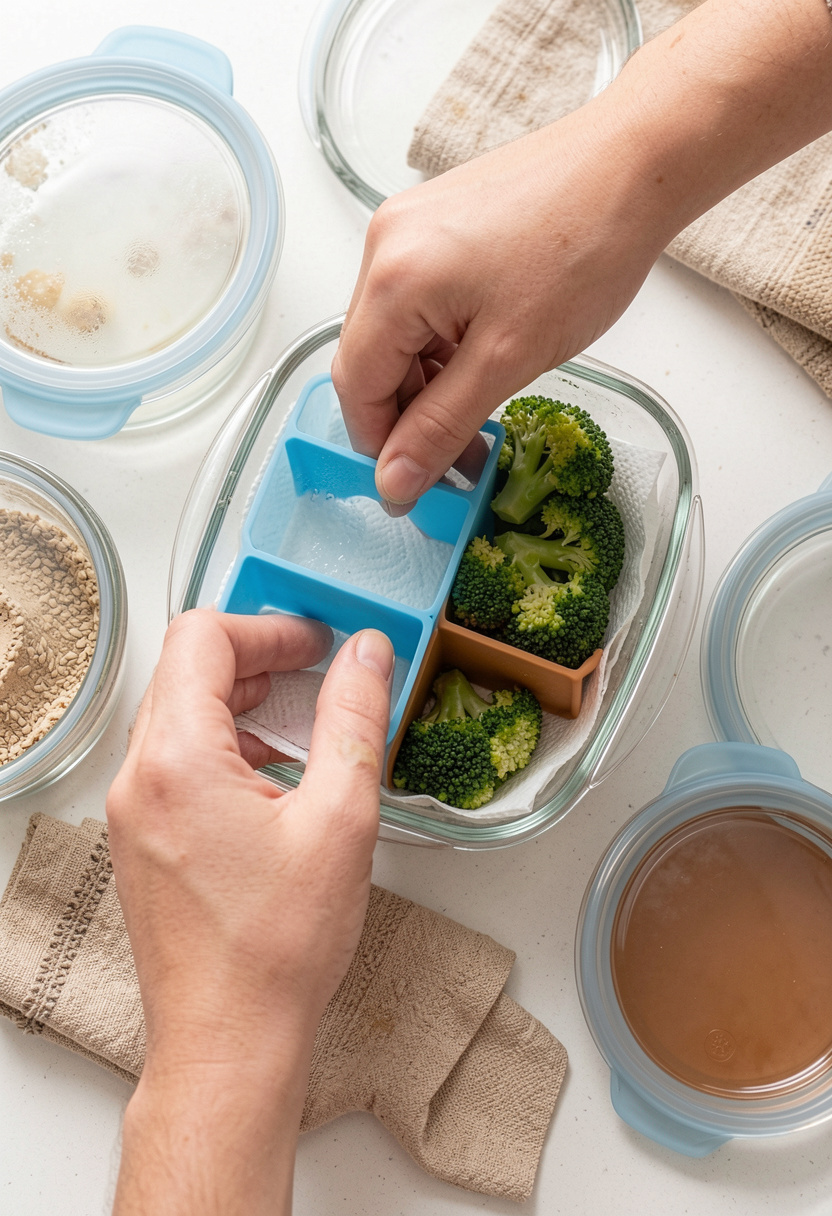
Cooling is non-negotiable. Hot food raises box temperature and creates condensation that ruins veg. Cool on a wire rack for 20 to 30 min before lids go on.
I store lunches in Glass meal prep containers 5 pack and use silicone food cups to isolate saucy items. The principle is humidity control: barriers stop moisture migration.
Mistake: sealing warm boxes. Do not do that. The result with this method is crisp veg and a hot protein that reheats cleanly.
Common Cooking Mistakes to Avoid
Mistake: Packing hot protein into containers immediately
Why it doesn't work: Steam condensates, soggy veg, bacterial risk.
Do this instead: Let protein cool on a wire rack then store in a glass container set to prevent steam buildup.
Mistake: Sprinkling dressing onto grains while still warm
Why it doesn't work: Warm starch absorbs too much and goes gummy.
Do this instead: Cool grains to lukewarm, then toss with 1 tbsp vinaigrette per cup and a drizzle of California Olive Ranch extra virgin olive oil 17 oz.
Mistake: Using flimsy dividers or plastic wrap in the box
Why it doesn't work: They shift and mix flavors midweek.
Do this instead: Use silicone food cups and quality bento meal prep containers.
What You'll Need to Make This
Pantry Staples
Diamond Crystal kosher salt 3 lb box around $5 to $8
California Olive Ranch extra virgin olive oil 17 oz approx $10 to $18
Laoganma chili crisp 7.4 oz around $6 to $12
Specialty Ingredients
Farro 16 oz bag approx $3 to $6
High-quality soy sauce 10 oz around $4 to $9
Tools That Earn Their Counter Space
Lodge cast iron skillet 12 inch approx $25 to $40
ThermoPro instant read thermometer around $15 to $35
Glass meal prep containers 5 pack approx $20 to $40
Cookbooks Worth the Shelf
Salt Fat Acid Heat by Samin Nosrat (price range $18 to $28)
The Food Lab by J. Kenji Lopez-Alt (price range $16 to $30)
Budget Swaps
Stasher silicone bag 3 pack approx $15 to $30 (save: use reusable freezer bags from discount grocer)
OXO Good Grips salad spinner approx $20 to $35 (Aldi sometimes has a near-identical spinner cheaper)
Shopping Guide for This Recipe
Pick sturdy veg: Buy broccoli and carrots in-season for better flavor. Try farro if you want more chew, around $3 to $6.
Substitution hack: Out of chicken thighs, roast a sheet of salmon at 400°F for 10 to 12 min and cool; recommend wild salmon fillets approx $8 to $20.
2025 trend note: More people are pairing quick pickles with grain bowls; keep mason jars 16 oz on hand for that practice, around $8 to $15.
Splurge vs save: Splurge on a reliable instant read thermometer; save on staples like dried farro at your local bulk bin.
Conclusion
Start with the planning phase: choose the veg and grain that survive a week, then cook smart and cool thoroughly. A single good tool, like an instant-read thermometer, saves the whole batch.
Which will you try first: the quick pickles or the dry-brined protein?