
How to make tender beef tips was a mystery for me until I learned to control salt timing and heat, not smother the meat with marinades. I used to bite into chewy cubes and swear off weeknight steak nights.
Now I can turn pantry sirloin into tender, glossy bites in about 40 min, beginner-friendly with one fiddly step: watching the sear. You will learn quick prep, a high-heat sear, a short butter baste, and the rest that actually keeps juices where they belong.
This is an Italian-American style finish: brown butter, thyme, a bright squeeze of lemon at the end. Expect rich, savory notes with a pop of acid. Hands-on time is roughly 25 to 35 min, total 40 to 50 min. I’ve noticed dry brining and short sous vide runs becoming common in 2025 kitchen chats.
1. The Pre-Sear Setup: Dry Brine and Temper
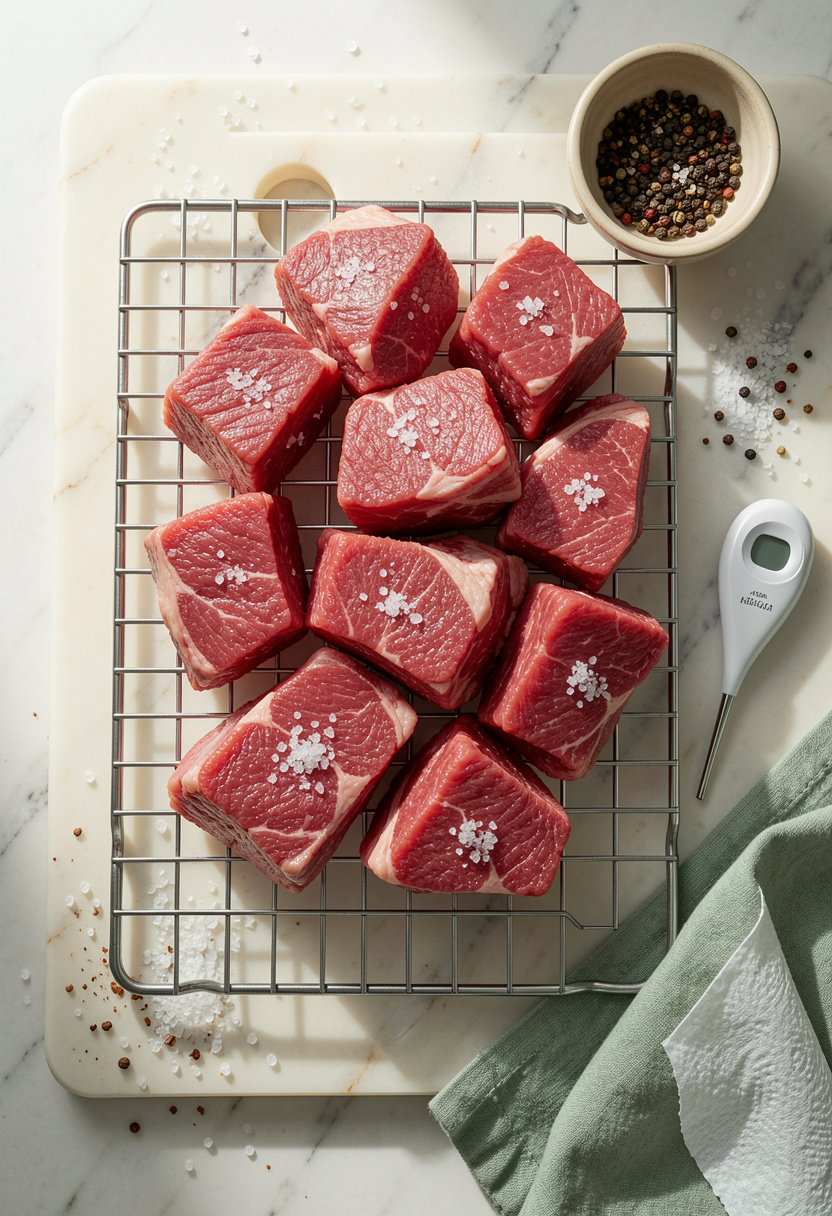
Salt early. I sprinkle Diamond Crystal kosher salt on cubed sirloin 45 min before cooking and refrigerate on a tray. The salt pulls surface moisture then reabsorbs, tightening proteins so they hold juices during the sear.
Why here: dry brine seasons inside and improves texture without breaking proteins like long acidic marinades do. Use a Diamond Crystal kosher salt 3 lb box around $5 to $8 and let the meat rest uncovered for 30 to 60 min.
Tools matter. An instant-read thermometer keeps you honest; target 125°F to 130°F internal for medium-rare after sear. Mistake people make: salting right before sear then crowding the pan. Do not crowd. Leave 1 inch between pieces so the surface dries and Maillard reaction happens.
2. The Sear in Smoking-Hot Cast Iron
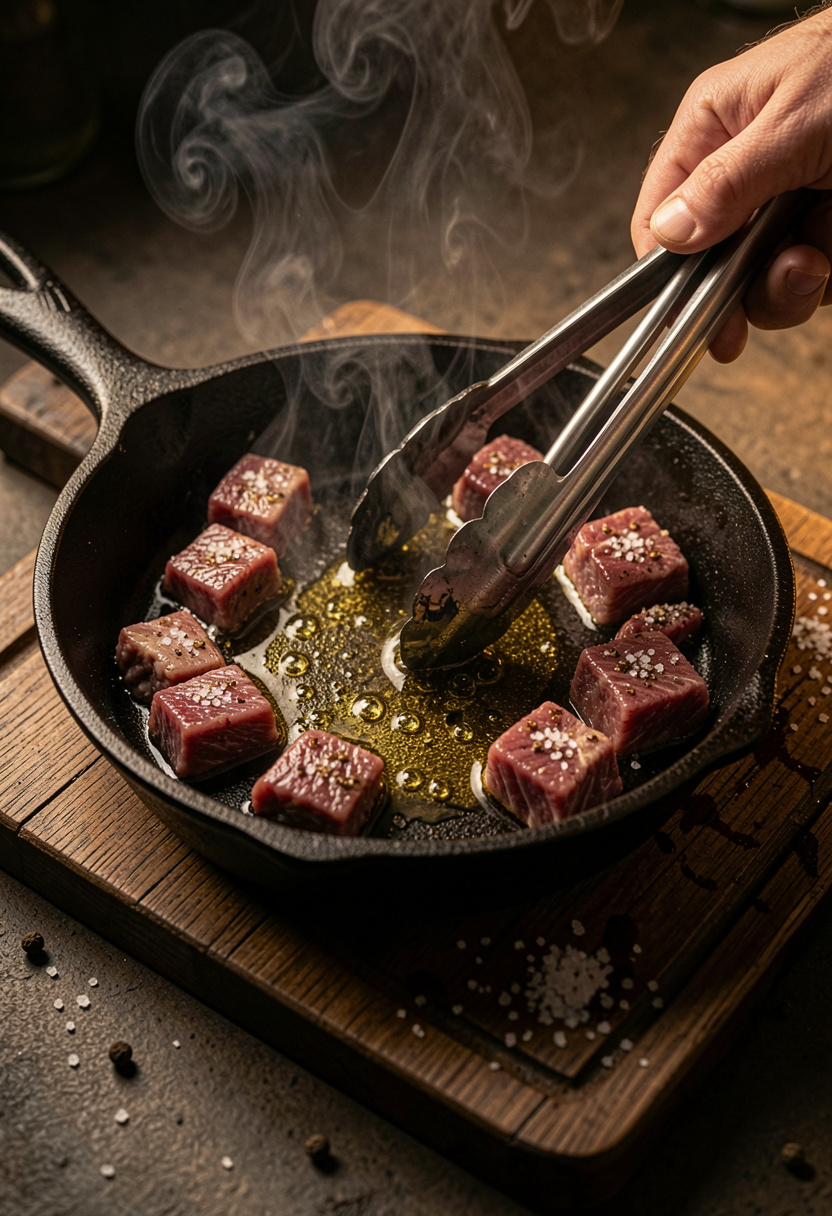
Heat is everything. I preheat a Lodge cast iron skillet 12 inch until it is rip-roaring hot, about 5 min over medium-high, then add a thin film of oil with a smoke point like grapeseed. The goal is an immediate crust.
Sear each side 45 to 60 seconds, then rotate for even color. That crust is Maillard reaction, not a juice seal. Cook’s Illustrated showed searing adds flavor, not moisture retention, so rely on short cook time and proper rest for tenderness.
Keep a pair of stainless steel tongs 12 inch handy. Mistake: flipping too often. Flip once or twice only. Result: deep brown crust that tastes savory and caramelized.
3. The Butter Baste with Garlic and Thyme
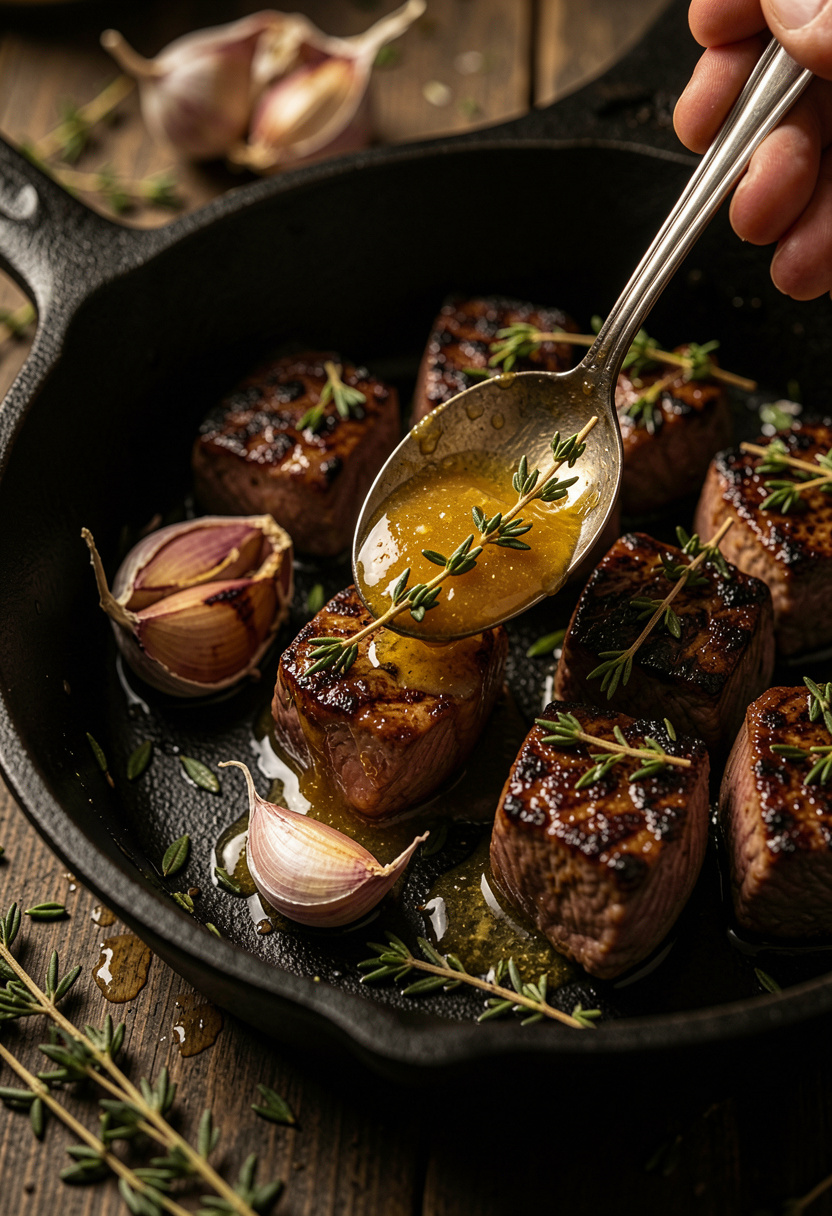
The trick is finishing in fat for gloss and flavor. When cubes reach a light crust, reduce heat slightly and add a knob of Plugra butter 16 oz, smashed garlic, and thyme. Tilt the pan and spoon the foaming butter over the meat for 30 to 45 seconds.
Why: emulsified butter carries flavor and adds a silky coating so every bite feels tender. Add a splash of dry white wine to deglaze, about 2 tbsp, if you like. I use a small pour from a Pinot Grigio 750 ml bottle.
Common fail: adding acid too early. If you add lemon or vinegar during sear the acid tightens proteins and makes meat chewy. Save acid for the finish.
4. The Rest That Makes or Breaks the Bite
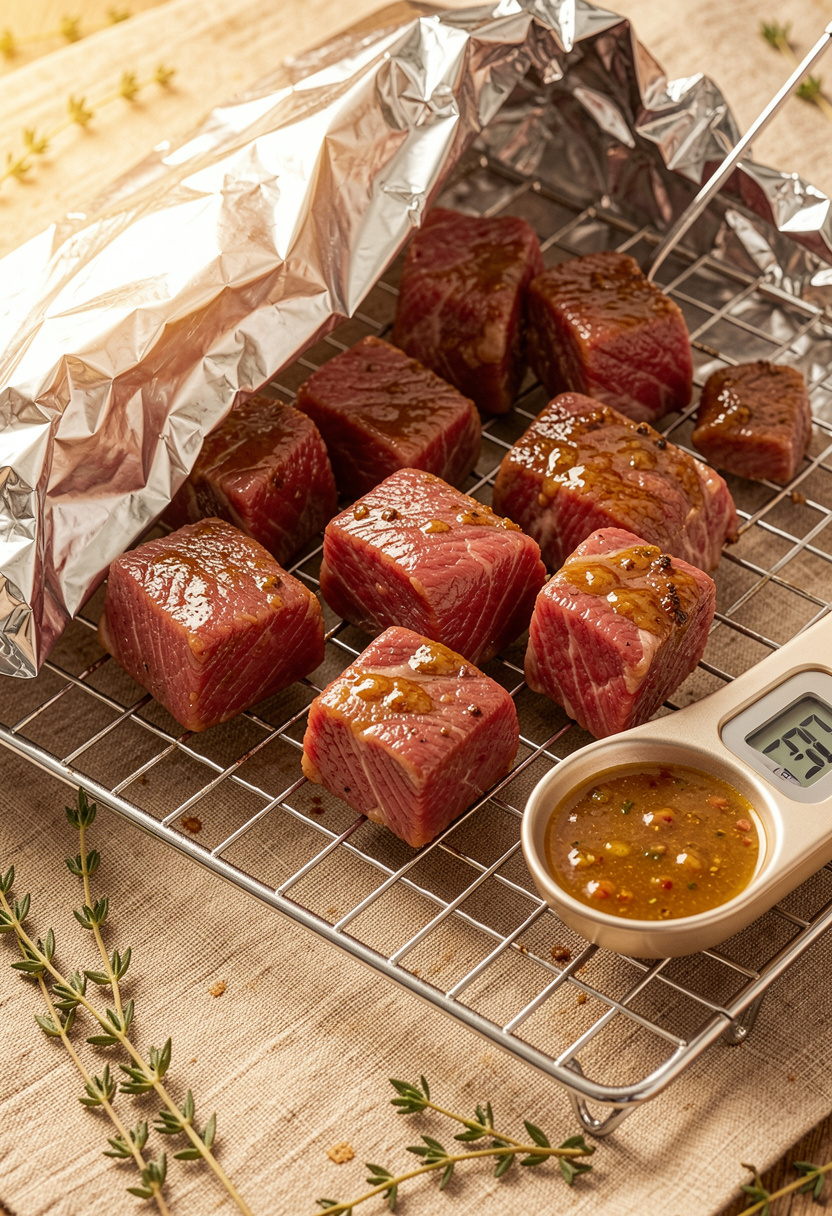
Resting is non-negotiable. After basting, transfer tips to a wire rack and tent loosely with foil for 5 to 7 min. Carryover cooking brings internal temp up 3 to 5°F and juices redistribute.
Why it works: proteins relax and reabsorb liquid. The result is tender bites that do not squeeze dry when you cut. If you must rush, rest on warm plates rather than stacking pieces. Mistake: cutting too soon. That pancake of juices on the board is avoidable.
5. Quick Braise Rescue for Chewy Pieces
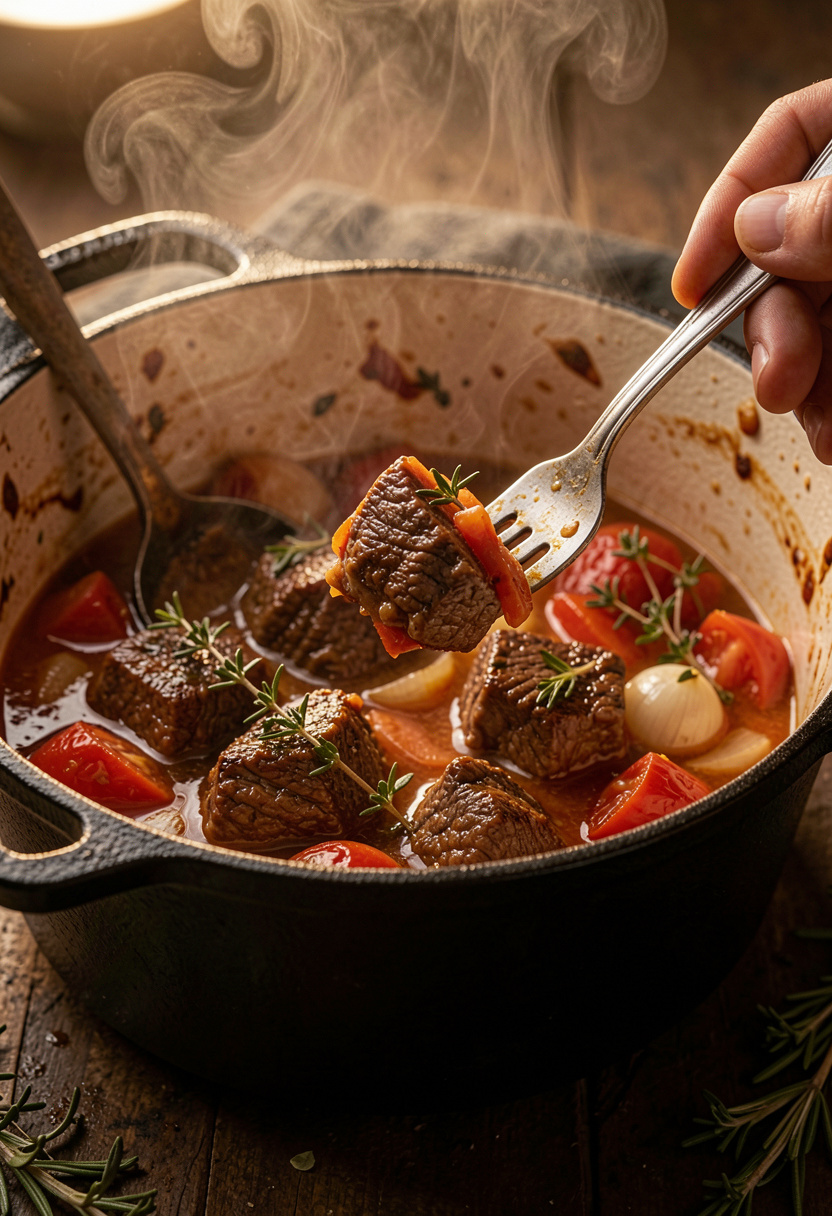
If a batch turns out tight or from a tougher cut, rescue them with a 20 to 30 min quick braise. Add 1 cup beef stock, a splash of wine, and simmer gently with a lid on until the meat yields to a fork.
This pulls connective tissue into gelatin without long oven time. Use a small chuck roast for braising if you plan to braise regularly. Mistake: boiling. Keep to a gentle simmer for a tender finish.
Common Cooking Mistakes to Avoid
Mistake: Crowding the pan when searing
Why it doesn't work: Pan temp drops, meat steams and does not form a crust.
Do this instead: Cook in batches with a Lodge cast iron skillet 12 inch approx $25 to $40.
Mistake: Marinating in lemon or vinegar overnight
Why it doesn't work: Acid denatures surface proteins and makes texture mushy.
Do this instead: Use a short 30 min acid finish or a dry brine with Diamond Crystal kosher salt 3 lb box around $5 to $8.
Mistake: Skipping the rest after sear
Why it doesn't work: Juices run out when you cut, leaving meat dry.
Do this instead: Tent on a wire rack and rest 5 to 7 min. Keep an instant-read thermometer handy.
What You'll Need to Make This
Pantry Staples
Diamond Crystal kosher salt 3 lb box around $5 to $8
Kikkoman soy sauce 10 oz about $3 to $6
Specialty Ingredients
Lao Gan Ma chili crisp 7.4 oz approx $7 to $12
Maldon flaky sea salt 4 oz around $8 to $12
Tools That Earn Their Counter Space
Lodge cast iron skillet 12 inch approx $25 to $40
Instant-read thermometer about $15 to $40
Stainless steel tongs 12 inch $8 to $20
Cookbooks Worth the Shelf
Salt Fat Acid Heat by Samin Nosrat (price range $18 to $28)
The Food Lab by J. Kenji Lopez-Alt (price range $15 to $30)
Budget Swaps
Lodge cast iron skillet 10 inch smaller, approx $20 to $30 (Aldi has close-enough skillets seasonally)
Shopping Guide for This Recipe
Choose the cut: For quick tender tips, buy sirloin tip or top sirloin. Try a local butcher or order small packs online like chuck roast for braising, $8 to $12 lb.
If you are out of butter: Use high-fat olive oil and 1 tsp of Maldon flaky sea salt for finish, $8 to $12.
Trend pick 2025: Dry brining and short sous vide runs are common; consider an Anova precision cooker $100 to $200 for repeatable results.
Splurge vs save: Splurge on a reliable instant-read thermometer $15 to $40, save on generic tongs $8 to $15.
Conclusion
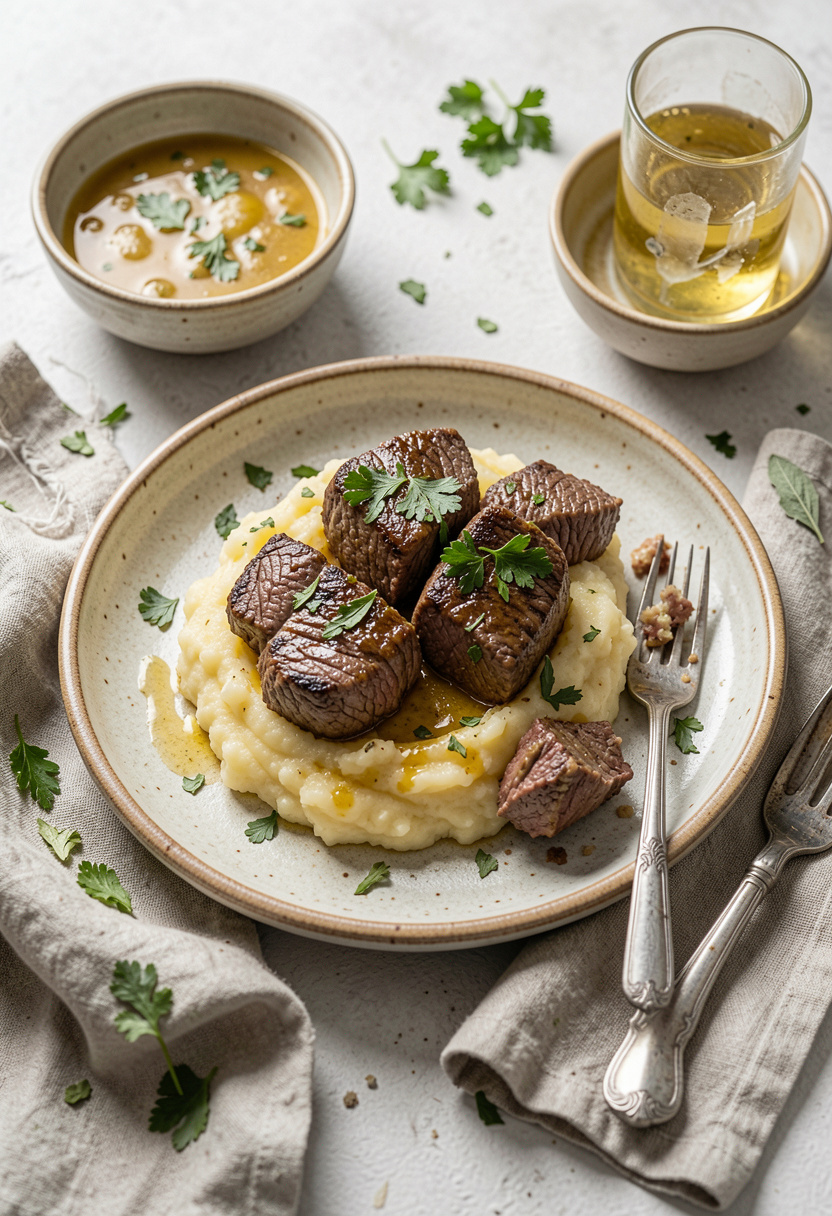
Start with a short dry brine. That single step changes texture more than any marinade I tried. The final principle to remember is control heat and time: fast sear, brief butter baste, and a patient 5 to 7 min rest.
If you want a gadget pick, an instant-read thermometer will save you from guesswork.
Will you try the dry-brine first or go straight to a sous vide rescue?